| Hostname | IP Address | RAM (GB) | Cores | Storage (GB) | OS |
|---|---|---|---|---|---|
| gitlab2.dev.naijalabs.net | 192.168.1.232 | 4 | 2 | 150 | Ubuntu 22.04 LTS Jammy Jellyfish |


In this article, we’ll examine Jenkins Vs Github Actions. Learn which CI/CD tool is best for your project’s needs, from setup and integration to scalability

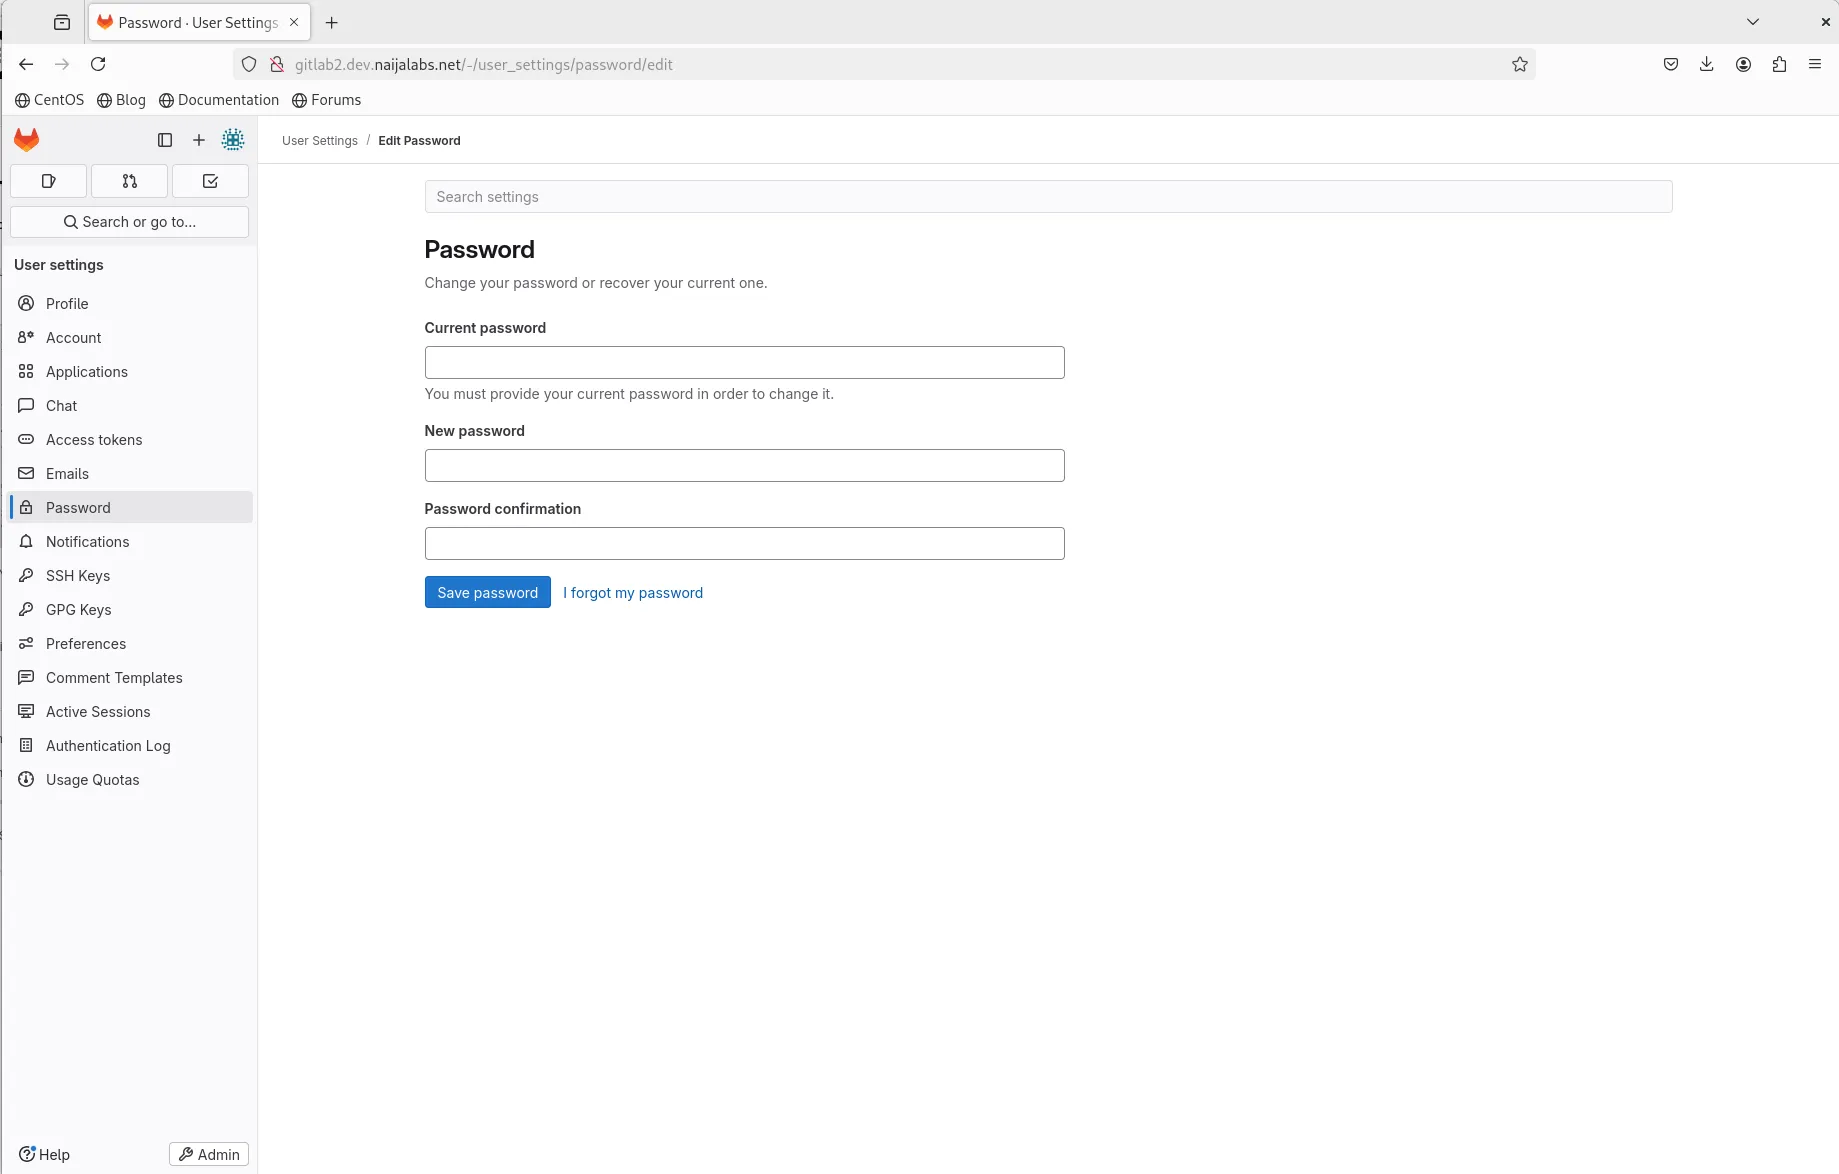
Learn how to install GitLab CE on RHEL 9 or CentOS 9 using Ansible roles. This comprehensive guide covers prerequisites, creating Ansible roles, executing playbooks, and

Learn how to effortlessly install GitLab CE on your RHEL 9 or CentOS 9 system with our comprehensive guide. Follow our step-by-step instructions for a