
HOWTO
In this article, we will examine installing and using Gitlab on Ubuntu server version 20.04. Gitlab community edition or Gitlab CE can be installed by


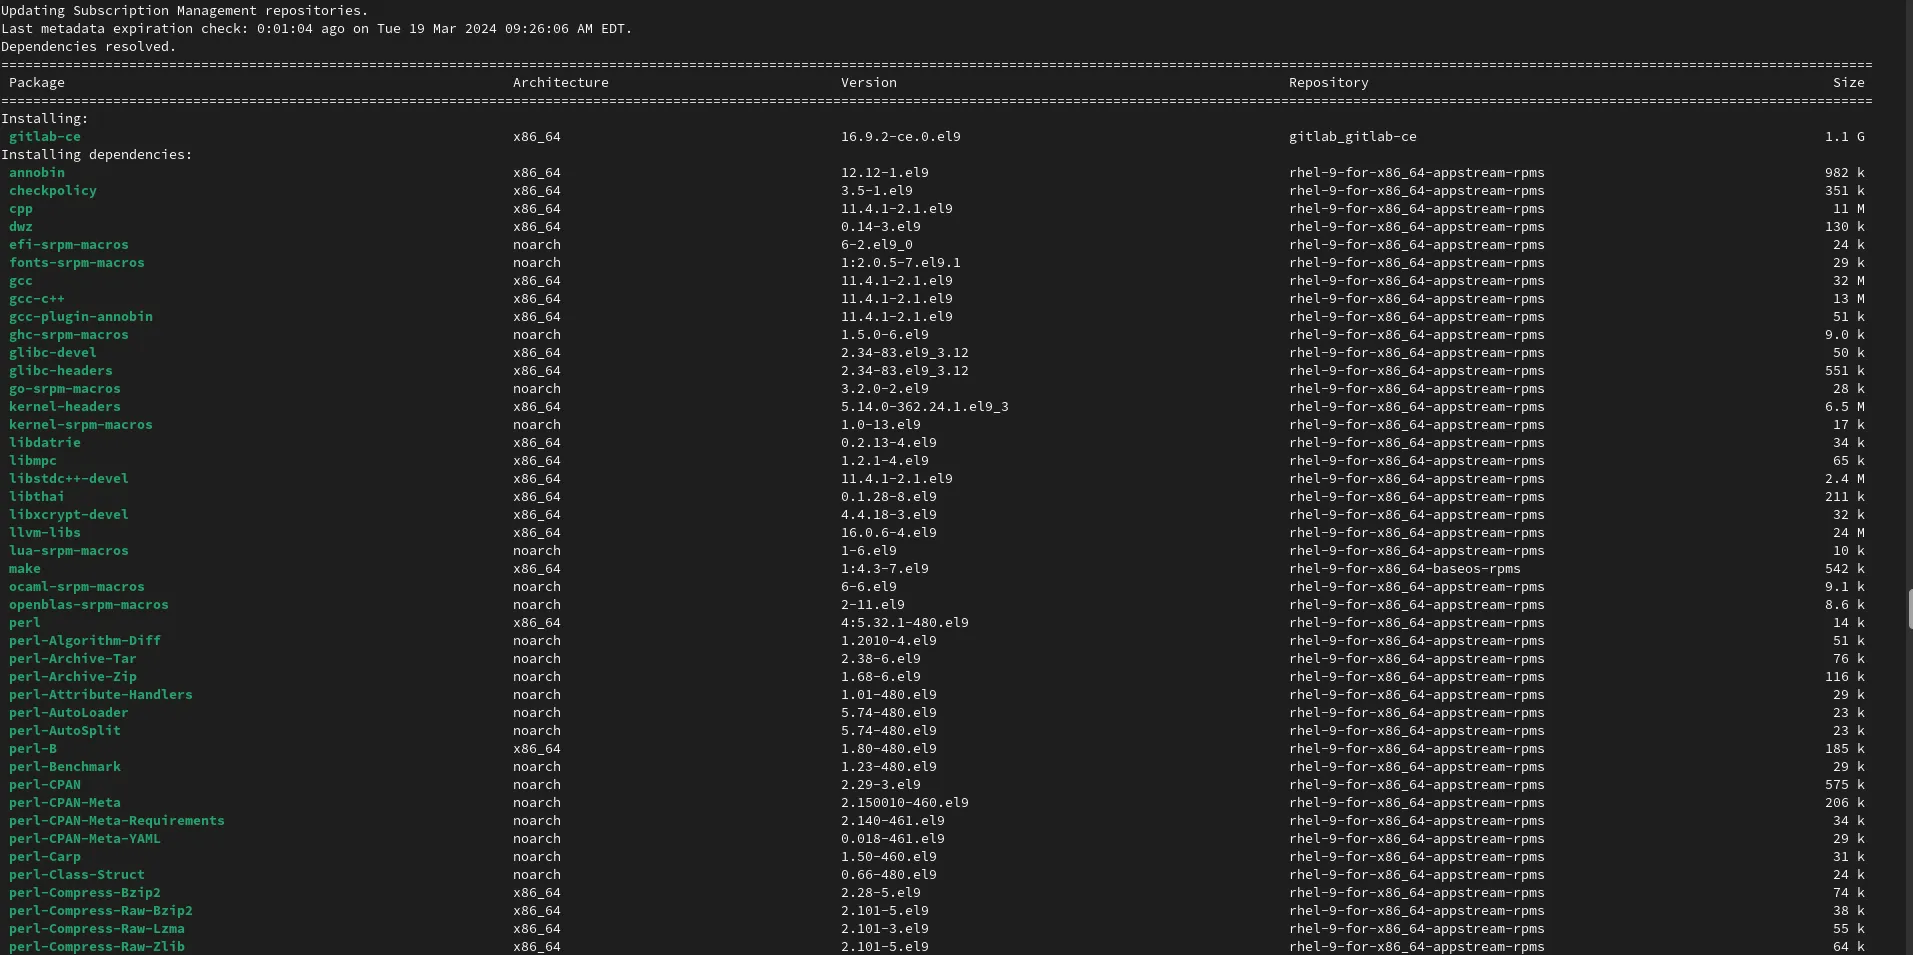
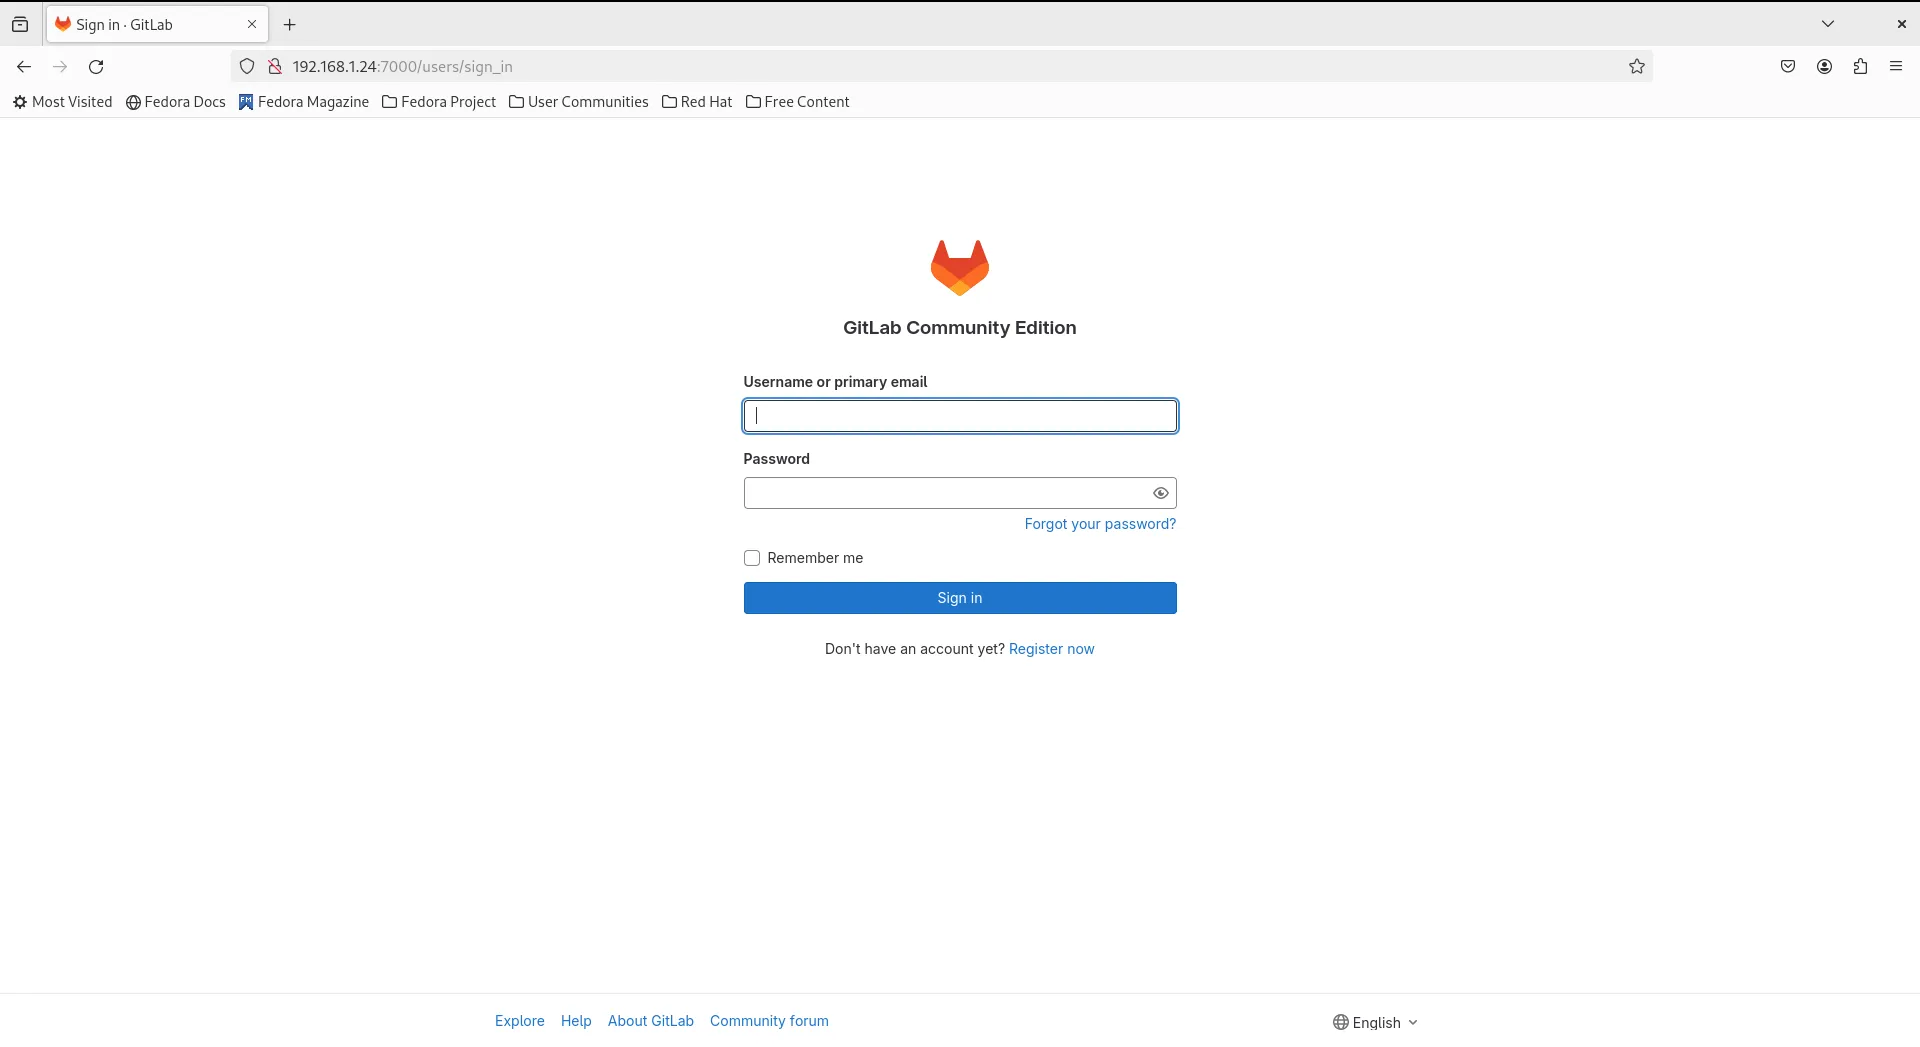
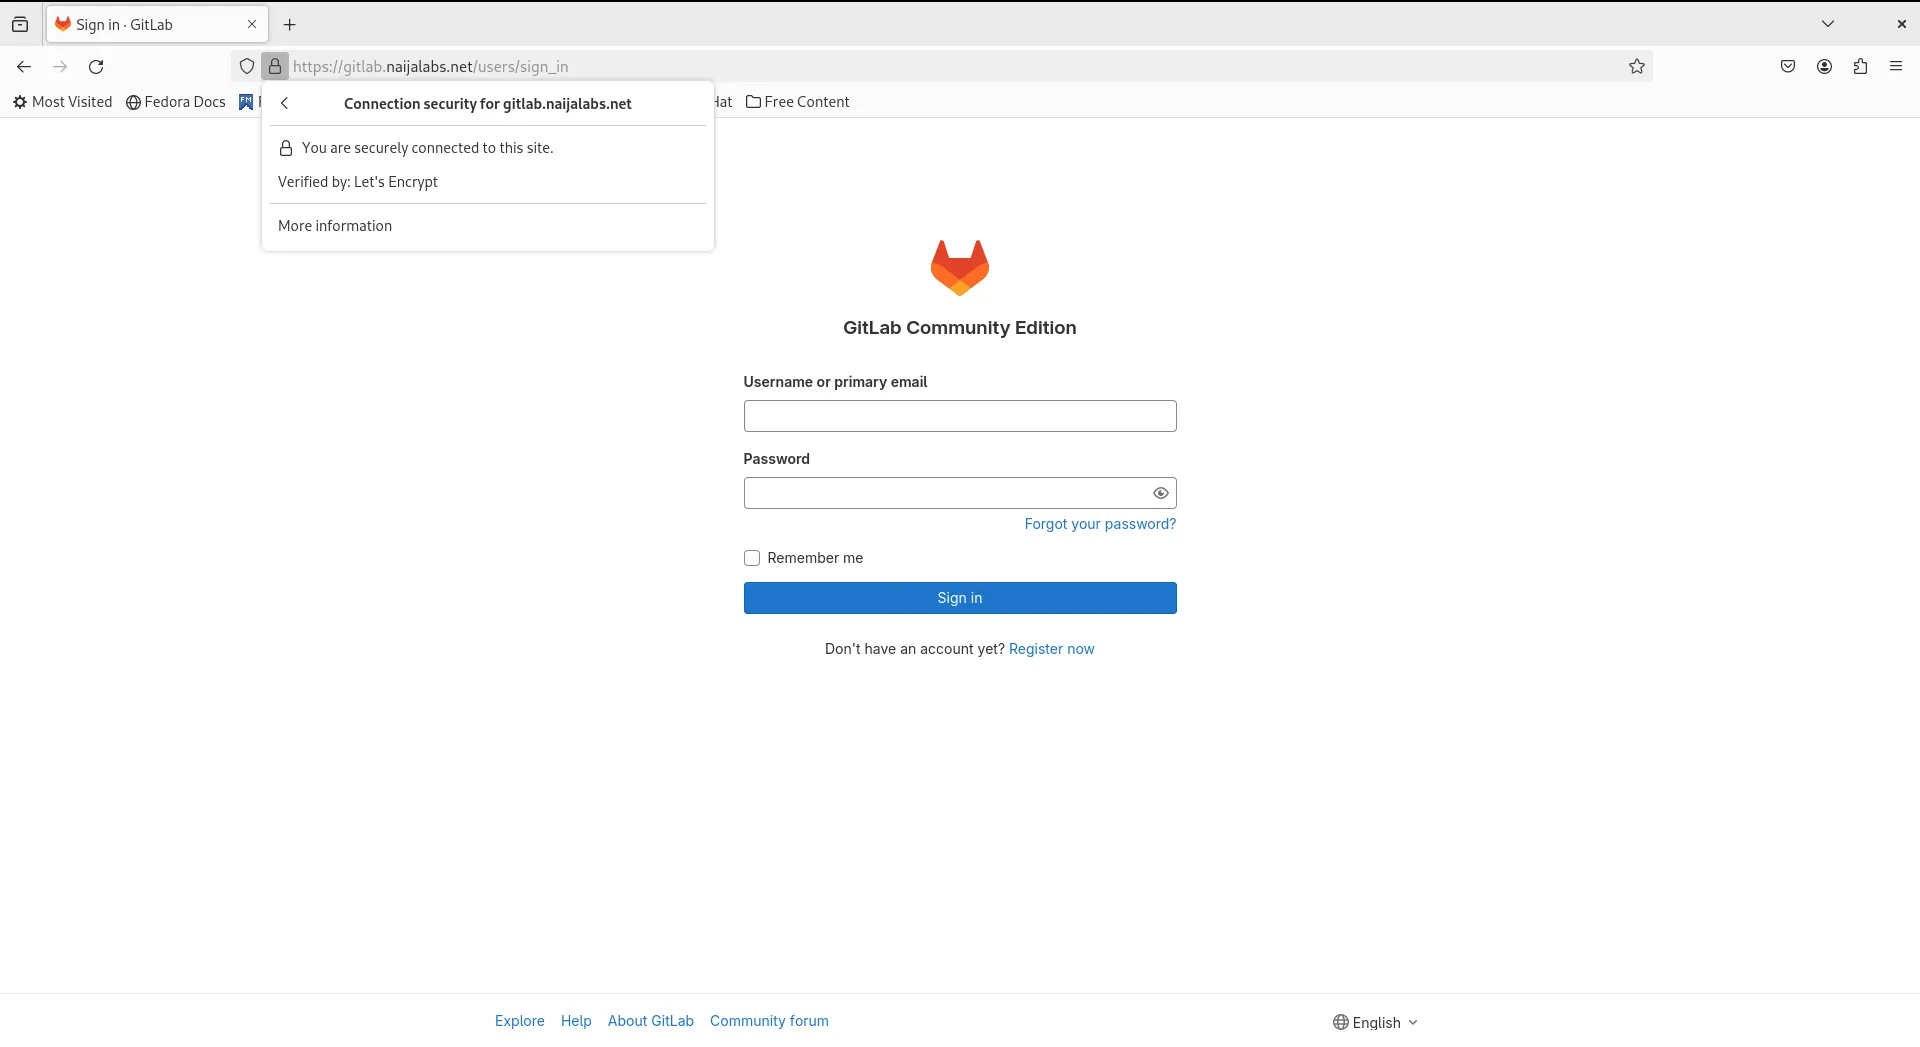
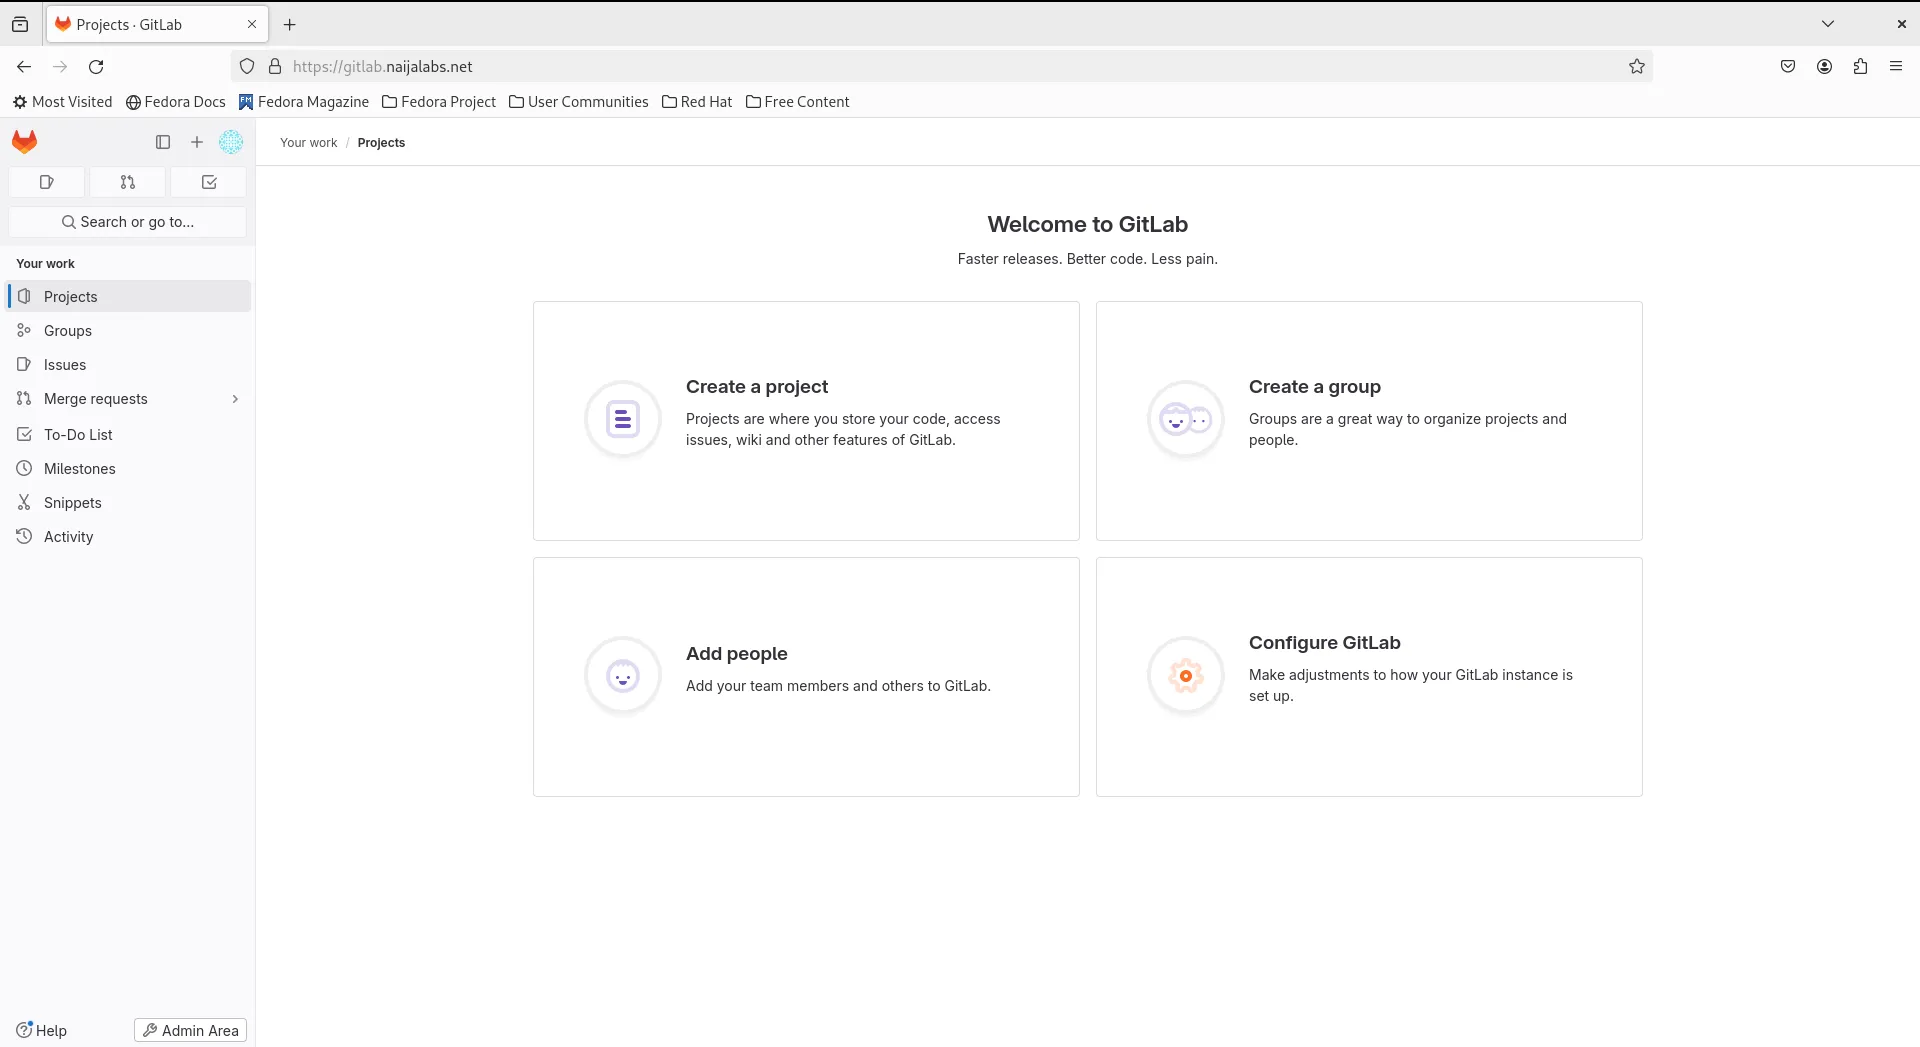
In this article, we will examine installing and using Gitlab on Ubuntu server version 20.04. Gitlab community edition or Gitlab CE can be installed by

In this article, we will review installing and using Git on Linux machines. Besides minor differences in syntax, the install commands and procedures are similar

In this article, we will review the top 10 most commonly used Git commands. You can’t call yourself a competent DevOps Engineer or IT professional