| Hostname | IP Address | RAM (GB) | Cores | Storage (GB) | OS |
|---|---|---|---|---|---|
| portainer.dev.naijalabs.net | 192.168.1.226 | 4 | 2 | 150 | CentOS Stream release 9 |
Learn how to install and configure Portainer CE on CentOS 9 for efficient Docker management. Follow our step-by-step guide with CLI examples to get started today.
Managing Docker containers efficiently can be challenging without a graphical interface. Portainer Community Edition (CE) simplifies this task by providing a user-friendly web interface for managing Docker environments. In this guide, we will walk you through the process of installing and configuring Portainer CE on CentOS 9.
Portainer CE is lightweight yet powerful, offering features such as:
|
|
|
|
By the end of this guide, you will have Portainer CE installed and configured to manage your Docker environment efficiently.
Prerequisites |
Before installing Portainer CE, ensure that you meet the following prerequisites:
| Requirement | Description |
|---|---|
| OS | CentOS 9 (Stream) |
| User Privileges | Root or a user with sudo privileges |
| Installed Software | Docker Engine & Docker Compose |
| Firewall | Open ports 8000 & 9443 for web UI access |
For this demonstration, we’ve configured our CentOS 9 server as follows:
| Hostname | IP Address | RAM (GB) | Cores | Storage (GB) | OS |
|---|---|---|---|---|---|
| portainer.dev.naijalabs.net | 192.168.1.226 | 4 | 2 | 150 | CentOS Stream release 9 |
First, update the system packages and install Docker:
sudo dnf update -y
sudo dnf config-manager --add-repo https://download.docker.com/linux/centos/docker-ce.repo
sudo dnf install -y docker-ce docker-ce-cli containerd.io
Enable and start the Docker service:
sudo systemctl enable --now docker
Created symlink /etc/systemd/system/multi-user.target.wants/docker.service → /usr/lib/systemd/system/docker.service.
Verify Docker installation:
docker --version
Docker version 28.0.1, build 068a01e
Step 1: Create a Volume for Portainer Data |
Portainer stores its configuration and data in a volume. Create it with:
sudo docker volume create portainer_data
portainer_data
Step 2: Deploy Portainer as a Docker Container |
Run the following command to start Portainer:
sudo docker run -d --name=portainer --restart=always -p 8000:8000 -p 9443:9443 -v /var/run/docker.sock:/var/run/docker.sock -v portainer_data:/data portainer/portainer-ce:latest
					Unable to find image 'portainer/portainer-ce:latest' locally
latest: Pulling from portainer/portainer-ce
436768c74267: Pull complete
d61825c69234: Pull complete
04de093ad5ed: Pull complete
a528983d077c: Pull complete
26eb502a78ed: Pull complete
b2724536dfda: Pull complete
5b45cfb2ea0c: Pull complete
20b115ea6339: Pull complete
8e73efb50b28: Pull complete
4f4fb700ef54: Pull complete
Digest: sha256:99c3047d44991af08f2a34df16e69ae2654bee43444b2e9857aa6b5864c4f602
Status: Downloaded newer image for portainer/portainer-ce:latest
4a057e1506970fbc2c866c45b3629b9b86df9a2c194e4e81cf15aec21b16d1aa
Ensure the necessary ports are open to allow traffic:
sudo firewall-cmd --permanent --add-port=8000/tcp --add-port/443/tcp --add-port=9443/tcp && sudo firewall-cmd --reload
Step 3: Access Portainer Web UI |
Once the container is running, access the Portainer web interface by opening your browser and navigating to (https://<server-ip>:9443):
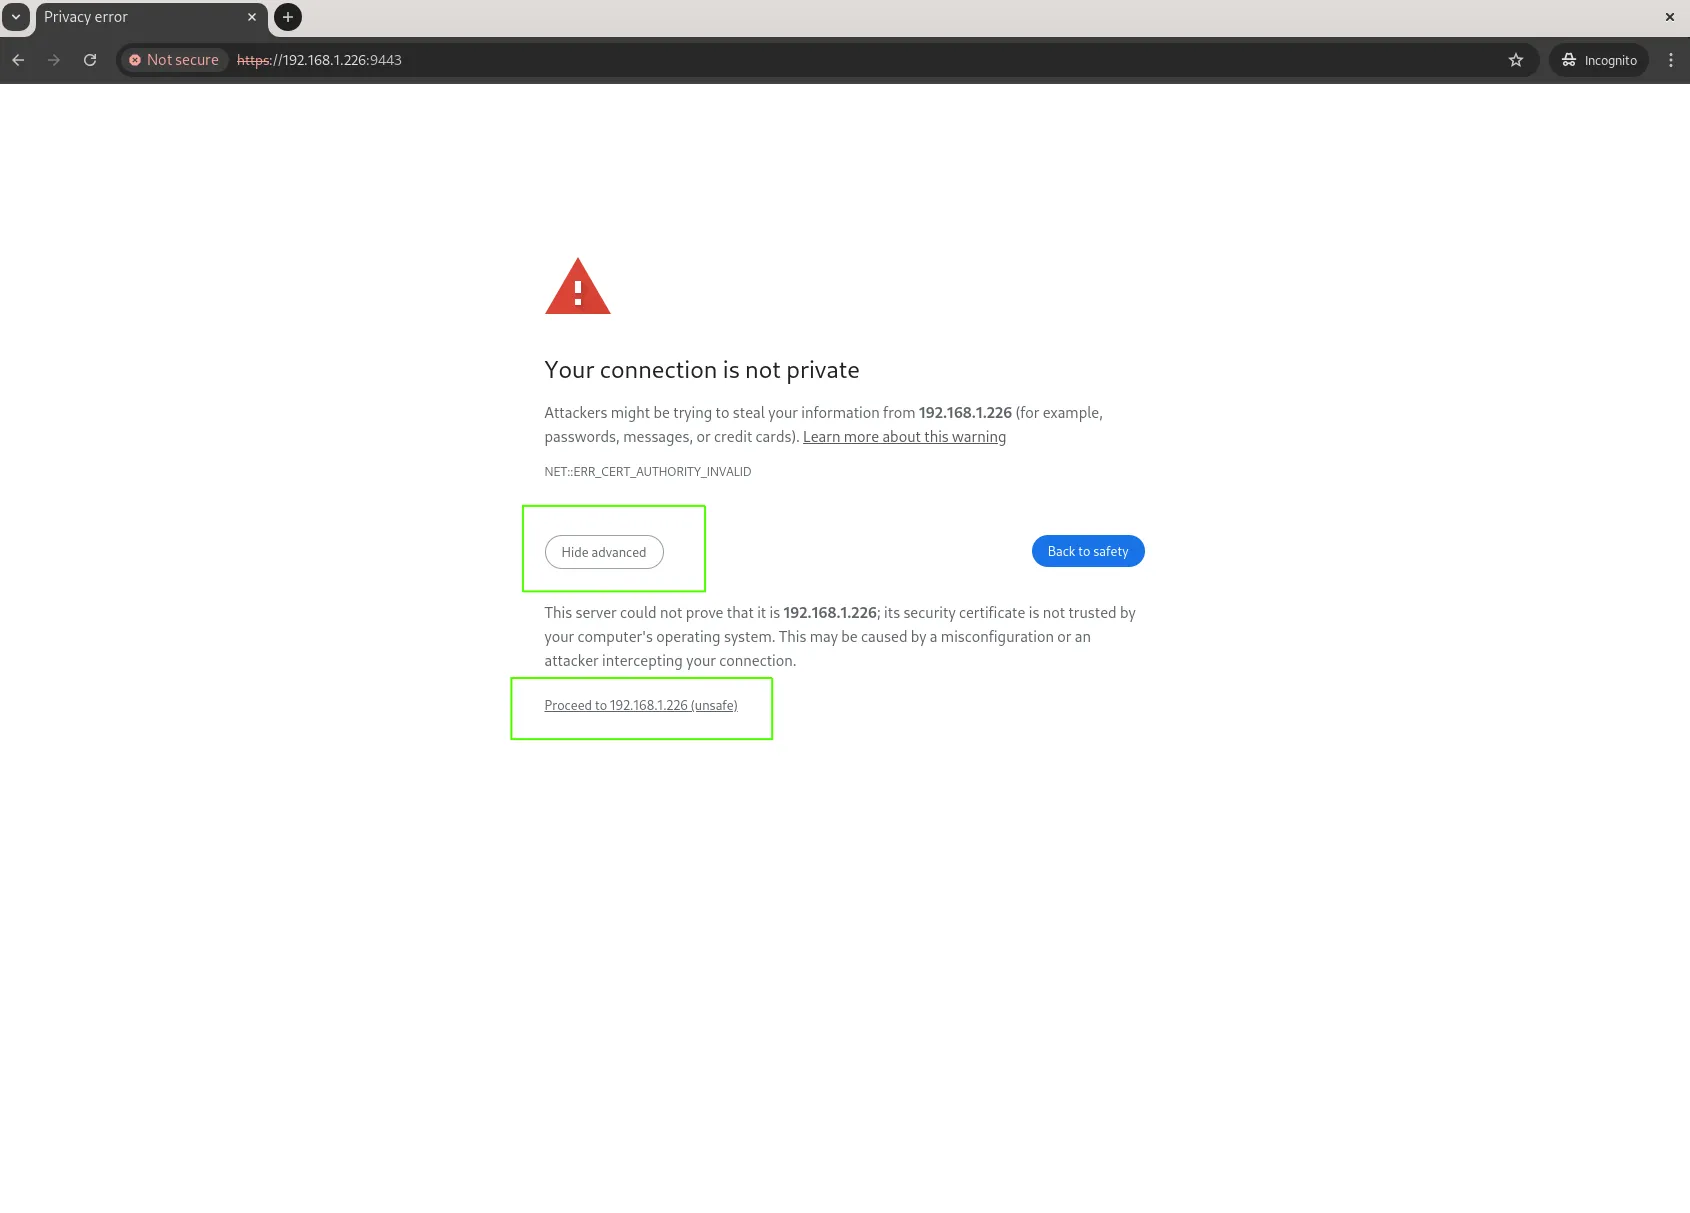
Photo by admingeek from Infotechys
Click on the Advanced button and the “Proceed to <server-ip>(unsafe)” link to continue. Create an admin user by setting a secure password of at least 12 characters to log in, then select the local Docker environment to manage containers.
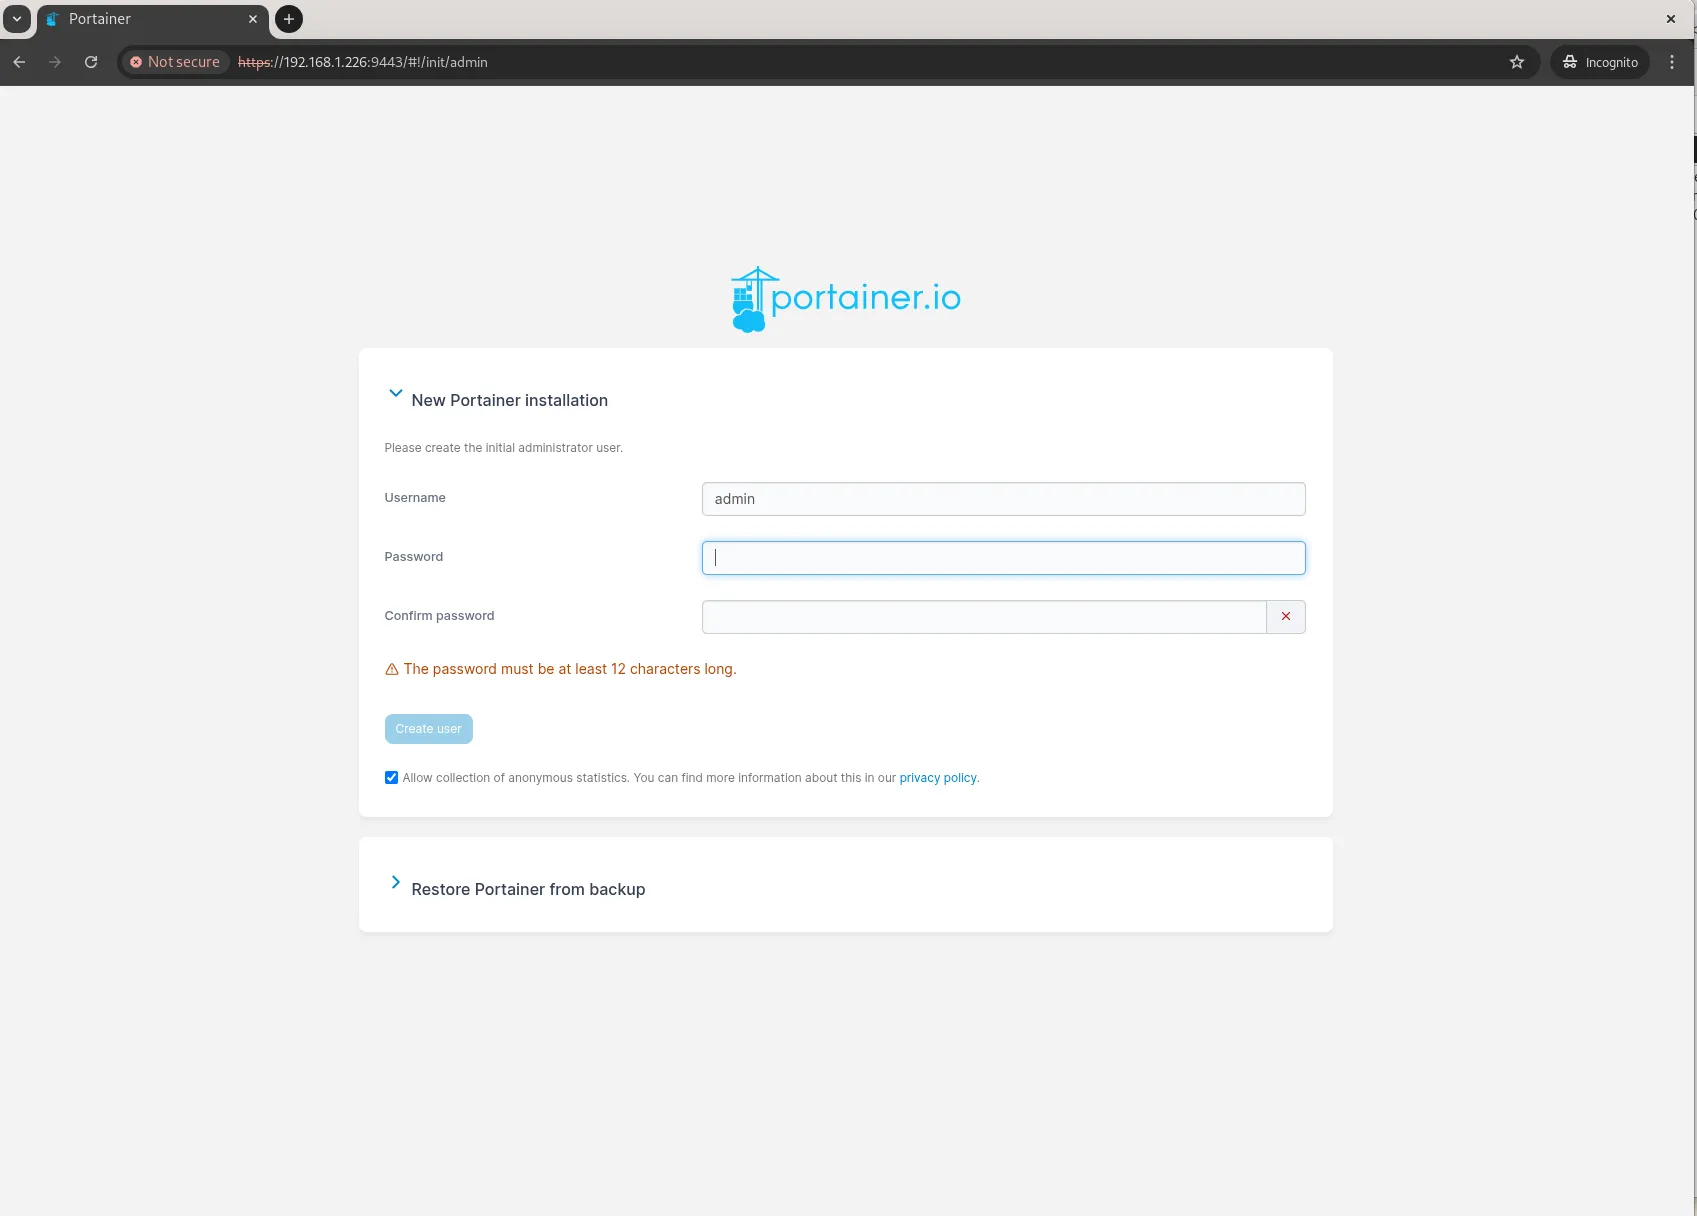
Photo by admingeek from Infotechys
|
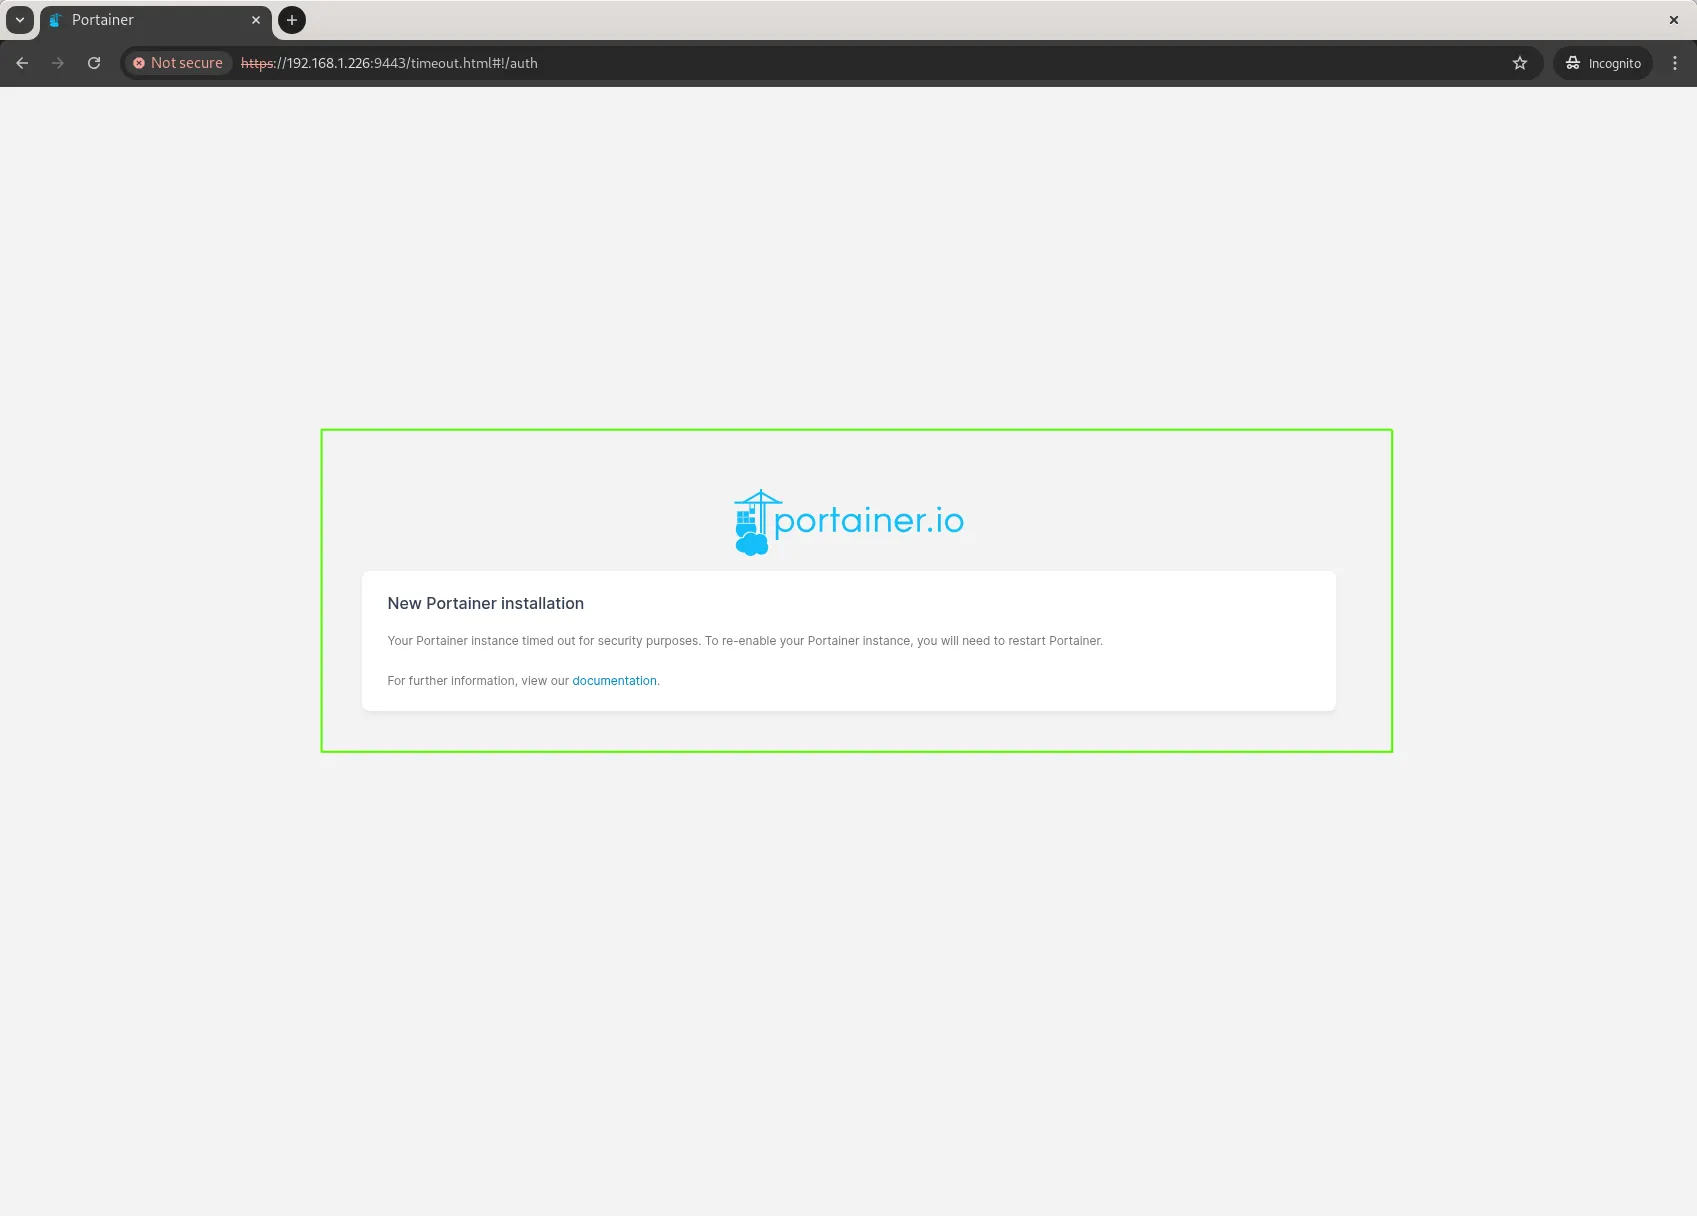
Photo by admingeek from Infotechys
Restart portainer container:
sudo docker restart portainer
Adding Remote Docker Environments |
If you have multiple Docker hosts, you can add them to Portainer by navigating to “Environments” and clicking the “Add environment” button.
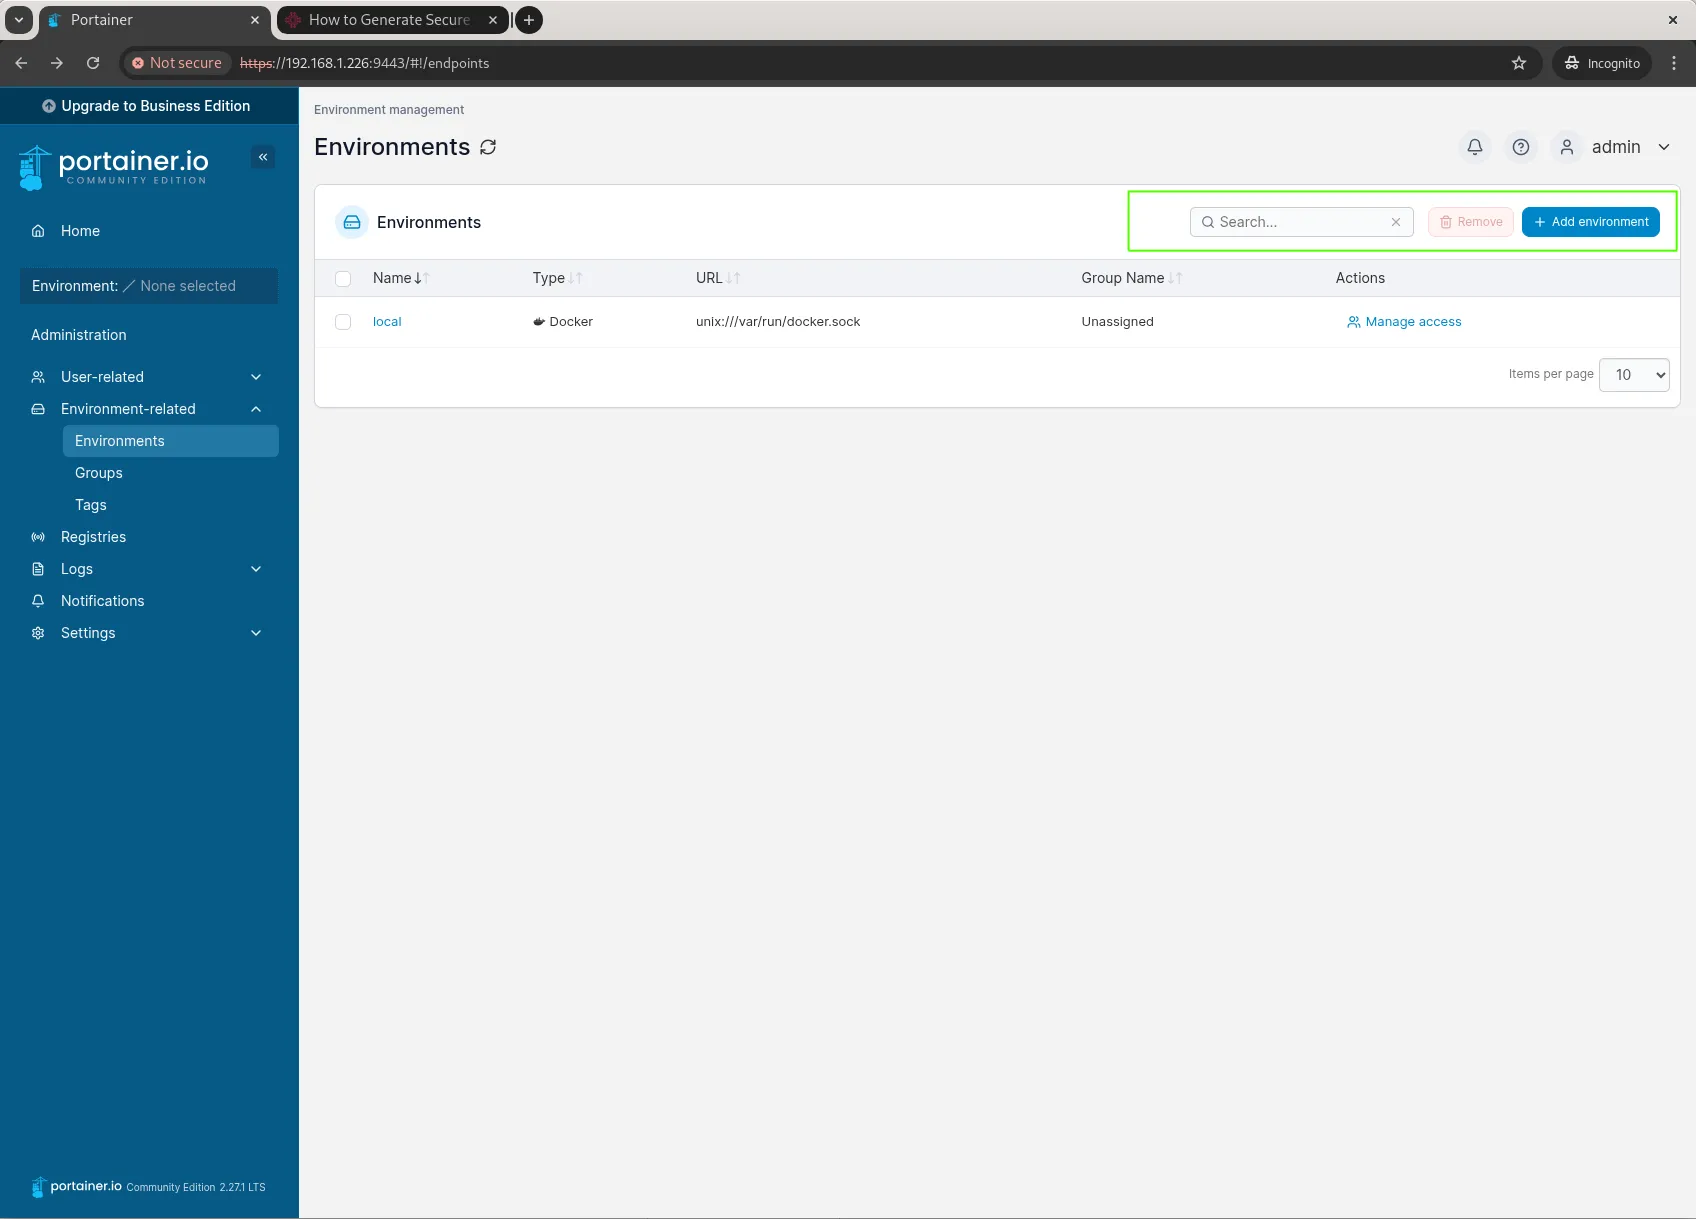
Photo by admingeek from Infotechys
Managing Containers, Images, and Networks |
Portainer allows you to create, stop, restart, and remove containers with ease. You can also manage Docker images and networks through the interface.
Enabling TLS Security for Portainer |
To secure Portainer, you should enable TLS:
Generate SSL Certificates: |
sudo openssl req -x509 -newkey rsa:4096 -keyout portainer.key -out portainer.crt -days 365 -nodes
Move the certificates to a secure location: |
sudo mkdir -p /opt/portainer/certs
sudo mv portainer.key portainer.crt /opt/portainer/certs/
Restart Portainer with TLS enabled: |
					docker run -d \
  --name=portainer \
  --restart=always \
  -p 8000:8000 -p 9443:9443 \
  -v /var/run/docker.sock:/var/run/docker.sock \
  -v portainer_data:/data \
  -v /opt/portainer/certs:/certs \
  -e CERT_PATH=/certs/portainer.crt \
  -e KEY_PATH=/certs/portainer.key \
  portainer/portainer-ce:latest
Setting Up Role-Based Access Control |
For multi-user environments, Portainer allows you to define user roles:
|
|
|
Navigate to Users & Teams in the Portainer dashboard to assign roles.
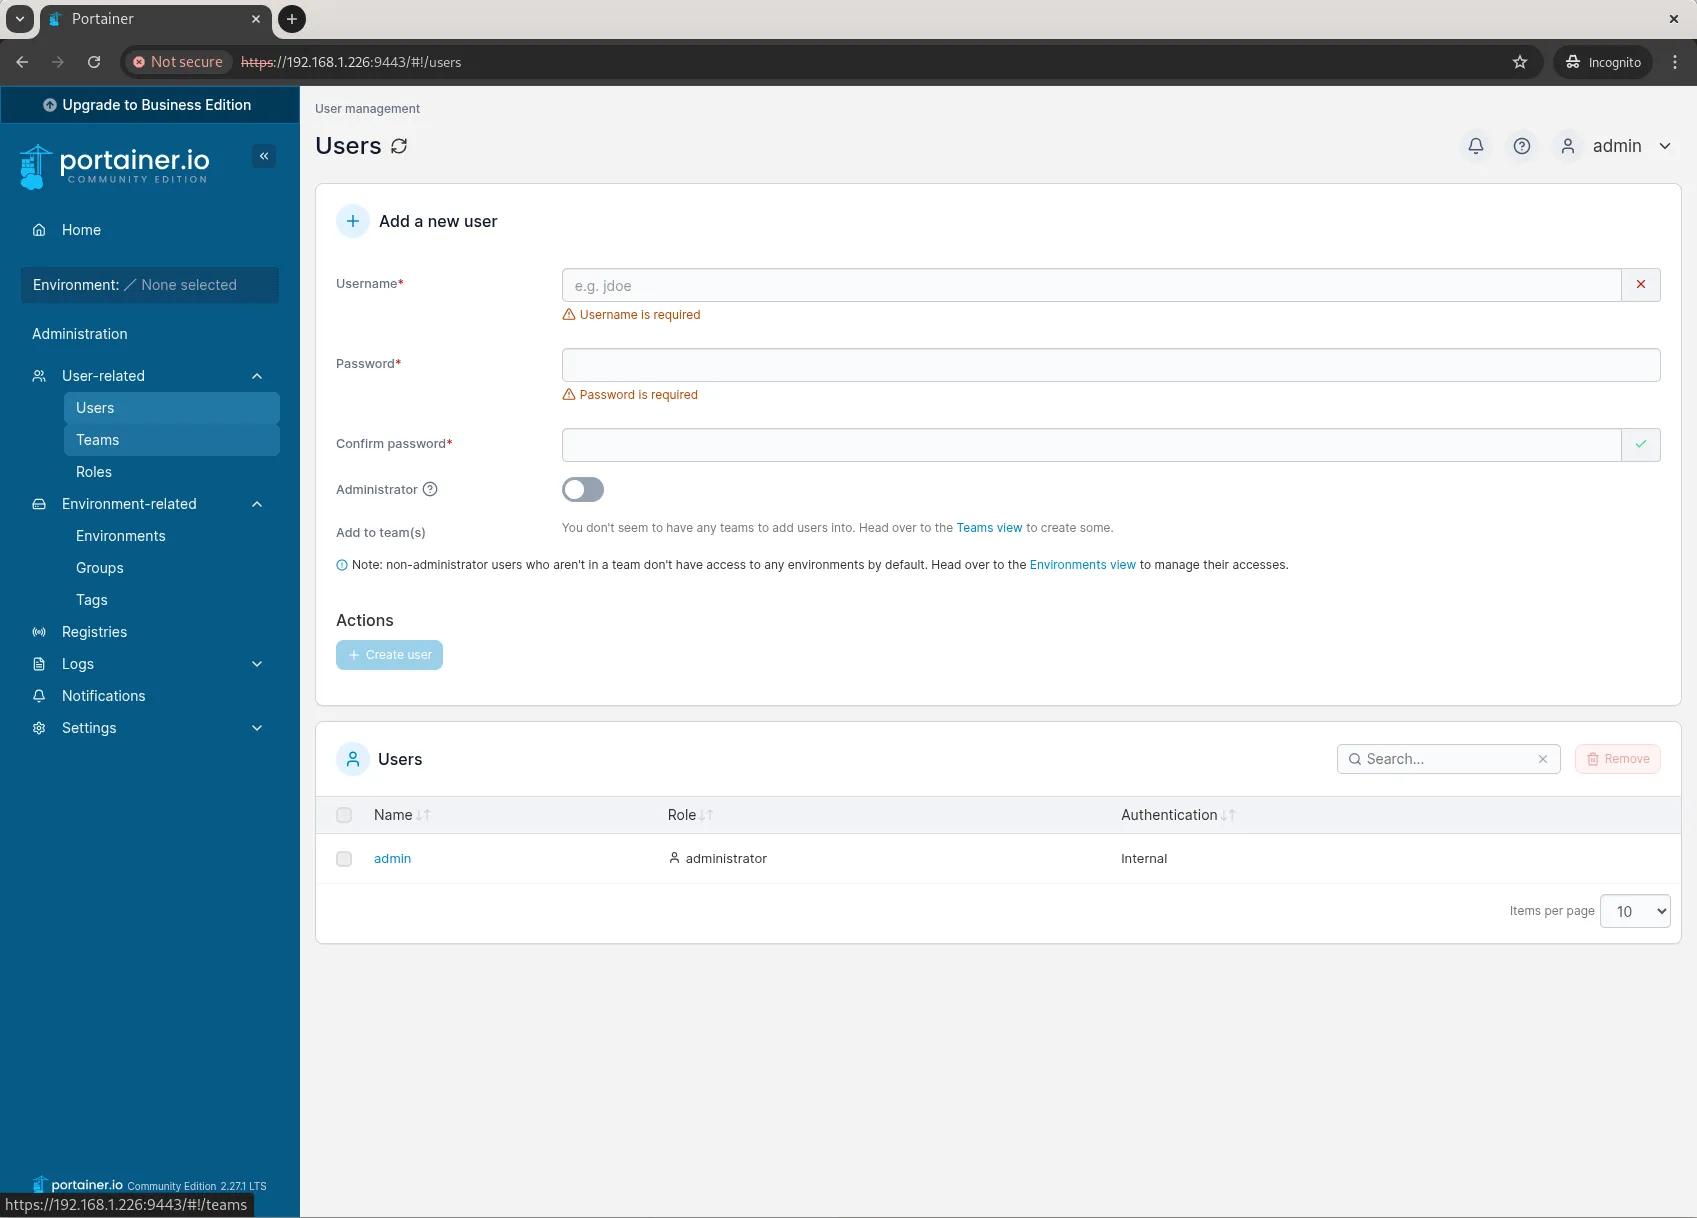
Photo by admingeek from Infotechys
For enhanced security, consider the following:
|
|
|
|
| Issue | Solution |
| Portainer UI not accessible | Ensure ports 8000 and 9443 are open in the firewall using sudo firewall-cmd --add-port=9443/tcp --permanent |
| Unable to connect to remote Docker host | Verify that the remote Docker API is enabled and accessible |
| Permission denied when running Docker commands | Ensure your user is part of the Docker group using sudo usermod -aG docker $USER |
Portainer CE provides a powerful, easy-to-use web UI for managing Docker environments on CentOS 9. By following this guide, you now have a fully functional Portainer setup to streamline your container management tasks. Whether you’re deploying applications, monitoring container performance, or managing images and networks, Portainer makes Docker administration more intuitive.
Did you find this article useful? Your feedback is invaluable to us! Please feel free to share this post with those who may benefit and–your thoughts in the comments section below.

In this comprehensive guide, we’ll walk you through the process of creating and deploying a LAMP stack on Minikube, a tool that enables you to
Learn how to install a Kubernetes cluster on RHEL 9 | CentOS 9. Explore step-by-step instructions, best practices, and considerations for smooth deployment and operation.
In this guide, we’ll explore how to deploy a web server using Podman, a powerful containerization tool that provides a lightweight and secure environment for
