Linux
Discover the key differences between CentOS 8 and CentOS Stream 8, including their release models, stability, and best use cases, to help you choose the

Discover the key differences between CentOS 8 and CentOS Stream 8, including their release models, stability, and best use cases, to help you choose the
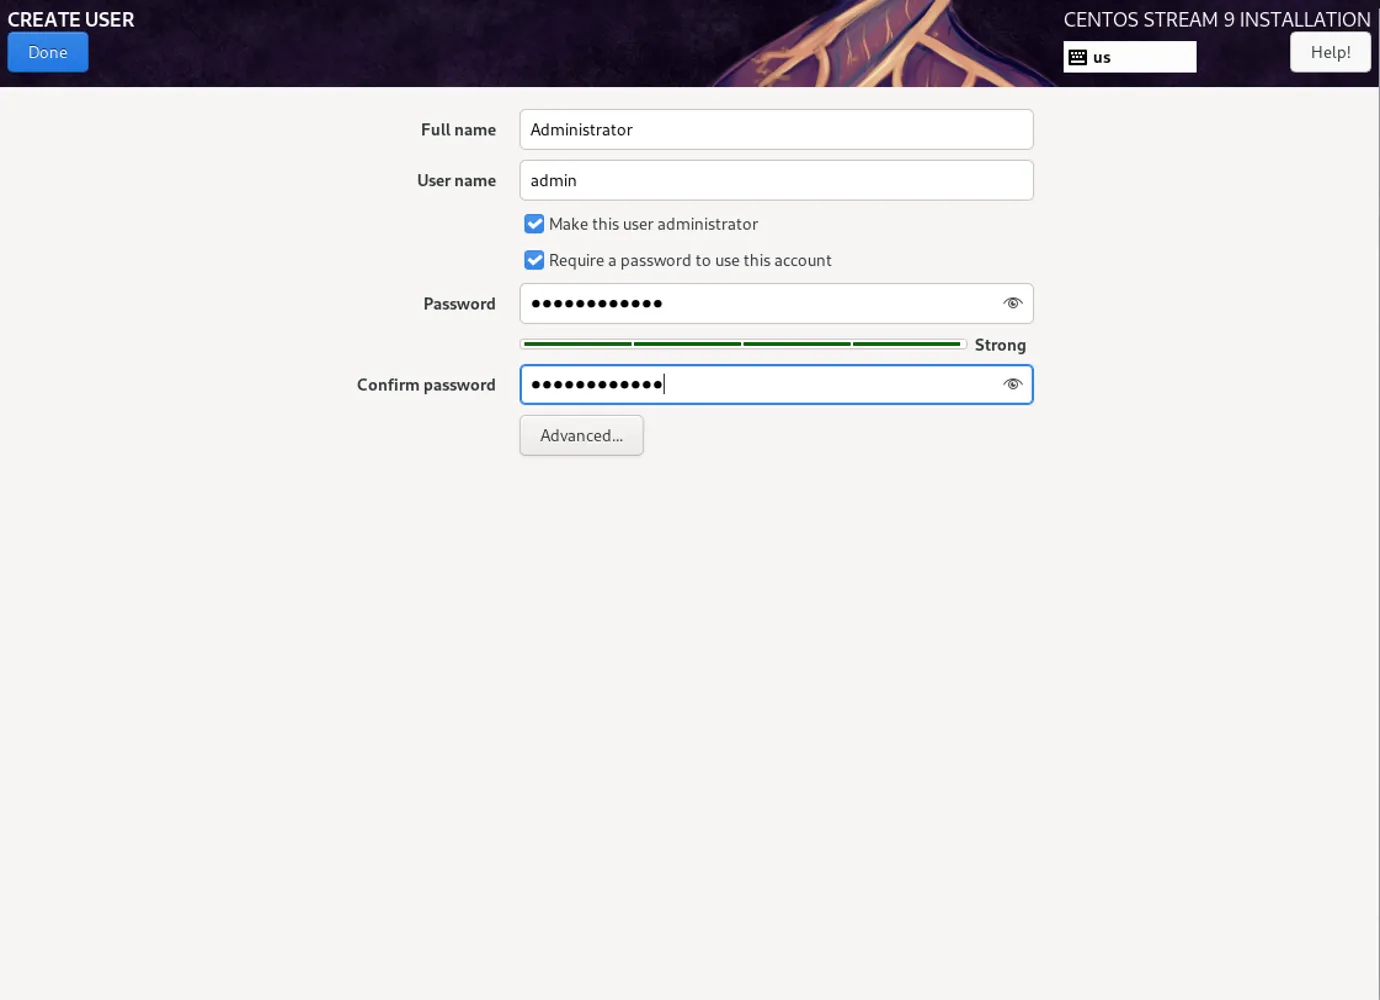
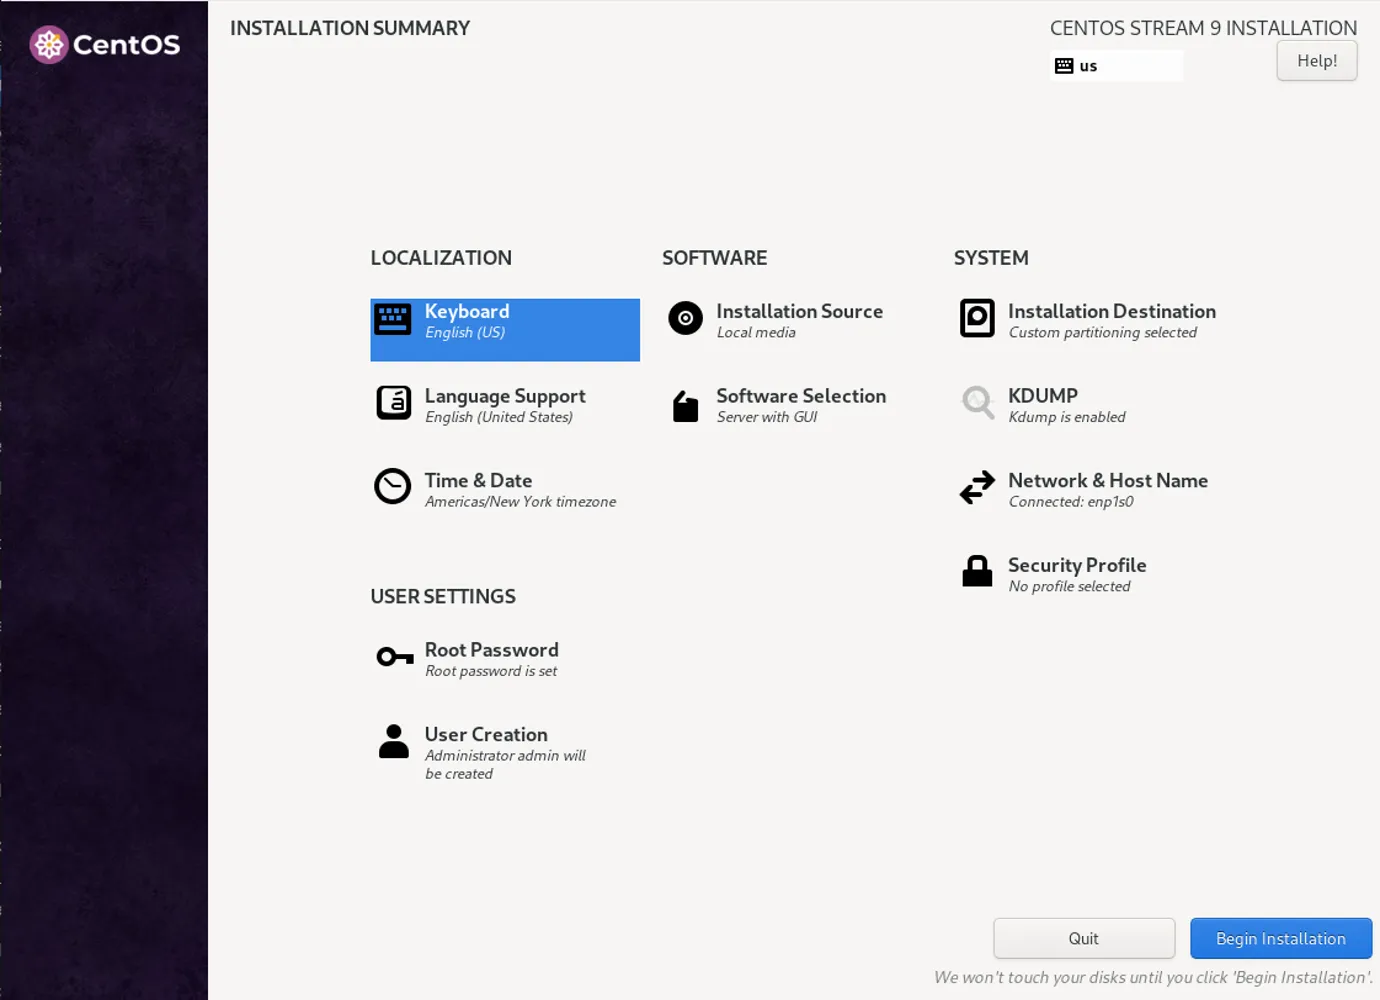
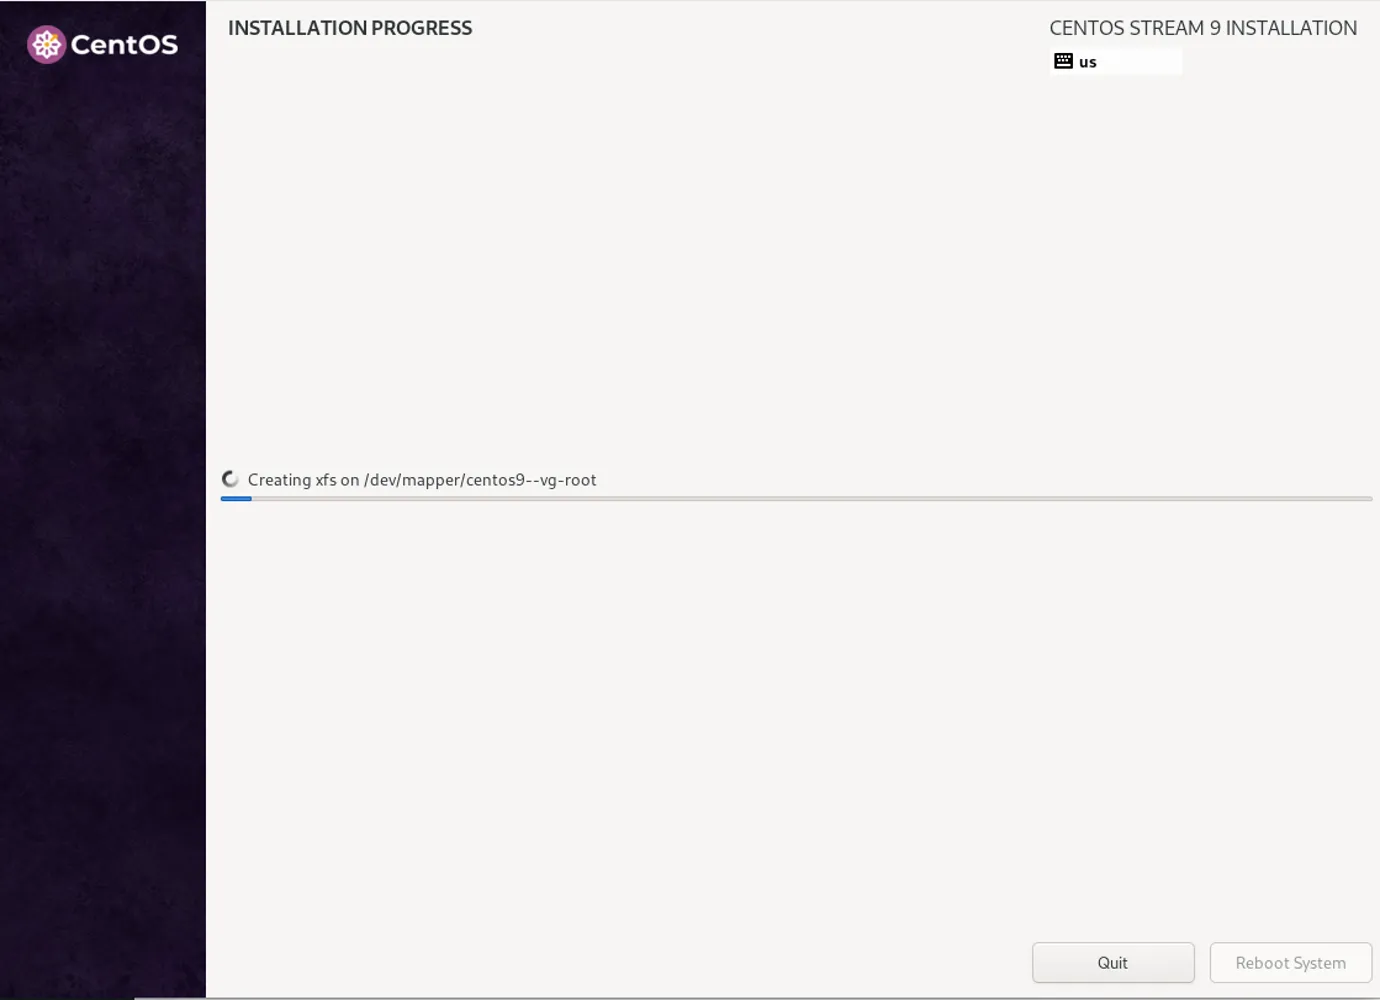
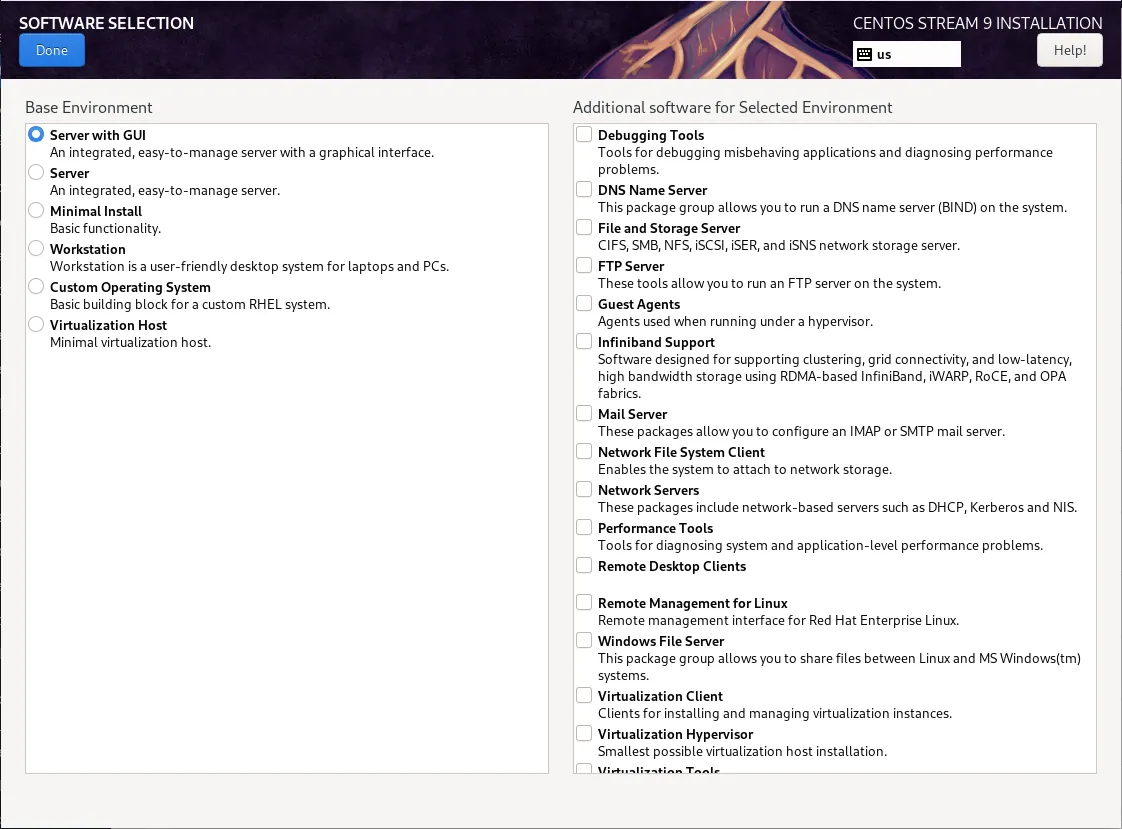
In this article, we will guide you on how to install R and RStudio on RHEL9 or CentOS9. As well as, provide you with best
Learn how to install MariaDB on RHEL 9 and CentOS 9 with this comprehensive step-by-step guide. Discover essential commands, configurations, and tips for setting up