This guide aims to equip you with the knowledge needed to install ELK stack on RHEL9 | CentOS9 effortlessly. By following these steps, you can

Learn how to set up a Syslog server on RHEL 9 and CentOS 9. Follow this step-by-step guide to collect, store, and manage log data from multiple devices in your network.
Setting up a Syslog server on RHEL 9 and CentOS 9 is a critical step for system administrators and security professionals who need to collect, store, and manage log data from various devices and servers in their network. By centralizing log data, you can enhance monitoring, troubleshoot issues faster, and improve security compliance. This guide will walk you through the process of setting up a Syslog server on both RHEL 9 and CentOS 9, two of the most widely used Linux distributions in enterprise environments.
A Syslog server is a centralized logging system that collects and stores log messages from various devices, applications, and servers. Syslog servers are used for troubleshooting, security auditing, and monitoring the health of systems in real time.
Syslog messages contain critical information, including system events, application logs, user activities, and security alerts. By centralizing this information, system administrators can analyze and respond to issues more efficiently.
There are several reasons why you should set up a Syslog server:
|
|
|
|
Before you begin setting up your Syslog server, ensure that you have the following:
|
|
Syslog-ng is a modern, flexible, and powerful Syslog server for Linux systems. It supports a variety of log formats and provides robust filtering and routing features. On RHEL 9 and CentOS 9, Syslog-ng is available through the default package repositories.
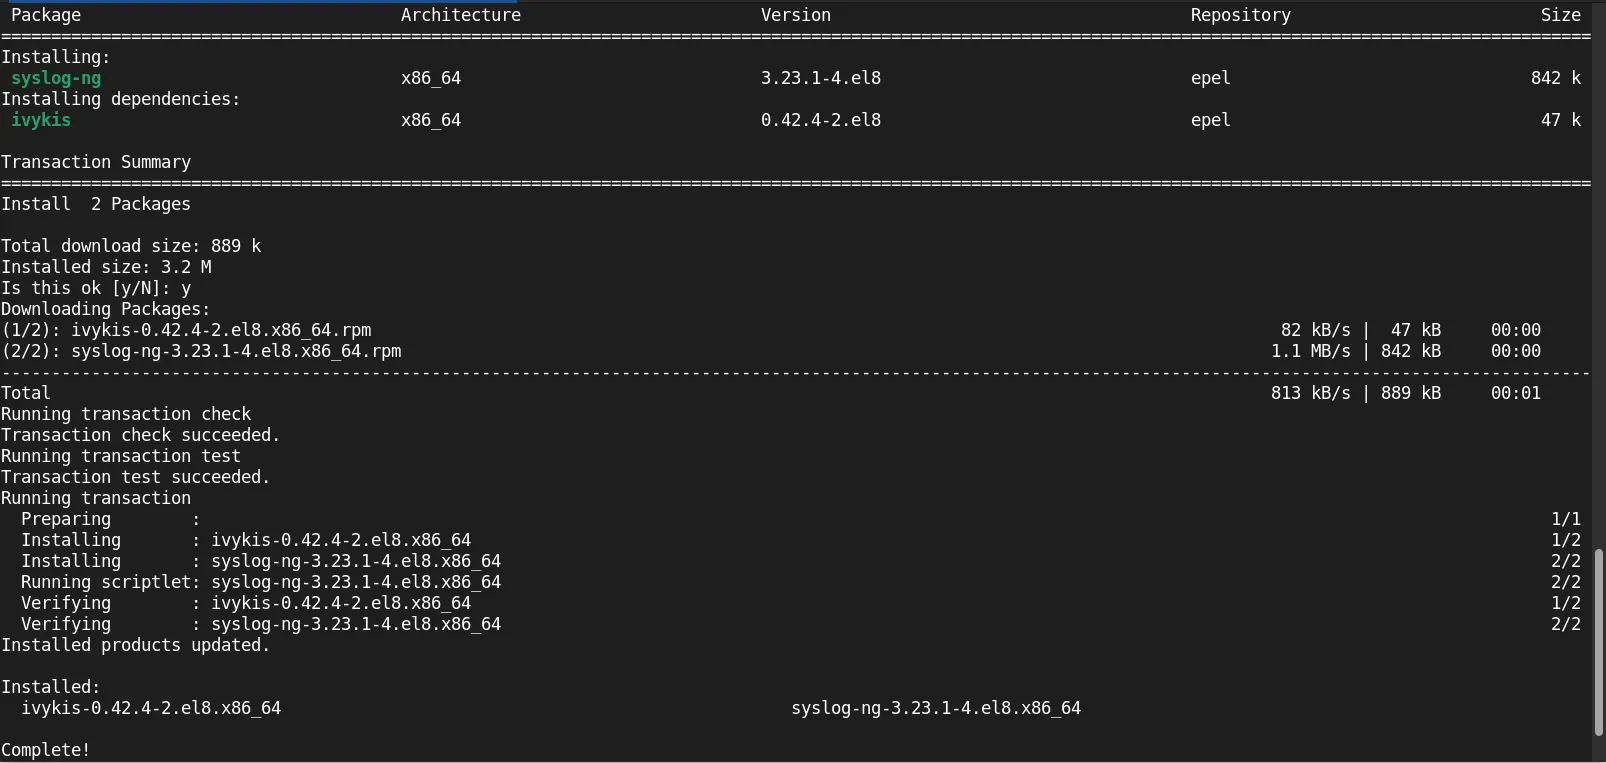
🔹Install the syslog-ng package |
sudo dnf install syslog-ng

Photo by admingeek from Infotechys
🛑 If you’re unable to install |
🔹Enable and start the Syslog-ng service |
sudo systemctl enable --now syslog-ng
🔹Verify Syslog-ng is running |
sudo systemctl status syslog-ng
					● syslog-ng.service - System Logger Daemon
   Loaded: loaded (/usr/lib/systemd/system/syslog-ng.service; enabled; vendor preset: enabled)
   Active: active (running) since Sun 2025-08-24 14:35:00 EDT; 1s ago
     Docs: man:syslog-ng(8)
 Main PID: 930528 (syslog-ng)
    Tasks: 3 (limit: 24856)
   Memory: 4.7M
   CGroup: /system.slice/syslog-ng.service
           └─930528 /usr/sbin/syslog-ng -F -p /var/run/syslogd.pid

Aug 24 14:35:00 localhost systemd[1]: Starting System Logger Daemon...
Now that Syslog-ng is installed and running, you need to configure it to accept log data from other systems.
🔹Edit the Syslog-ng configuration file |
Open the configuration file for editing:
sudo vim /etc/syslog-ng/syslog-ng.conf
🔹Define the source for incoming logs |
In the configuration file, you’ll need to specify the sources that Syslog-ng should listen to. For example, to listen for UDP syslog messages on port 514, add the following configuration under the source section:
					source s_network {
    udp(port(514));
};
You can also configure Syslog-ng to accept logs via TCP or UNIX sockets. For TCP, you would use:
					source s_network {
    tcp(port(514));
};
💡Remember to open port 514—using either TCP or UDP, depending on your configuration—with the |
sudo firewall-cmd --permanent --add-port=514/tcp
sudo firewall-cmd --permanent --add-port=514/udp
sudo firewall-cmd --reload
🔹Define the destination for storing logs |
You can configure Syslog-ng to store incoming logs in various formats, such as plain text or structured formats like JSON. A basic configuration to log messages to /var/log/syslog.log might look like this:
					destination d_file {
    file("/var/log/syslog.log");
};
🔹Link the source and destination |
Link the source to the destination in the configuration file:
					log {
    source(s_network);
    destination(d_file);
};
🔹Restart Syslog-ng to apply changes |
sudo systemctl restart syslog-ng
🔹Verify the configuration |
Check if Syslog-ng is receiving logs by examining the log file:
tail -f /var/log/syslog.log
If you have another device or server sending logs, you should see log entries appearing in real-time.
After configuring your Syslog server to receive logs, you need to configure remote devices or servers to send their logs to the Syslog server. On the client machine (e.g., another RHEL 9 or CentOS 9 server), configure the rsyslog service to forward logs to the Syslog server.
🔹Edit the rsyslog configuration |
Open the rsyslog configuration file on the client machine:
sudo vim /etc/rsyslog.conf
🔹Add the Syslog server’s IP address |
In the configuration file, add the following line to send logs to the Syslog server (replace 192.168.1.100 with the actual IP address of your Syslog server):
*.* @192.168.1.100:514
The @ symbol indicates that the logs will be sent over UDP. Use @@ for TCP.
🔹Restart the rsyslog service |
sudo systemctl restart rsyslog
🔹Verify log forwarding |
Check the Syslog server to ensure it is receiving logs from the client machine. You can use the following command to view the incoming logs:
sudo tail -f /var/log/syslog.log
|
|
					filter f_warning {
    level(info..emerg);
};
|
Setting up a Syslog server on RHEL 9 and CentOS 9 is an essential task for centralizing log management in your infrastructure. By using Syslog-ng, you can collect, filter, and store logs from remote devices, making it easier to troubleshoot issues, monitor system health, and maintain security compliance.
With proper configuration and regular maintenance, a Syslog server can significantly improve your IT operations and security posture.
Did you find this article helpful? Your feedback is invaluable to us! Feel free to share this post with those who may benefit, and let us know your thoughts in the comments section below.

This guide aims to equip you with the knowledge needed to install ELK stack on RHEL9 | CentOS9 effortlessly. By following these steps, you can

Learn how to configure Minikube with Podman on CentOS Stream 10. This guide walks you through installation, configuration, and testing, enabling you to run Kubernetes

Understanding dnf history for tracking, auditing, and undoing package installs and removals on Fedora/RHEL. CLI examples, tables, best practices included. Table of Contents 🔈Introduction In the
