In this article, we will review how to change DNS settings using nmcli. In RHEL7 and CentOS7, modifying the ifcfg scripts or /etc/resolv.conf files directly

In the article, we’ll delve into how to manage network connections using the NMCLI utility, a powerful command-line tool for configuring and controlling NetworkManager, which simplifies the management of network connections on Linux systems.
Are you tired of grappling with complicated network configurations on your Linux system? Enter NMCLI – the ultimate solution for managing network connections efficiently from the command line. In this blog post, we’ll dive into the world of NMCLI, unraveling its capabilities and empowering you to take control of your network settings like a pro.
NMCLI, short for NetworkManager Command-Line Interface, is a powerful tool that allows users to interact with NetworkManager, the default network management daemon on most Linux distributions. With NMCLI, you can configure and monitor various aspects of network connections, including wired, wireless, and even virtual connections, all from the comfort of your terminal.
Before we delve into the intricacies of NMCLI, let’s ensure you have it installed on your system. Most modern Linux distributions come with NetworkManager pre-installed, which includes NMCLI. However, if it’s not available by default, you can install it using your package manager.
Once installed, fire up your terminal and let’s begin exploring the capabilities of NMCLI.
Managing wired connections with NMCLI is a breeze. To list all available wired connections, simply run:
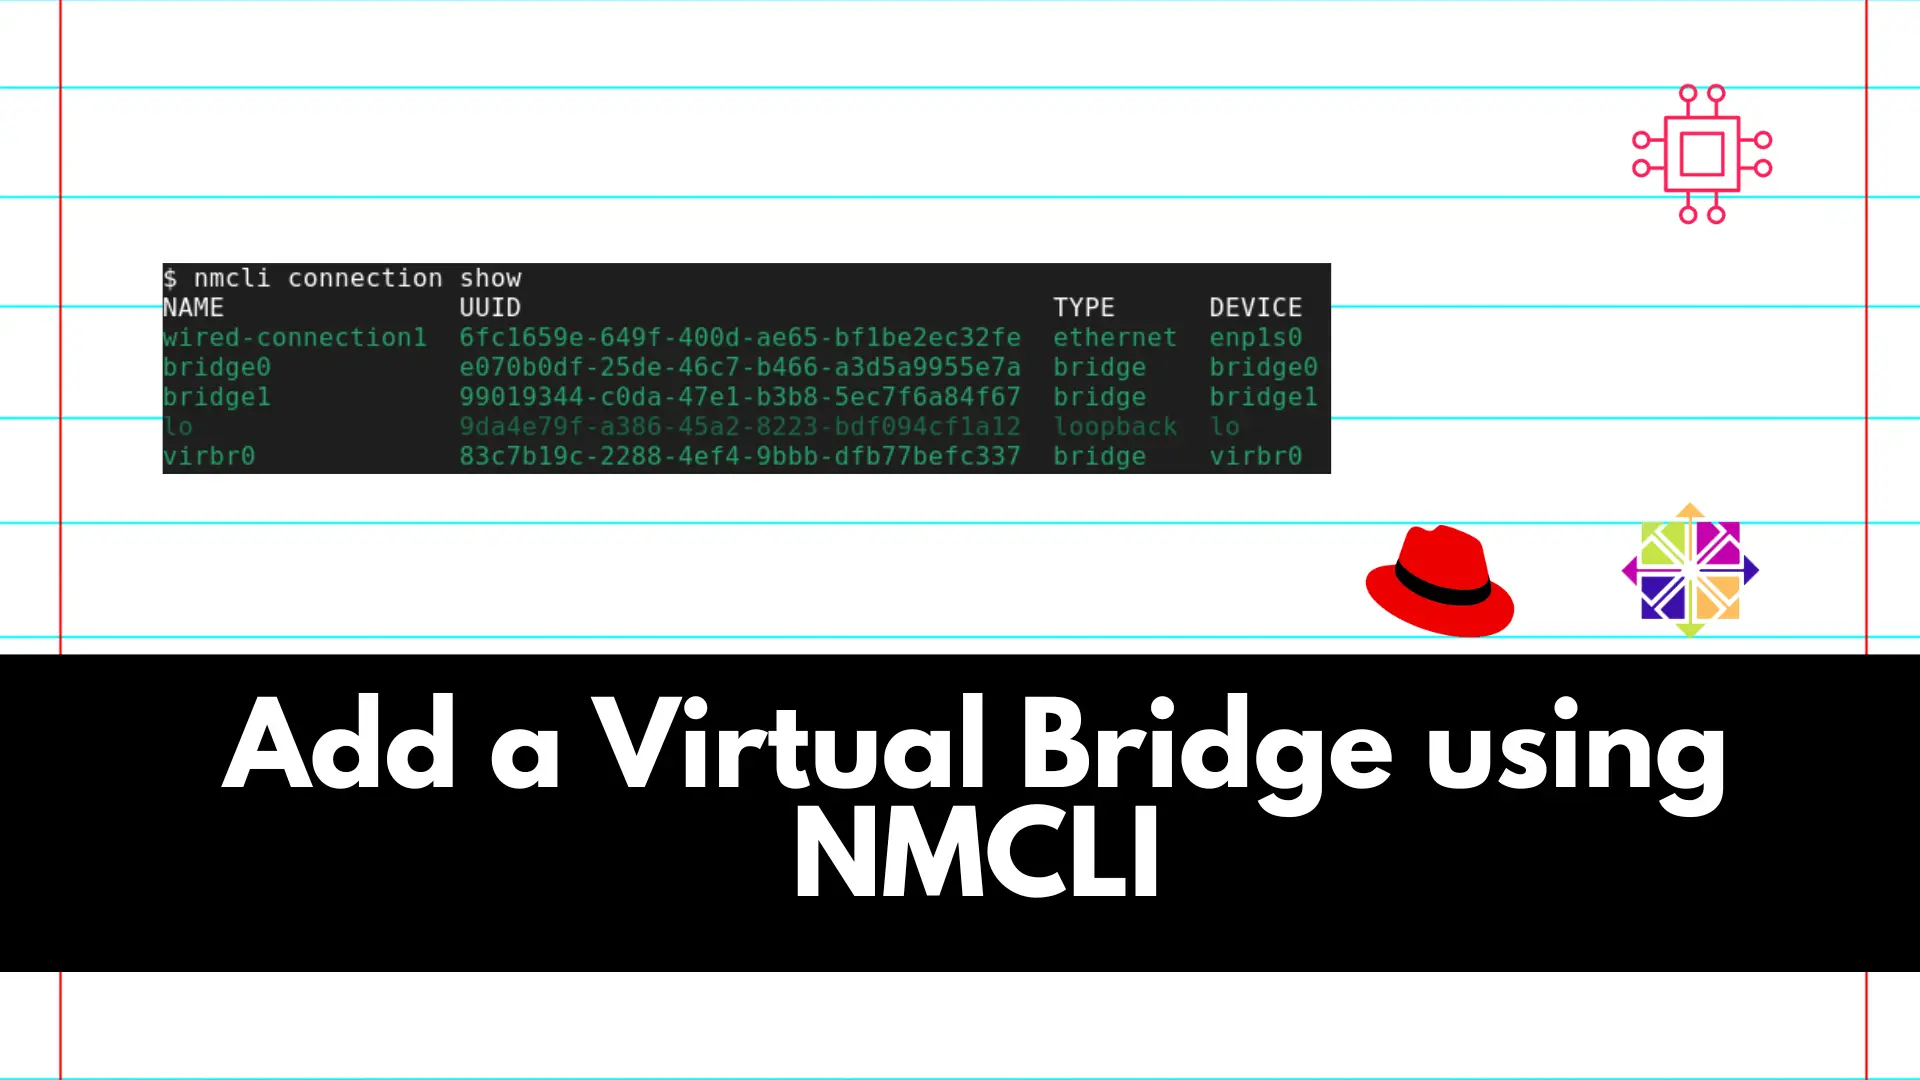
nmcli connection show --active
This command will display a list of active wired connections along with their details, such as the connection name, device, and Universally Unique Identifier (UUID).

Photo by admingeek from Infotechys
To create a new wired connection, use the following syntax:
sudo nmcli connection add type ethernet con-name "MyWiredConnection" ifname eth0
Replace "MyWiredConnection" with your desired connection name and "eth0" with the name of your Ethernet interface.
Editing an existing wired connection is just as straightforward. Let’s say you need to modify the IP address of your current connection. You can achieve this with a command like:
sudo nmcli connection modify "MyWiredConnection" ipv4.addresses 192.168.1.100/24 ipv4.gateway 192.168.1.1
Again, replace "MyWiredConnection" with the name of your connection, and adjust the IP address and gateway as needed to suit your network configuration.
Now, suppose you have an old wired connection that you no longer use and want to remove it from your system. You can do so effortlessly with the following command:
sudo nmcli connection delete "OldWiredConnection"
The"OldWiredConnection" name here is just a placeholder so, replace it with the connection you wish to delete, and NMCLI will take care of the rest.
Additionally, NMCLI allows you to modify various properties of your wired connections. For instance, if you need to adjust the DNS settings for a specific connection, you can do it like this:
sudo nmcli connection modify "MyWiredConnection" ipv4.dns "8.8.8.8,8.8.4.4"
Here, "8.8.8.8,8.8.4.4" represents the DNS servers you want to use. Feel free to customize this to match your preferred DNS configuration.
Sometimes, you might need to bring a connection up or down manually. For instance, if you want to temporarily disable your wired connection, you can use:
sudo nmcli connection down "MyWiredConnection"
And when you’re ready to re-enable it:
sudo nmcli connection up "MyWiredConnection"
Wireless networking is where NMCLI truly shines. With just a few commands, you can scan for available Wi-Fi networks, connect to them, and even set up advanced configurations.
To scan for available Wi-Fi networks, use:
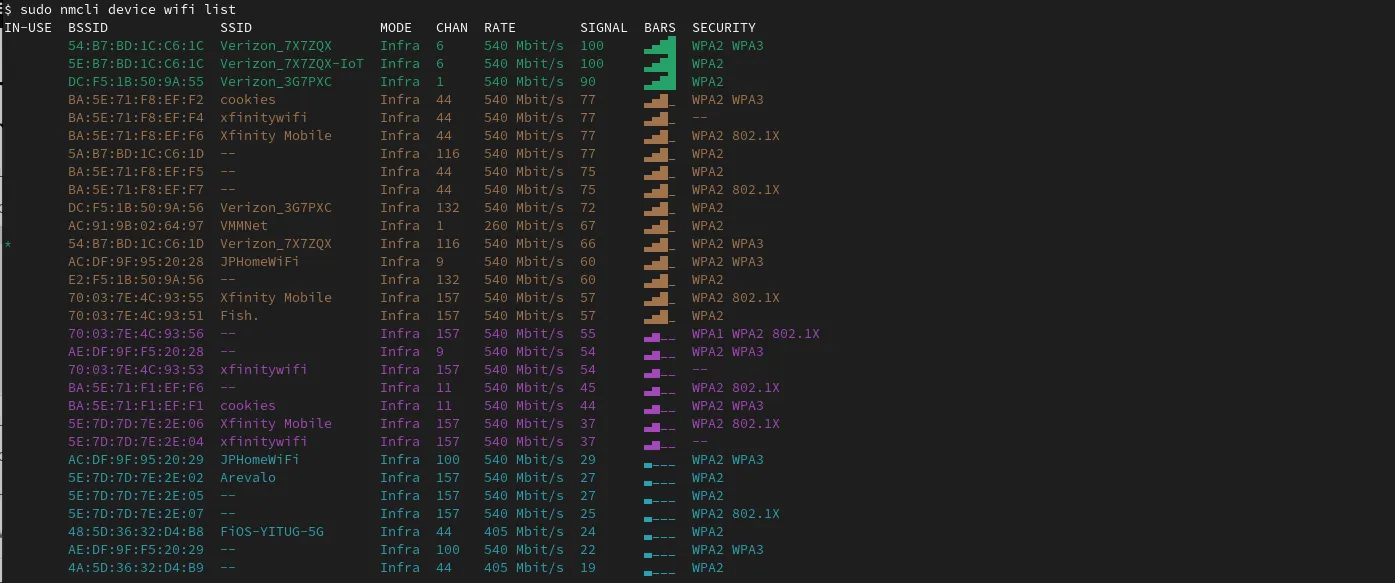
sudo nmcli device wifi list
This command will display a list of nearby Wi-Fi networks along with their signal strengths and encryption types.

Photo by admingeek from Infotechys
To connect to a specific Wi-Fi network, use:
sudo nmcli device wifi connect <SSID> password <password>
Replace <SSID> with the name of the network you want to connect to and <password> with the network password.
NMCLI offers advanced options for fine-tuning network configurations, allowing you to tailor your settings to specific requirements. One such setting you might need to adjust is the Maximum Transmission Unit (MTU), which defines the maximum size of packets that can be transmitted over a network connection.
To modify the MTU of a connection using NMCLI, you can use the following command:
sudo nmcli connection modify "MyConnection" connection.mtu <new_mtu_value>
Replace "MyConnection" with the name of your connection, and <new_mtu_value> with the desired MTU size in bytes. For example, to set the MTU to 1500 bytes, you would use:
$ sudo nmcli connection modify "MyConnection" connection.mtu 1500
Adjust the value according to your network requirements and hardware specifications.
Modifying the MTU can be particularly useful in scenarios where you encounter issues with network performance or compatibility. For instance, some networks or devices may require a specific MTU size for optimal operation, and adjusting it using NMCLI can help resolve connectivity issues or improve network efficiency.
NMCLI is a versatile tool that empowers users to manage network connections with ease directly from the command line. Whether you’re configuring wired connections, connecting to Wi-Fi networks, or fine-tuning advanced settings, NMCLI has you covered.
Did you find this article useful? Your feedback is invaluable to us! Please feel free to share your thoughts in the comments section below.
Related Posts

In this article, we will review how to change DNS settings using nmcli. In RHEL7 and CentOS7, modifying the ifcfg scripts or /etc/resolv.conf files directly

Discover the convenient and efficient way to change IPv4 addresses on your Linux machine using the nmcli utility, and take control of your network settings

Adding a virtual bridge using nmcli involves several steps. A virtual bridge is commonly used in networking to connect multiple virtual or physical network interfaces.
