
HOWTO
When it comes to popular text editors for Linux, text editors are like wallets. Everybody’s got one and more importantly, everyone’s choice of a text


When it comes to popular text editors for Linux, text editors are like wallets. Everybody’s got one and more importantly, everyone’s choice of a text

In this article, we will review in detail how to install sublime text4 on CentOS8 or RHEL8 and also provide examples. Table of Contents Brief

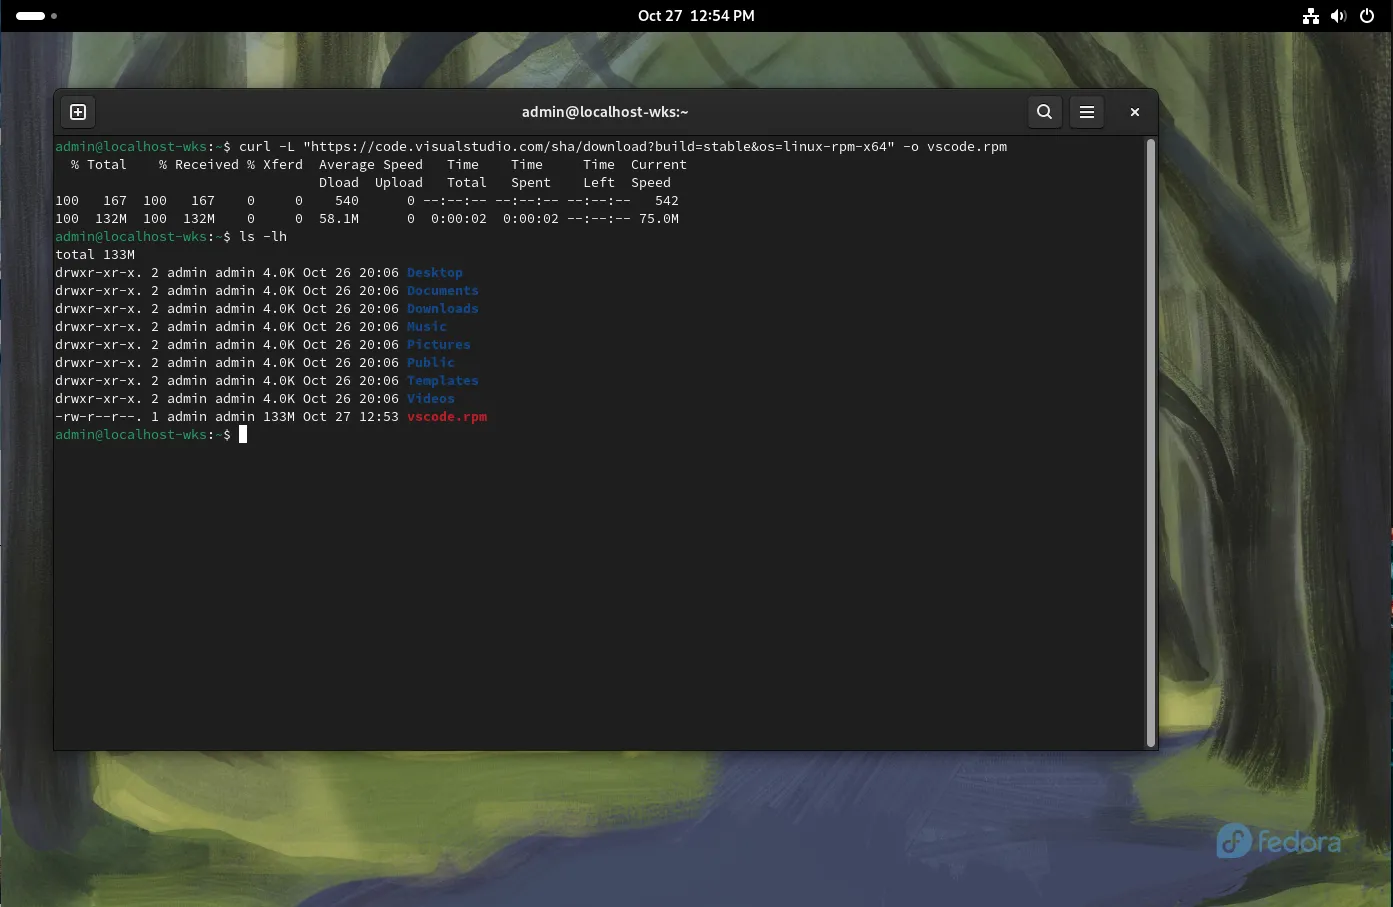
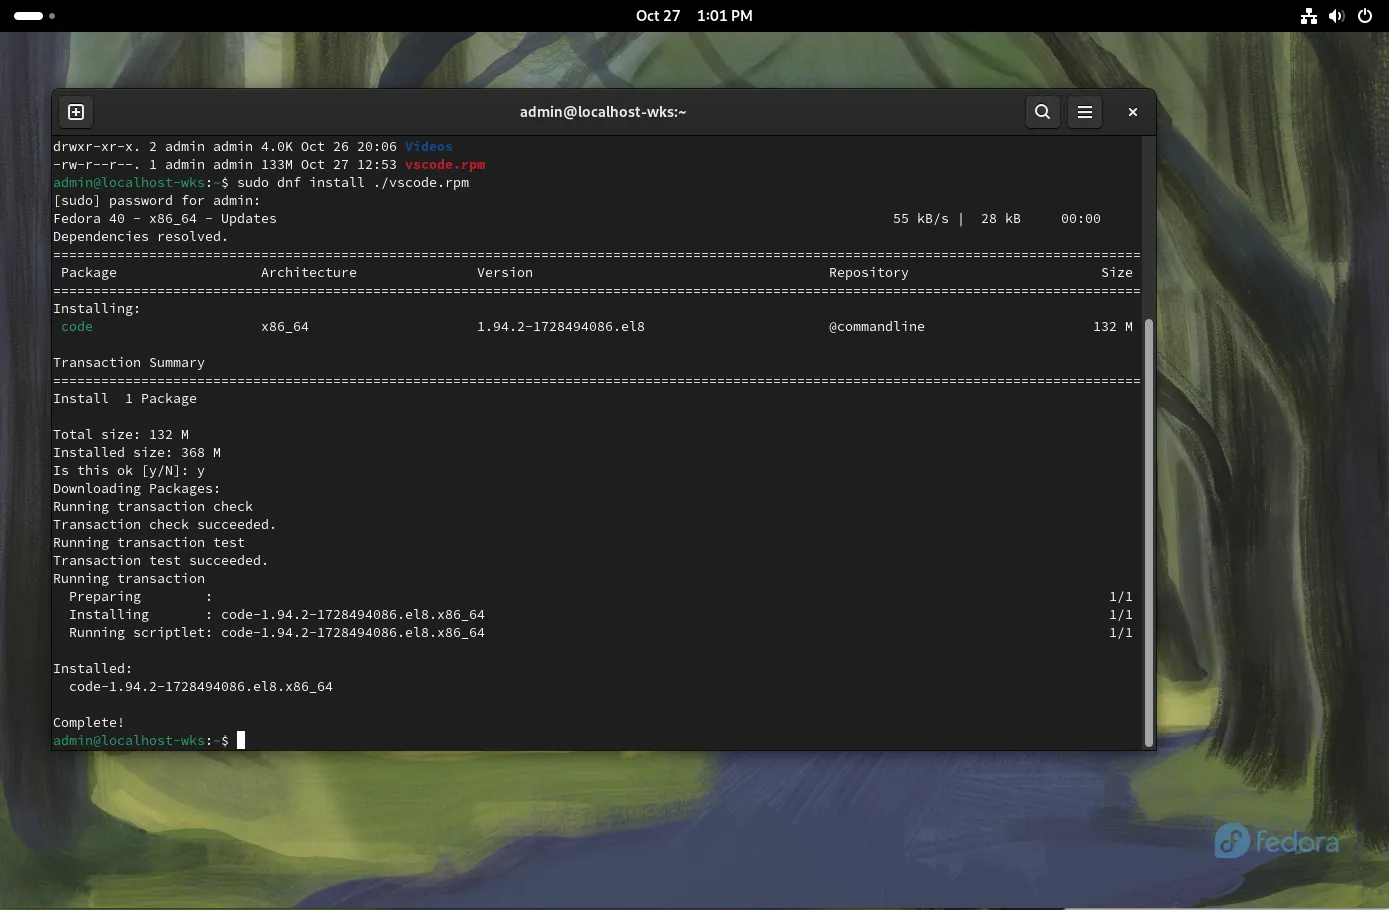
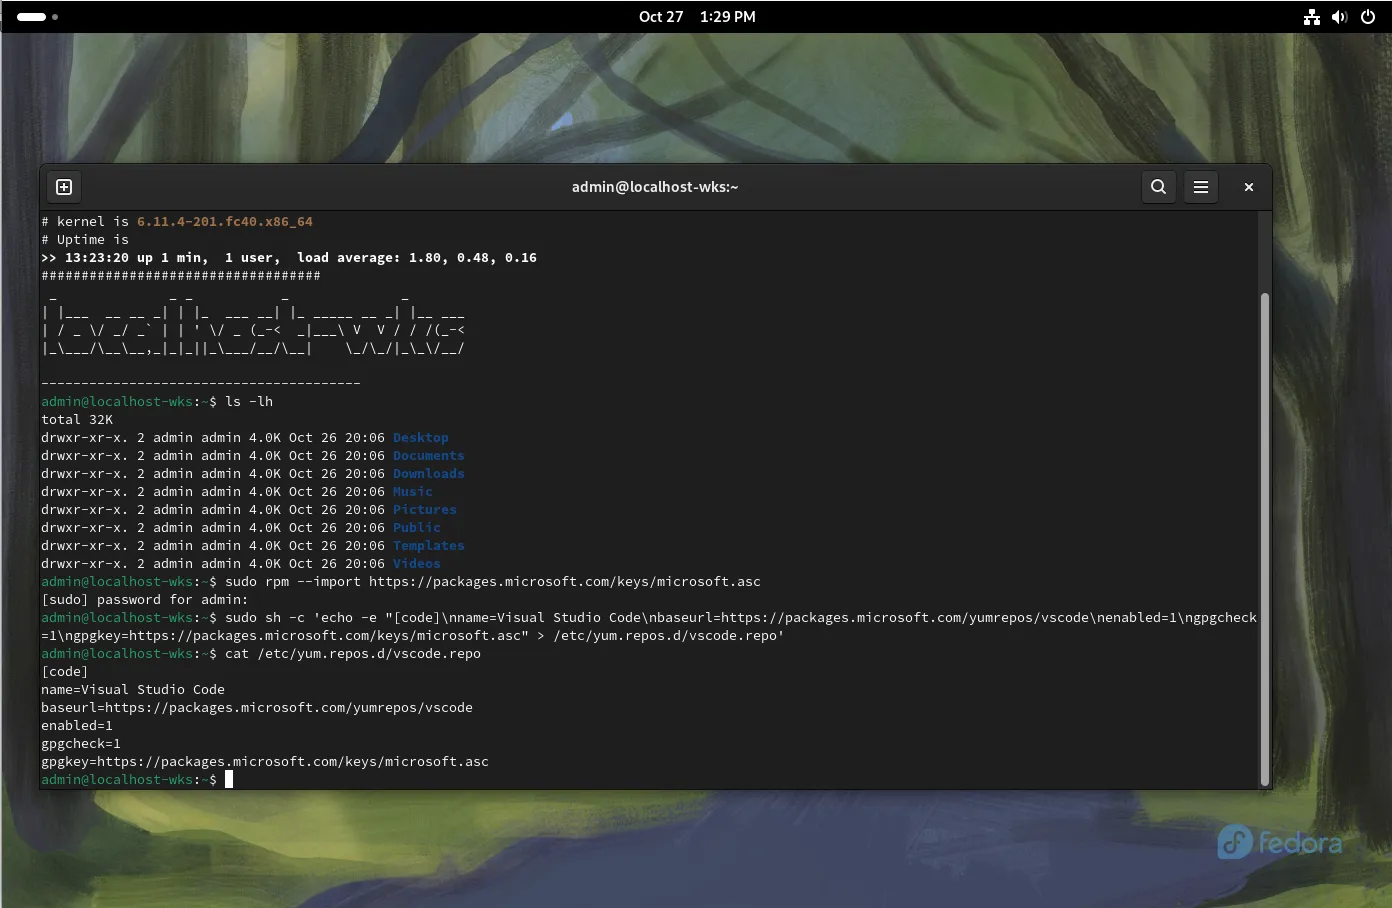
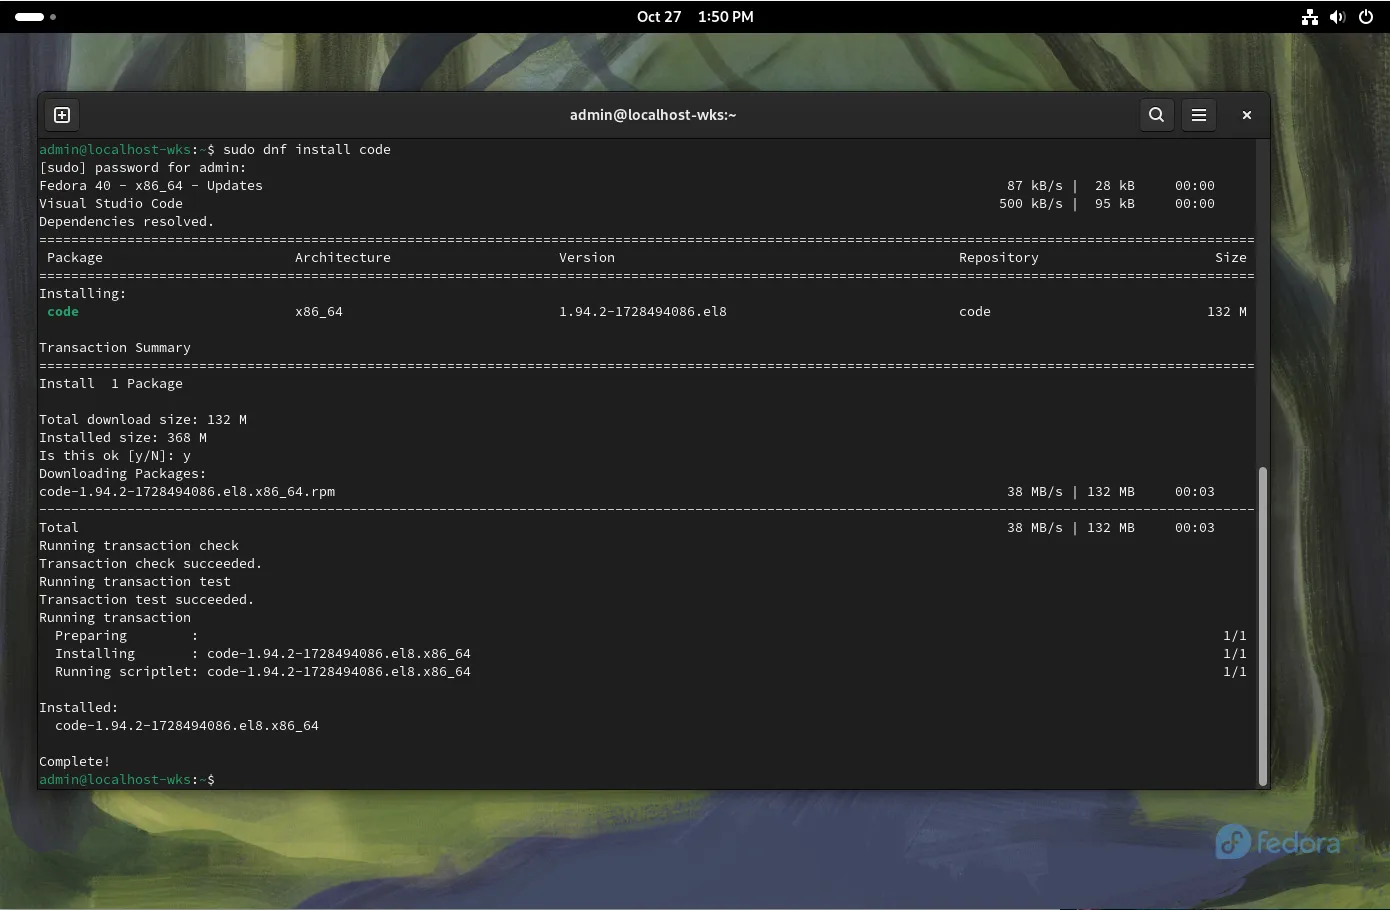
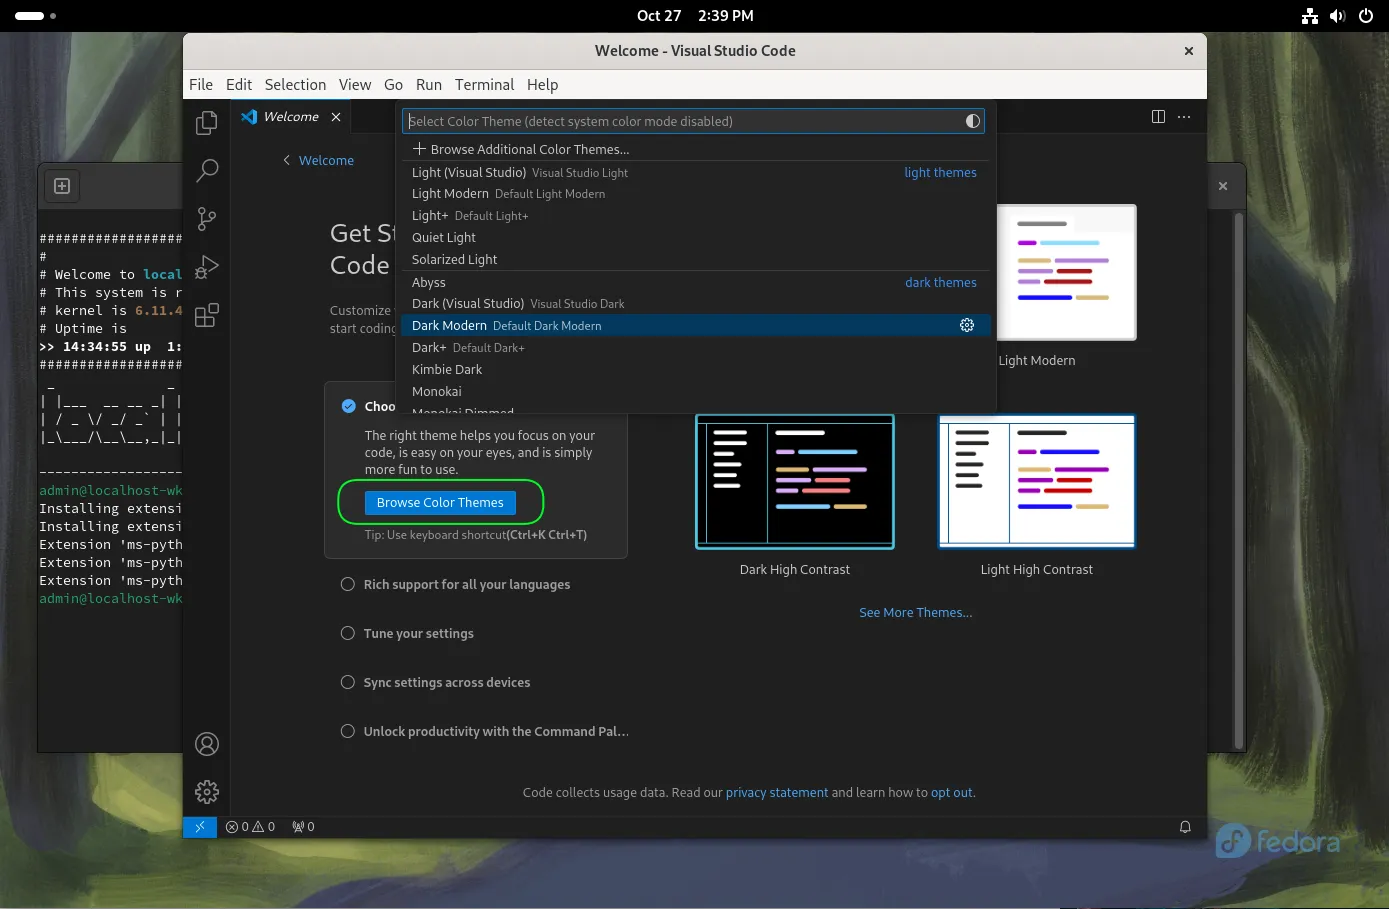
In this article, we review how to install VSCode on CentOS 7, providing step-by-step instructions to ensure a seamless setup of the Visual Studio Code