
Commands
In this article, we review how to install VSCode on CentOS 7, providing step-by-step instructions to ensure a seamless setup of the Visual Studio Code

This article covers how to install Vim on Ubuntu 24.04 with our comprehensive guide. Learn the steps to set up Vim using APT or from source, configure it for optimal performance, and enhance functionality with plugins.
Vim, a powerful and versatile text editor, is favored by developers and system administrators for its efficiency and extensive features. If you’re running Ubuntu 24.04 and want to harness the power of Vim, this guide will walk you through the installation process, ensuring a smooth setup. Follow along to get Vim up and running on your Ubuntu system.
Vim stands for “Vi Improved” and is an enhanced version of the Vi editor, widely known for its efficiency in text manipulation. Vim offers robust functionality through modes, scripting, and plugins, making it an indispensable tool for many users.
Before installing Vim, ensure your Ubuntu 24.04 system is updated. Open your terminal and run:
sudo apt update && sudo apt upgrade
This command updates the package lists and installs available upgrades, ensuring your system is ready for new installations.
There are two primary ways to install Vim on Ubuntu 24.04: using the APT package manager or building from source. Both methods are straightforward; choose the one that suits your needs.
The simplest way to install Vim is through the APT package manager. Follow these steps:
sudo apt install vim
[y] when prompted.This method installs the latest version of Vim available in the Ubuntu repositories. To verify the installation, run:
vim --version
					VIM - Vi IMproved 9.1 (2024 Jan 02, compiled May 03 2024 02:45:42)
Included patches: 1-16
Modified by team+vim@tracker.debian.org
Compiled by team+vim@tracker.debian.org
Huge version without GUI.  Features included (+) or not (-):
...omitted for brevity...
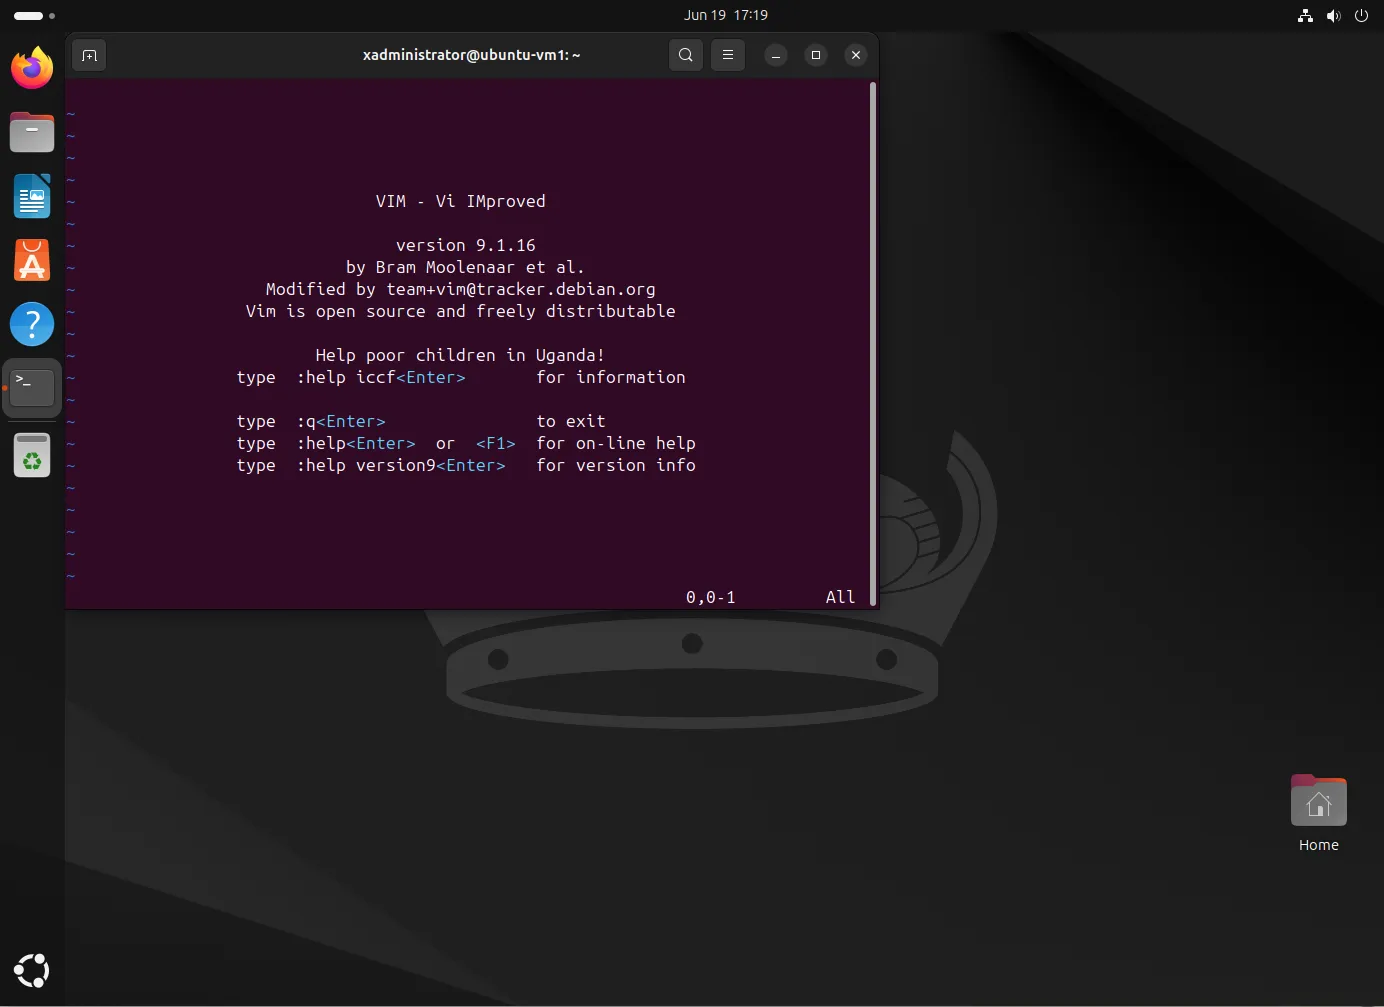
Photo by admingeek from Infotechys
If you prefer the latest features or need a specific version of Vim, building from source is the way to go. Here’s how:
1. Install necessary dependencies |
Install the following packages:
sudo apt install git make ncurses-dev gcc -y
2. Clone the Vim repository |
Clone the official vim repository from Github:
git clone https://github.com/vim/vim.git
					Cloning into 'vim'...
remote: Enumerating objects: 186208, done.
remote: Counting objects: 100% (7418/7418), done.
remote: Compressing objects: 100% (265/265), done.
remote: Total 186208 (delta 7243), reused 7233 (delta 7137), pack-reused 178790
Receiving objects: 100% (186208/186208), 136.61 MiB | 20.33 MiB/s, done.
Resolving deltas: 100% (156482/156482), done.
3. Navigate to the Vim directory |
Now, cd to the vim directory:
cd vim
4. Configure and Compile Vim |
Run the following command to execute the configure part of the build process:
./configure
					...omitted for brevity...
./checking whether we need to force -D_FILE_OFFSET_BITS=64... no
checking linker --as-needed support... yes
configure: updating cache auto/config.cache
configure: creating auto/config.status
config.status: creating auto/config.mk
config.status: creating auto/config.h
Execute the following command (the installation process takes a few minutes, making it a perfect time for a coffee break):
make
					...omitted for brevity...
link.sh: Linked fine
cd xxd; CC="gcc" CFLAGS=" -g -O2 -D_REENTRANT -U_FORTIFY_SOURCE -D_FORTIFY_SOURCE=1" LDFLAGS="-L/usr/local/lib -Wl,--as-needed" \
	make -f Makefile
make[2]: Entering directory '/home/xadministrator/vim/src/xxd'
gcc  -g -O2 -D_REENTRANT -U_FORTIFY_SOURCE -D_FORTIFY_SOURCE=1  -L/usr/local/lib -Wl,--as-needed -DUNIX -o xxd xxd.c
make[2]: Leaving directory '/home/xadministrator/vim/src/xxd'
make[1]: Leaving directory '/home/xadministrator/vim/src'
5. Install Vim |
Finally, run the following command to complete the install:
sudo make install
6. Verify Install |
To confirm the installation, check the version:
vim --version
					vim --version
VIM - Vi IMproved 9.1 (2024 Jan 02, compiled Jun 19 2024 18:46:53)
Included patches: 1-505
Compiled by xadministrator@ubuntu-vm1
Huge version without GUI.  Features included (+) or not (-):
...omitted for brevity...
Once Vim is installed, customization enhances its functionality. The configuration file, .vimrc, located in your home directory, is where you define settings and preferences.
Basic .vimrc Configuration |
Open (or create) the .vimrc file:
vim ~/.vimrc
Here are some basic settings to get you started (copy and paste the following):
					" Enable line numbers
set number

" Enable syntax highlighting
syntax on

" Set tab width
set tabstop=4
set shiftwidth=4
set expandtab

" Enable mouse support
set mouse=a
Save the file and exit. Then, relaunch Vim to see the changes.
Let’s go over some basic Vim usage to help us get familiar with the text editor as beginners.
Entering Insert Mode and Writing Text |
To start writing in Vim, press i to enter Insert mode. Now, let’s move on to the next sections where you will learn about the different modes in Vim and how to save and exit the application.
Vim Modes |
Vim operates in three primary modes: Normal mode, Insert mode, and Visual mode.
Esc to return to Normal mode from any other mode.i.v.Navigation |
In Normal mode, you can navigate using the arrow keys or the h, j, k, and l keys:
$.0.w to move forward and b to move backward.Editing |
Editing text in Vim is straightforward:
x.yy.p.Searching and Replacing |
Vim offers powerful search and replace capabilities. To initiate a search in Normal mode, type / followed by the search term. For example, to find all occurrences of the word “example” in your document, type /example and press Enter.
To replace all instances of “skinny” with “fat” in the entire document, use the following command:
:%s/skinny/fat/g
Managing Multiple Windows and Tabs |
Vim allows you to organize your workspace by dividing it into multiple windows and using tabs for better management. To split your workspace horizontally, use :split. For a vertical split, use :vsplit. Vim also supports tab management. To open a new tab, type :tabnew. You can toggle between tabs using :tabn to move to the next tab and :tabp to go to the previous tab.
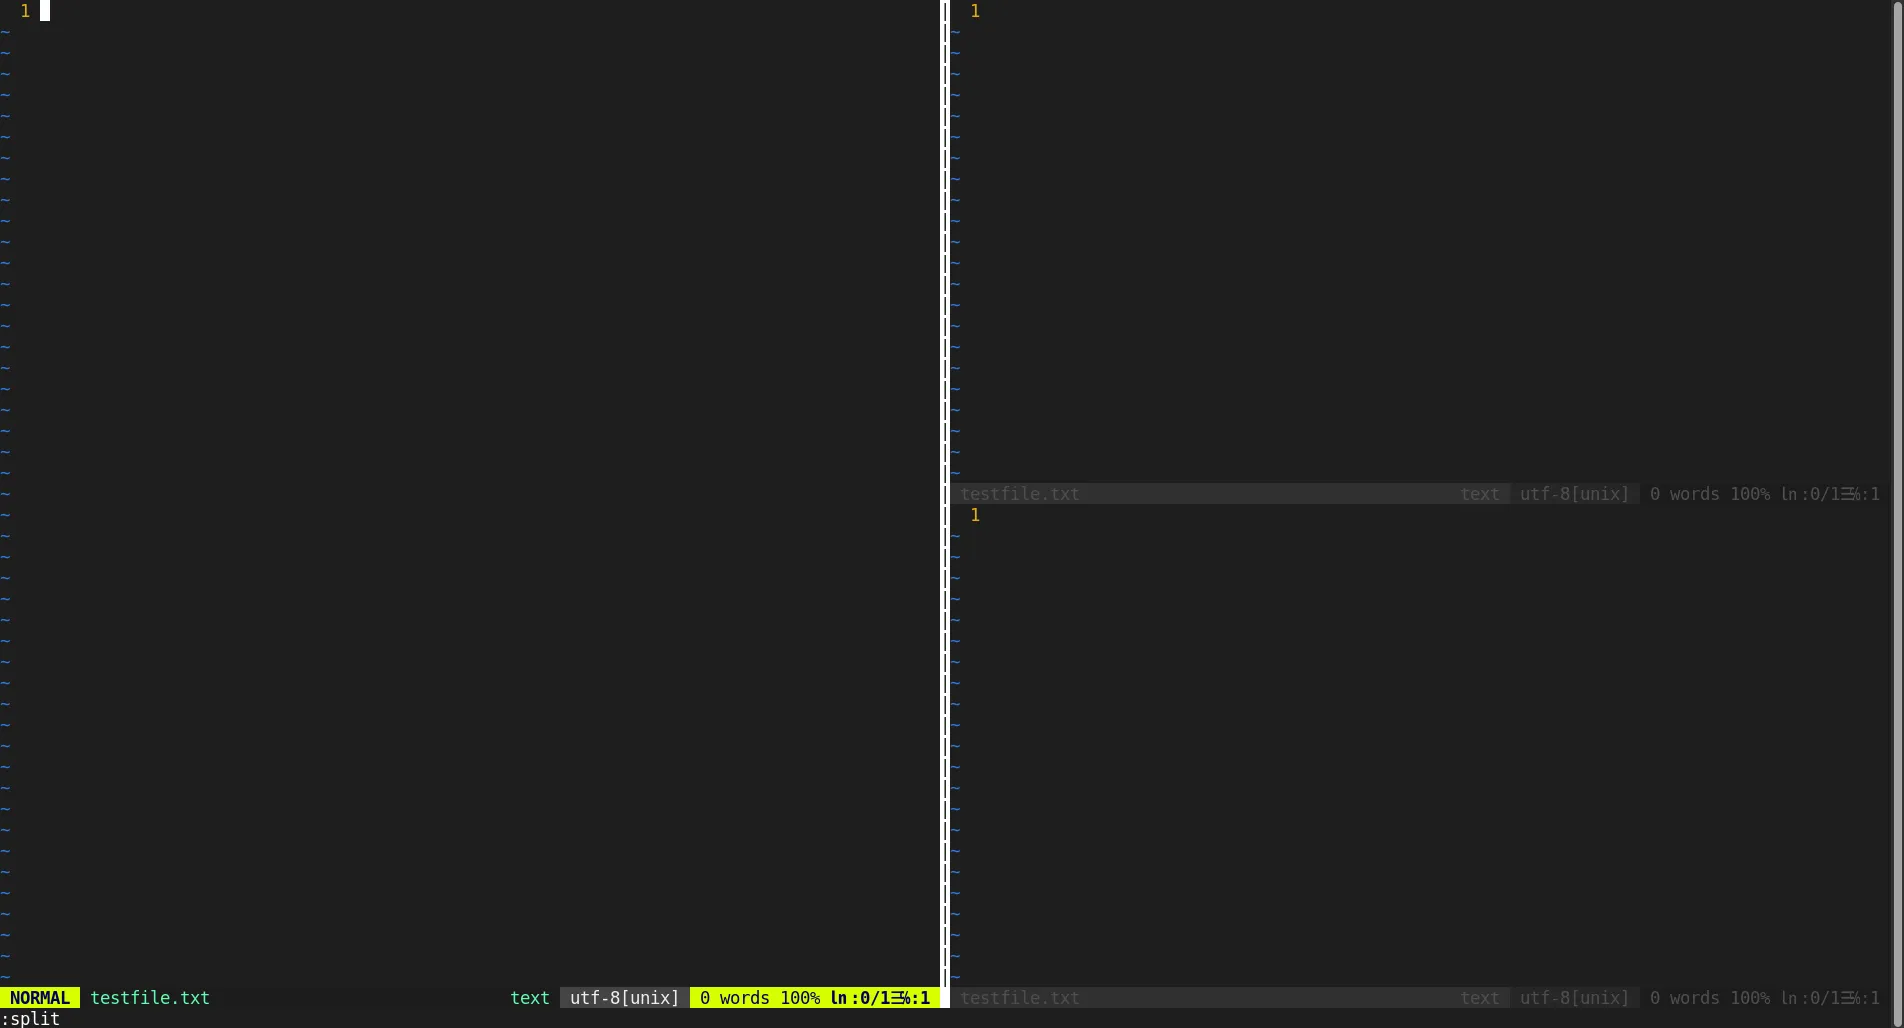
Photo by admingeek from Infotechys
Saving and Exiting |
To save your work:
:w to save the file.:wq. Also, Shift + ZZ does the same thing.:q!Plugins extend Vim’s functionality. To manage plugins, Vim users often use a plugin manager like Vundle or Vim-Plug. Here, we’ll use Vim-Plug for its simplicity.
1. Install Vim-Plug |
Install Vim-Plug using the curl command:
curl -fLo ~/.vim/autoload/plug.vim --create-dirs https://raw.githubusercontent.com/junegunn/vim-plug/master/plug.vim
2. Update your .vimrc file |
Add the following lines at the beginning of your .vimrc file:
					call plug#begin('~/.vim/plugged')

" List of plugins
Plug 'tpope/vim-sensible'

call plug#end()
Save and exit the file.
3. Install the plugins |
Open Vim (type “vim” and enter in your terminal) and run the following command:
:PlugInstall
This command installs the plugins listed in your .vimrc file.
Here’s an expanded list of popular Vim plugins that you can add to your .vimrc file using Vim-Plug (first, open the ~/.vimrc file):
vim ~/.vimrc
Add the following lines to the beginning of your .vimrc file:
					call plug#begin('~/.vim/plugged')

" Sensible default configurations for Vim
Plug 'tpope/vim-sensible'

" File system explorer
Plug 'scrooloose/nerdtree'

" Status line enhancement
Plug 'vim-airline/vim-airline'
Plug 'vim-airline/vim-airline-themes'

" Git integration
Plug 'tpope/vim-fugitive'

" Code commenting
Plug 'tpope/vim-commentary'

" Syntax highlighting for various languages
Plug 'sheerun/vim-polyglot'

" Auto pairs for inserting brackets and quotes
Plug 'jiangmiao/auto-pairs'

" Fuzzy file finder
Plug 'junegunn/fzf'
Plug 'junegunn/fzf.vim'

" Code completion
Plug 'neoclide/coc.nvim', {'branch': 'release'}

" Markdown preview
Plug 'iamcco/markdown-preview.nvim', { 'do': 'cd app && npm install' }

call plug#end()
Save and exit the file. Then, repeat step #3. to install the plugins.
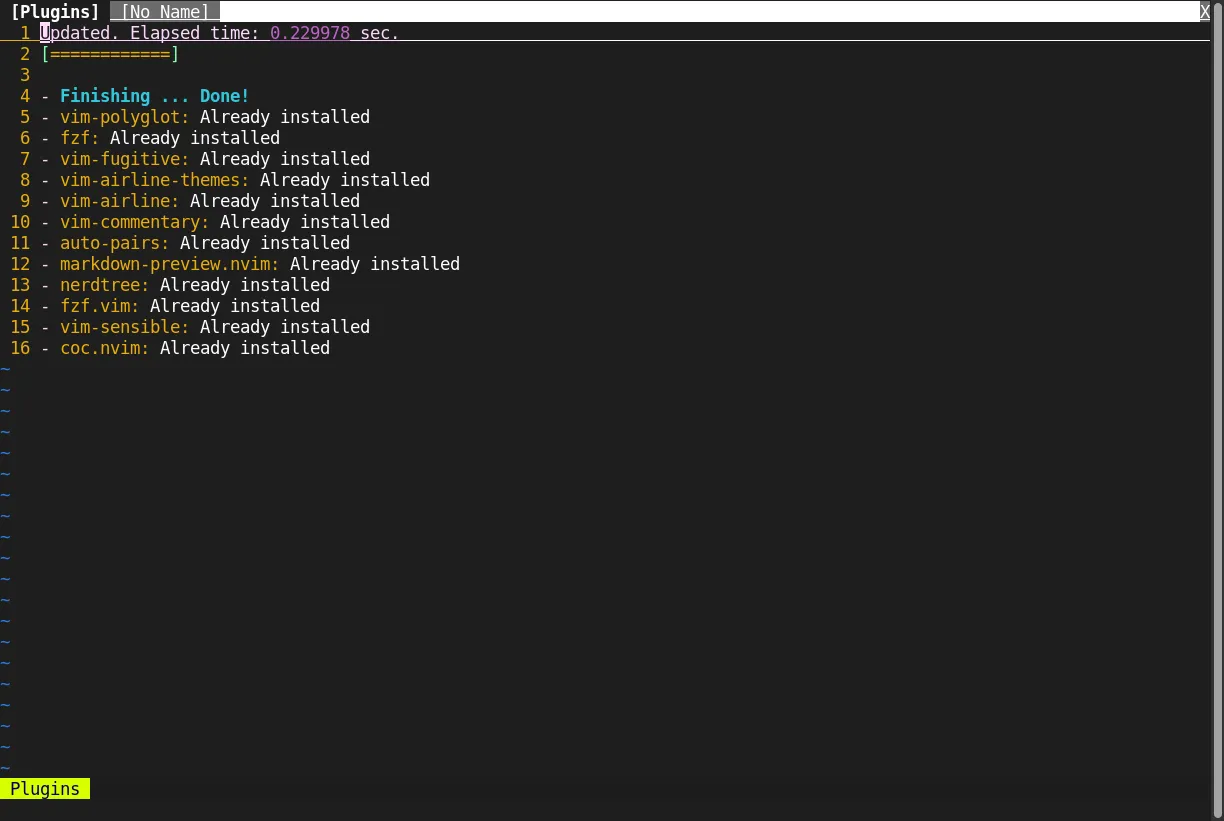
Photo by admingeek from Infotechys
Description of the Plugins |
vim-sensible: Provides a set of sensible default settings for Vim.
NERDTree: A file system explorer that lets you navigate the filesystem and open files.
vim-airline: Enhances the status line with additional information and themes.
vim-fugitive: A powerful Git integration plugin for Vim.
vim-commentary: Simplifies the process of commenting and uncommenting lines of code.
vim-polyglot: Adds syntax highlighting support for a wide range of programming languages.
auto-pairs: Automatically inserts matching brackets, parentheses, and quotes.
fzf and fzf.vim: Provides a fast, fuzzy file finder for quickly navigating and opening files.
coc.nvim: An intellisense engine for Vim, offering code completion and other features.
markdown-preview.nvim: Allows you to preview Markdown files directly in your web browser.
By incorporating these plugins, you can significantly enhance Vim’s functionality and tailor it to suit your specific workflow and preferences.
1. Open your Vim configuration file |
Typically, this is ~/.vimrc.
2. Locate the plugin section |
Look for lines starting with Plug followed by the plugin’s repository or name.
					call plug#begin('~/.vim/plugged')

" List of plugins
Plug 'tpope/vim-sensible'

" Fuzzy file finder
Plug 'junegunn/fzf'
Plug 'junegunn/fzf.vim'

" Code completion
Plug 'neoclide/coc.nvim', {'branch': 'release'}

call plug#end()
3. Comment out or remove the plugin line |
To disable or uninstall a plugin, you can comment out the line by adding a double quote (") at the beginning of the line or delete the entire Plug line associated with the plugin you want to uninstall.
					call plug#begin('~/.vim/plugged')

" List of plugins
Plug 'tpope/vim-sensible'

" Fuzzy file finder
Plug 'junegunn/fzf'
Plug 'junegunn/fzf.vim'

" Code completion
" Plug 'neoclide/coc.nvim', {'branch': 'release'} # This line is commented out.

call plug#end()
4. Save and exit |
Save your changes to the ~/.vimrc file and exit the editor.
5. Update Vim-Plug |
Open Vim and run the following command to update the plugins list:
:PlugUpdate
This step ensures that the plugin is removed from your Vim setup.
Installing Vim on Ubuntu 24.04 is a straightforward process, whether you use the APT package manager or build from source. With Vim installed and configured, you can now enjoy a highly efficient text-editing environment tailored to your preferences. Explore plugins to enhance your workflow further, and remember, practice makes perfect with Vim’s powerful command set.
By following this guide, you’ve set up a robust text editor that will significantly improve your productivity on Ubuntu 24.04. If you have any questions or run into issues, the Vim community is always ready to help.
Did you find this article useful? Your feedback is invaluable to us! Please feel free to share your thoughts in the comments section below.
Related Posts
In this article, we review how to install VSCode on CentOS 7, providing step-by-step instructions to ensure a seamless setup of the Visual Studio Code

In this article, we will review in detail how to install sublime text4 on CentOS8 or RHEL8 and also provide examples. Table of Contents Brief
In this article, we will review installing and using Vi or Vim, a versatile and powerful text editor commonly found in Unix-based operating systems like