Are you looking to secure your Cockpit server and protect sensitive data? Follow these steps to Install SSL Certificates on Cockpit and protect your server

Secure your network and protect your sensitive data by learning how to install SSL certificates on Redhat Satellite 6.10.
In today’s digital age, securing your network and protecting your sensitive data has become more crucial than ever. One effective way to achieve this is by using SSL certificates to encrypt the traffic between servers and clients. Redhat Satellite 6.10 is a popular system management solution used by many organizations, and it is essential to know how to install SSL certificates on it to ensure secure communication between the server and clients. In this guide, we will provide a step-by-step tutorial with examples on how to install SSL certificates from a Certificate Authority (CA) on Redhat Satellite 6.10.
First things first, we are going to assume that you have met the following requirements before proceeding with the install:
Copy your SSL certificate to the /etc/pki/tls/certs directory.
$ sudo cp yourDomain.crt /etc/pki/tls/certs/
NOTE: It's best practice to store certificates and associated keys in the /etc/pki/tls/certs and /etc/pki/tls/private directories respectively.
Copy your private key to the /etc/pki/tls/private directory.
$ sudo cp yourDomain.key /etc/pki/tls/private/
Lets check the validity of the certificate and key by running the following command as the root user:
# katello-certs-check -c /etc/pki/tls/certs/yourDomain.crt -k /etc/pki/tls/private/yourDomain.key -b /etc/pki/tls/certs/your-CA-bundle.pem
If the command ran successfully, you should see something similar to the output below. If any part of the check process fails, you cannot proceed. Double check the certificate and key and make sure the CA-bundle file is correct and in the right format (.pem). Also, the output will include instructions for our next step.
					# katello-certs-check -c /etc/pki/tls/certs/sat.dev.infotechys.com.crt -k /etc/pki/tls/private/sat.dev.infotechys.com.key -b /etc/pki/tls/certs/Digicert-CA-bundle.pem
Checking server certificate encoding:
[OK]

Checking expiration of certificate:
[OK]

Checking expiration of CA bundle:
[OK]

Checking if server certificate has CA:TRUE flag
[OK]

Checking for private key passphrase:
[OK]

Checking to see if the private key matches the certificate:
[OK]

Checking CA bundle against the certificate file:
[OK]

Checking CA bundle size: 3
[OK]

Checking Subject Alt Name on certificate
[OK]

Checking if any Subject Alt Name on certificate matches the Subject CN
[OK]

Checking Key Usage extension on certificate for Key Encipherment
[OK]

Checking for use of shortname as CN
[OK]

Validation succeeded


To install the Red Hat Satellite server with the custom certificates, run:

    satellite-installer --scenario satellite \
                      --certs-server-cert "/etc/pki/tls/certs/sat.dev.infotechys.com.crt" \
                      --certs-server-key "/etc/pki/tls/private/sat.dev.infotechys.com.key" \
                      --certs-server-ca-cert "/etc/pki/tls/certs/Digicert-CA-bundle.pem"

To update the certificates on a currently running Red Hat Satellite installation, run:

    satellite-installer --scenario satellite \
                      --certs-server-cert "/etc/pki/tls/certs/sat.dev.infotechys.com.crt" \
                      --certs-server-key "/etc/pki/tls/private/sat.dev.infotechys.com.key" \
                      --certs-server-ca-cert "/etc/pki/tls/certs/Digicert-CA-bundle.pem" \
                      --certs-update-server --certs-update-server-ca

To use them inside a NEW $CAPSULE, rerun this command with -t capsule
Now that we’ve validated the certificate, key, and CA bundle, we can proceed with the install. Copy and paste the lines under the “To update the certificates on a currently running Red Hat Satellite” section. We have a satellite server instance and just need to renew or update our certificate.
NOTE: If you are running a new satellite server instance, choose the first option. Copy and paste the lines under, “To install Red Hat Satellite server with the custom certificates“
					# satellite-installer --scenario satellite \
                      --certs-server-cert "/etc/pki/tls/certs/sat.dev.infotechys.com.crt" \
                      --certs-server-key "/etc/pki/tls/private/sat.dev.infotechys.com.key" \
                      --certs-server-ca-cert "/etc/pki/tls/certs/Digicert-CA-bundle.pem"
Replace the .crt, .key, and .pem files to match the ones you have. The installation process could take several minutes depending on your environment. Upon a successful SSL certificate install, a similar output to what is displayed below should print to your terminal.
					2023-03-09 14:02:21 [NOTICE] [configure] 3100 out of 3497 done.
2023-03-09 14:02:21 [NOTICE] [configure] 3200 out of 3497 done.
2023-03-09 14:02:22 [NOTICE] [configure] 3300 out of 3497 done.
2023-03-09 14:02:43 [NOTICE] [configure] 3400 out of 3497 done.
2023-03-09 14:02:51 [NOTICE] [configure] System configuration has finished.
  Success!
  * Satellite is running at https://sat.dev.infotechys.com

  * To install an additional Capsule on separate machine continue by running:

      capsule-certs-generate --foreman-proxy-fqdn "$CAPSULE" --certs-tar "/root/$CAPSULE-certs.tar"
  * Capsule is running at https://sat.dev.infotechys.com:9090

  The full log is at /var/log/foreman-installer/satellite.log
Package versions are being locked.
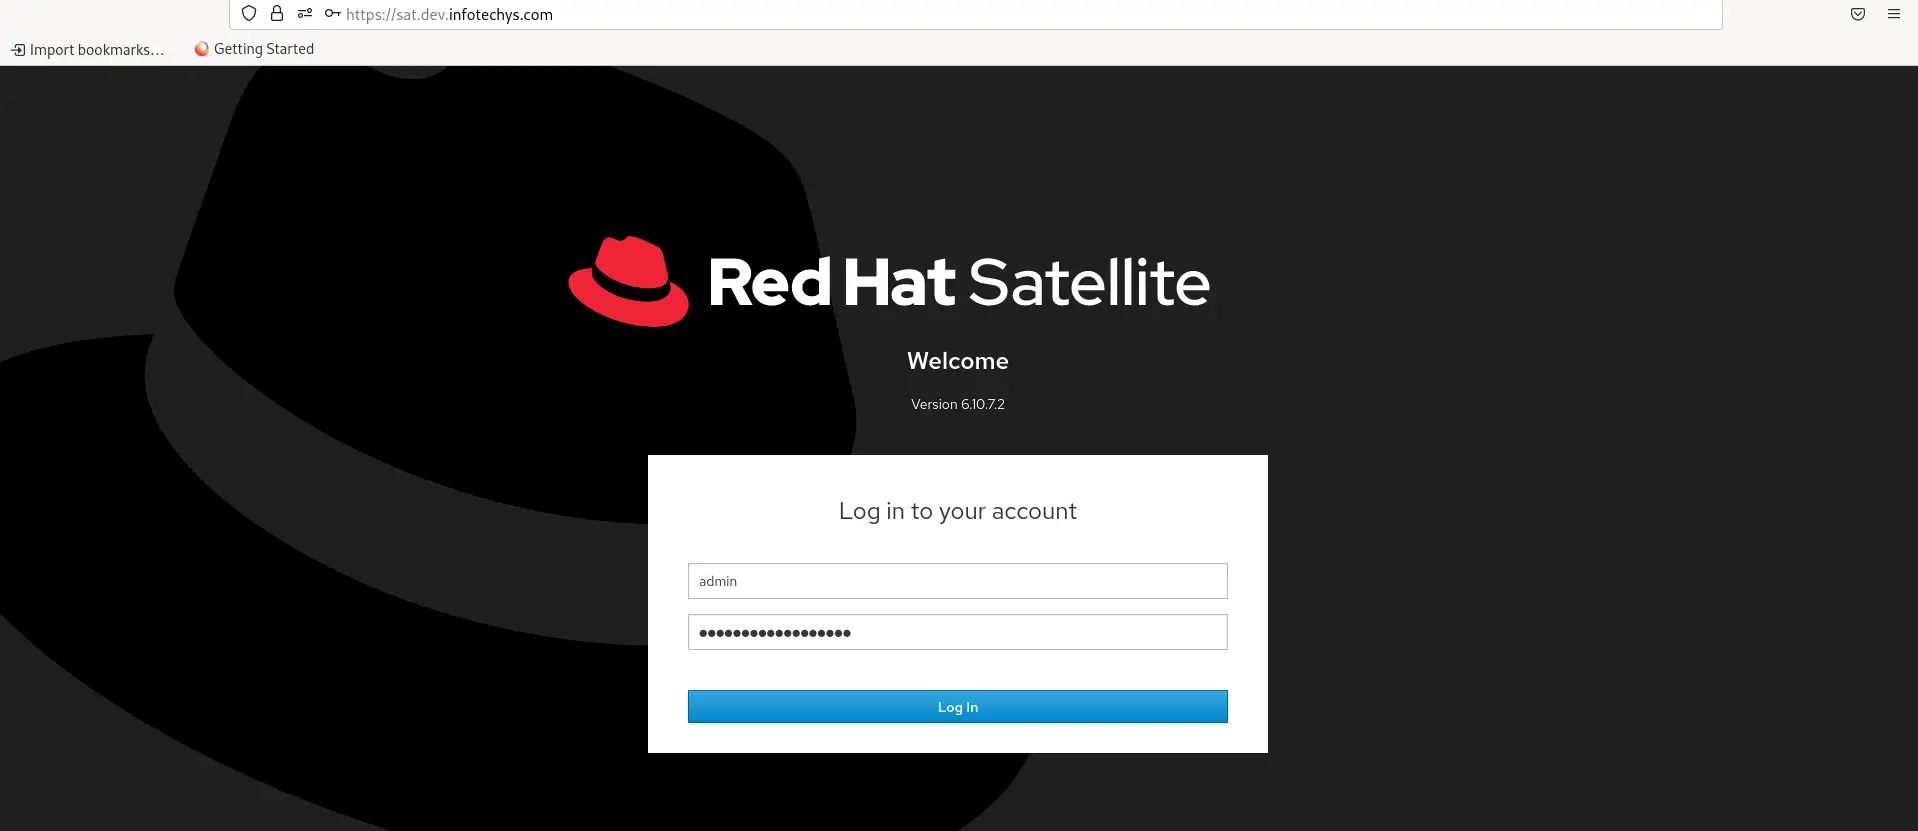
You can easily verify if your new certificate was installed correctly by entering the URL provided into a web browser (look for the padlock icon).

Photo by admingeek from Infotechys
You can also enter the following command to verify your certificate install.
# openssl x509 -in /etc/pki/katello/certs/katello-apache.crt -text | egrep '(DNS:|Digital|Not Before|Not After)'
The resulting output should look similar to what is displayed below. The difference being your domain name.
					# openssl x509 -in /etc/pki/katello/certs/katello-apache.crt -text | egrep '(DNS:|Digital|Not Before|Not After)'
            Not Before: Mar  6 12:22:16 2023 GMT
            Not After : Mar  6 12:22:16 2026 GMT
                Digital Signature, Key Encipherment
                DNS:sat.dev.infotechys.com
Run the following command to covert a PKCS #7 (.p7b) file to .pem.
$ sudo openssl pkcs7 -print_certs -in yourdomain.p7b -out yourdomain.pem
Run the following command to covert a .cer file to .pem.
$ sudo openssl x509 -in yourDomain.cer -out yourDomain.pem
To convert a .cer file from .der format to .pem, run the following command:
$ sudo openssl x509 -inform der -in yourDomain.cer -out yourDomain.pem
That’s it! Your Red Hat Satellite server is now using the SSL certificate from your chosen Certificate Authority. Was this article helpful to you? If so, leave us a comment below and share!
Related Posts

Are you looking to secure your Cockpit server and protect sensitive data? Follow these steps to Install SSL Certificates on Cockpit and protect your server

Learn the five most effective ways for removing a host from Red Hat Satellite, including CLI tools, web interface, and automation tools, to efficiently manage

Want to secure your Jenkins environment and protect sensitive data? Learn how to install SSL certificates on Jenkins and enhance the security of your continuous
