In this tutorial, you will learn the process involved with building a docker registry. As part of this process, we will set up a web

Want to secure your Jenkins environment and protect sensitive data? Learn how to install SSL certificates on Jenkins and enhance the security of your continuous integration and continuous delivery processes.
Jenkins is an open-source automation server that is used for building, testing, and deploying software applications. In order to secure the communication between the server and clients and ensure trust between them, it is recommended to install SSL certificates on Jenkins. In this guide, we will cover the steps to install SSL certificates on Jenkins for Ubuntu, RHEL9, and CentOS9 operating systems.

Photo by Stefan Schweihofer from Pixabay
Create a new SSL directory for Jenkins:
$ sudo mkdir /etc/ssl/jenkins
Generate a new self-signed SSL certificate using the openssl command:
$ sudo openssl req -newkey rsa:2048 -nodes -keyout /etc/ssl/jenkins/jenkins.key -x509 -days 365 -out /etc/ssl/jenkins/jenkins.crt
This command generates a new private key and a self-signed SSL certificate with a validity period of 365 days. The private key is saved to /etc/ssl/jenkins/jenkins.key, and the SSL certificate is saved to /etc/ssl/jenkins/jenkins.crt.
Verify that the SSL certificate is valid by running the following command:
$ sudo openssl x509 -in /etc/ssl/jenkins/jenkins.crt -noout -text
This command displays the details of the SSL certificate.
Open the Jenkins configuration file /etc/default/jenkins with a text editor:
Run the following command:
$ sudo vim /etc/default/jenkins
Run the following command:
$ sudo vim /etc/sysconfig/jenkins
Add the following line to the end of the file.
JENKINS_ARGS="--httpPort=-1 --httpsPort=8083 --httpsCertificate=/etc/ssl/jenkins/jenkins.crt --httpsPrivateKey=/etc/ssl/jenkins/jenkins.key"
This configuration instructs Jenkins to use SSL with the provided certificate and private key. Save and close the file.
Restart the Jenkins service for the changes to take effect:
$ sudo systemctl restart jenkins
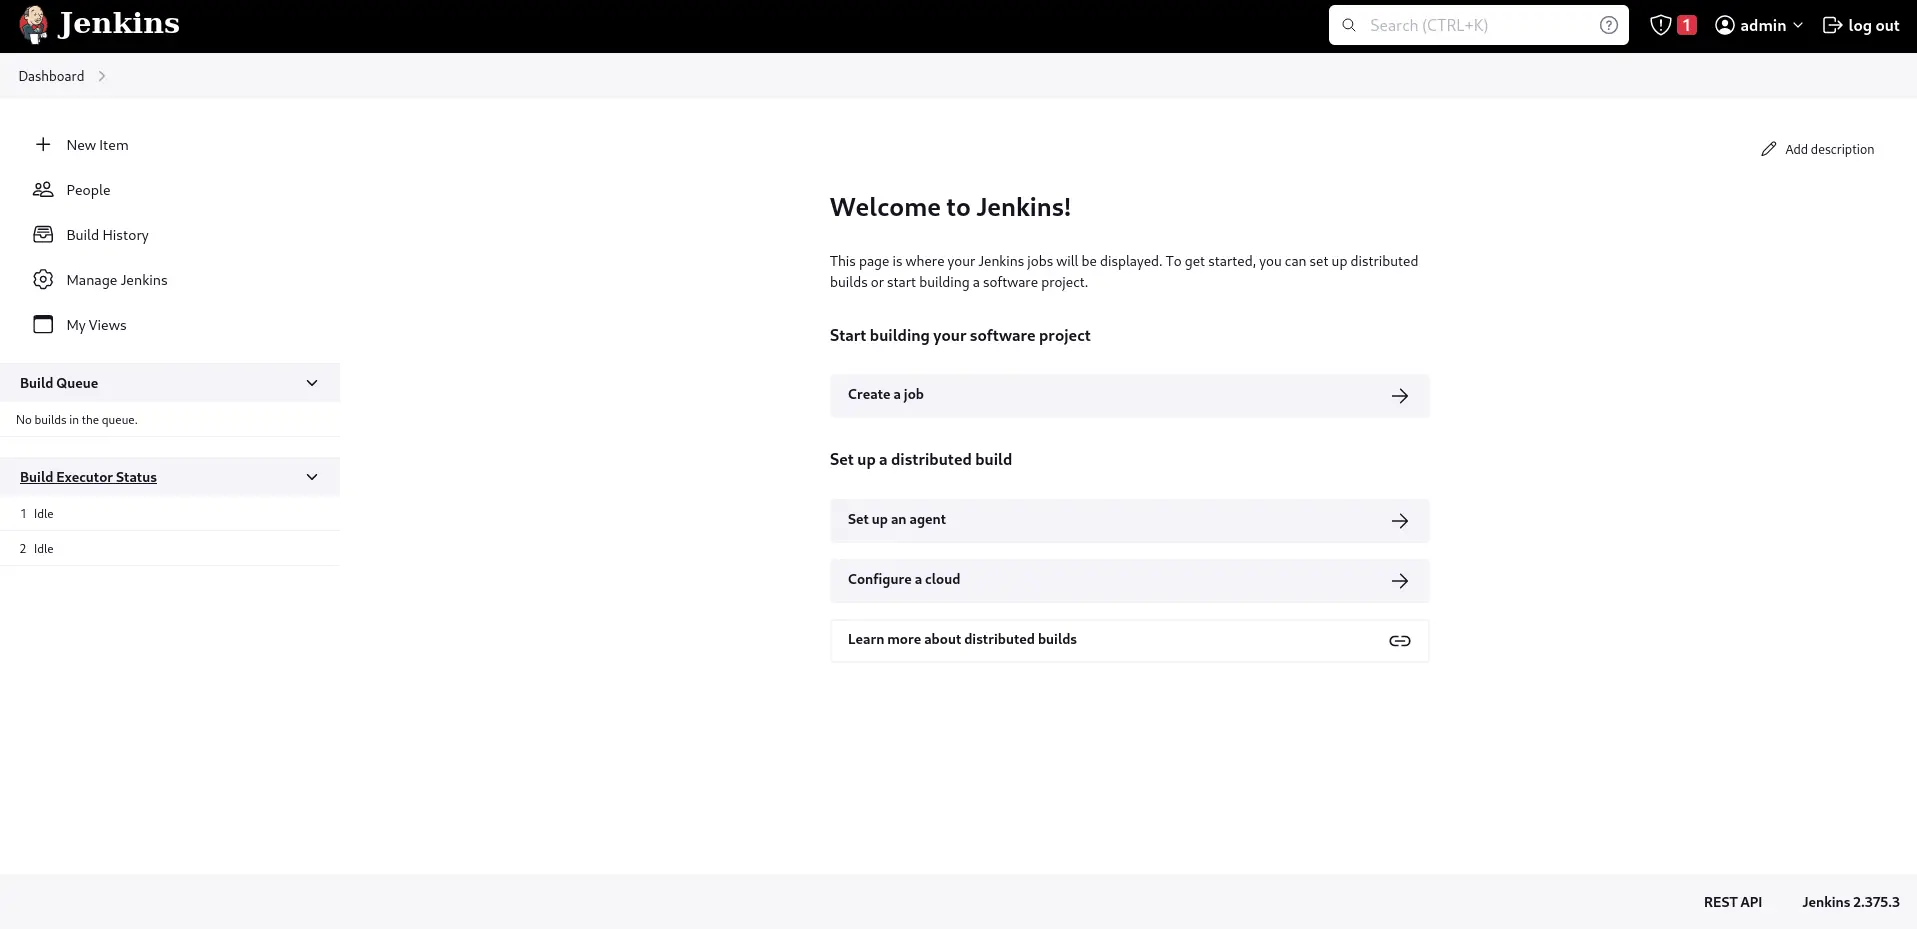
Verify that Jenkins is running on the HTTPS port by visiting https://<your-server-ip>:8083 in a web browser.
$ sudo openssl req -new -newkey rsa:2048 -nodes -keyout jenkins.key -out jenkins.csr
This command generates a new private key and a CSR. The private key is saved to jenkins.key, and the CSR is saved to jenkins.csr.
$ cat jenkins.crt intermediate.crt > jenkins-bundle.crt
Copy all files to the following location (in the /etc/ssl/jenkins directory):
					$ sudo mkdir /etc/ssl/jenkins
$ sudo cp jenkins.key /etc/ssl/jenkins
$ sudo cp jenkins.crt /etc/ssl/jenkins
$ sudo cp jenkins-bundle.crt /etc/ssl/jenkins
Open the Jenkins configuration file /etc/default/jenkins with a text editor:
Run the following command:
$ sudo vim /etc/default/jenkins
Run the following command:
$ sudo vim /etc/sysconfig/jenkins
Add the following lines at the end of the file:
JENKINS_ARGS="--httpPort=-1 --httpsPort=8083 --httpsCertificate=/etc/ssl/jenkins/jenkins.crt --httpsPrivateKey=/etc/ssl/jenkins/jenkins.key --httpsKeyStore=/etc/ssl/jenkins/jenkins-bundle.crt"
This configuration instructs Jenkins to use SSL with the provided certificate, private key, and certificate chain. Save and close the file.
Restart the Jenkins service for the changes to take effect:
$ sudo systemctl restart jenkins
Verify that Jenkins is running on the HTTPS port by visiting https://<your-server-ip>:8083 in a web browser.

Here are some best practices to follow when using SSL certificates with Jenkins:
In this guide, we’ve shown you how to install SSL certificates on Jenkins for Ubuntu, RHEL9, and CentOS9 operating systems. By following these steps, you can secure your Jenkins connections and protect your data from unauthorized access. Remember to follow best practices and keep your SSL certificate files secure and up-to-date to ensure that your connections remain secure.
Was this article helpful to you? If so, leave us a comment below and share!
Related Posts

In this tutorial, you will learn the process involved with building a docker registry. As part of this process, we will set up a web

Are you tired of manually building, testing, and deploying your software? Learn how to install Jenkins on RHEL9 or CentOS9 and automate your software development

In this article, we will review the top 10 most commonly used Git commands. You can’t call yourself a competent DevOps Engineer or IT professional
