
Commands
This blog post covers how to install and configure Zabbix version 7.0-2 on RHEL 9 in detail, including prerequisites, step-by-step instructions, and troubleshooting tips. Table


Learn how to install Splunk on RHEL9 or CentOS 9 with this beginner-friendly guide. Step-by-step instructions, CLI examples, and troubleshooting tips included.
Splunk is one of the most widely-used platforms for searching, monitoring, and analyzing machine-generated big data. Whether you’re managing logs, monitoring system performance, or troubleshooting issues, Splunk is an invaluable tool. This guide will walk you through the process of installing Splunk on RHEL9 or CentOS 9, both of which are popular choices for enterprise Linux environments.
This installation guide assumes you’re a beginner, so we’ll cover everything step-by-step, from preparing your system to ensuring Splunk runs properly after installation. We’ll also explore some basic troubleshooting tips to help you avoid common pitfalls.
Before you start installing Splunk, it’s important to understand the system requirements and prerequisites. Splunk runs on both RHEL9 and CentOS 9, but there are a few considerations:
📝 Minimum System Requirements: |
|
|
|
Splunk can be installed in several different ways, but the easiest method on RHEL9 or CentOS 9 is through the RPM package, which we’ll cover in this guide.
|
|
|
For demonstration, our RHEL server has been configured with the following setup:
| Hostname | RAM (GB) | Cores | IP Address | Operating System (OS) | Designation |
| splunk.dev.naijalabs.net | 8 | 4 | 192.168.1.40 | Red Hat Enterprise Linux release 9.6 (Plow) | Server |
Before installing Splunk, you need to prepare your RHEL9 or CentOS 9 system. This involves ensuring your system is up-to-date and installing some necessary dependencies.
🔄 Update Your System |
First, it’s crucial to update your system packages to avoid conflicts with older software versions.
sudo dnf update -y
🔄 Install Dependencies |
Splunk requires certain packages to be installed for optimal performance. These include glibc, python3, and other libraries that may not be available by default. Run the following command to install any required dependencies:
sudo dnf install -y wget libcurl libpng libxml2 python3
You may also need to install libaio and libpcap for optimal performance. These libraries are required for Splunk to handle I/O operations efficiently.
sudo dnf install -y libaio libpcap
🔄 Disable SELinux Temporarily (Optional) |
Sometimes, SELinux can interfere with Splunk. It is recommended to disable SELinux temporarily during the installation. You can disable it by running:
sudo setenforce 0
If you want to disable SELinux permanently, modify the configuration file:
sudo vim /etc/selinux/config
Change the SELINUX directive to disabled:
SELINUX=disabled
💡NOTE: Splunk version 10.0.0 installs successfully on RHEL 9 and CentOS 9 systems with SELinux set to enforcing, without any issues. |
🔄 Download the Splunk RPM Package |
Go to the official Splunk download page: Splunk Downloads. Choose the version for Linux (RHEL/CentOS) and download the .rpm package. You can also use wget to download it directly to your system (version 10.0.0 as of this posting):
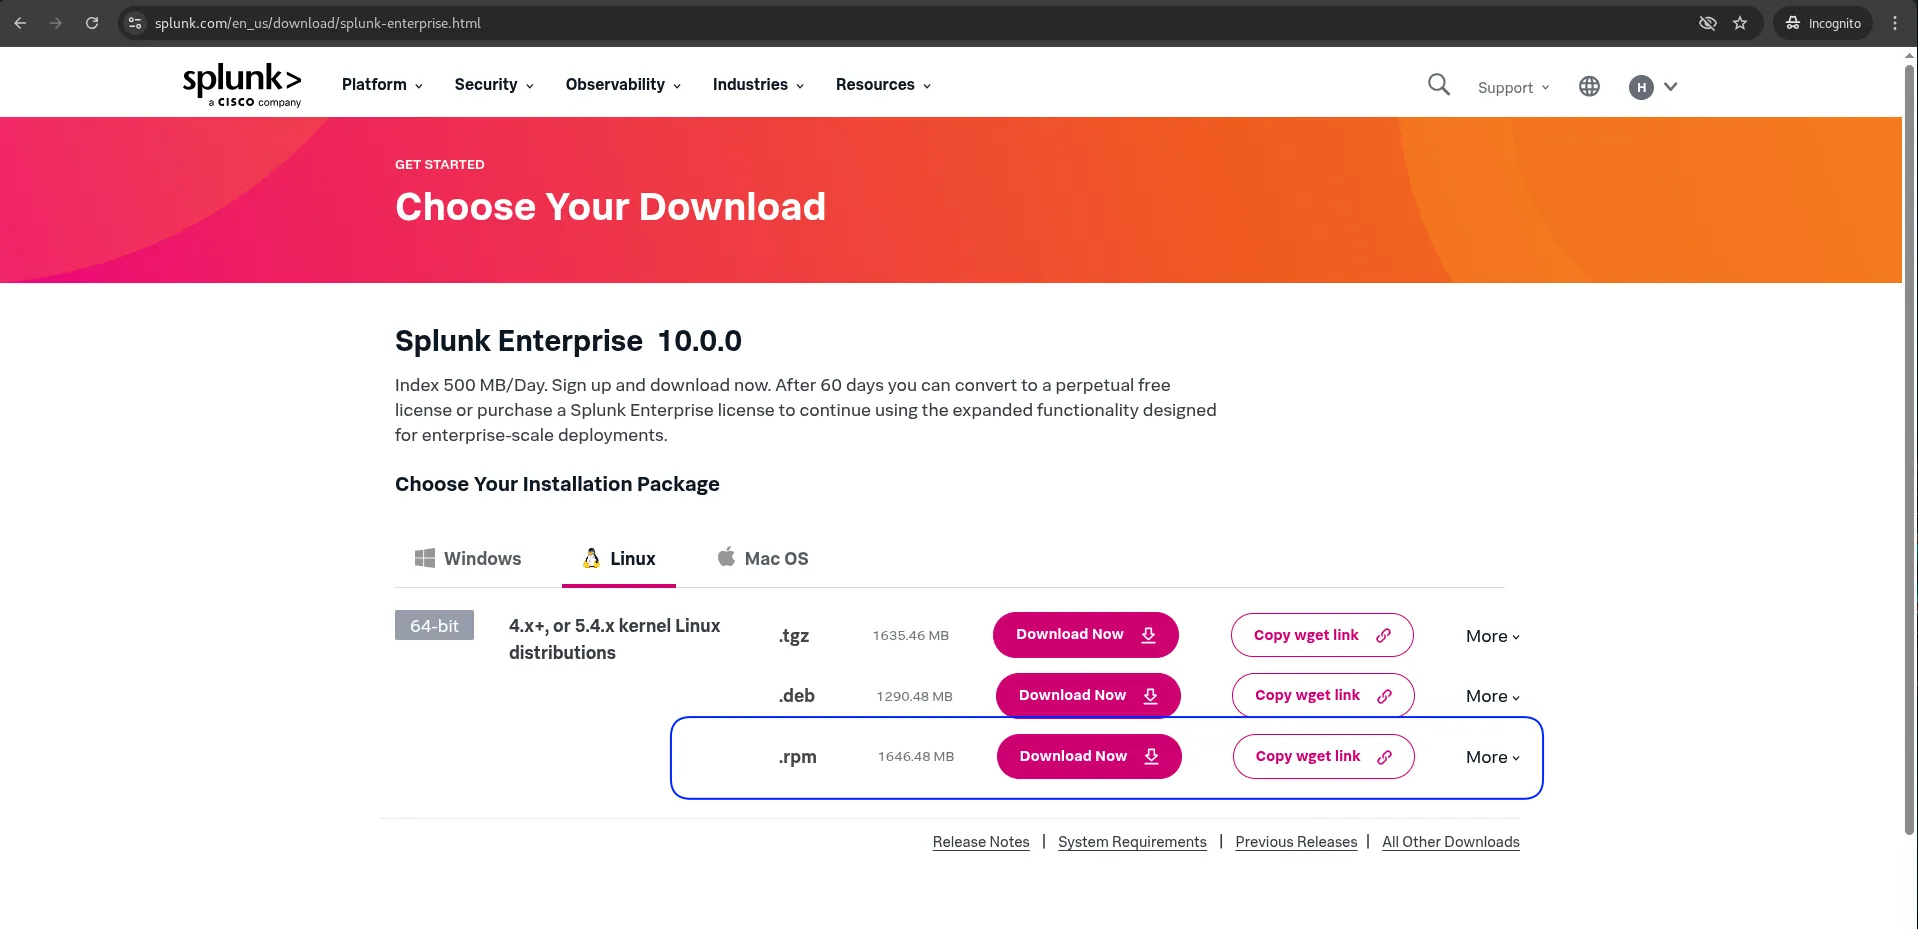
Photo by admingeek from Infotechys
💡NOTE: You’ll need to create a Splunk account and sign in before accessing any downloads from the Splunk downloads page. |
🔄 Install the Splunk RPM Package |
Once the RPM package is downloaded, you can install it using the dnf or rpm command.
sudo dnf install -y splunk-10*
🔄 Start Splunk Service |
Once the installation completes, you need to start and enable the Splunk service. This is done using the systemctl command:
sudo /opt/splunk/bin/splunk start
					Splunk General Terms (v4 August 2024)

These Splunk General Terms ("General Terms") between Splunk Inc., a Delaware
corporation, with its principal place of business at 250 Brannan Street, San
Francisco, California 94107, USA ("Splunk" or "we" or "us" or "our") and you
("Customer" or "you" or "your") govern your acquisition, access to, and use of
Splunk's Offerings, regardless of how accessed or acquired, whether directly
from us or from another Approved Source. By clicking on the appropriate button,
or by downloading, installing, accessing, or using any Offering, you agree to
these General Terms. If you are entering into these General Terms on behalf of
Customer, you represent that you have the authority to bind Customer. If you do
not agree to these General Terms, or if you are not authorized to accept the
General Terms on behalf of Customer, do not download, install, access, or use
any Offering. The "Effective Date" of these General Terms is: (i) the date of
Delivery; or (ii) the date you access or use the Offering in any way, whichever
is earlier. Capitalized terms are defined in the Definitions section below.
Effective September 23, 2024, and unless the context otherwise requires, any
reference in these General Terms to "Splunk Inc.", "Splunk", "we", "us" or "our"
will be deemed to refer to "Splunk LLC".
...omitted for brevity...
Scroll through the license agreement using the spacebar.
🔄 Accept the License Agreement |
Splunk requires you to accept its license agreement before it will run. When prompted, accept the agreement by pressing y followed by Enter:
					...
Usage Data: Data generated from the usage, configuration, deployment, access,
and performance of an Offering.

Use Rights: As set out in section 1.1.

Do you agree with this license? [y/n]: y
🔄 Create an administrator account |
Splunk will prompt you to create an administrator account. Provide a username "admin" along with a password:
					This appears to be your first time running this version of Splunk.

Splunk software must create an administrator account during startup. Otherwise, you cannot log in.
Create credentials for the administrator account.
Characters do not appear on the screen when you type in credentials.

Please enter an administrator username: admin
Password must contain at least:
   * 8 total printable ASCII character(s).
Please enter a new password:
☕ NOTE: The installation may take several minutes to complete—perfect time to grab a coffee or your favorite drink. |
🔄 Verifying Your Installation |
After installation, it’s important to verify that Splunk is running correctly.
sudo /opt/splunk/bin/splunk -version
You should see an output similar to:
Splunk 10.0.0 (build e8eb0c4654f8)
🔄 Firewall Settings |
Port 8000 must be opened to allow traffic. Use the following command:
sudo firewall-cmd --permanent --add-port=8000/tcp
sudo firewall-cmd --reload
🔄 Access the Splunk Web Interface |
Once Splunk is running, you can access its web interface. By default, Splunk runs on port 8000. Open your browser and navigate to: http://<your_server_ip>:8000
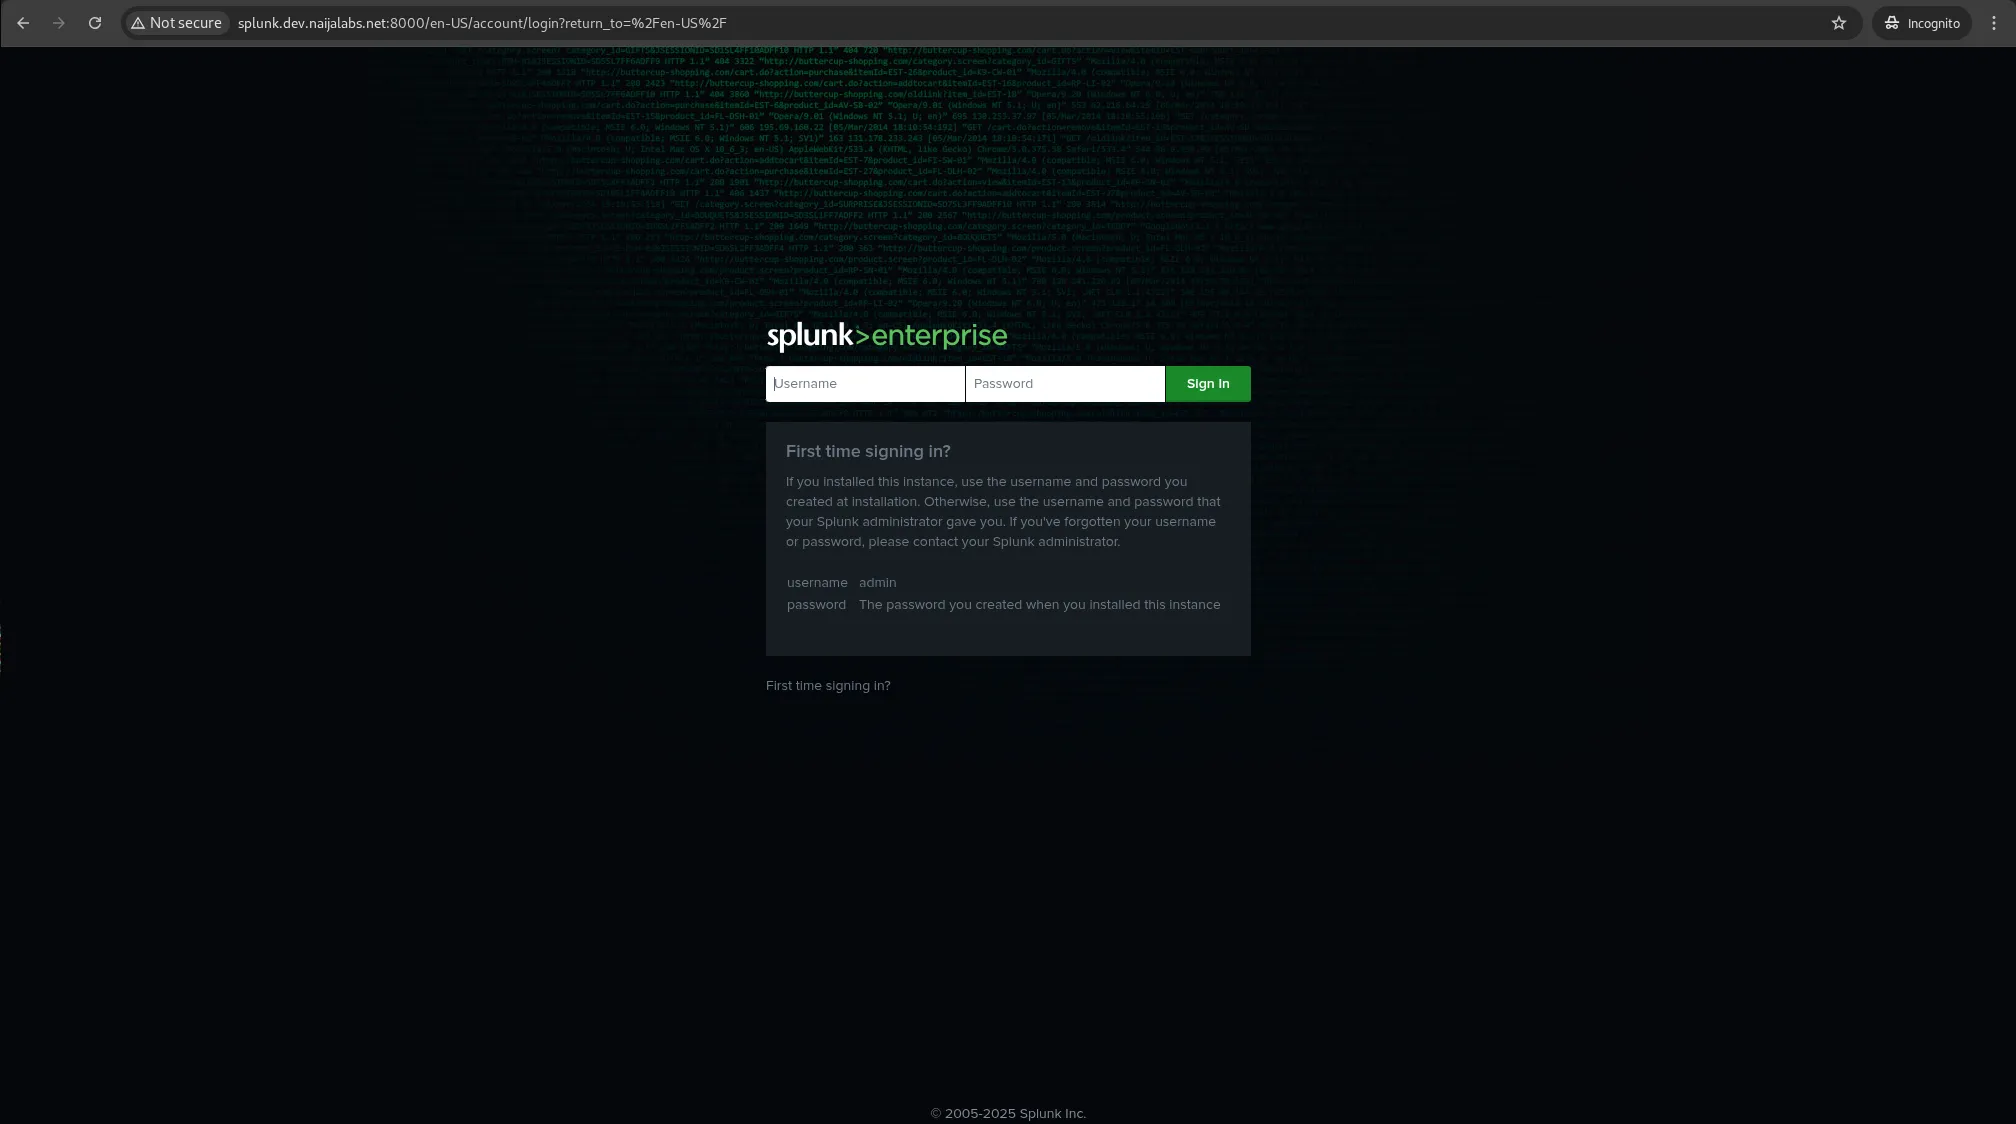
Photo by admingeek from Infotechys
🔄 Set Up Splunk to Index Logs |
After installation, you can begin configuring Splunk to index your system logs. To add a data source, follow these steps:
|
|
|
|
|
🔄 Create Alerts and Dashboards |
Splunk allows you to create alerts and dashboards based on the indexed data. To create an alert:
|
|
|
|
🔧 Splunk Does Not Start |
If Splunk fails to start, check the Splunk logs located in /opt/splunk/var/log/splunk/. Review the splunkd.log file for errors. A common issue could be missing dependencies or insufficient system resources.
🔧 Port Conflicts |
If you can’t access the web interface on port 8000, ensure no other services are using that port. You can check this by running:
sudo netstat -tulnp | grep :8000
If a conflict is found, change Splunk’s default port by editing the web.conf file located at /opt/splunk/etc/system/local/web.conf.
🔧 Permission Issues |
If you encounter permission issues, ensure that the splunk user has sufficient access to the directories where Splunk is storing data and logs. You can fix permission problems by running:
sudo chown -R splunk:splunk /opt/splunk
Splunk is an indispensable tool for analyzing machine data in real time. Installing it on RHEL9 or CentOS 9 is a straightforward process if you follow the steps outlined above. With its powerful search capabilities, rich reporting features, and extensive configuration options, Splunk makes it easier to gain insights from your system logs and monitoring data.
By following this guide, you should now have a fully functional Splunk installation on your RHEL9 or CentOS 9 system. You can begin configuring data inputs, creating dashboards, and setting up alerts to start deriving actionable insights from your data.
Did you find this article helpful? Your feedback is invaluable to us! Feel free to share this post with those who may benefit, and let us know your thoughts in the comments section below.
This blog post covers how to install and configure Zabbix version 7.0-2 on RHEL 9 in detail, including prerequisites, step-by-step instructions, and troubleshooting tips. Table

This guide aims to equip you with the knowledge needed to install ELK stack on RHEL9 | CentOS9 effortlessly. By following these steps, you can

Learn how to install Nice DCV on Ubuntu 24.04 with this comprehensive step-by-step guide. Discover essential commands, configuration tips, and troubleshooting advice to optimize your