HOWTO
Learn how to successfully install KeePassXC on RHEL 9 or CentOS 9 for efficient password management and security. Table of Contents Introduction KeePassXC is a

Learn how to install KeePass on Rocky Linux 9.5, including steps to create a key file for enhanced security. Follow this detailed guide for secure password management.
Are you looking to secure your passwords on Rocky Linux 9.5? KeePass is a popular, open-source password manager that can help you store your passwords safely. In this guide, we’ll walk you through the steps to install KeePass on Rocky Linux 9.5, ensuring you can keep your sensitive information secure. Whether you’re a seasoned Linux user or a beginner, this tutorial will provide clear instructions, CLI examples, and troubleshooting tips.
What is KeePass? |
KeePass is a free and open-source password management tool designed to help you securely store and manage your passwords. It stores your passwords in an encrypted database, which can only be unlocked using a master key or a key file. KeePass is lightweight, easy to use, and supports various encryption standards, making it one of the best tools to protect your online security.
Why KeePass on Rocky Linux? |
Rocky Linux is a stable, open-source enterprise Linux distribution that aims to provide a free alternative to Red Hat Enterprise Linux (RHEL). KeePass is not only secure and easy to use but also compatible with a wide variety of Linux distributions, including Rocky Linux. By installing KeePass, you can enhance your security posture by managing your passwords securely and efficiently.
Benefits of Using KeePass: |
Before starting the installation process, make sure you have:
|
Photo by admingeek from Infotechys
Step 1: Update Your System |
Before installing any software, it is always a good idea to ensure that your system is up-to-date. This prevents compatibility issues and ensures that you have the latest patches for your system. Run the following command to update your system:
sudo dnf update -y && sudo systemctl reboot
This will update all your system packages to the latest versions and reboot your machine.
Step 2: Install EPEL Repository |
The EPEL (Extra Packages for Enterprise Linux) repository often provides additional packages that are not available in the default Rocky Linux repositories. KeePass is an example of a package not in the standard repositories, so it’s a good idea to enable EPEL.
sudo dnf install epel-release -y
Step 3: Install KeePass and Dependencies |
KeePass has a few dependencies that need to be installed before the software itself. These include packages like mono which is required to run KeePass on Linux. Install KeePass along with all its necessary dependencies with the following command:
sudo dnf install keepass -y
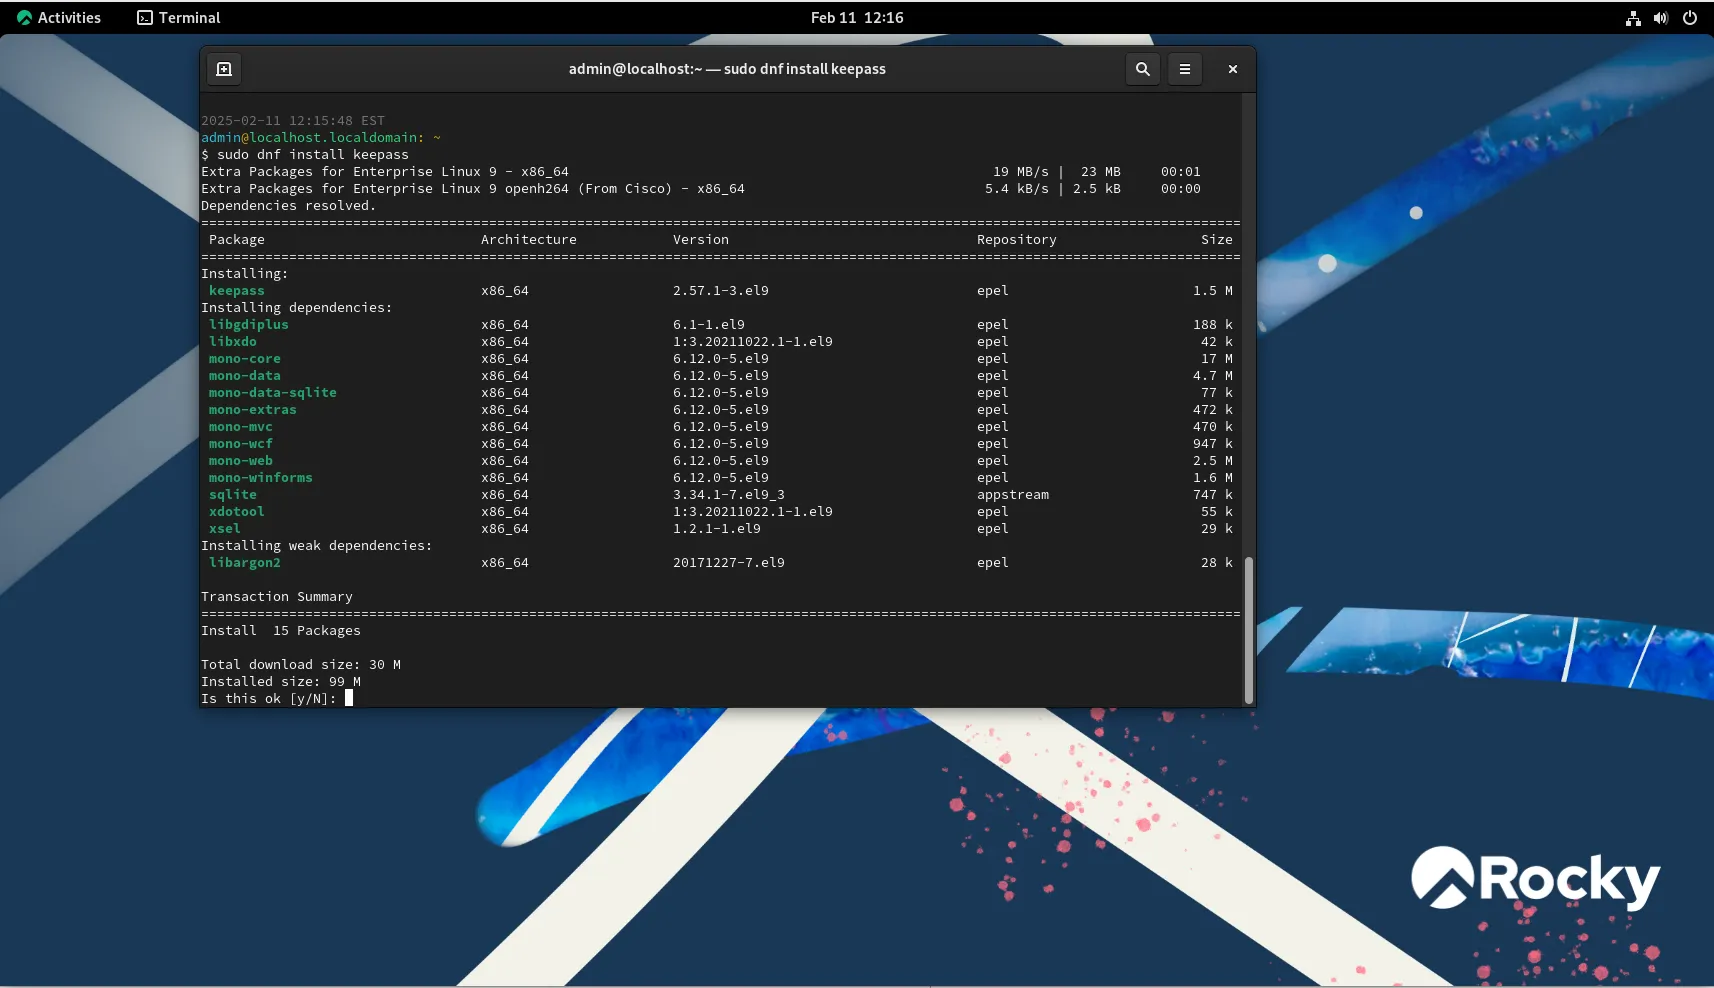
Photo by admingeek from Infotechys
Run the following command to verify the install:
keepass --version
					KeePass 2.57.1
Copyright © 2003-2024 Dominik Reichl
If you prefer to install KeePassXC instead, you may do so via the software catalog:
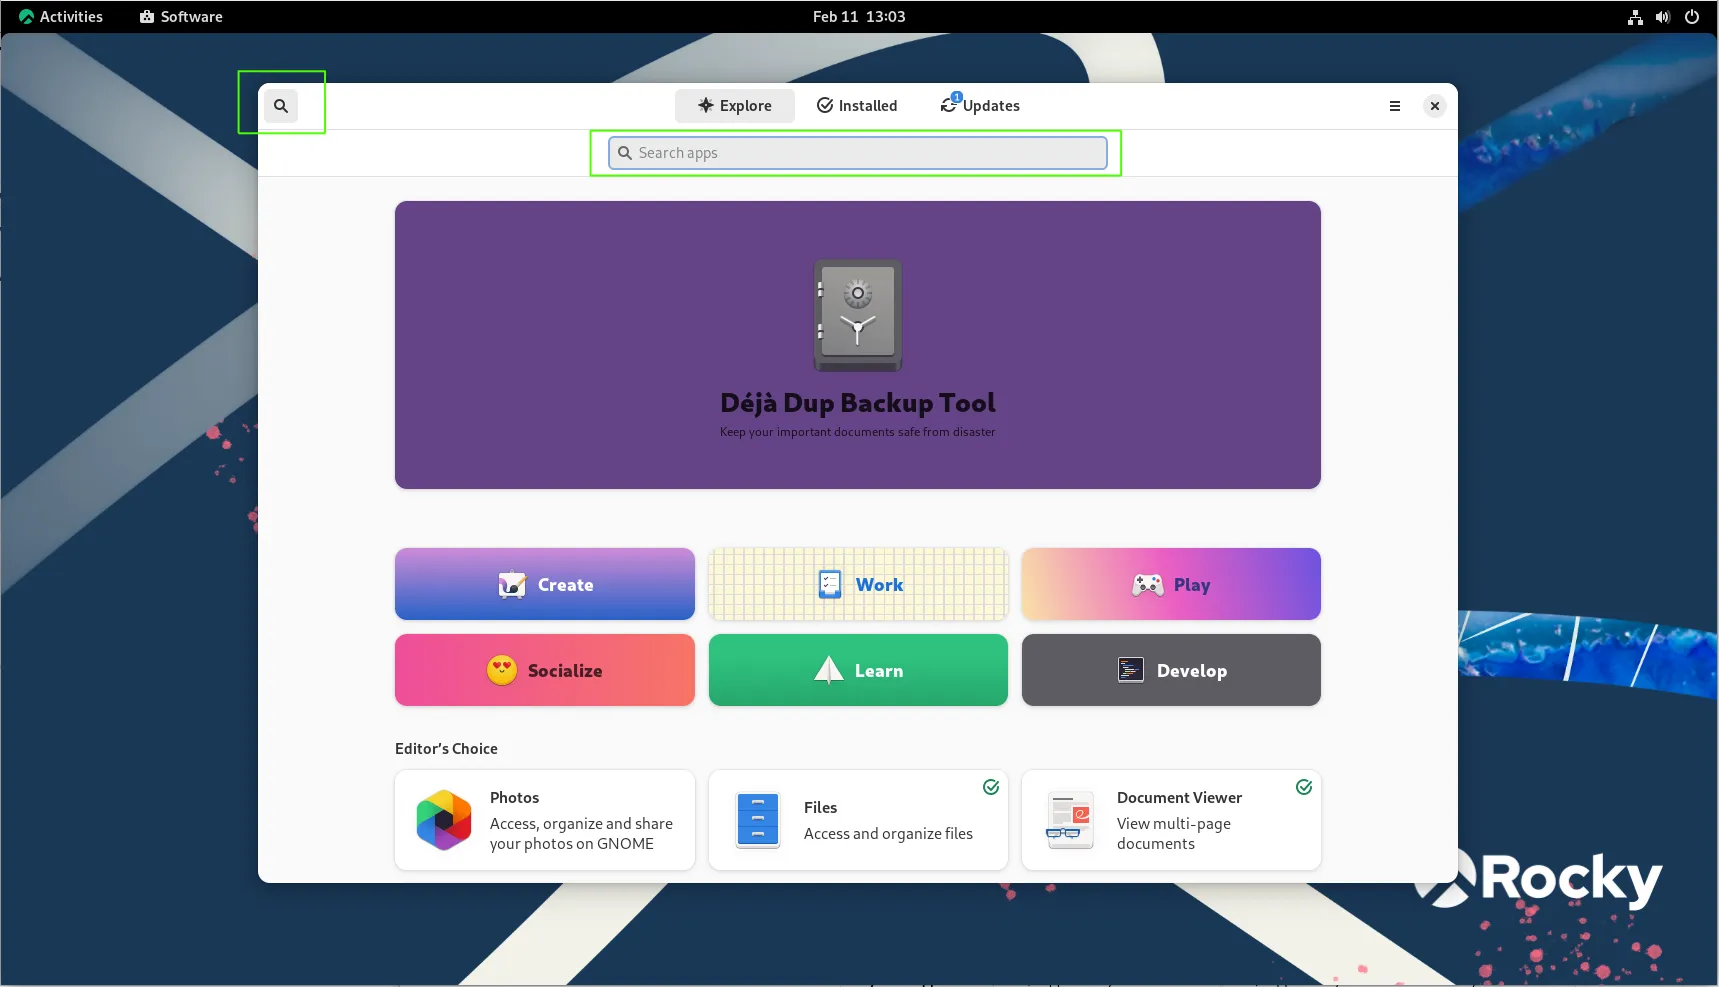
Photo by admingeek from Infotechys
Click the search icon and enter KeePass in the text field (Click on KeePassXC to continue):
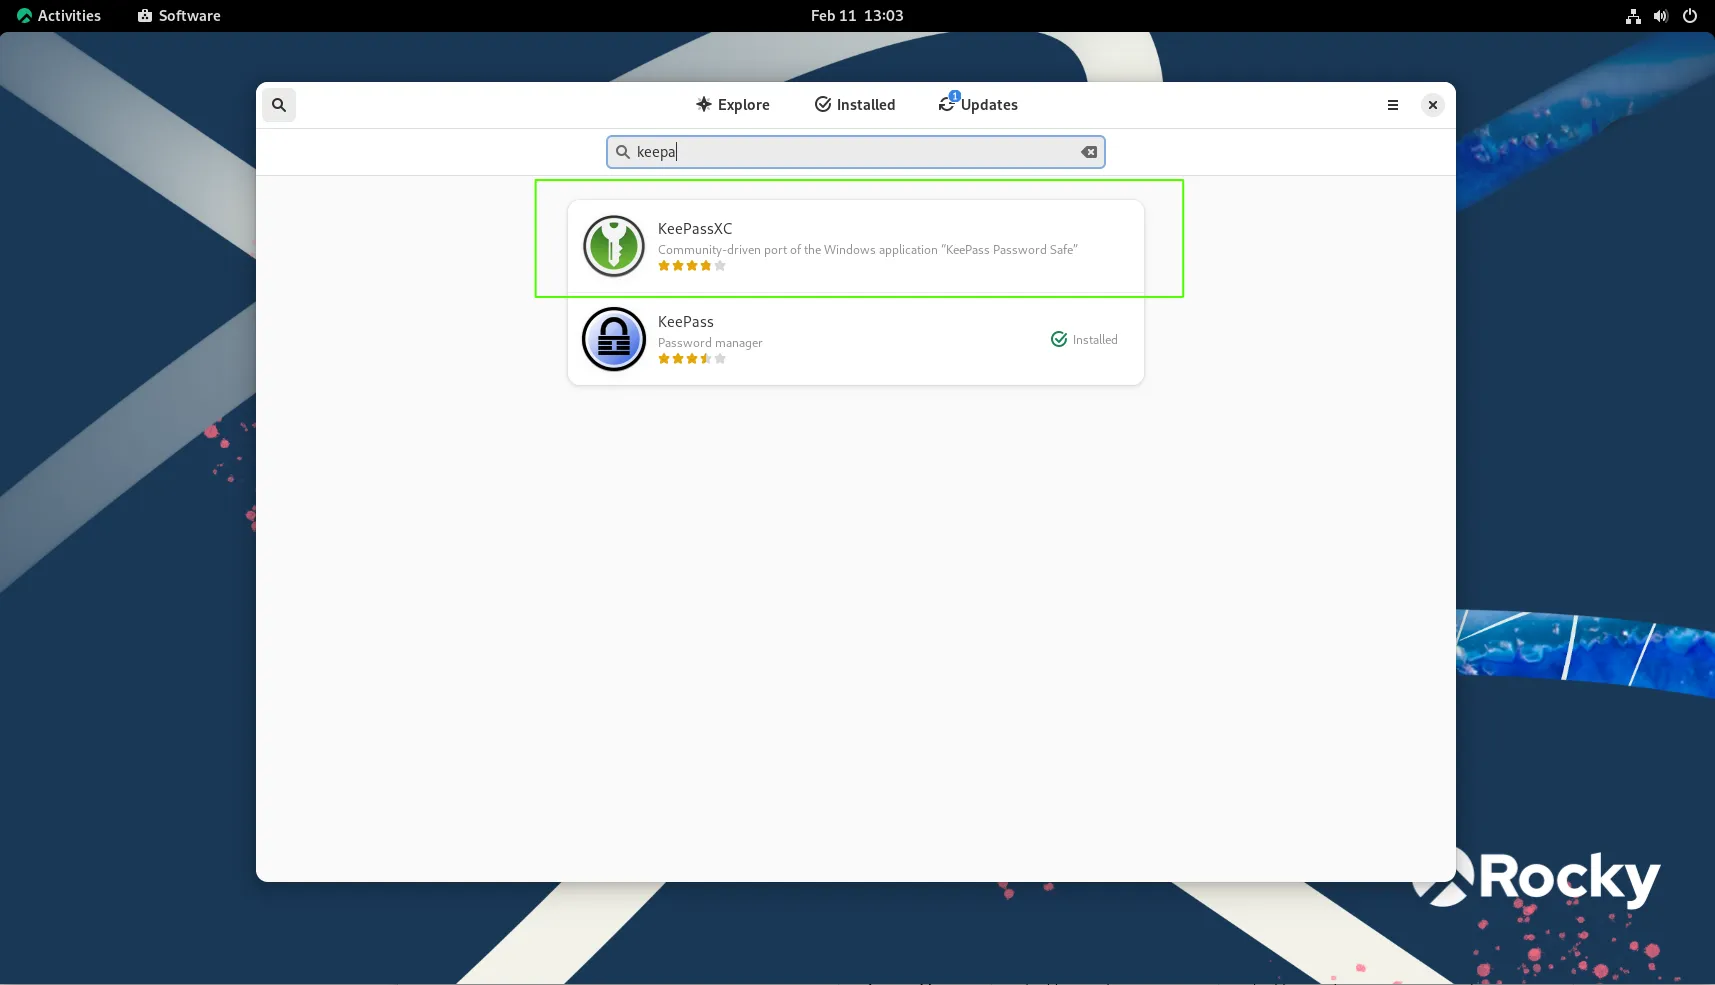
Photo by admingeek from Infotechys
Verify the installation:
keepassxc --version
					Warning: Ignoring XDG_SESSION_TYPE=wayland on Gnome. Use QT_QPA_PLATFORM=wayland to run on Wayland anyway.
KeePassXC 2.7.9
KeePass vs KeePassXC |
Here’s a detailed comparison between KeePass and KeePassXC:
| Feature | KeePass | KeePassXC |
|---|---|---|
| Platform Support | Windows, Linux (via Mono), macOS (via Mono), and portable versions | Linux, Windows, macOS (native support for all platforms) |
| Interface | Windows-based interface, requires Mono for Linux/macOS | Native interface for Linux, Windows, macOS with GTK or Qt |
| Cross-Platform | Limited to Mono for Linux/macOS, less native feel | Fully cross-platform with native GUI for all platforms |
| Database Format | .kdbx format, same as KeePassXC | .kdbx format, fully compatible with KeePass |
| Encryption Standards | AES-256, ChaCha20, and other algorithms | AES-256, ChaCha20, and other algorithms |
| Key File Support | Yes, supports key files for extra security | Yes, supports key files for extra security |
| Password Generator | Built-in password generator | Built-in password generator with more customization options |
| Browser Integration | No native browser extension; can use third-party tools | Native browser extension support (KeePassXC-Browser) |
| Two-Factor Authentication (2FA) | Can store 2FA secrets, but no direct integration | Can store 2FA secrets and generate 2FA codes directly |
| Autotype Support | Yes, allows automatic entry of passwords in supported applications | Yes, allows automatic entry of passwords with added flexibility |
| Portable Version | Available as a standalone .exe file for Windows | Available as a portable version for all platforms |
| Security Features | Strong AES encryption, key files, and password protection | Strong AES encryption, key files, and password protection, but also includes automatic locking and additional features like database encryption options |
| Open-Source | Yes, fully open-source | Yes, fully open-source |
| Integration with External Plugins | Extensive, including some plugins for web integration | Limited integration, but supports some external features through plugins |
| User Interface | Traditional Windows-style interface; can feel clunky on non-Windows platforms | Modern, clean, and user-friendly interface with native look and feel |
| Database Backup | Manual backups, but supports export to other formats | Automatic backups with built-in export options for other formats |
| Configuration & Customization | Less flexible on Linux/macOS, primarily Windows-centric | Highly customizable and configuration-friendly across all platforms |
|
|
Both tools provide robust password management features, but KeePassXC offers a more modern, cross-platform experience with greater native support and additional features like direct 2FA code generation and a browser extension.
Step 4: Run KeePass |
Once the installation is complete, you can run KeePass either by executing the command directly in the terminal or via the applications (“Activities”) menu. To run KeePass, simply type keepass and then hit [Enter] in the terminal:
keepass
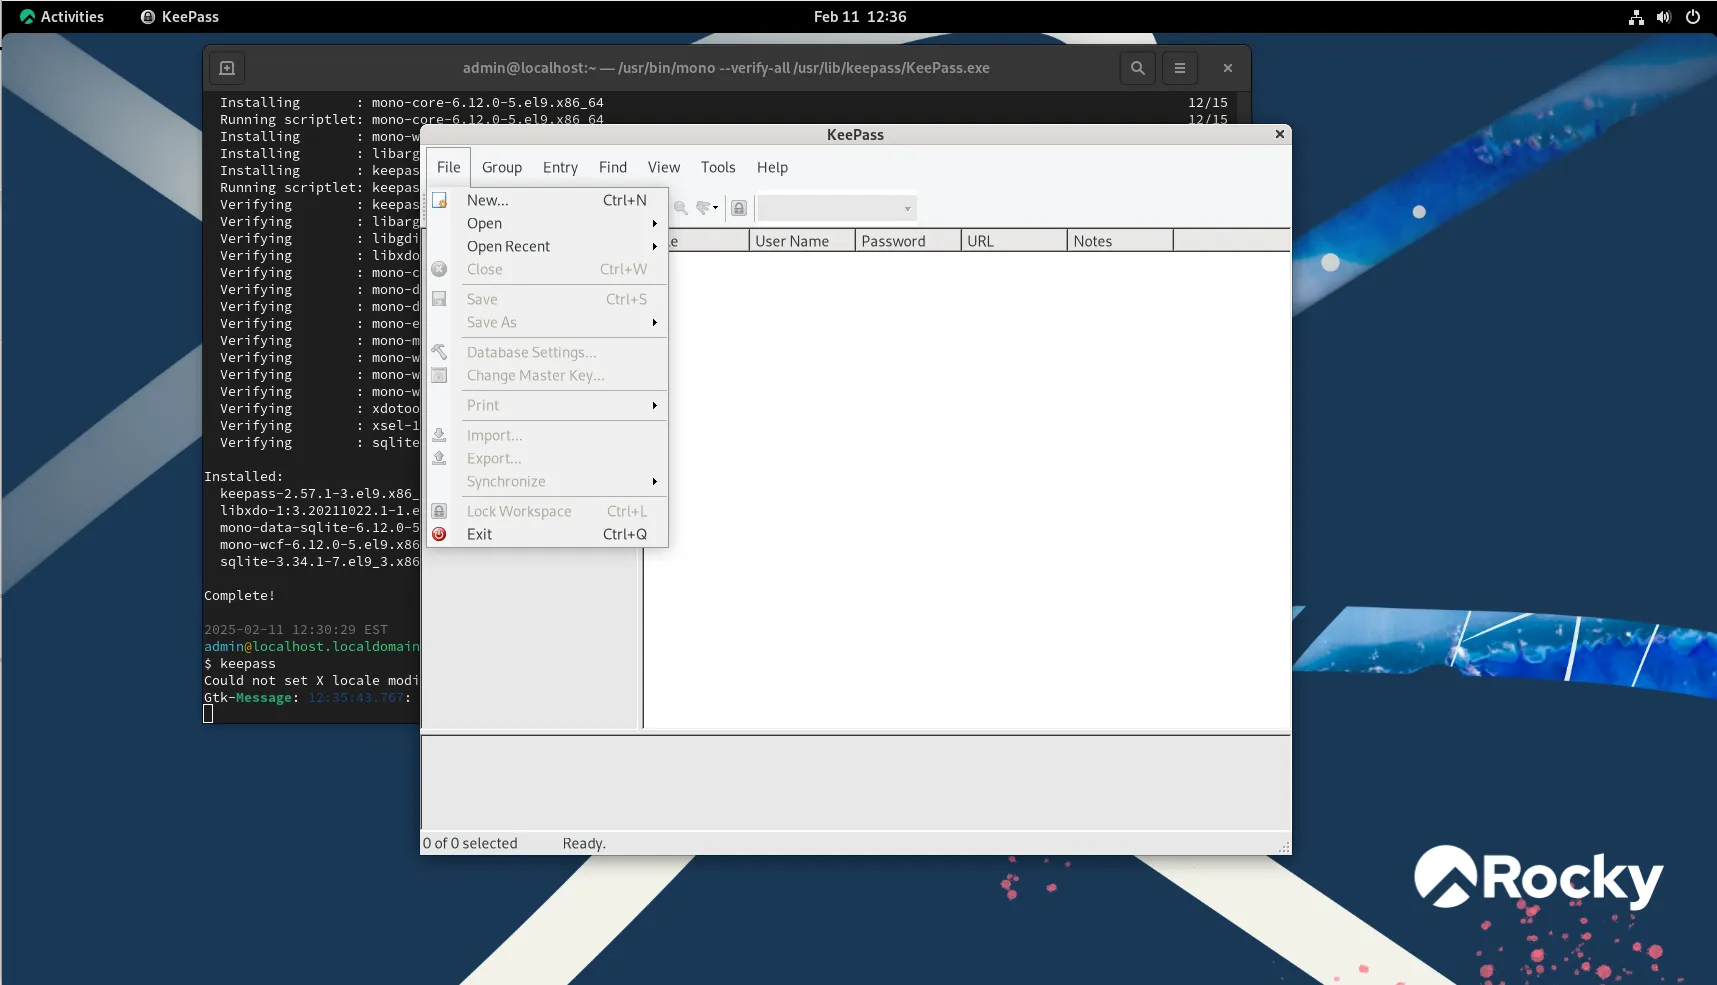
Photo by admingeek from Infotechys
To run KeePassXC:
keepassxc

Photo by admingeek from Infotechys
Alternatively, launch it from your application (“Activities”) menu:
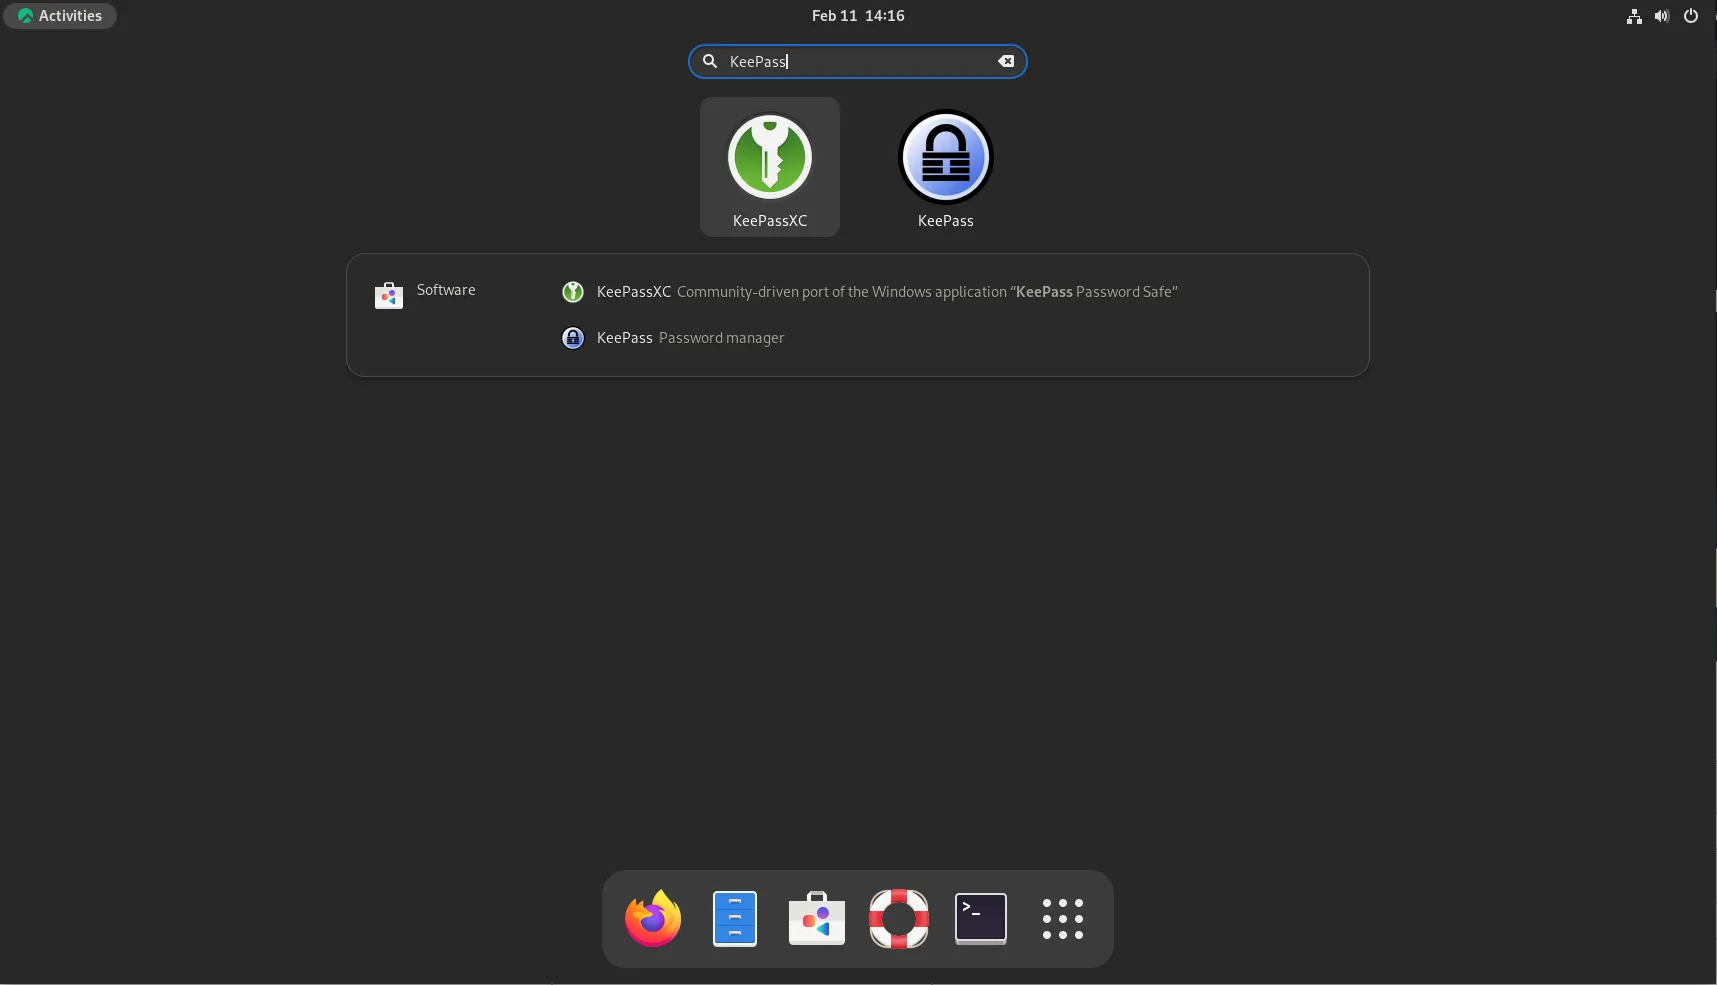
Photo by admingeek from Infotechys
Step 5: Create a Password Database |
When you first launch KeePass, you’ll be prompted to create a new password database or open an existing one. If you don’t already have a database, follow these steps:
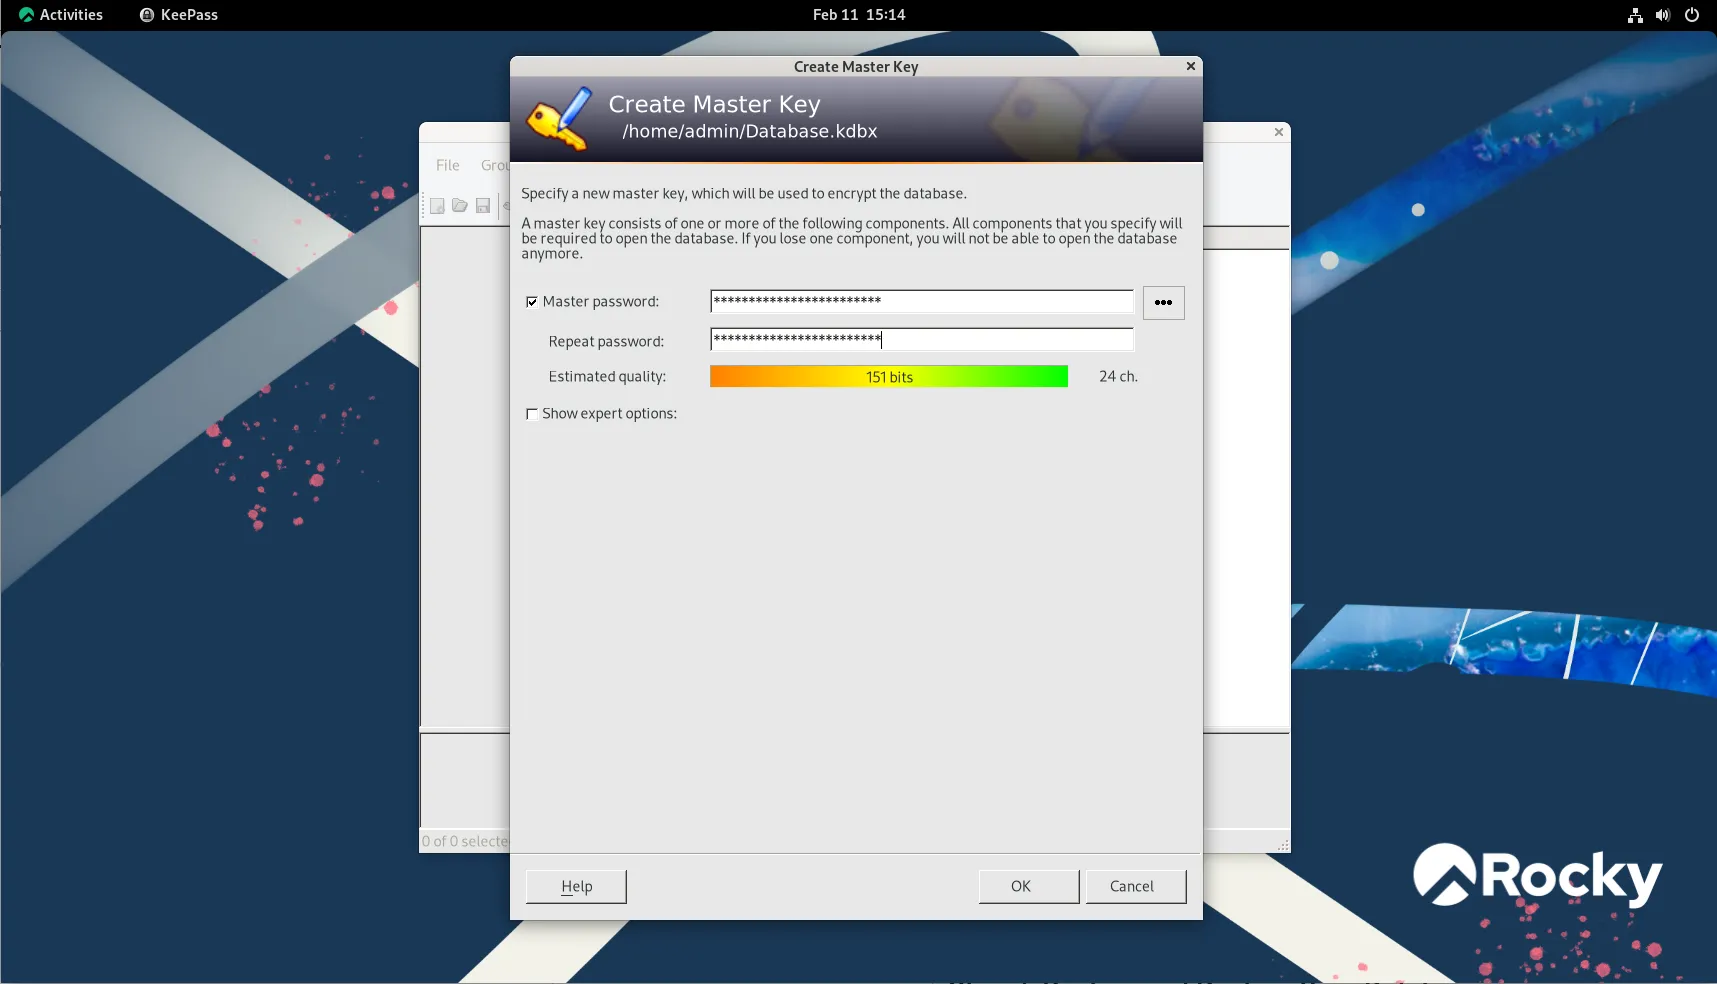
Photo by admingeek from Infotechys
Step 6: Create a .key File for Database Access |
In addition to using a master password to unlock your KeePass database, you can enhance security by using a key file. A key file is an additional layer of protection, which must be provided along with your master password to access the database. To create a key file:
Generate the Key File: You can use the openssl command to generate a random key file. Run the following command to create a 32-byte key file:
openssl rand -out keepass.key 32
This will generate a file called keepass.key, which contains the key data used to unlock your KeePass database. You can also generate a .key file from KeePass by clicking the Show expert options: checkbox and the Create... button:
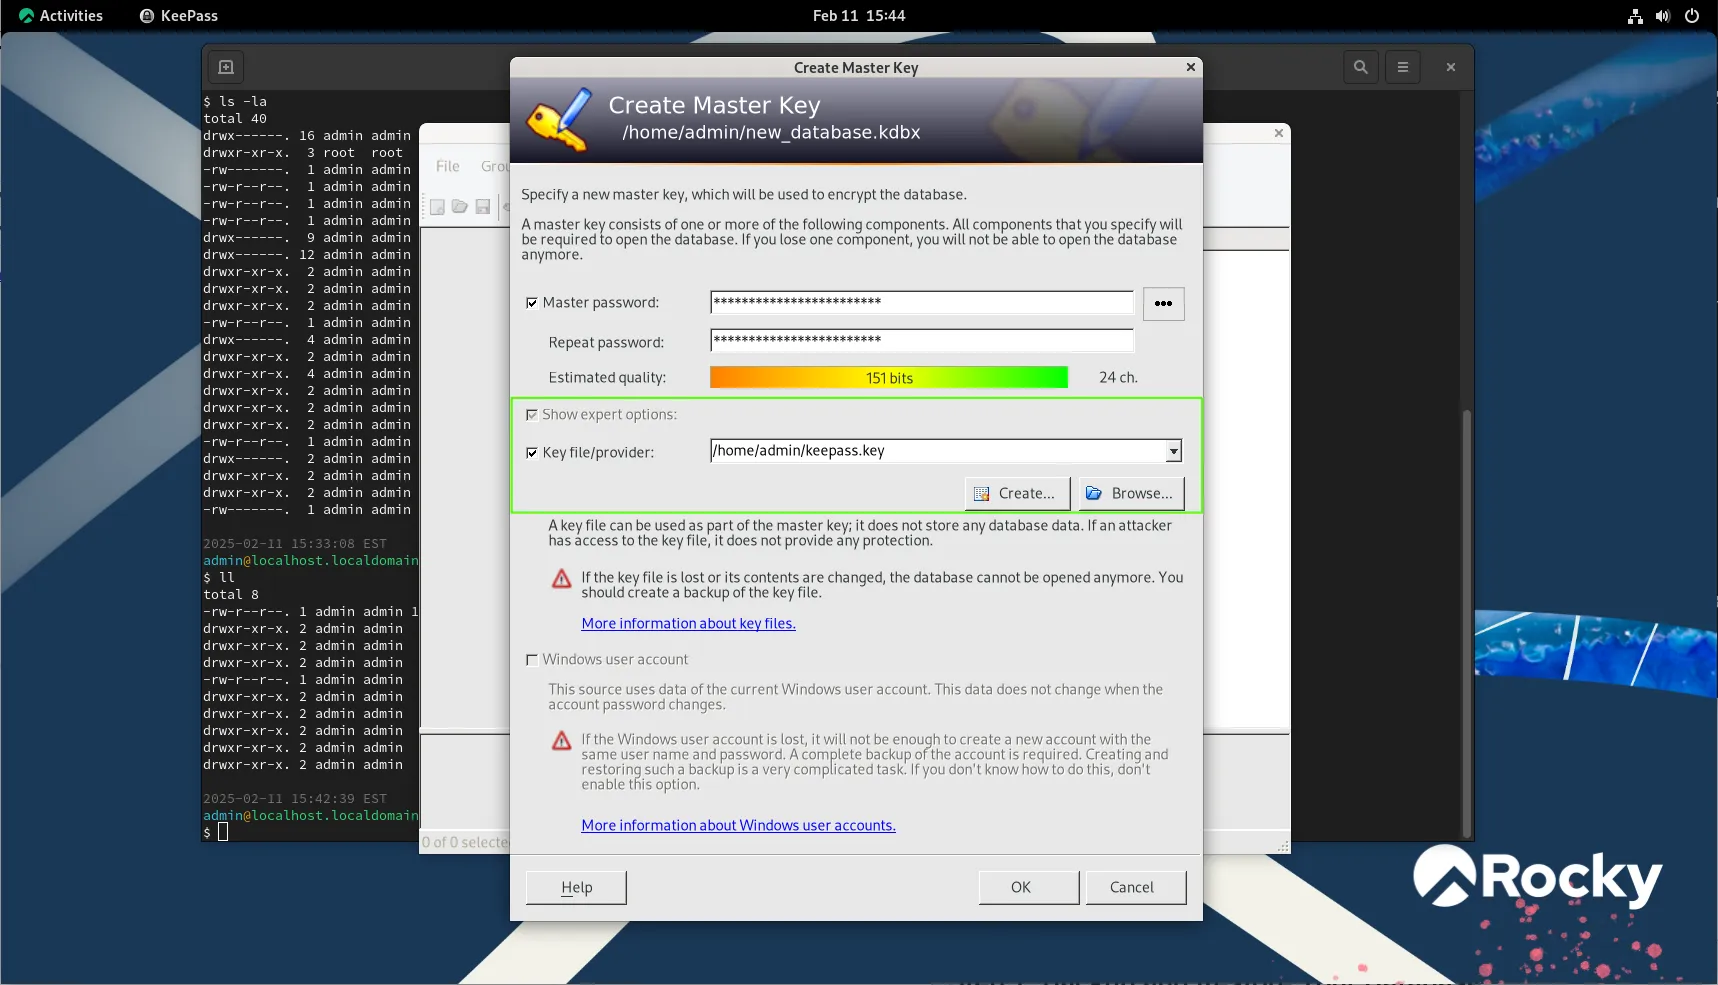
Photo by admingeek from Infotechys
Link the Key File to Your Database:
keepass.key file you generated earlier.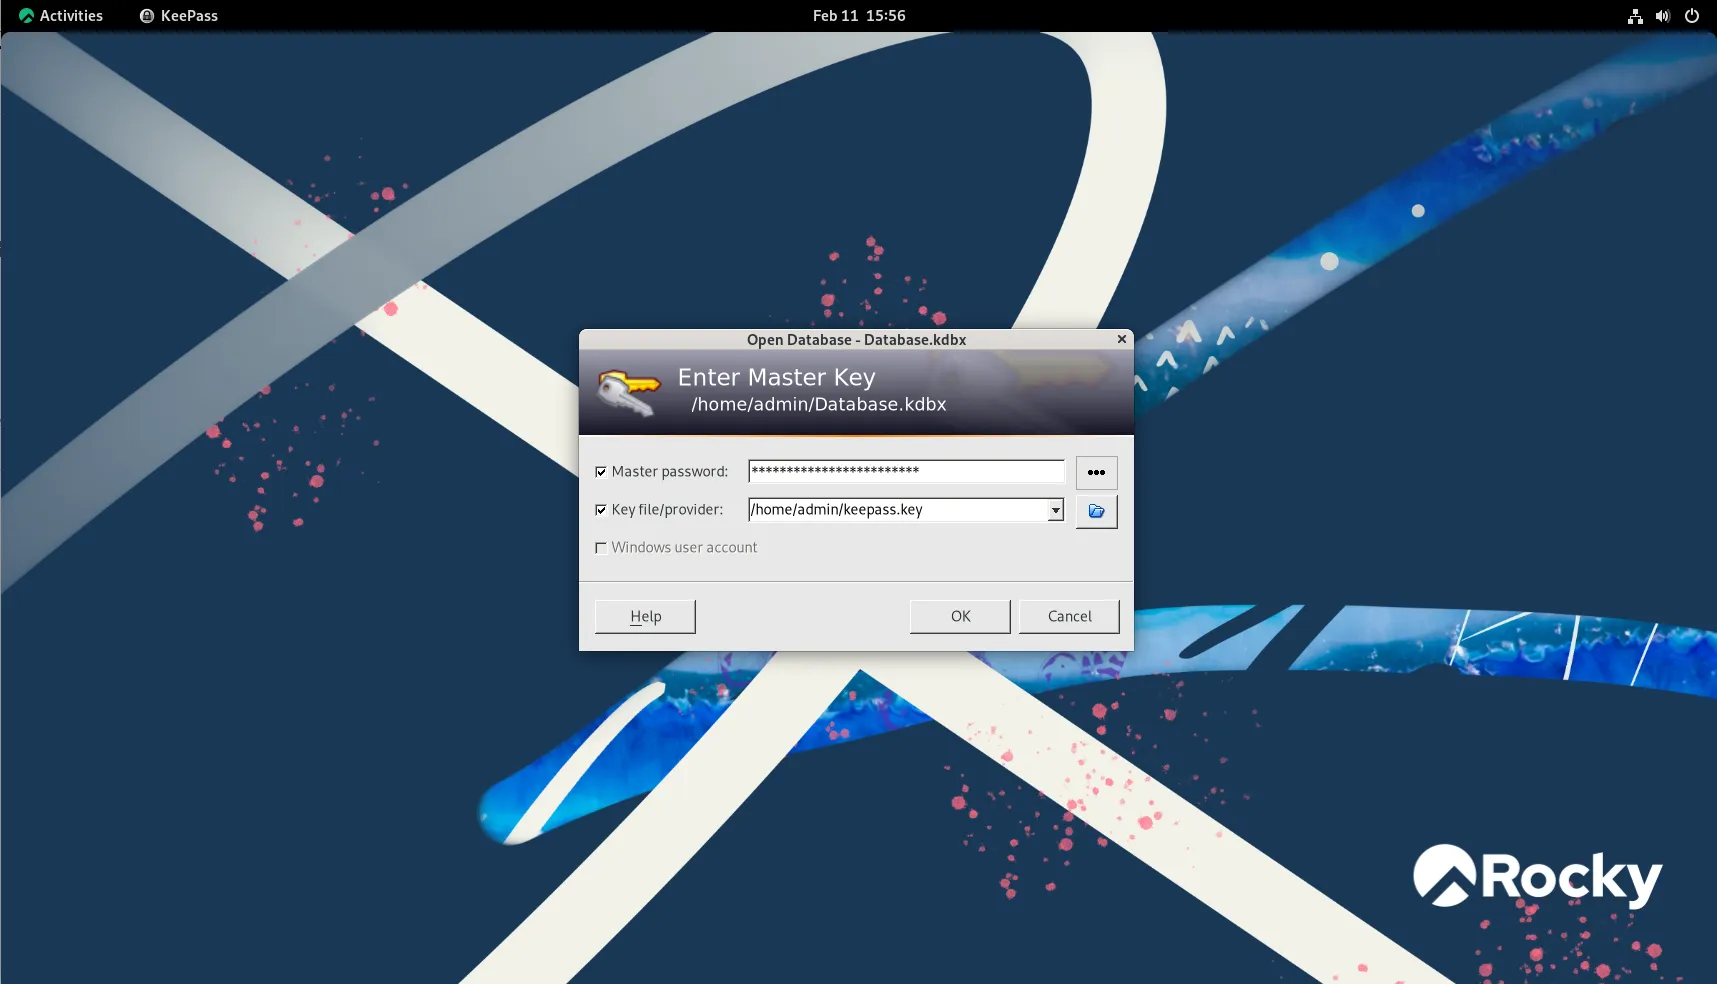
Photo by admingeek from Infotechys
This key file must now be present each time you want to open the KeePass database.
Secure Your Key File: It’s important to store your key file in a secure location. For example, you could store it on an encrypted USB stick or in a secure cloud storage solution. Never store your key file in the same location as your password database for added security.
Step 7: Backup and Restore Your Database |
KeePass makes it easy to back up and restore your password database. You can simply copy the .kdbx file (the KeePass database) to another location for backup. To restore a database, just open KeePass and select “File” -> “Open” to load the backup file.
Additional Tips for Secure Usage |
Issue 1: KeePass Won’t Launch |
If KeePass does not launch, ensure that Mono is installed correctly and that you have the latest version of KeePass. You may also try running KeePass in a different terminal window or checking for any missing dependencies.
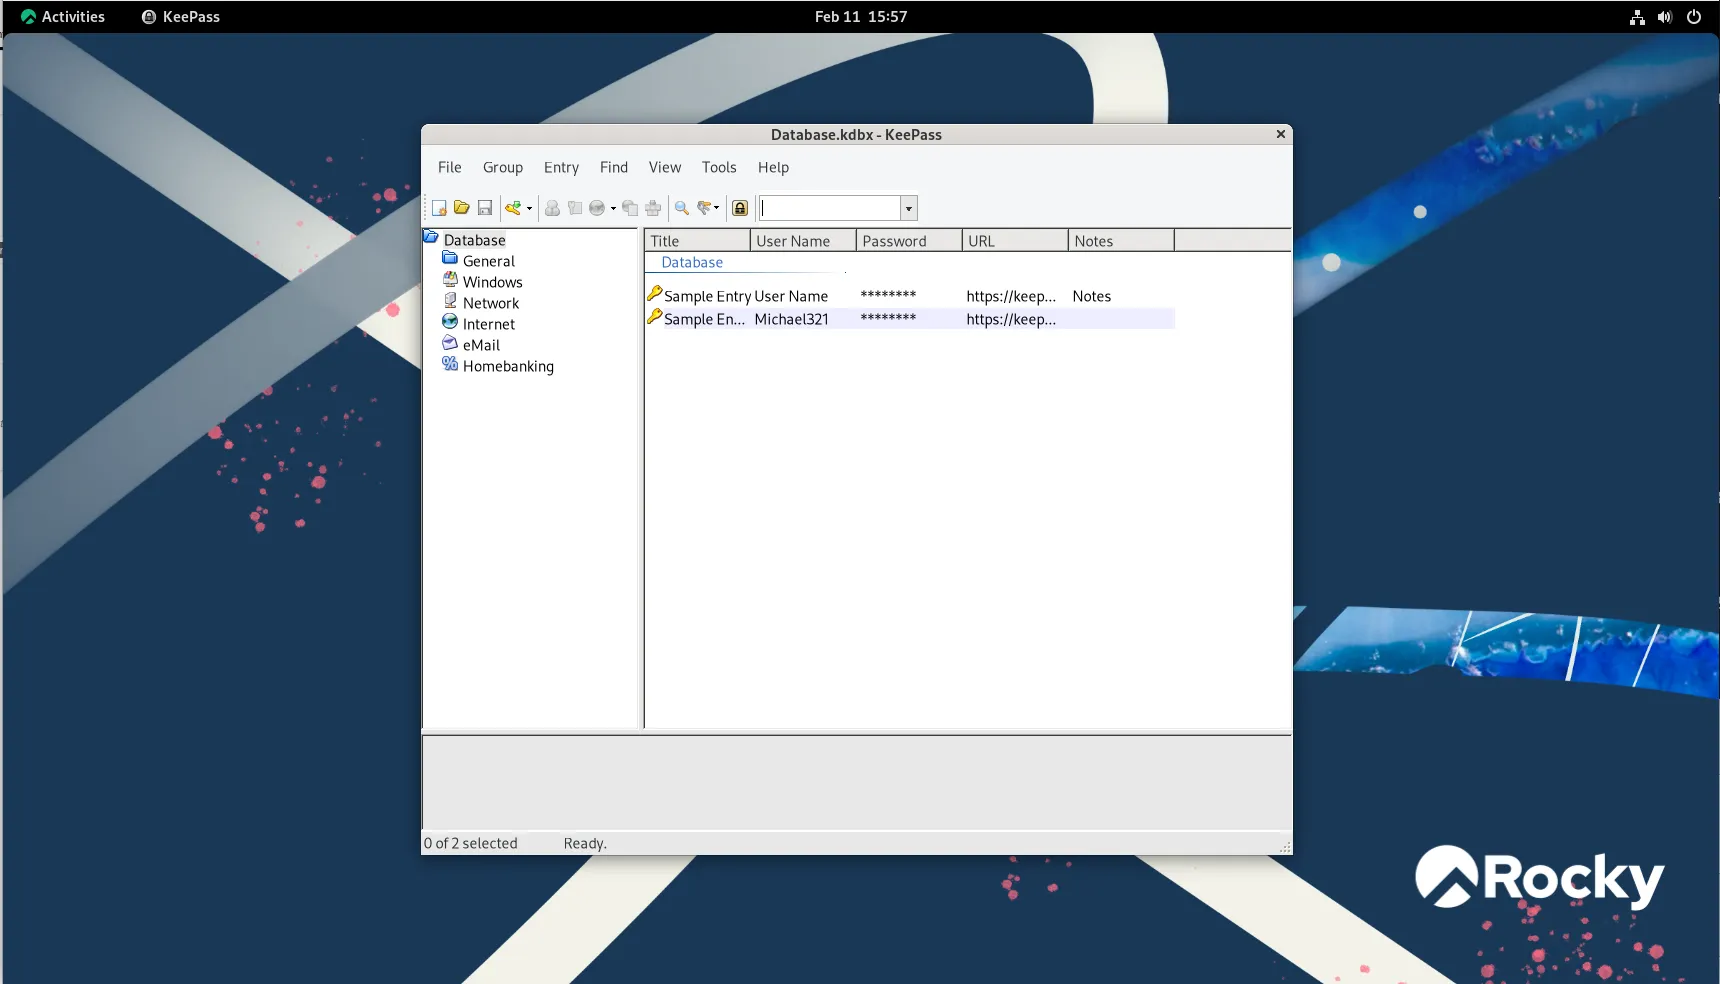
Photo by admingeek from Infotechys
Issue 2: Database Not Opening |
If you cannot open your KeePass database, make sure you’re entering the correct master password. If you’ve forgotten it, KeePass does not provide a password recovery option, so be sure to store your master password securely.
Issue 3: Invalid Key File |
If you receive an error about an invalid key file, ensure that the key file is correctly linked to your KeePass database and that it is stored securely. You can try generating a new key file and re-linking it.
KeePass is a powerful password management tool that can help keep your sensitive information secure on Rocky Linux 9.5. By following the steps in this guide, you can quickly install KeePass, create a key file for added security, and begin protecting your passwords with strong encryption. Remember to regularly back up your database and keep your system up-to-date to ensure the best possible security.
With KeePass running on your system, you’ll have peace of mind knowing that your passwords are stored in a secure, encrypted database. Whether you’re managing passwords for work, personal accounts, or both, KeePass is an excellent choice for anyone looking to improve their security posture.
Did you find this article useful? Your feedback is invaluable to us! Please feel free to share this post!
Learn how to successfully install KeePassXC on RHEL 9 or CentOS 9 for efficient password management and security. Table of Contents Introduction KeePassXC is a

Learn how to install and configure IPA/IdM on RHEL 9 and CentOS 9. This comprehensive guide covers prerequisites, step-by-step installation, user management, and enabling 2FA