
When it comes to popular text editors for Linux, text editors are like wallets. Everybody’s got one and more importantly, everyone’s choice of a text
In this tutorial, we will install gedit on CentOS7. We are going to use yum for the installation so it’s a straightforward process. The same procedure works for installing gedit on a Red Hat Enterprise Linux 7 (RHEL) machine.
Gedit is a general-purpose text editor designed for the GNOME desktop environment. Therefore, if your CentOS7 machine is a GNOME desktop instance, you likely already have gedit installed. It made our list of “Popular text editors for Linux” and it’s available for the Windows and Mac operating systems. However, this tutorial will focus on the gedit install for Linux distributions and specifically, a CentOS7 Linux machine.
Before we begin, this tutorial assumes you already have a Linux or Debian-based distribution (Red Hat7 or CentOS7) installed and running a user account with sudo privileges to become the root user. To check if gedit is already installed on your machine, run the following command (below) to display the running version.
[admin@vm2 ~]$ gedit --version
If you’re running a server instance of CentOS7, you will also need to ensure you have the xorg-x11 packages installed. This will allow X11 forwarding and enable a graphical display on your machine. The gedit application will fail to launch without X display enabled. If you are running a desktop instance, skip this section and proceed to the “Gedit Installation” section.
To check if X display is enabled on your machine, first, SSH with the -X or -Y option (depending on your security settings) to the target host. Then, run the following command (below):
					[tommy.langford@infotechys-t1 ~]$ ssh -XY admin@vm2
[admin@vm2 ~]$ echo $DISPLAY
localhost:10.0
The echo $DISPLAY command should output something like what’s displayed above. If you do not receive an output, then, install the following xorg-x11 package(s) (below):
[admin@vm2 ~]$ sudo yum -y install xorg-x11-xauth xorg-x11-apps
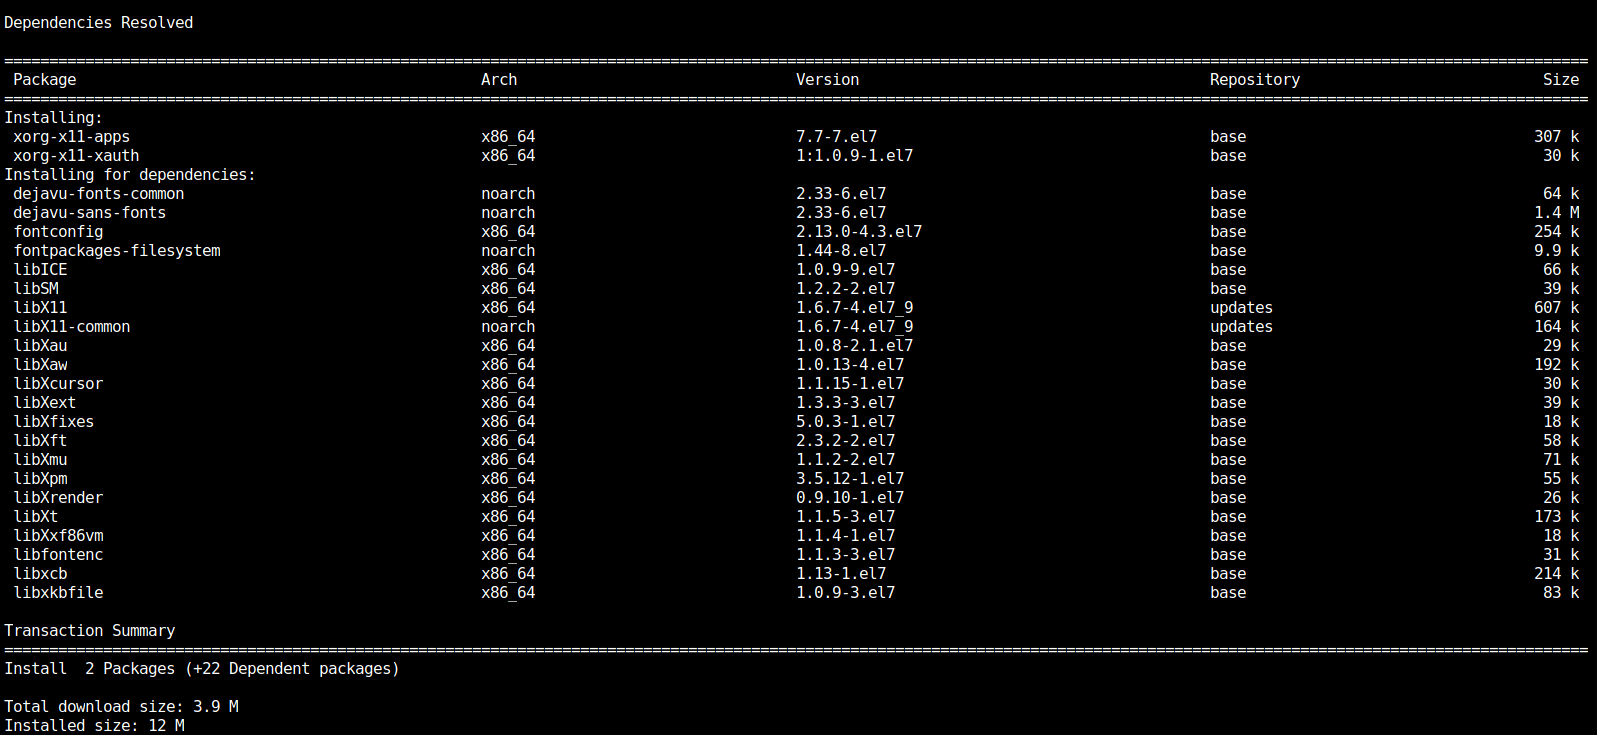
Photo by admingeek from Infotechys
echo $DISPLAY command again or the xeyes command (illustrated below):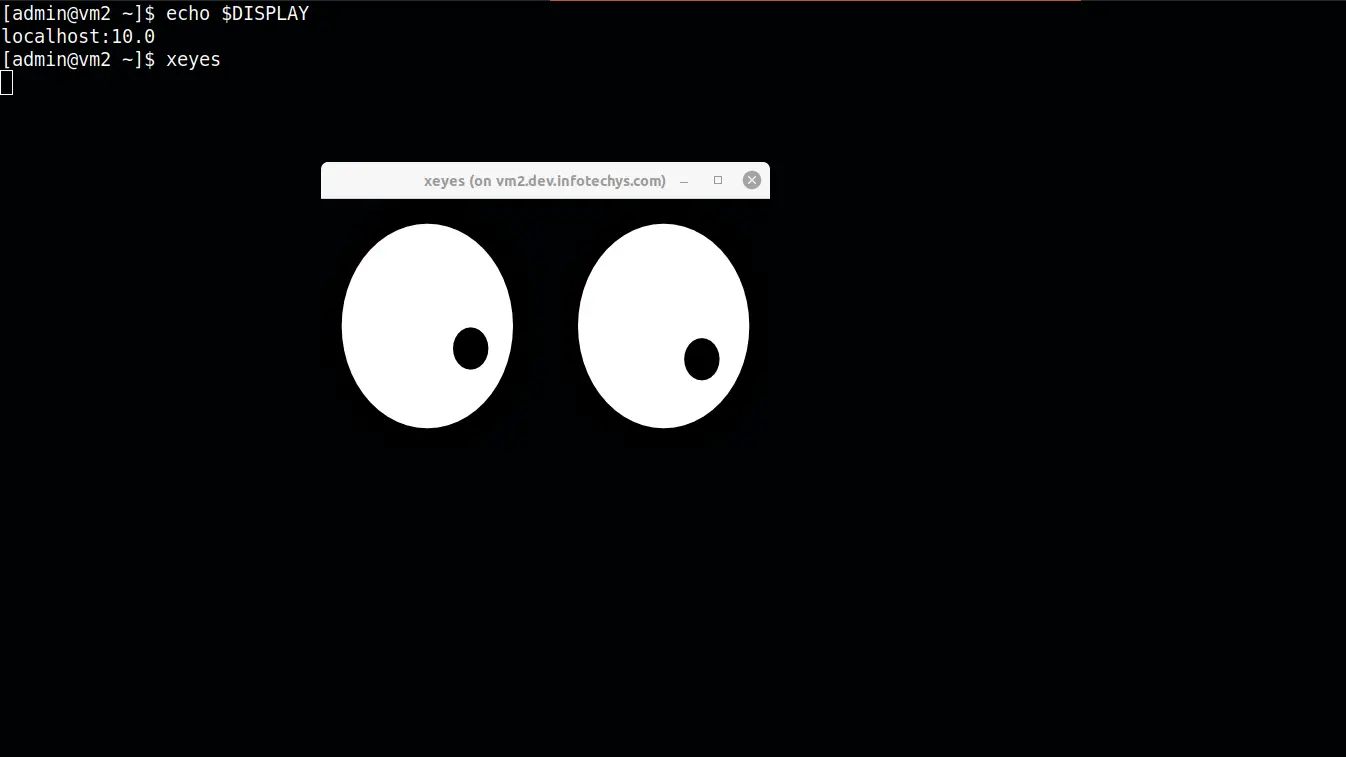
Photo by admingeek from Infotechys
Now that we’ve verified X11 is installed and running properly, let’s proceed with the gedit installation using yum (below):
					[admin@vm2 ~]$ sudo yum -y install gedit
[sudo] password for admin:
...
Transaction Summary
=================================================================================================================
Install 1 Package (+104 Dependent packages)
Total download size: 42 M
Installed size: 132 M
As you can see (above), gedit requires quite a few dependent packages in order to install properly.
Once the gedit installation is complete, it is now time to launch the application. Let’s proceed with opening a test file called testfile1.txt using gedit (below):
[admin@vm2 ~]$ gedit testfile1.txt
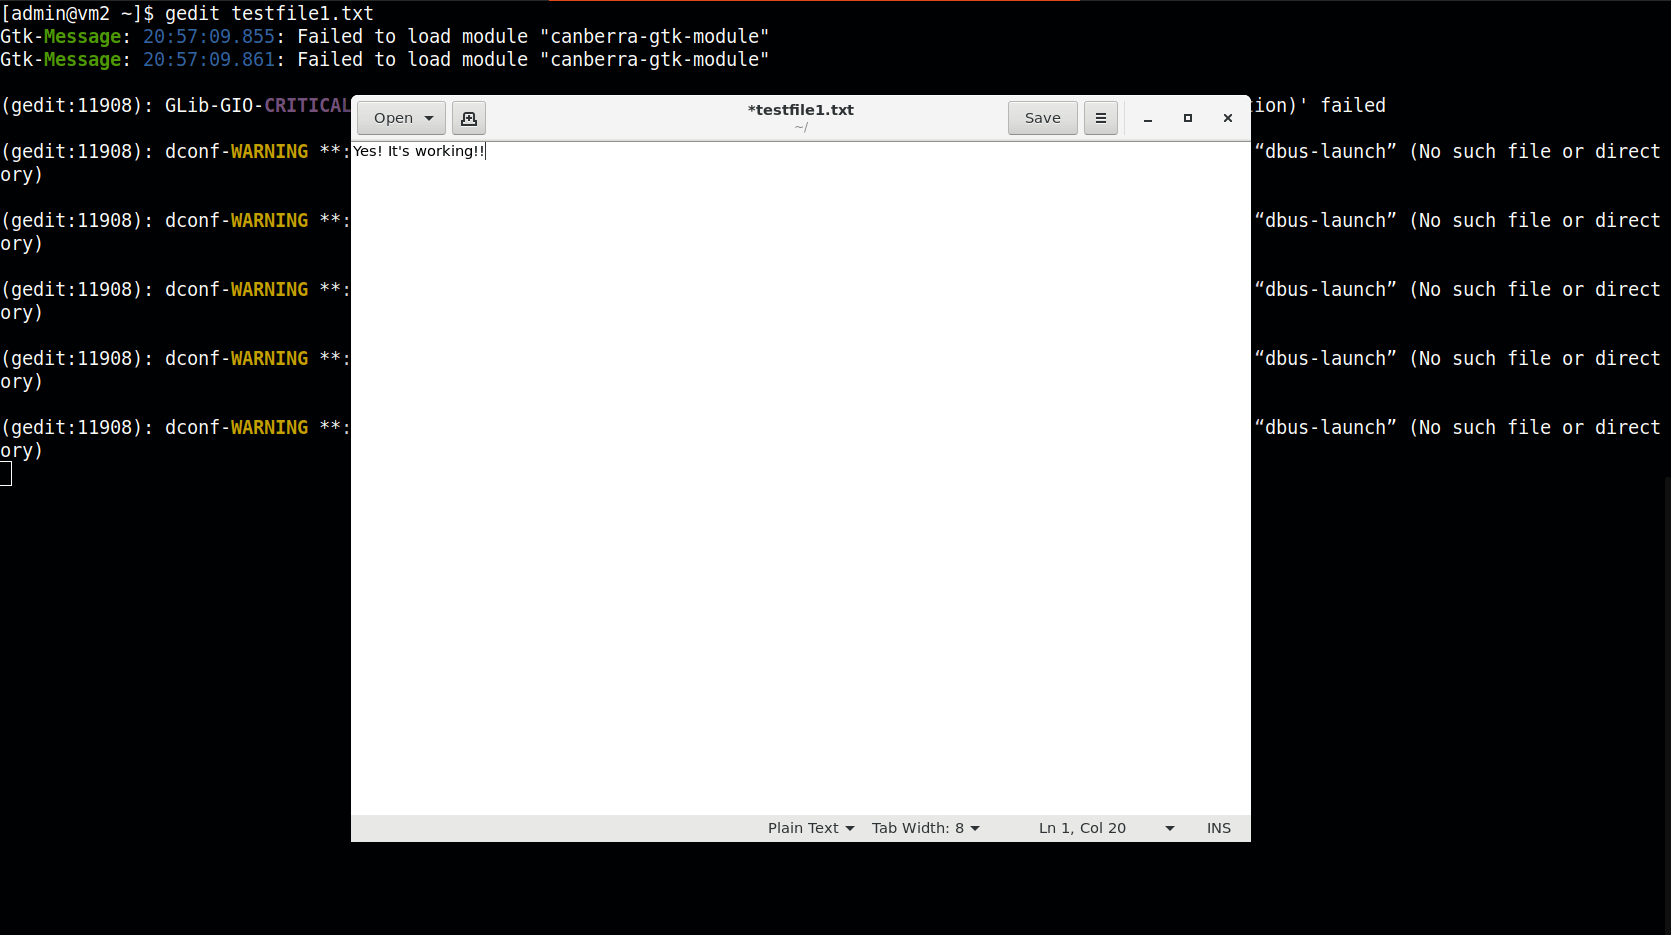
Photo by admingeek from Infotechys
Related Posts

When it comes to popular text editors for Linux, text editors are like wallets. Everybody’s got one and more importantly, everyone’s choice of a text
In this article, we review how to install VSCode on CentOS 7, providing step-by-step instructions to ensure a seamless setup of the Visual Studio Code
In this article, we will review how to install Gedit on RHEL8 or CentOS8. Whether you’re a developer, writer, or simply someone who frequently works
