Commands
In this article, we will review the installation process for Eclipse IDE on CentOS8. The same procedure can apply to RHEL8 as they are similar operating

In this article, we will review the installation process for Eclipse IDE on CentOS8. The same procedure can apply to RHEL8 as they are similar operating
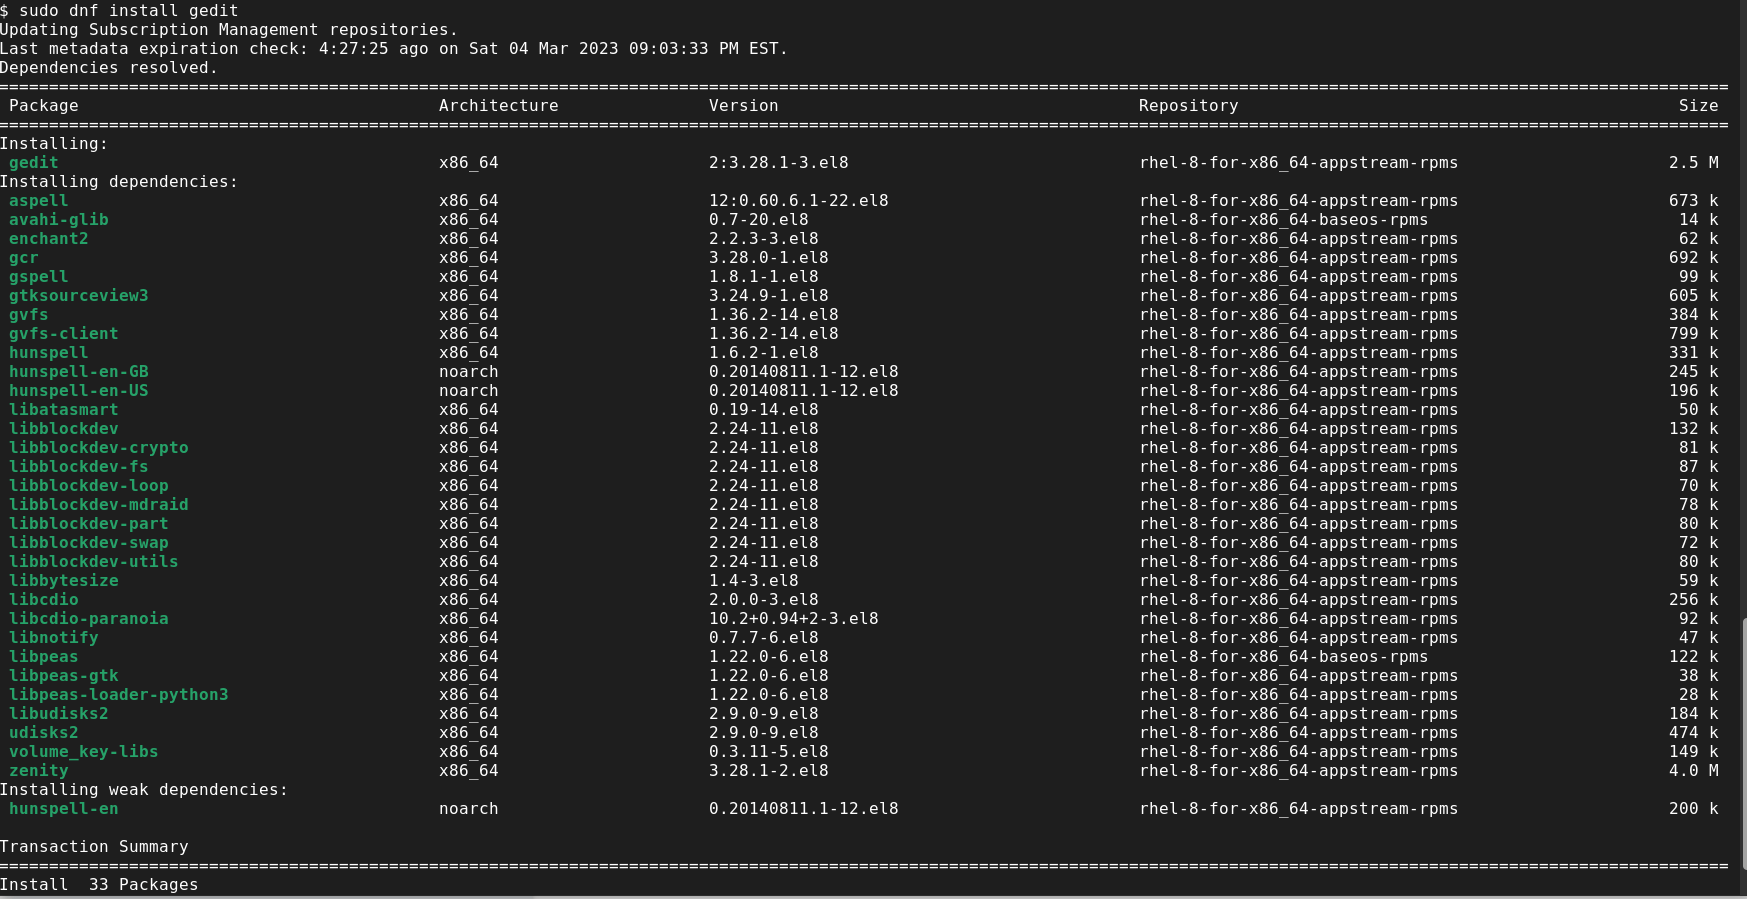
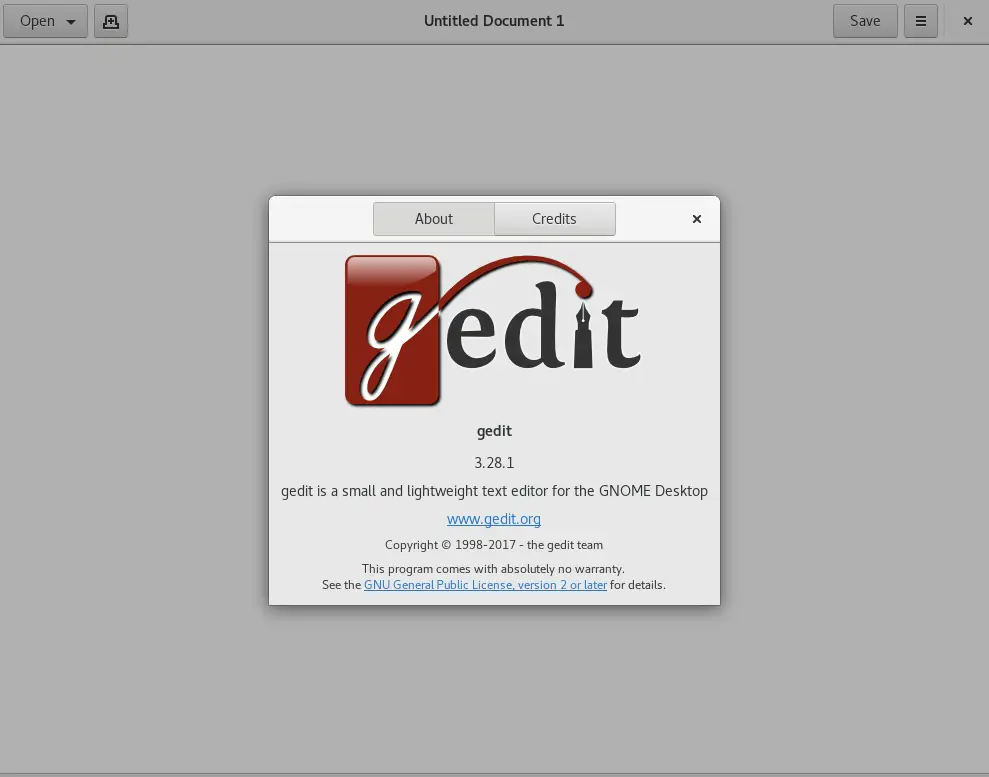
In this tutorial, we will install gedit on CentOS7. We are going to use yum for the installation so it’s a straightforward process. The same

In this tutorial, we will install Komodo Editor on CentOS8. Granted, it can be installed on any Linux distribution (rpm-based or Debian distro). However, we