This article examines how to install NICE DCV on CentOS9 and it’s written to accommodate a virtual instance without an NVIDIA graphics card installed. Table
This article delves into how to install Brave Browser on Fedora 39, ensuring you can surf the web with confidence and efficiency.
In the ever-evolving landscape of web browsers, finding one that balances speed, security, and privacy can be a daunting task. However, Brave Browser has emerged as a promising option for users seeking a robust browsing experience. If you’re a Fedora 39 user eager to explore this browser’s features, you’re in the right place.
Without further delay, let’s dive right in and begin the installation process.
To begin, launch the Terminal on your Fedora 39 system. Navigate to the tiny bar icon on the top-left corner of your desktop and begin searching for “Terminal” in the application launcher.
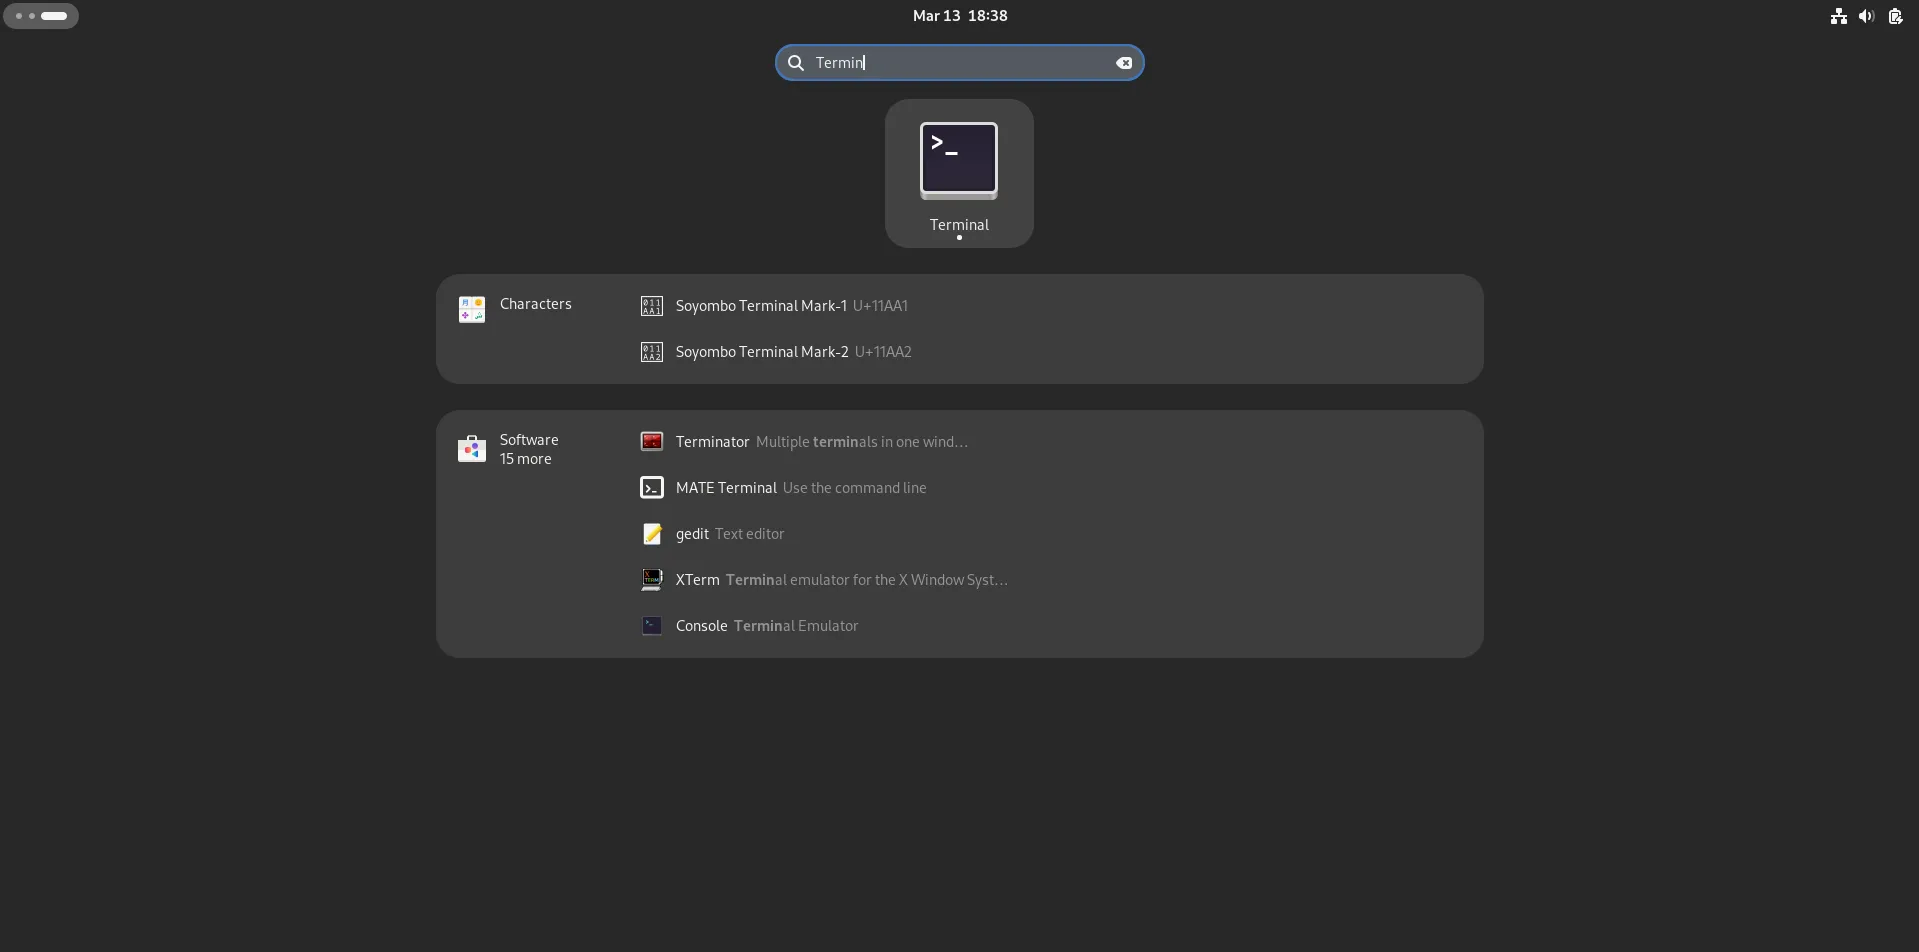
Photo by admingeek from Infotechys
Before installing any new software, it’s essential to ensure your system’s package repositories are up to date. Execute the following command in the Terminal to update the package lists:
sudo dnf update
You will be prompted to enter your password for the sudo privilege to run this command as root. Once entered, Fedora will check for available updates and prompt you to install them if necessary.
Next, we need to add the official Brave Browser repository to Fedora’s package manager. Run the following command in the Terminal to import the repository’s GPG key:
sudo rpm --import https://brave-browser-rpm-release.s3.brave.com/brave-core.asc
Once the key is imported, add the Brave Browser repository with the following command:
sudo dnf config-manager --add-repo https://brave-browser-rpm-release.s3.brave.com/x86_64/
With the repository added, you can now install Brave Browser on your Fedora 39 system. Execute the following command in the Terminal:
sudo dnf install brave-browser
Confirm the installation by typing “y” when prompted, and press Enter. Fedora will download and install Brave Browser along with any necessary dependencies.
Once the installation is complete, you can launch Brave Browser from the application launcher or by typing “brave-browser” in the Terminal. Upon launching, you’ll be greeted by the Brave welcome screen, where you can customize your browsing experience, set Brave as your default browser, or import settings from other browsers if desired.
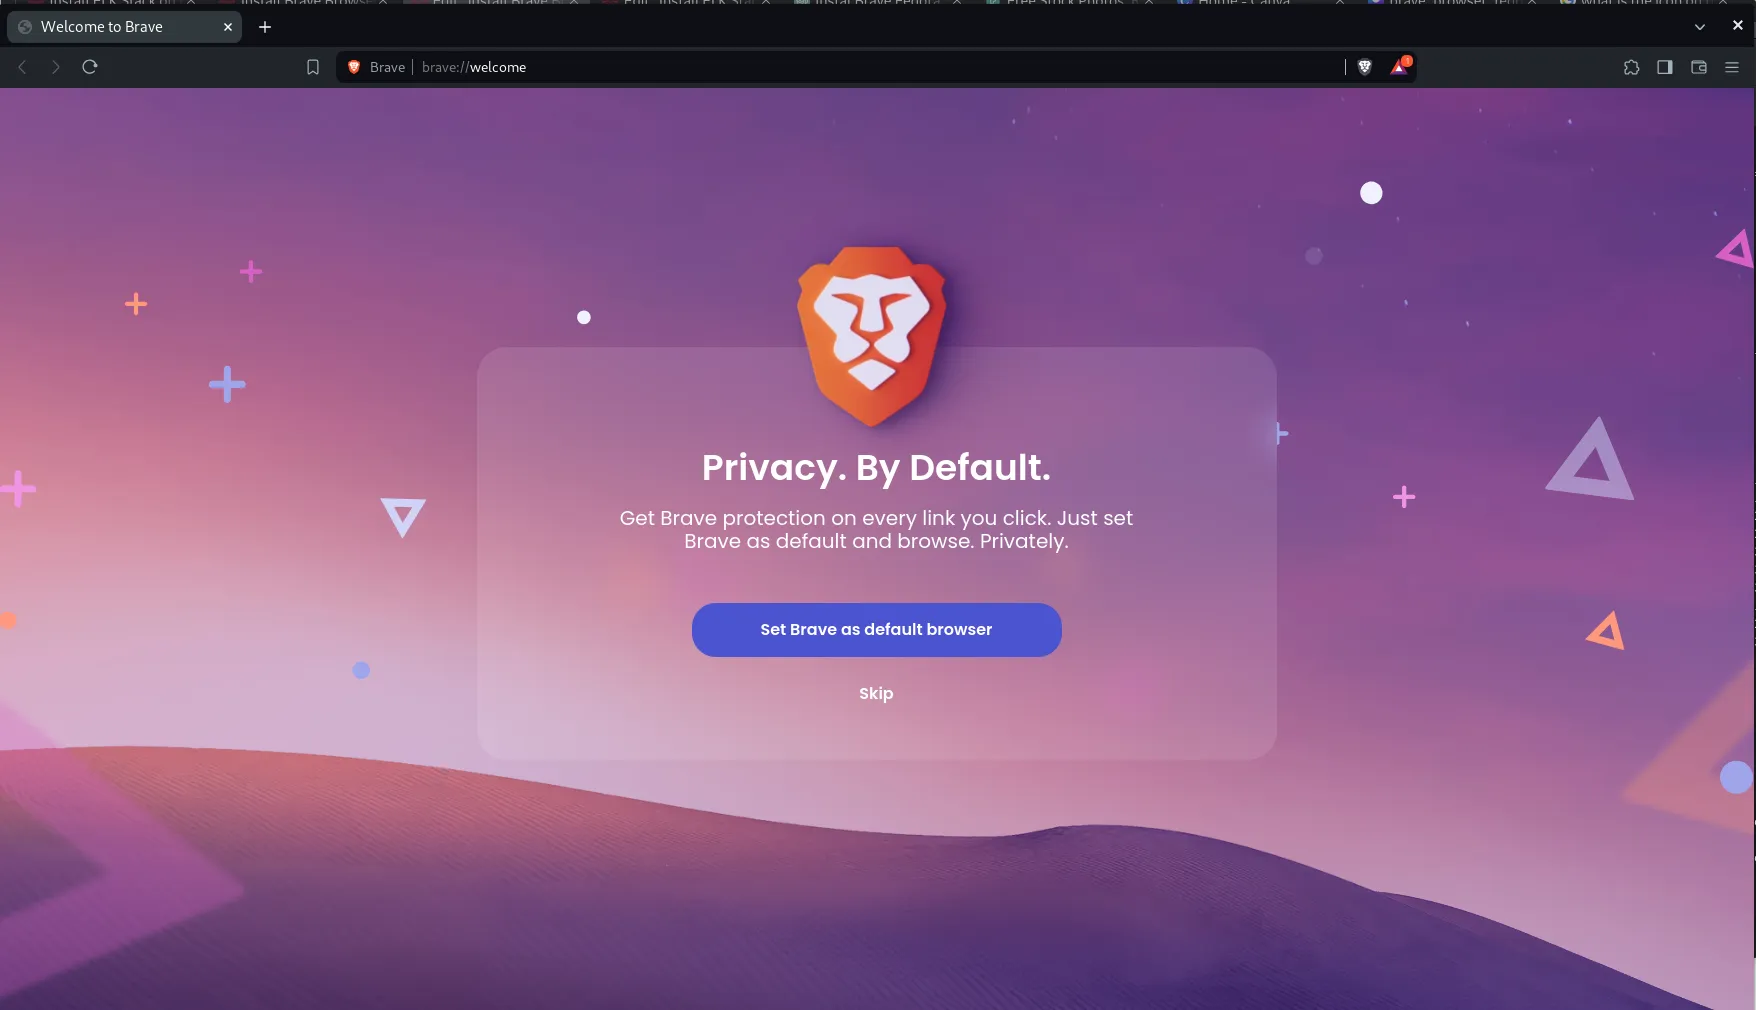
Photo by admingeek from Infotechys
Congratulations! You’ve successfully installed Brave Browser on your Fedora 39 system. With its built-in ad-blocking, tracking prevention, and HTTPS Everywhere, Brave offers a secure and private browsing experience out of the box. Explore its features, tweak settings to your liking, and enjoy faster, safer browsing on Fedora 39.
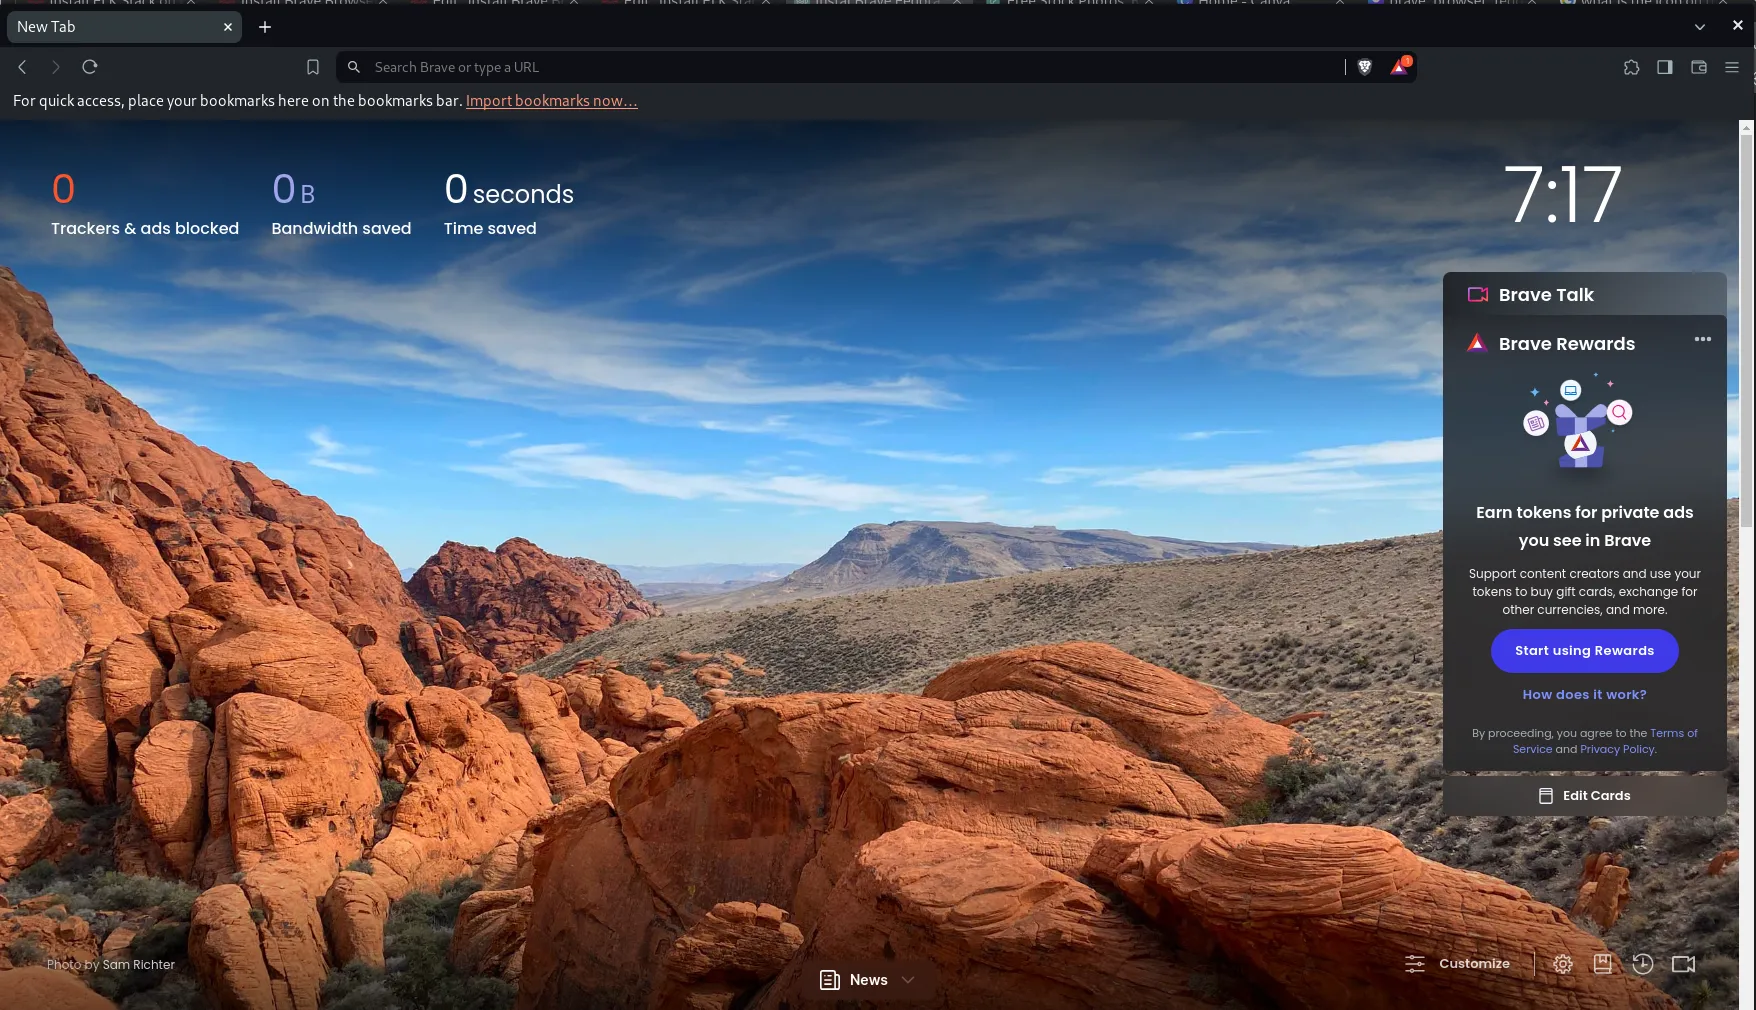
Photo by admingeek from Infotechys
Installing Brave Browser on Fedora 39 is a straightforward process that enhances your web browsing experience with speed, security, and privacy. By following the steps outlined in this guide, you can seamlessly integrate Brave into your Fedora environment and enjoy a more streamlined browsing experience. Say goodbye to intrusive ads and trackers, and hello to a safer, more private internet experience with Brave Browser.
Did you find this article useful? Your feedback is invaluable to us! Please feel free to share your thoughts in the comments section below.
Related Posts

This article examines how to install NICE DCV on CentOS9 and it’s written to accommodate a virtual instance without an NVIDIA graphics card installed. Table

In this guide, we’ll walk you through the process of deploying WordPress on Minikube, enabling you to develop and test your WordPress sites with ease.

In this guide, we’ll walk you through the step-by-step process of installing Chromium on your Fedora 37 system, ensuring you’re equipped with the latest features
