
HOWTO
In this article, we will examine installing and using Gitlab on Ubuntu server version 20.04. Gitlab community edition or Gitlab CE can be installed by

This article examines how to install NICE DCV on CentOS9 and it’s written to accommodate a virtual instance without an NVIDIA graphics card installed.
In today’s interconnected world, remote access to graphical applications is becoming increasingly vital. Nice DCV (Desktop Cloud Visualization) is a powerful solution that enables remote access to 3D applications, desktops, and data visualization tools, providing a seamless user experience. In this guide, we’ll walk you through the process of installing Nice DCV on RHEL 9 or CentOS 9, ensuring you have the tools you need for efficient remote visualization.
Before diving into the installation process, make sure you have the following prerequisites in place:
We’ve configured our Linux server with the following settings:
Hostname | centos9-vm1.localdomain |
Public IP address | 192.168.1.203 |
RAM | 12 GB |
Cores | 4 |
Operating System | CentOS Stream release 9 |
Prior to downloading the NICE DCV package, let’s ensure the following steps are completed: If your server instance is currently operating in a basic configuration, execute the following command to transform it into a ‘Server with GUI’ instance (If you’re already running a GUI instance, skip to the Download NICE DCV Package section).
$ sudo dnf update -y; sudo dnf groupinstall ‘Server with GUI’ -y
This process takes a while to complete as there are several packages that will be installed to facilitate the change from a basic server to GUI. Take a break, grab some coffee, stretch, etc…then, execute the following commands:
$ sudo systemctl isolate multi-user.target; sudo systemctl isolate graphical.target
This will switch your machine to multi-user mode and then to graphical mode, respectively. Reboot your machine.
$ sudo systemctl reboot
Before downloading the NICE DCV Package, run the following command to ensure all the libraries required for NICE DCV to function properly are installed:
$ sudo dnf install -y libuuid libX11 libXext libXtst libXrender libXcomposite libXrandr libXcursor libXdamage libXcursor libXt libXScrnSaver
Then, you need to download the Nice DCV package suitable for your system architecture (x86_64 or aarch64). In this case, we are installing NICE DCV on a RHEL9 or CentOS9 machine so, we’ll download the x86_64 tarball:
$ wget https://d1uj6qtbmh3dt5.cloudfront.net/2023.1/Servers/nice-dcv-2023.1-16388-el9-x86_64.tgz
Now extract the contents of the tarball and navigate to the extracted directory.
$ tar -xzvf nice-dcv-2023.1-16388-el9-x86_64.tgz; cd nice-dcv-2023.1-16388-el9-x86_64
$ ls -l
					total 17M
-rw-r--r--. 1 admin admin 275K Dec 19 06:21 nice-dcv-gl-2023.1.1047-1.el9.x86_64.rpm
-rw-r--r--. 1 admin admin 539K Dec 19 06:21 nice-dcv-gltest-2023.1.325-1.el9.x86_64.rpm
-rw-r--r--. 1 admin admin  14M Dec 19 06:21 nice-dcv-server-2023.1.16388-1.el9.x86_64.rpm
-rw-r--r--. 1 admin admin  12K Dec 19 06:21 nice-dcv-simple-external-authenticator-2023.1.228-1.el9.x86_64.rpm
-rw-r--r--. 1 admin admin 956K Dec 19 06:21 nice-dcv-web-viewer-2023.1.16388-1.el9.x86_64.rpm
-rw-r--r--. 1 admin admin 1.1M Dec 19 06:21 nice-xdcv-2023.1.565-1.el9.x86_64.rpm
-rw-r--r--. 1 admin admin  706 Dec 19 06:21 README.md
In the extracted directory, run the following command to install the RPM packages:
$ sudo dnf install *.rpm -y
Next, enable dcvgladmin by running the following command:
$ sudo dcvgladmin enable
When you run this command with sudo privileges, it activates the GPU rendering capabilities, allowing Nice DCV to utilize the graphical processing unit (GPU) for rendering graphics and accelerating visual performance. If the NVIDIA GPU is not enabled, Nice DCV defaults to using a virtual GPU (vGPU) provided by the software. This virtual GPU emulates the functionality of a physical GPU and allows Nice DCV to perform graphical rendering tasks even in the absence of dedicated hardware acceleration.
Then, verify X server is running and grant access to it to the dcv user by running the following command:
$ sudo DISPLAY=:0 dcvxgrantaccess +dcv
$ sudo DISPLAY=:0 XAUTHORITY=$(ps aux | grep "X.*\-auth" | grep -v grep | sed -n 's/.*-auth \([^ ]\+\) .*/\1/p') xhost | grep "SI:localuser:dcv$"
$ sudo DISPLAY=:0 XAUTHORITY=$(ps aux | grep "X.*\-auth" | grep -v grep | sed -n 's/.*-auth \([^ ]\+\).*/\1/p') xhost | grep "LOCAL:$"
$ xhost +
These commands are used to configure access to the X server for the user “dcv”, which is necessary for remote visualization sessions using Nice DCV.
Run the following command to add your local user to the dcv group:
$ sudo usermod -G dcv -a admin
In this case, we’ve added the admin user to the dcv group.
Run the following commands to append these policy rules:
					$ cat << EOF | sudo tee --append /etc/polkit-1/localauthority/50-local.d/46-allow-update-repo.pkla
       [Allow Package Management all Users]
        Identity=unix-user:*
        Action=org.freedesktop.packagekit.system-sources-refresh
        ResultAny=yes
        ResultInactive=yes
        ResultActive=yes
    EOF
This command creates or appends a policy rule to allow all users to refresh package sources, ensuring that package management actions can be performed by any user on the system.
					$ cat << EOF | sudo tee --append /etc/polkit-1/localauthority/50-local.d/45-allow-colord.pkla
    [Allow Colord all Users]
    Identity=unix-user:*
    Action=org.freedesktop.color-manager.create-device;org.freedesktop.color-manager.create-profile;org.freedesktop.color-manager.delete-device;org.freedesktop.color-manager.delete-profile;org.freedesktop.color-manager.modify-device;org.freedesktop.color-manager.modify-profile
    ResultAny=no
    ResultInactive=no
    ResultActive=yes
EOF
This command appends a policy rule to a file named “45-allow-colord.pkla” in the directory “/etc/polkit-1/localauthority/50-local.d/“, allowing specific actions related to colord (a color management system) for all users. The actions include creating, deleting, and modifying devices and profiles. The rule specifies that these actions are not allowed for any session that is not active, but they are allowed for active sessions.
Now, run the following command to start dcvserver service.
$ sudo systemctl enable --now dcvserver
It enables and starts the “dcvserver” service using systemctl, ensuring that it starts automatically upon system boot and is immediately active. Reboot your machine.
$ sudo /sbin/shutdown -r now
When your machine is back online, run any of the following commands to verify the dcvserver.service is up and running.
$ sudo systemctl is-active dcvserver
$ sudo systemctl status dcvserver
					● dcvserver.service - NICE DCV server daemon
     Loaded: loaded (/usr/lib/systemd/system/dcvserver.service; enabled; preset: disabled)
     Active: active (running) since Fri 2024-02-23 20:36:29 EST; 3h 22min left
    Process: 729 ExecStartPre=/sbin/modprobe -a eveusb v4l2loopback (code=exited, status=1/FAILURE)
   Main PID: 758 (dcvserver)
      Tasks: 7 (limit: 48802)
     Memory: 52.0M
        CPU: 1min 46.397s
     CGroup: /system.slice/dcvserver.service
             ├─758 /usr/bin/bash /usr/bin/dcvserver -d --service
             └─784 /usr/libexec/dcv/dcvserver --service

Feb 23 20:36:21 centos9-vm1 systemd[1]: Starting NICE DCV server daemon...
If you have a firewall enabled on your system, you need to allow traffic on the Nice DCV port (default is 8443). Execute the following command to open the port:
$ sudo firewall-cmd --zone=public --add-port=8443/tcp --add-port=8444/tcp --permanent
$ sudo firewall-cmd --reload
Finally, run the following command to create a session for your local user.
$ dcv create-session --storage-root %home 1
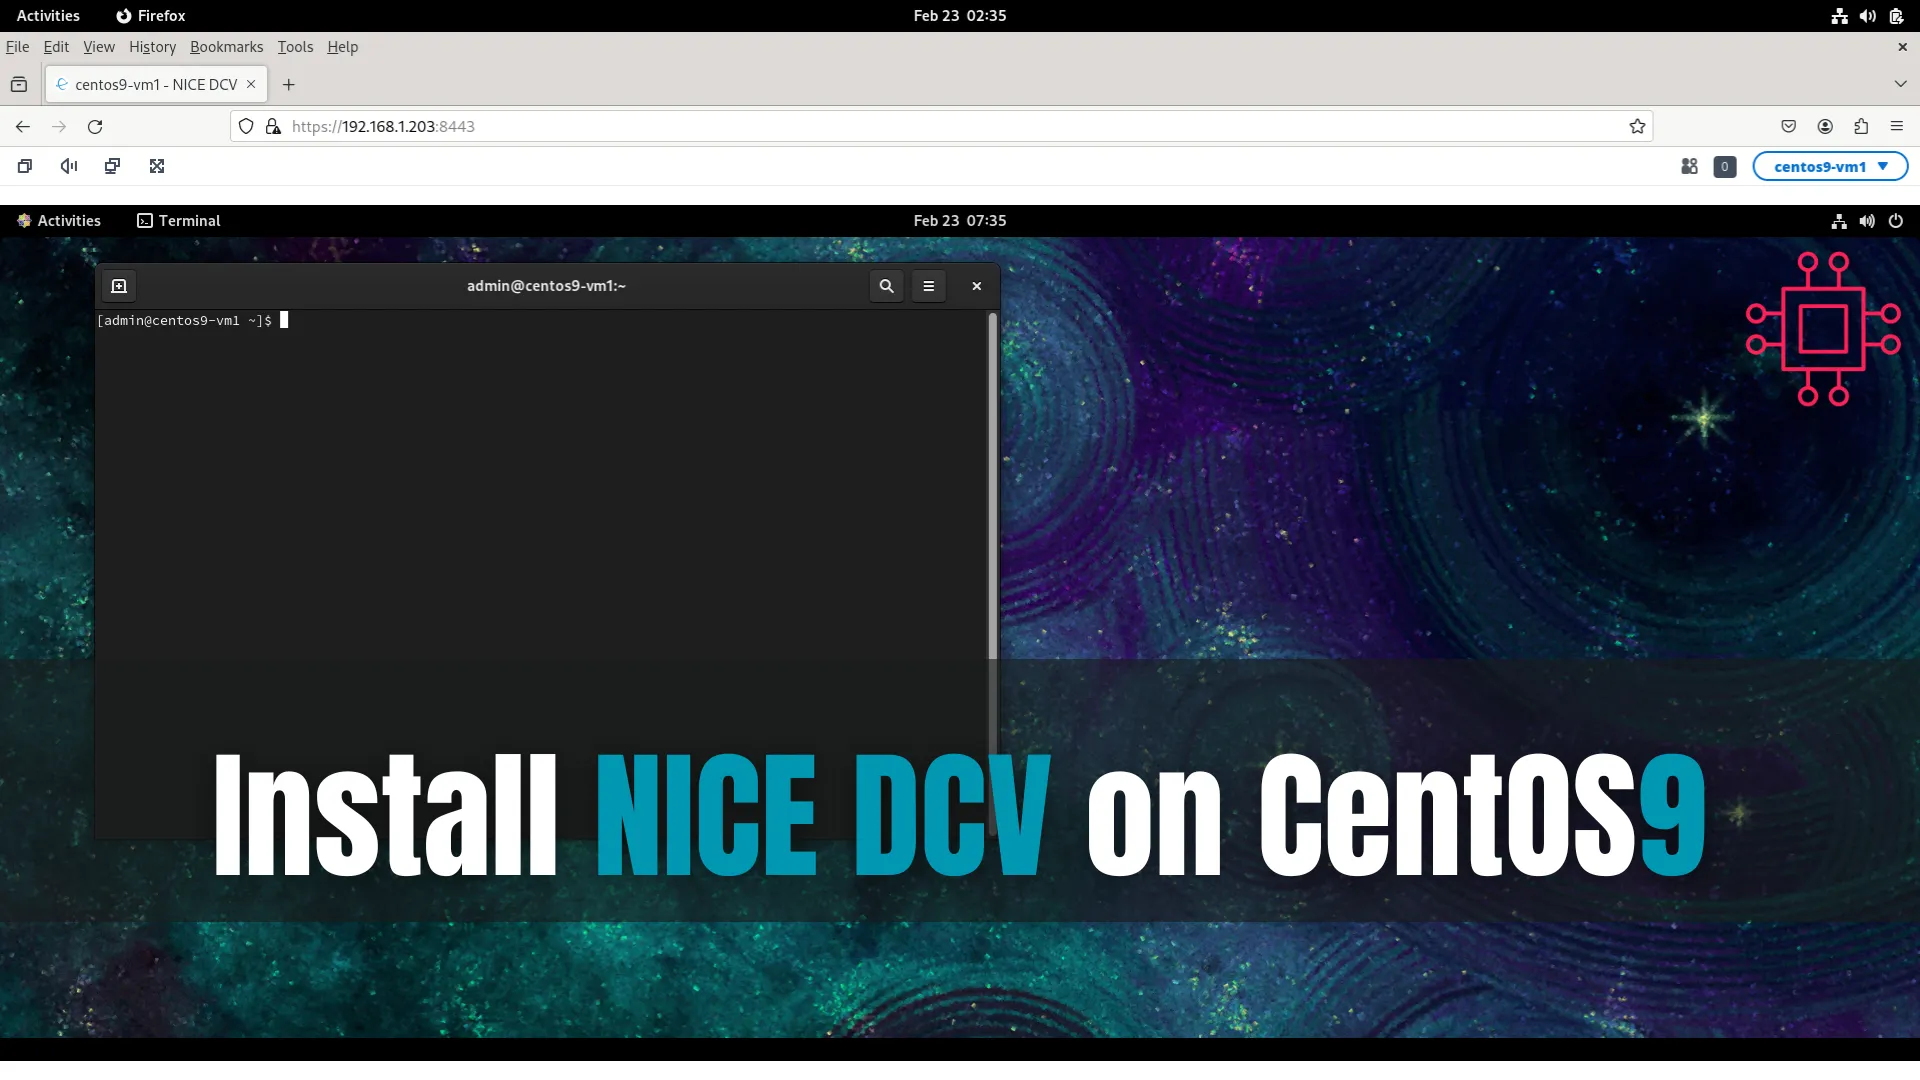
This command creates a new session using the Nice DCV software, with the storage root set to the home directory, and assigns it the session ID “1”. Verify it’s running with the following command:
$ dcv list-sessions
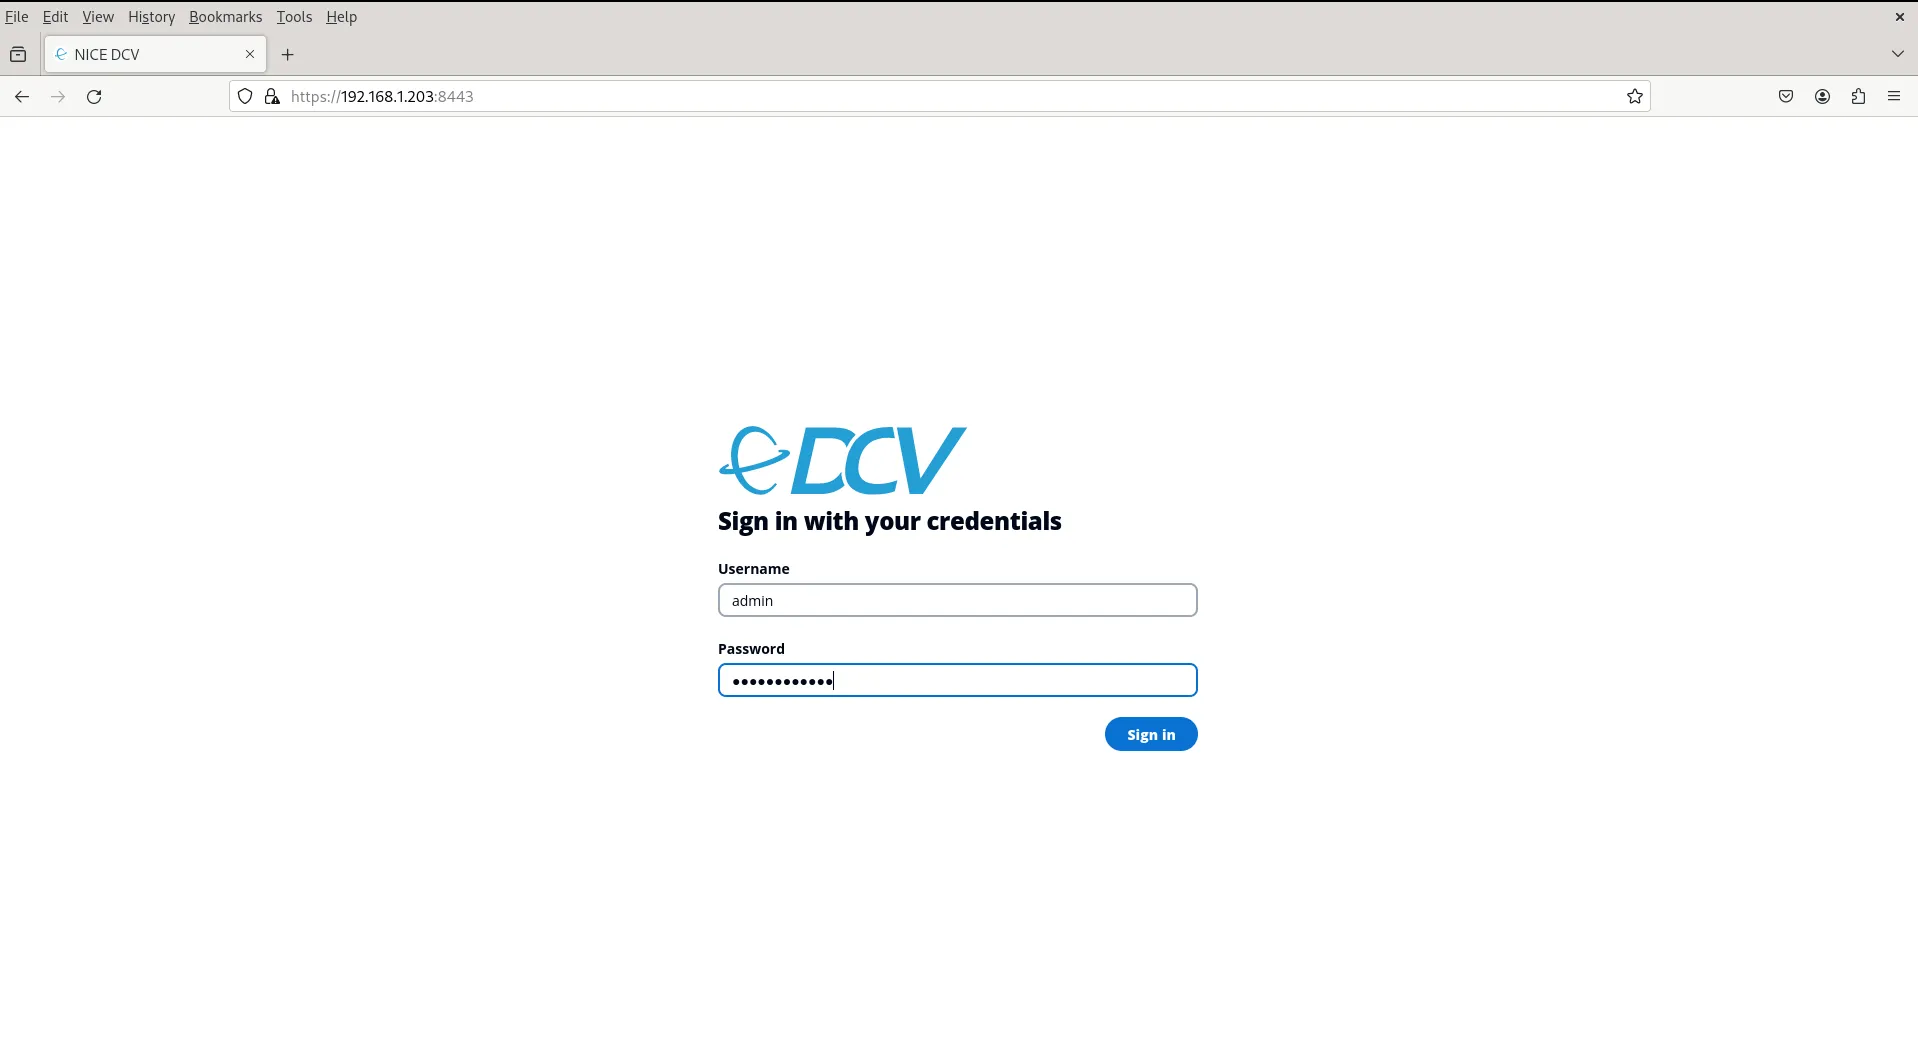
Photo by admingeek from Infotechys
You can now access it remotely using a web browser. Open your browser and navigate to https://<your_server_ip or your_server_hostname>:8443. You will be prompted to enter the username and password configured on the server.
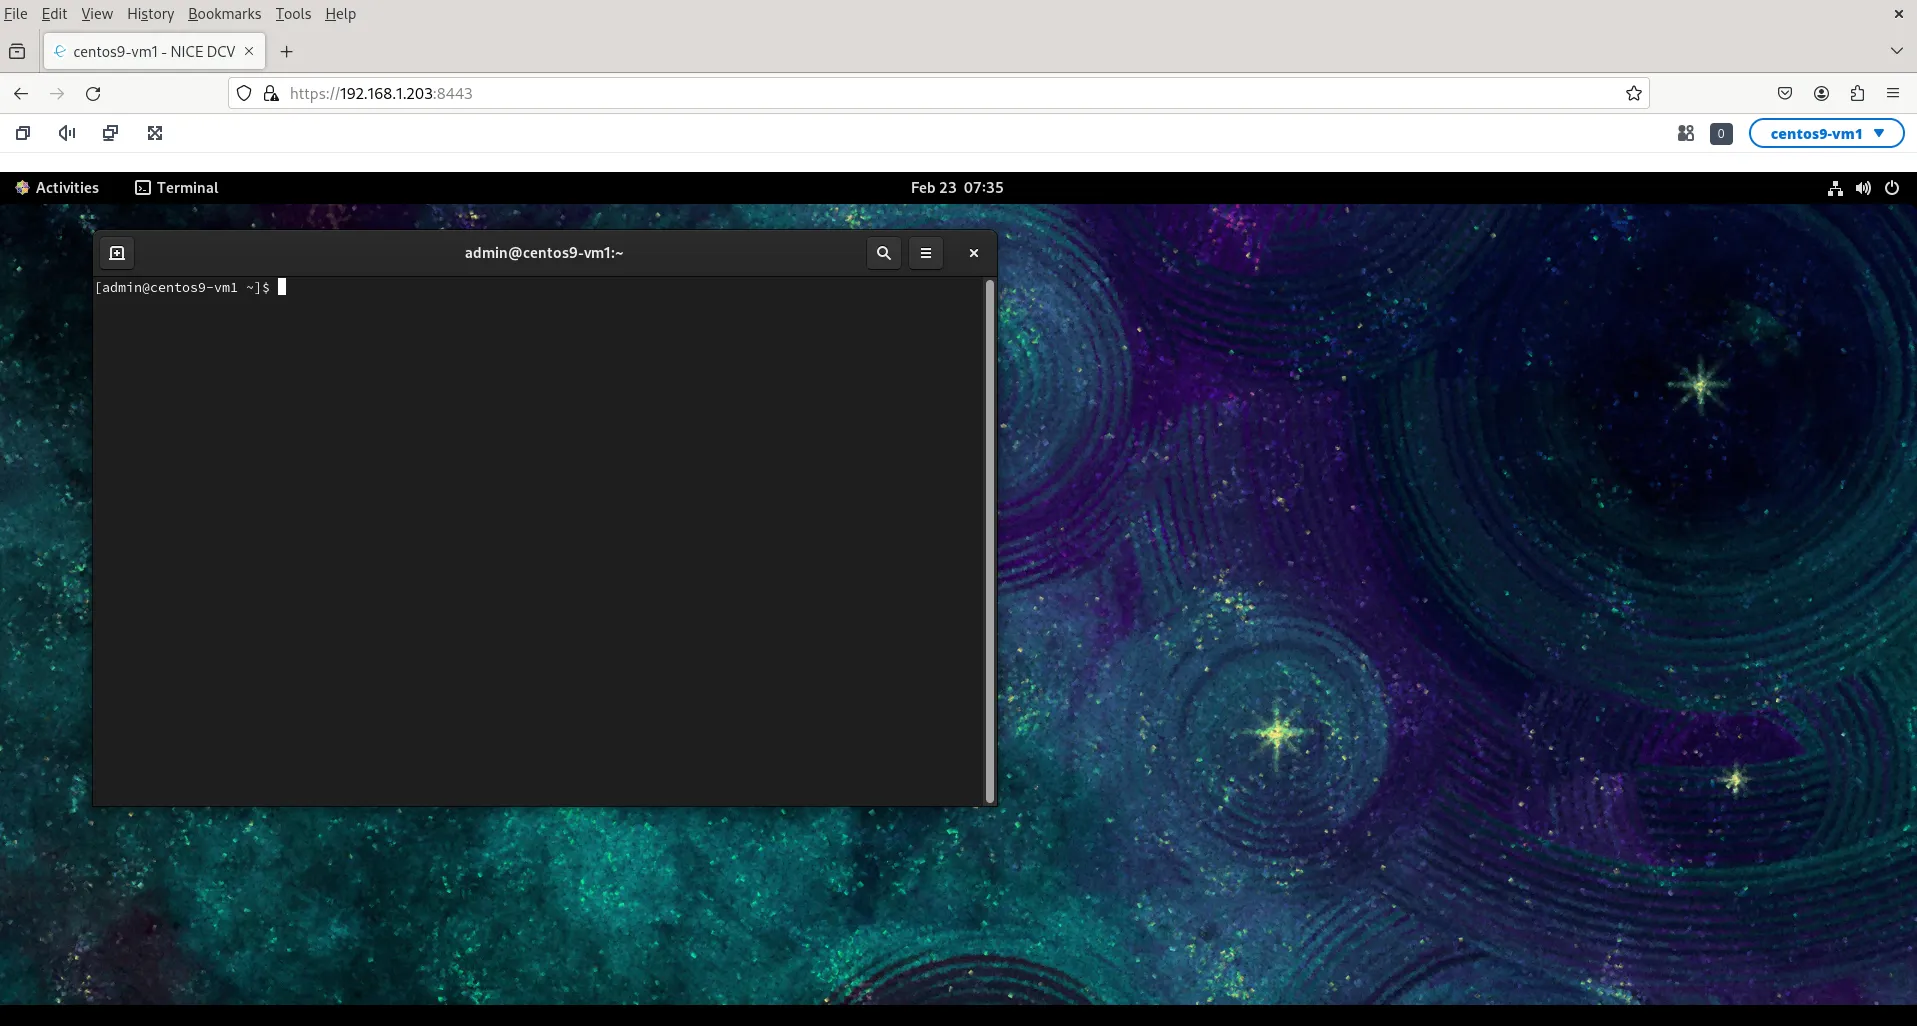
Photo by admingeek from Infotechys
One effective method to diagnose session creation failures linked to the startup of the desktop environment is by initiating a minimal session, often referred to as a “failsafe” session. If the creation of such a failsafe session proceeds without issues, it indicates that the default system desktop environment fails to launch during normal session creation. Conversely, if the failsafe session encounters problems as well, it suggests that the issue might be related to the NICE DCV server setup.
					$ tail -f /var/log/dcv/sessionlauncher.log
2024-02-23 02:56:41,894419 [  2083:2083  ] INFO  launcher - A request for starting virtual session '1' has been received
2024-02-23 02:56:41,894646 [  2083:2083  ] INFO  session-handler - Starting virtual session '1' as user 'admin'
2024-02-23 02:56:42,107362 [  2083:2083  ] INFO  runner - Received starter script's PID [6365]
2024-02-23 02:56:45,684838 [  2083:2083  ] WARN  runner - Cannot read output string, no content to read
2024-02-23 02:56:45,685369 [  2083:2083  ] WARN  session-handler - Unable to start virtual session '1': Failed while waiting for outputs
A failsafe session typically includes a basic desktop environment with a simple window manager and a terminal. This setup allows users to investigate any session creation issues specific to their chosen environment, such as GNOME or KDE.
					$ dcv list-sessions
There are no sessions available.
To create a failsafe session, you can generate an initialization script for the user. This script might resemble the following:
					#!/bin/sh
metacity &
xterm
Copy and paste the contents above to a file named init.sh. Then, run the following commands to create another session.
$ dcv create-session --storage-root %home --init init.sh 1
$ dcv create-session --storage-root %home 1
					$ dcv list-sessions
Session: '1' (owner:admin type:virtual)
Consult the following pages for NICE DCV documentation:
AWS NICE DCV Documentation | |
NICE DCV Administration Guide | https://d1uj6qtbmh3dt5.cloudfront.net/docs/DCV_Administration_Guide.pdf |
Congratulations! You have successfully installed Nice DCV on your RHEL 9 or CentOS 9 system, allowing remote access to graphical applications with ease. By following the step-by-step guide provided in this article, you can harness the power of Nice DCV for enhanced visualization and collaboration, making your remote computing experience seamless and efficient.
Did you find this article useful? Your feedback is invaluable to us! Please feel free to share your thoughts in the comments section below.
Related Posts
In this article, we will examine installing and using Gitlab on Ubuntu server version 20.04. Gitlab community edition or Gitlab CE can be installed by

In this article, we will review how to install minikube-v1.32.0 on RHEL9. This is the most recent stable release as of the date of this

In this comprehensive guide, we’ll walk you through the step-by-step process of installing Podman on Ubuntu 22.04, empowering you to leverage its capabilities for your