Wondering how many daily visitors you need to qualify for Google AdSense? Discover the key factors for approval, strategies to increase traffic, and how to

Learn how to configure Google Cloud CLI for managing multiple projects on CentOS 9. Step-by-step guide with commands, configuration tips, service account usage, and troubleshooting to optimize your cloud workflow.
Managing multiple Google Cloud projects efficiently is crucial for developers, system administrators, and DevOps engineers. The gcloud command-line interface (CLI) offers a powerful way to interact with Google Cloud resources. On CentOS 9, setting up the Google Cloud CLI to handle multiple projects can streamline your workflow and enhance productivity.
Before diving into the configuration, ensure you have:
|
|
|
Step 1: Install Google Cloud CLI on CentOS 9 |
If you don’t already have Google Cloud CLI installed on CentOS 9, follow these steps:
|
					sudo tee -a /etc/yum.repos.d/google-cloud-sdk.repo << EOM
[google-cloud-cli]
name=Google Cloud CLI
baseurl=https://packages.cloud.google.com/yum/repos/cloud-sdk-el9-x86_64
enabled=1
gpgcheck=1
repo_gpgcheck=0
gpgkey=https://packages.cloud.google.com/yum/doc/rpm-package-key.gpg
EOM
|
sudo dnf install google-cloud-cli
|
sudo dnf install google-cloud-cli-kubectl
Step 2: Authenticate with Google Cloud |
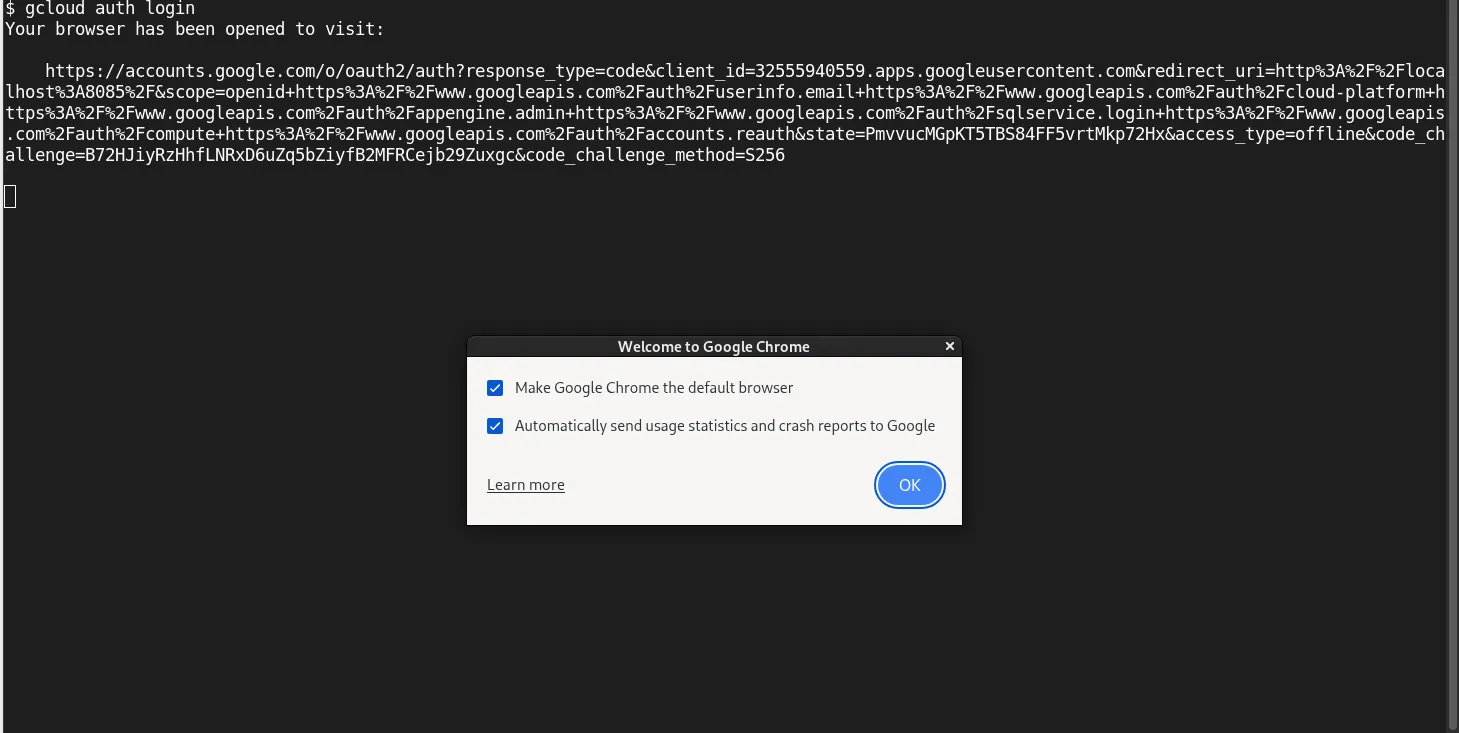
Authenticate your Google Cloud account using the following command:
gcloud auth login
This command will open a browser window prompting you to log in to your Google account. Once authenticated, the CLI will store your credentials locally.

Photo by admingeek from Infotechys
Step 3: Manage Multiple Configurations |
Google Cloud CLI allows you to create and manage multiple configurations, each representing a different project or environment:
Create a New Configuration |
To create a new configuration, use the following command:
gcloud config configurations create <CONFIG_NAME>
Replace <CONFIG_NAME> with a descriptive name for your configuration, such as project-1.
Activate a Configuration |
To activate a configuration, use:
gcloud config configurations activate <CONFIG_NAME>
This sets the specified configuration as the active one, and all subsequent gcloud commands will use its settings.
Set Configuration Properties |
Within an active configuration, set properties like project ID, compute zone, and region:
					gcloud config set project <PROJECT_ID>
gcloud config set compute/zone <ZONE>
gcloud config set compute/region <REGION>
Replace <PROJECT_ID>, <ZONE>, and <REGION> with the appropriate values for your project.
List Configurations |
To view all configurations and identify the active one, use:
gcloud config configurations list
Switch Between Configurations |
To switch between configurations, activate the desired one using the gcloud config configurations activate command.
|
Suppose you have two projects: project-1 and project-2. You can manage them as follows:
|
					gcloud config configurations create project-1
gcloud config configurations activate project-1
|
					gcloud config set project project-1-id
gcloud config set compute/zone us-central1-a
|
gcloud config configurations activate project-2
|
					gcloud config set project project-2-id
gcloud config set compute/zone us-west1-b
Now, you can switch between projects by activating the corresponding configuration.
When managing multiple projects, especially in production environments, using service accounts is a best practice. Service accounts allow for isolated, programmatic access to resources without relying on user credentials.
Create a Service Account: |
					gcloud iam service-accounts create automation-sa \
    --description="Service account for automated deployments" \
    --display-name="Automation SA"
Assign Roles to the Service Account: |
					gcloud projects add-iam-policy-binding <PROJECT_ID> \
    --member="serviceAccount:automation-sa@<PROJECT_ID>.iam.gserviceaccount.com" \
    --role="roles/editor"
Authenticate Using the Service Account Key: |
|
					gcloud iam service-accounts keys create ~/keyfile.json \
    --iam-account=automation-sa@<PROJECT_ID>.iam.gserviceaccount.com
|
gcloud auth activate-service-account --key-file=~/keyfile.json
This is especially useful for CI/CD pipelines or headless servers managing project-specific resources.
| Issue | Solution |
|---|---|
gcloud: command not found | Ensure the CLI is installed and /usr/bin or /usr/local/bin is in your $PATH. |
Authentication fails during gcloud auth login | Check firewall, DNS, and that a default browser is available. Consider using a service account. |
| Configuration doesn’t switch projects | Use gcloud config configurations list to confirm active configuration. Ensure you set the project ID using gcloud config set project. |
|
|
|
|
Configuring the Google Cloud CLI for multiple projects on CentOS 9 is essential for managing scalable cloud infrastructure across different environments. Whether you’re switching between dev, staging, or production, using gcloud configurations gives you clarity, control, and consistency.
With CLI configurations, service accounts, and best practices, you create a cloud workflow that is efficient, secure, and professional. By following this guide, you’re now equipped to:
|
Whether you’re a solo developer or part of a large DevOps team, these techniques will help you manage your Google Cloud resources effectively across multiple projects.

Wondering how many daily visitors you need to qualify for Google AdSense? Discover the key factors for approval, strategies to increase traffic, and how to

Learn how to install and configure Google Chrome Remote Desktop on Ubuntu 24.04 with this comprehensive step-by-step guide. Ensure secure and efficient remote access to

Learn how to install Google Cloud CLI on CentOS 9 with this comprehensive guide. Includes step-by-step commands, configuration tips, and troubleshooting advice to help you
