Discover the challenges and solutions for integrating Docker containers with legacy systems. Navigate the complexities of compatibility, security, and performance to unlock the full potential

Learn how to install and configure Docker Swarm on RHEL 9 or CentOS 9 with our comprehensive guide. Follow step-by-step instructions and examples to deploy and manage containerized applications efficiently.
In the realm of container orchestration, Docker Swarm stands out as a powerful tool for managing clusters of Docker hosts. If you’re running Red Hat Enterprise Linux RHEL 9 or CentOS 9 and looking to harness the capabilities of Docker Swarm, you’re in the right place. In this guide, we’ll walk you through the step-by-step process of installing and configuring Docker Swarm on your RHEL or CentOS system.
Docker Swarm is Docker’s native clustering and orchestration tool, allowing you to deploy and manage a cluster of Docker hosts. With Docker Swarm, you can easily scale your containerized applications, ensure high availability, and manage resources efficiently.
Before diving into the installation process, make sure you have the following prerequisites:
For demonstration purposes, we’ve configured our Linux nodes as follows:
| Hostname | RAM | Cores | OS |
| master.naijalabs.net | 4 | 2 | Red Hat Enterprise Linux release 9.4 (Plow) |
| worker1.naijalabs.net | 4 | 2 | Red Hat Enterprise Linux release 9.4 (Plow) |
| worker2.naijalabs.net | 4 | 2 | Red Hat Enterprise Linux release 9.4 (Plow) |
Start by ensuring that your system packages are up to date. Open a terminal and run the following command:
sudo dnf update -y
This command will update all installed packages to the latest versions.
To install Docker Swarm, you’ll need to install the Docker Engine and Docker Swarm mode separately. First, install the Docker Engine by running the following commands:
sudo dnf install -y dnf-utils device-mapper-persistent-data lvm2
sudo dnf config-manager --add-repo https://download.docker.com/linux/centos/docker-ce.repo
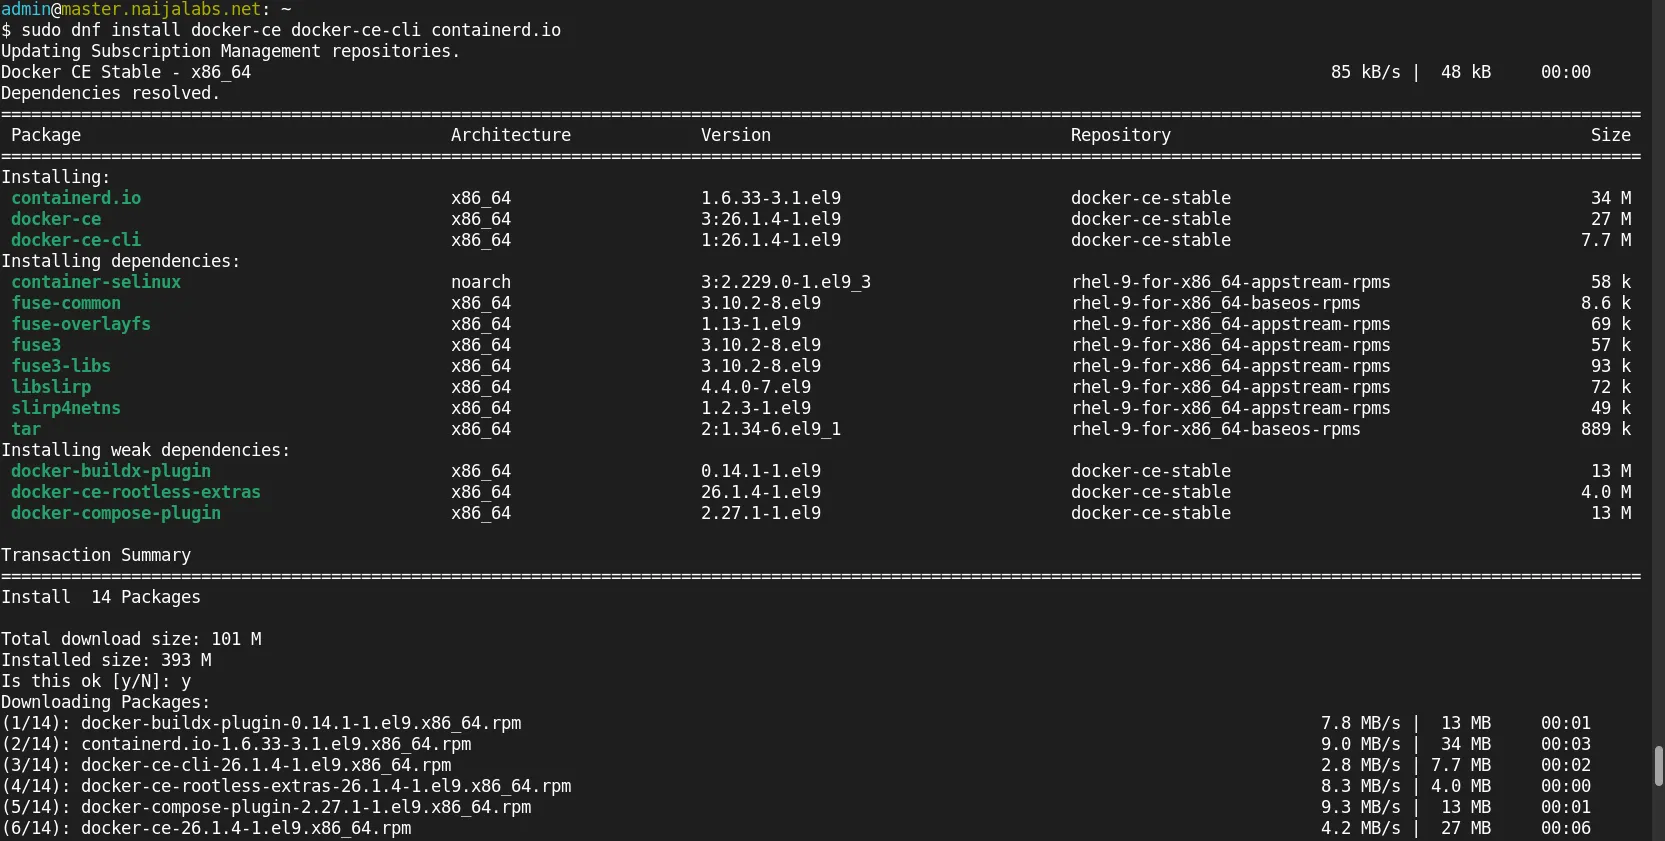
sudo dnf install docker-ce docker-ce-cli containerd.io

Photo by admingeek from Infotechys
Once Docker is installed, enable and start the Docker service:
sudo systemctl enable --now docker
Next, install Docker Swarm mode by running:
sudo docker swarm init
					Swarm initialized: current node (ge3p36ohsvbwkmz6u31zgcc8q) is now a manager.

To add a worker to this swarm, run the following command:

    docker swarm join --token SWMTKN-1-40hep4n55kfmm7quyjx6sxbdwskflnyf02kej13rksfv0vyqdh-40my85cqehm91ahbrna6h2cum 192.168.1.26:2377

To add a manager to this swarm, run 'docker swarm join-token manager' and follow the instructions.
This command initializes the Docker Swarm mode on your machine and sets it up as a manager node.
If you have additional machines that you want to add to the Docker Swarm cluster as worker nodes, you can do so by running the command provided by the docker swarm init output on each worker node (NOTE: Open the firewall for <port> on the master and worker nodes).
sudo firewall-cmd --zone=public --add-port=2377/tcp --permanent; sudo firewall-cmd --reload
sudo docker swarm join --token <token> <manager-ip>:<port>
Replace <token> with the token generated during the initialization process and <manager-ip>:<port> with the IP address and port of the manager node.
To verify that Docker Swarm is installed and running correctly, run the following command on the manager node:
sudo docker node ls
					ID                            HOSTNAME                STATUS    AVAILABILITY   MANAGER STATUS   ENGINE VERSION
ge3p36ohsvbwkmz6u31zgcc8q *   master.naijalabs.net    Ready     Active         Leader           26.1.4
qwjc5mne8x9yjsng5gizjbb51     worker1.naijalabs.net   Ready     Active                          26.1.4
qmjle0xt2yvc3v8cev957bszq     worker2.naijalabs.net   Ready     Active                          26.1.4
This command should display information about the manager node and any joined worker nodes.
Now that Docker Swarm is up and running, you can deploy services to the cluster using Docker Compose or the Docker CLI. Define your services in a docker-compose.yml file and use the docker stack deploy command to deploy them to the Swarm cluster.
sudo docker stack deploy -c docker-compose.yml <stack-name>
Replace <stack-name> with the name you want to give to your stack.
Congratulations! You’ve successfully installed and configured Docker Swarm on your RHEL 9 or CentOS 9 system. With Docker Swarm, you can now efficiently manage your containerized applications at scale, ensuring high availability and ease of deployment. Dive deeper into Docker Swarm’s features and capabilities to unlock its full potential for your infrastructure needs.
In this guide, we’ve covered the essential steps to get you started with Docker Swarm, from installation to deployment. Keep exploring, experimenting, and leveraging Docker Swarm to streamline your container orchestration workflows and take your infrastructure to the next level.
Did you find this article useful? Your feedback is invaluable to us! Please feel free to share your thoughts in the comments section below.
Related Posts

Discover the challenges and solutions for integrating Docker containers with legacy systems. Navigate the complexities of compatibility, security, and performance to unlock the full potential

In this guide, we’ll walk you through the steps to install Docker on Ubuntu 22.04, enabling you to harness the power of containerization for your

Troubleshooting made easy: Learn fixes and solutions for common Docker errors in this comprehensive guide. Enhance your container management skills and ensure seamless deployments. Table
