Commands
In this comprehensive guide, we’ll walk through the process of deploying a MySQL database using Podman, covering installation, configuration, and best practices. Table of Contents

Learn how to deploy a highly available MariaDB cluster on RHEL 9 using Galera. Step-by-step instructions with CLI examples and best practices for setting up, configuring, and maintaining your MariaDB cluster.
In today’s world of rapidly growing applications and data, having a reliable and scalable database infrastructure is crucial for any business or organization. MariaDB, an open-source relational database management system, has become one of the most popular choices for setting up highly available, fault-tolerant, and scalable database clusters. In this blog post, we’ll walk you through the process of deploying a MariaDB database cluster on Red Hat Enterprise Linux (RHEL) 9.
By following the instructions provided, you’ll be able to deploy and configure a highly available MariaDB cluster that can scale with your application’s demands. Let’s dive into the steps, tools, and configurations necessary for a successful MariaDB deployment on RHEL 9.
What is MariaDB Cluster? |
MariaDB Cluster is a multi-master, synchronous replication system powered by Galera Cluster. It allows for high availability by synchronizing data across multiple MariaDB nodes. With a MariaDB cluster, each node can act as both a read and write replica, ensuring that database availability is not disrupted even if one or more nodes go down. The Galera Cluster plugin provides synchronous replication to ensure consistency across all nodes in the cluster.
By deploying a MariaDB Cluster, you can achieve:
Before you begin, ensure you have the following prerequisites in place:
RHEL 9 Server |
A clean installation of RHEL 9 on at least three machines (can be virtual or physical). This is essential for setting up a robust, multi-node cluster.
Sudo Privileges |
You must have root or sudo privileges on each node in the cluster to install packages and configure services.
Network Configuration |
The nodes must be able to communicate with each other over the network. Ensure that any firewall or security settings allow ports 3306 (MariaDB) and 4567 (Galera).
MariaDB and Galera Repository |
MariaDB and Galera Cluster need to be installed on each server. MariaDB provides official repositories that include Galera.
Time Synchronization |
Ensure the Chrony daemon is running and time is synchronized across all nodes for consistency.
Environment Settings |
For this demonstration, we configured our RHEL9 database servers as follows:
| Hostname | IP Address | RAM (GB) | Cores | OS |
|---|---|---|---|---|
| db-node1.dev.naijalabs.net | 192.168.1.213 | 4 | 2 | Red Hat Enterprise Linux release 9.5 (Plow) |
| db-node2.dev.naijalabs.net | 192.168.1.222 | 4 | 2 | Red Hat Enterprise Linux release 9.5 (Plow) |
| db-node3.dev.naijalabs.net | 192.168.1.223 | 4 | 2 | Red Hat Enterprise Linux release 9.5 (Plow) |
Step 1: RHEL 9 Installation |
Ensure that your RHEL 9 servers are up to date. You can do this by running:
sudo dnf update -y && sudo systemctl reboot
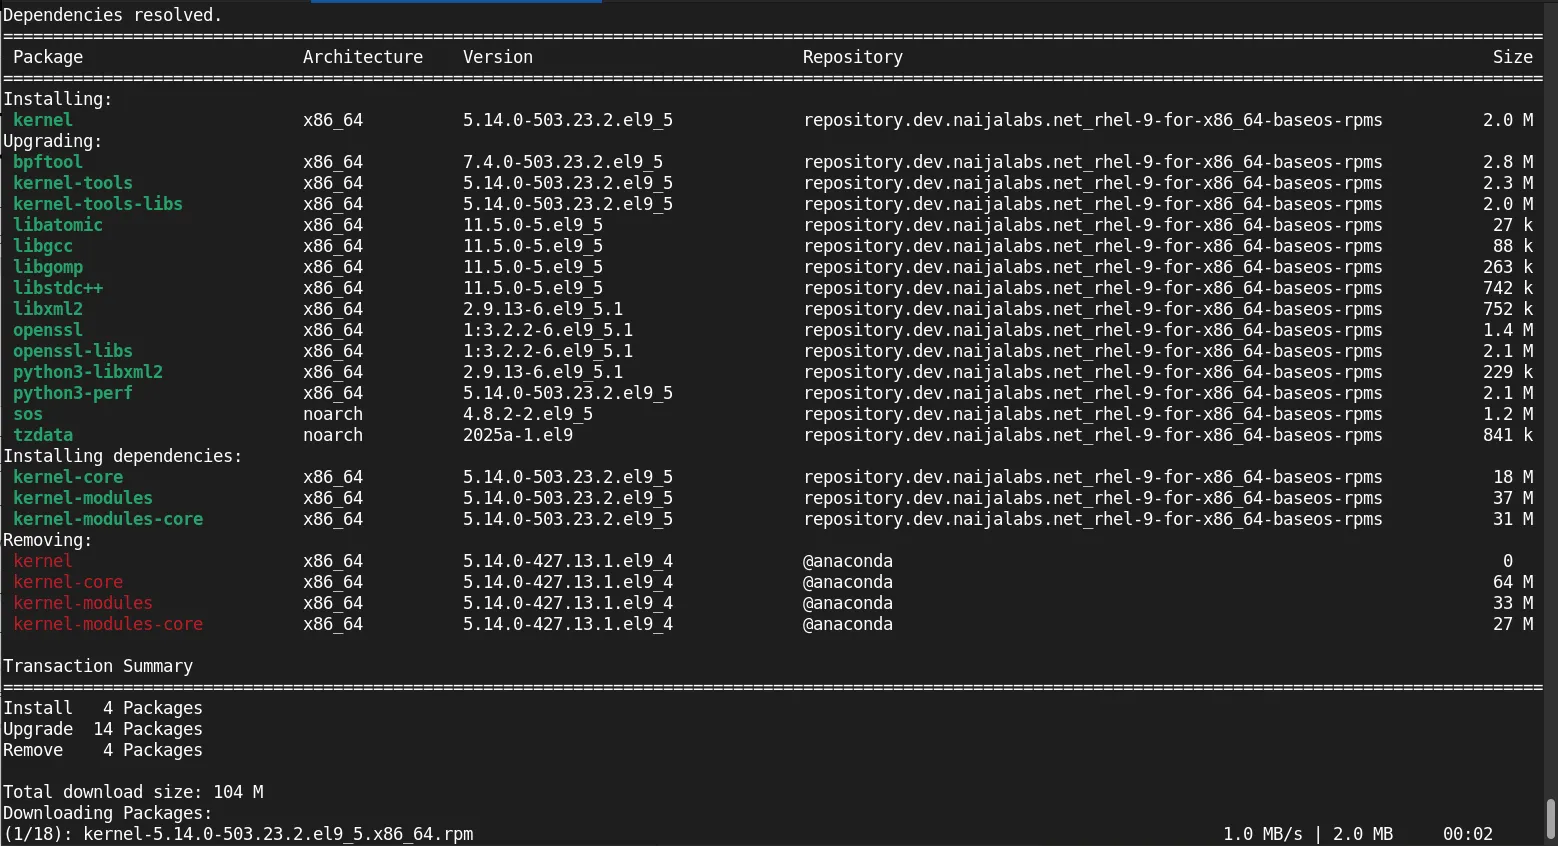
Photo by admingeek from Infotechys
By default, Chrony is installed and running on RHEL9 servers. You can verify this by running the following command:
sudo systemctl status chronyd
					● chronyd.service - NTP client/server
     Loaded: loaded (/usr/lib/systemd/system/chronyd.service; enabled; preset: enabled)
     Active: active (running) since Fri 2025-02-14 21:13:38 EST; 8min ago
       Docs: man:chronyd(8)
             man:chrony.conf(5)
    Process: 807 ExecStart=/usr/sbin/chronyd $OPTIONS (code=exited, status=0/SUCCESS)
   Main PID: 829 (chronyd)
      Tasks: 1 (limit: 23141)
     Memory: 4.4M
        CPU: 81ms
     CGroup: /system.slice/chronyd.service
             └─829 /usr/sbin/chronyd -F 2

Feb 14 21:13:38 localhost chronyd[829]: Loaded 0 symmetric keys
...omitted for brevity...
To view the time sources (servers) Chrony is using for synchronization:
chronyc sources -n
Your output should look similar to:
					MS Name/IP address         Stratum Poll Reach LastRx Last sample
===============================================================================
^- 104.234.61.117                2   8   377   184  -1916us[-1506us] +/-   34ms
^- dns-e.ns4v.icu                2   8   377    58  +2119us[+2556us] +/-   64ms
^- blotch.image1tech.net         2   8   377    58   +251us[ +687us] +/-   45ms
^* firewall1.versadns.com        1   8   377    55  +5389us[+5826us] +/-   15ms
Check the time synchronization:
timedatectl status
					               Local time: Fri 2025-02-14 21:50:50 EST
           Universal time: Sat 2025-02-15 02:50:50 UTC
                 RTC time: Sat 2025-02-15 02:50:50
                Time zone: America/New_York (EST, -0500)
System clock synchronized: yes
              NTP service: active
          RTC in local TZ: no
Install and Configure Chrony |
If by chance, your RHEL 9 servers do not have Chrony installed, run the following commands:
sudo dnf install chrony -y
Open the /etc/chrony.conf file with your preferred text editor and ensure that a trusted time server or pool of servers is uncommented. By default, RHEL 9 machines include the following entry:
					# Use public servers from the pool.ntp.org project.
# Please consider joining the pool (https://www.pool.ntp.org/join.html).
pool 2.rhel.pool.ntp.org iburst
sudo systemctl enable --now chronyd
Repeat steps for each node. Then, proceed to the next section to install MariaDB.
Step 2: MariaDB Installation |
Install the official MariaDB repository on each node:
curl -LsS https://r.mariadb.com/downloads/mariadb_repo_setup | sudo bash
This will install the MariaDB Server, MaxScale, and Tools repositories:
					# [info] Checking for script prerequisites.
# [info] MariaDB Server version 11.rolling is valid
# [info] Repository file successfully written to /etc/yum.repos.d/mariadb.repo
# [info] Adding trusted package signing keys...
/etc/pki/rpm-gpg /home/admin
/home/admin
# [info] Successfully added trusted package signing keys
# [info] Cleaning package cache...
Updating Subscription Management repositories.
...omitted for brevity...
Once the repository is added, install MariaDB server:
sudo dnf install mariadb-server -y
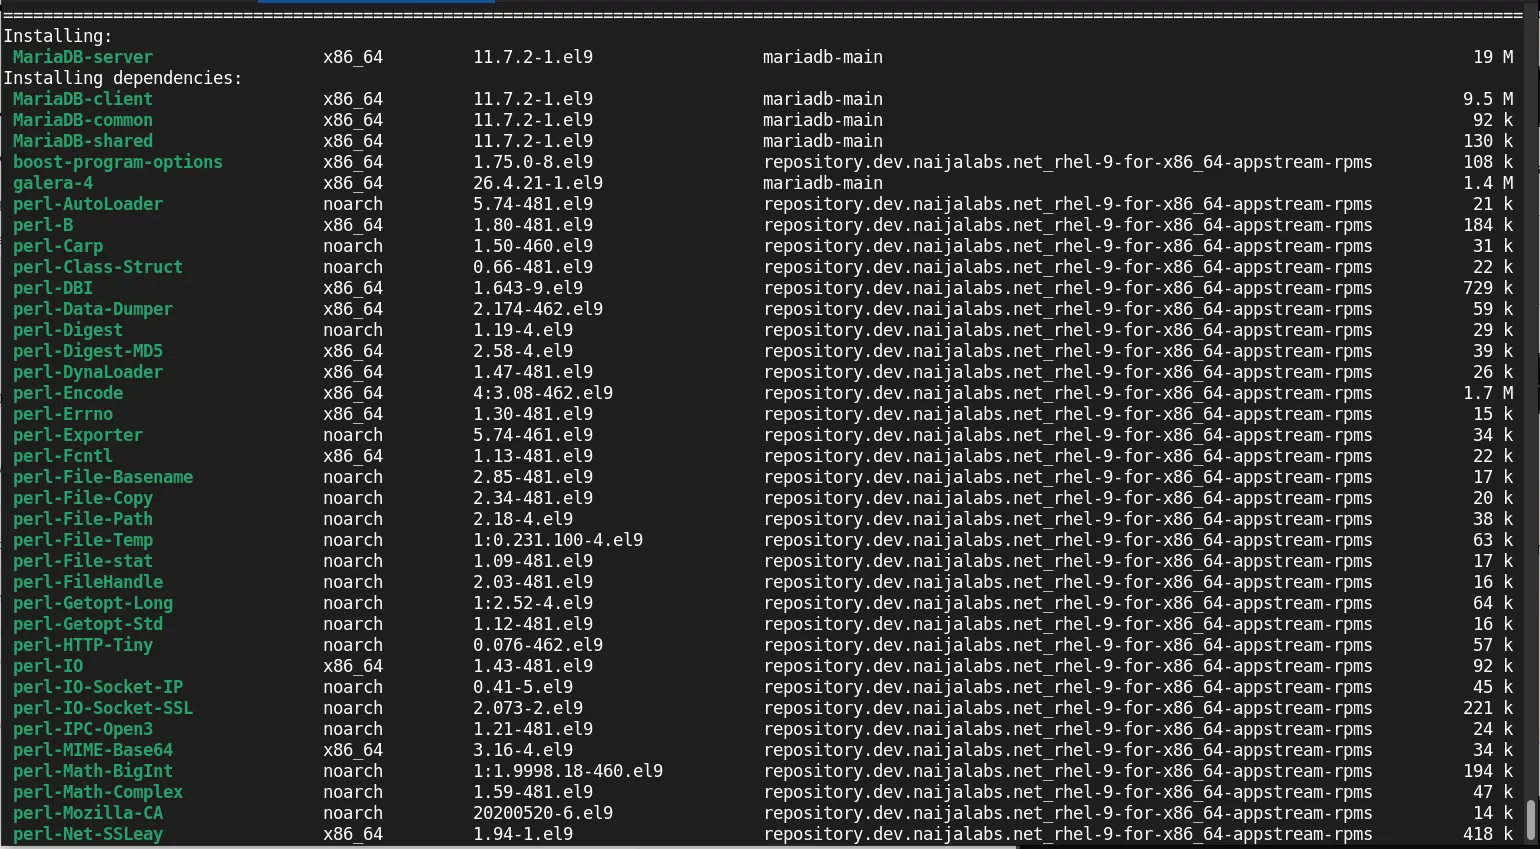
Photo by admingeek from Infotechys
Start MariaDB and enable it to start at boot:
sudo systemctl enable --now mariadb
Created symlink /etc/systemd/system/multi-user.target.wants/mariadb.service → /usr/lib/systemd/system/mariadb.service.
Verify the MariaDB version:
mariadb --version
mariadb from 11.7.2-MariaDB, client 15.2 for Linux (x86_64) using EditLine wrapper
Ensure you have successfully installed MariaDB before proceeding with the Galera cluster setup.
Step 1: Installing Galera Cluster |
The MariaDB Galera plugin should be installed alongside the MariaDB server. If it’s not included by default, you can install it manually:
sudo dnf install galera-4 -y
Next, let’s ensure the firewall ports for Galera are open to allow communication between the nodes in your cluster:
sudo firewall-cmd --zone=public --add-port=4567/tcp --permanent
sudo firewall-cmd --zone=public --add-port=4568/tcp --permanent
sudo firewall-cmd --zone=public --add-port=4444/tcp --permanent
sudo firewall-cmd --reload
Repeat the firewall commands (above) for each node in your cluster.
Step 2: Configuring the First Node |
On the first node (we’re calling it db-node1.dev.naijalabs.net), you’ll need to modify the MariaDB configuration file to enable Galera replication. Edit the /etc/my.cnf.d/server.cnf file:
sudo vi /etc/my.cnf.d/server.cnf
Add the following settings under the [mysqld] section:
					[mysqld]
wsrep_on=ON
wsrep_provider=/usr/lib64/galera-4/libgalera_smm.so
wsrep_cluster_name='my_mariadb_cluster'
wsrep_cluster_address=gcomm://
wsrep_node_address='192.168.1.213'  # IP address of db-node1.dev.naijalabs.net
wsrep_node_name='db-node1.dev.naijalabs.net'
binlog_format=row
default_storage_engine=InnoDB
innodb_autoinc_lock_mode=2
Replace the IP address 192.168.1.213 and hostname with your actual IP address for your first node. Now, initialize the MariaDB database:
sudo mariadb-install-db --user=mysql --ldata=/var/lib/mysql
You should see a similar output to:
					mysql.user table already exists!
Run mariadb-upgrade, not mariadb-install-db
Run the mariadb-upgrade command to check and install any updates:
sudo mariadb-upgrade
					This installation of MariaDB is already upgraded to 11.7.2-MariaDB.
There is no need to run mariadb-upgrade again for 11.7.2-MariaDB.
You can use --force if you still want to run mariadb-upgrade
Restart the MariaDB service:
sudo systemctl restart mariadb
After restarting the service, ensure that your MariaDB node is secure:
mysql is deprecated and will be removed in a future release. Use /usr/bin/mariadb instead.
Step 3: Adding Additional Nodes |
For adding more nodes, repeat the installation and configuration steps on each subsequent node. Ensure the following:
wsrep_node_address for each node.wsrep_cluster_address to include the IP addresses of all nodes in the cluster.For example, on Node2 and Node3, configure the following:
wsrep_cluster_address=gcomm://192.168.1.101,192.168.1.102,192.168.1.103
On |
					[galera]
# Mandatory settings
#wsrep_on=ON
#wsrep_provider=
#wsrep_cluster_address=
#binlog_format=row
#default_storage_engine=InnoDB
#innodb_autoinc_lock_mode=2
#
# Allow server to accept connections on all interfaces.
#
#bind-address=0.0.0.0
#
# Optional setting
#wsrep_slave_threads=1
#innodb_flush_log_at_trx_commit=0
wsrep_on=ON
wsrep_provider=/usr/lib64/galera-4/libgalera_smm.so
wsrep_cluster_name='my_mariadb_cluster'
wsrep_cluster_address=gcomm://192.168.1.213,192.168.1.222,192.168.1.223
wsrep_node_address='192.168.1.222'  # IP address of db-node2.dev.naijalabs.net
wsrep_node_name='db-node2.dev.naijalabs.net'
binlog_format=row
default_storage_engine=InnoDB
innodb_autoinc_lock_mode=2
On |
					[galera]
# Mandatory settings
#wsrep_on=ON
#wsrep_provider=
#wsrep_cluster_address=
#binlog_format=row
#default_storage_engine=InnoDB
#innodb_autoinc_lock_mode=2
#
# Allow server to accept connections on all interfaces.
#
#bind-address=0.0.0.0
#
# Optional setting
#wsrep_slave_threads=1
#innodb_flush_log_at_trx_commit=0
wsrep_on=ON
wsrep_provider=/usr/lib64/galera-4/libgalera_smm.so
wsrep_cluster_name='my_mariadb_cluster'
wsrep_cluster_address=gcomm://192.168.1.213,192.168.1.222,192.168.1.223
wsrep_node_address='192.168.1.223'  # IP address of db-node3.dev.naijalabs.net
wsrep_node_name='db-node3.dev.naijalabs.net'
binlog_format=row
default_storage_engine=InnoDB
innodb_autoinc_lock_mode=2
Start the MariaDB service on Node2 and Node3:
sudo systemctl start mariadb
Once the nodes are up and running, check the cluster status:
mariadb -u root -p -e "SHOW STATUS LIKE 'wsrep%';"
You should see a status of Primary for all nodes in the cluster, indicating the nodes are now synchronized.
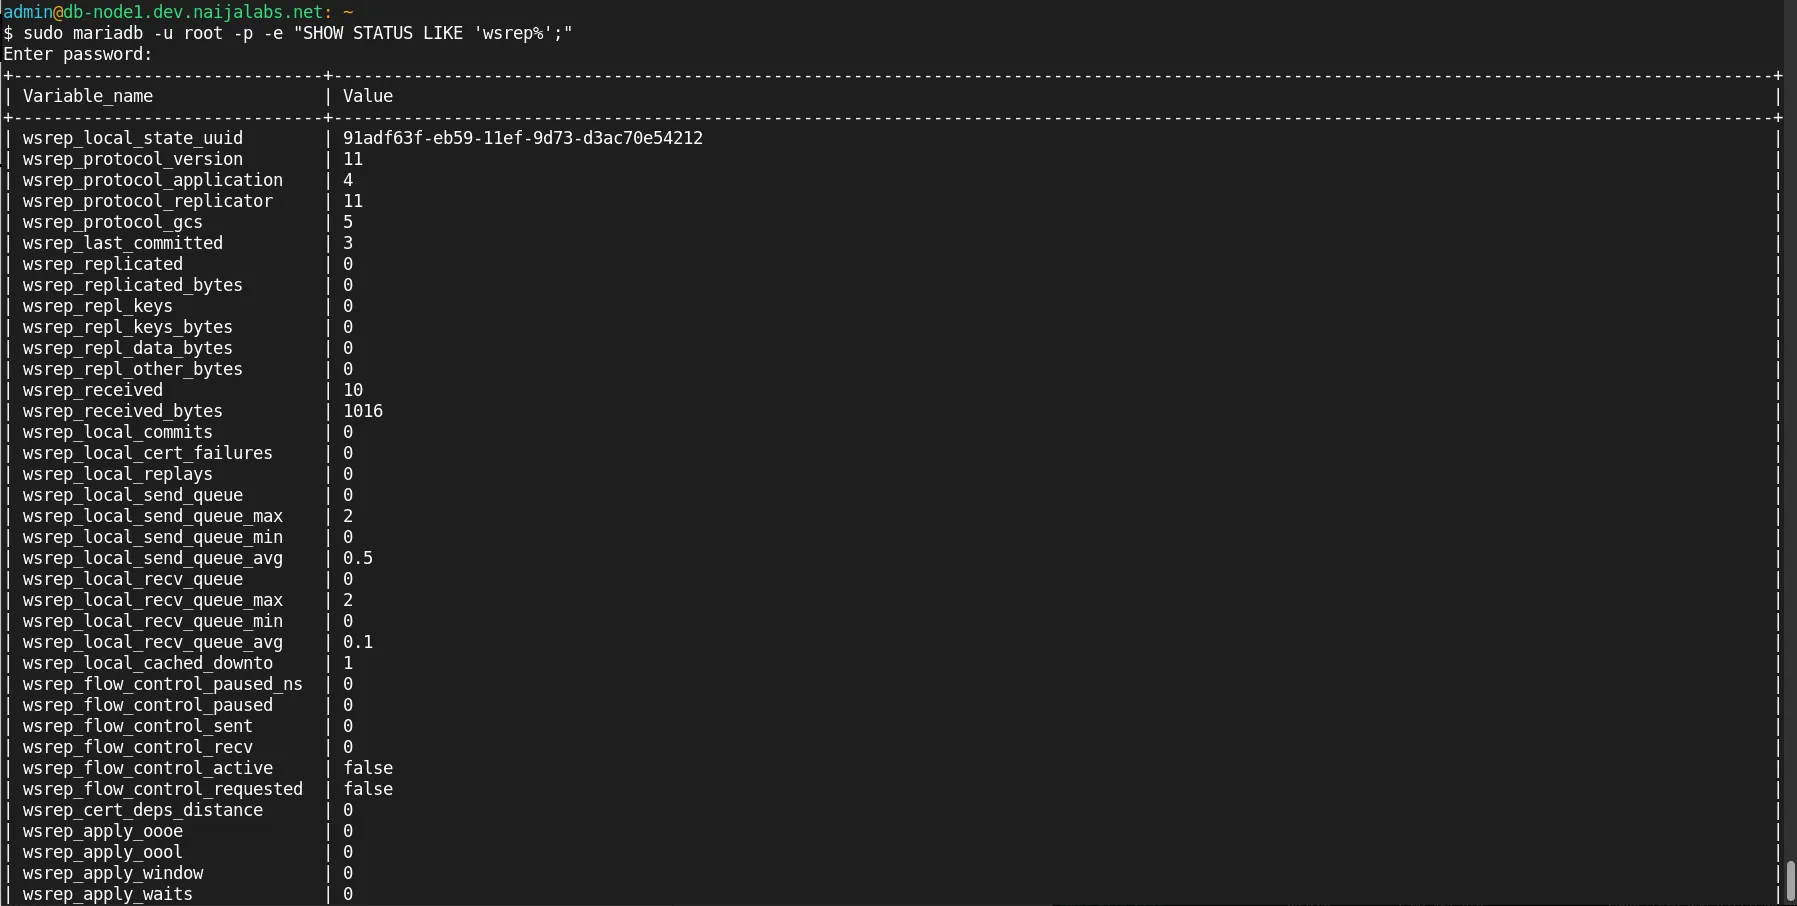
Photo by admingeek from Infotechys
Verify Cluster Nodes |
You can check the list of nodes in your cluster by running:
mariadb -u root -p -e "SHOW STATUS LIKE 'wsrep_cluster_size';"
The output should indicate the number of nodes in the cluster. For example, if you have 3 nodes:
					+---------------------+-------+
| Variable_name       | Value |
+---------------------+-------+
| wsrep_cluster_size  | 3     |
+---------------------+-------+
Test Data Replication |
Create a test database on Node1:
mariadb -u root -p -e "CREATE DATABASE testdb;"
Check that the database appears on Node2 and Node3:
mariadb -u root -p -e "SHOW DATABASES;"
You should see testdb listed as a database on all nodes, confirming that data replication is working properly.
Backup Strategies |
To ensure your data is safe, always take periodic backups of your MariaDB database. You can use mysqldump for logical backups or xtrabackup for physical backups. For a basic backup, use:
mysqldump -u root -p --all-databases > all_databases_backup.sql
Handling Node Failures |
MariaDB Galera Cluster handles node failures automatically. If one node goes down, the cluster will continue to function with the remaining nodes. However, you should monitor the logs for any issues and replace the failed node as soon as possible. You can check the logs for errors using:
journalctl -xe | grep mariadb
Deploying a MariaDB Cluster on RHEL 9 is a powerful way to ensure high availability and scalability for your databases. By following the steps outlined in this post, you’ll have a robust and fault-tolerant MariaDB setup. MariaDB Galera Cluster provides synchronous replication, which ensures data consistency across nodes, making it an ideal solution for critical business applications. With proper maintenance and monitoring, a MariaDB Cluster can serve as the backbone of your application’s database layer for years to come.
Did you find this article useful? Your feedback is invaluable to us! Please feel free to share this post!
In this comprehensive guide, we’ll walk through the process of deploying a MySQL database using Podman, covering installation, configuration, and best practices. Table of Contents

Protecting your valuable data is crucial in the digital age, and one of the most important steps you can take is securing your PostgreSQL database

Learn how to deploy a highly available PostgreSQL database cluster using Pacemaker on RHEL 9 or CentOS 9. This comprehensive guide covers installation, configuration, and testing