Commands
In this guide, we’ll walk you through the step-by-step process of installing Docker on Fedora 37, ensuring you’re ready to leverage its benefits efficiently. Table

In this guide, we’ll explore how to deploy a web server using Podman, a powerful containerization tool that provides a lightweight and secure environment for running applications.
In today’s digital era, having a web server up and running is crucial for many businesses and individuals alike. Whether you’re hosting a personal blog, an e-commerce website, or a corporate portal, having a reliable web server is essential. With the rise of containerization technologies, managing and deploying web servers has become more efficient and scalable.
Podman is a containerization tool similar to Docker, but with some key differences. Unlike Docker, Podman doesn’t require a daemon to run, making it more lightweight and secure. It uses the same container runtime as Docker but operates without a central daemon, making it easier to manage containers as regular user accounts.
Before we can proceed with setting up a web server using Podman, we need to install Podman itself. The installation process may vary depending on your operating system. Here’s how you can install Podman on a Linux system:
$ sudo dnf install podman
$ sudo apt install podman
Once Podman is installed, you can verify the installation by running:
$ podman version
					Client:       Podman Engine
Version:      4.8.3
API Version:  4.8.3
Go Version:   go1.20.12
Built:        Wed Jan  3 14:11:31 2024
OS/Arch:      linux/amd64
Now that Podman is installed, we need to pull a container image for our web server. In this example, we’ll use the official NGINX container image from Docker Hub. You can pull the image using the following command:
$ podman pull nginx
Using your arrow keys, navigate to the docker.io/library/nginx:latest and press the Enter key to continue.
					? Please select an image:
    registry.fedoraproject.org/nginx:latest
    registry.access.redhat.com/nginx:latest
  ▸ docker.io/library/nginx:latest
    quay.io/nginx:latest
					✔ docker.io/library/nginx:latest
Trying to pull docker.io/library/nginx:latest...
Getting image source signatures
Copying blob c7f80e9cdab2 done   |
Copying blob e1caac4eb9d2 done   |
Copying blob c3ea3344e711 done   |
Copying blob 88f6f236f401 done   |
Copying blob cc1bb4345a3a done   |
Copying blob da8fa4352481 done   |
Copying blob 18a869624cb6 done   |
Copying config e4720093a3 done   |
Writing manifest to image destination
e4720093a3c1381245b53a5a51b417963b3c4472d3f47fc301930a4f3b17666a
With the NGINX container image downloaded, we can now run a container using Podman. We’ll expose port 8080 on the container to make the web server accessible from the host system. Here’s the command to run the NGINX container:
$ podman run -d -p 8080:80 nginx
68f33bfc2884fcde1f48ed3c7114312ab7e58b50b4e6a7595bcde8026c875a4e
This command will start a new NGINX container in detached mode (-d), meaning the container will run in the background. It exposes port 80 of the NGINX container to port 8080 on the host system (-p 8080:80), allowing external access to the web server.
Run the following command to check the status of the NGINX container:
$ podman ps
					CONTAINER ID  IMAGE                           COMMAND               CREATED         STATUS         PORTS                 NAMES
68f33bfc2884  docker.io/library/nginx:latest  nginx -g daemon o...  11 minutes ago  Up 11 minutes  0.0.0.0:8080->80/tcp  thirsty_wescoff
The podman ps command displays useful information such as, container ID, image name, status, and ports exposed.
Now that we’ve verified the container’s status to ensure it’s operational, let’s confirm the successful operation of the web server. There are a couple of methods we can employ to achieve this:
$ curl -k http://localhost:8080
This command utilizes the curl tool to make an HTTP request to the web server running on the local machine, specifically targeting port 8080. Here’s what each part of the command does:
curl: The command-line tool used for transferring data with URLs. In this context, it’s used to make an HTTP request.-k: This option allows curl to perform insecure SSL connections and transfers, ignoring SSL certificate verification. It’s often used when testing against self-signed certificates or when accessing servers with invalid certificates.http://localhost:8080: Specifies the URL to which the HTTP request will be made. In this case, it’s targeting the local machine (localhost) on port 8080, where the web server is expected to be running.
					<!DOCTYPE html>
<html>
<head>
<title>Welcome to nginx!</title>
<style>
html { color-scheme: light dark; }
body { width: 35em; margin: 0 auto;
font-family: Tahoma, Verdana, Arial, sans-serif; }
</style>
</head>
<body>
<h1>Welcome to nginx!</h1>
<p>If you see this page, the nginx web server is successfully installed and
working. Further configuration is required.</p>

<p>For online documentation and support please refer to
<a href="http://nginx.org/">nginx.org</a>.<br/>
Commercial support is available at
<a href="http://nginx.com/">nginx.com</a>.</p>

<p><em>Thank you for using nginx.</em></p>
</body>
</html>
Overall, this command attempts to fetch the content served by the web server running on the local machine on port 8080 and displays the response body in the terminal (above).
To view the content served by the web server running on your local machine, enter the following URL into your web browser: http://localhost:8080. Ensure that your browser is running locally (on the same machine your NGINX container is running).
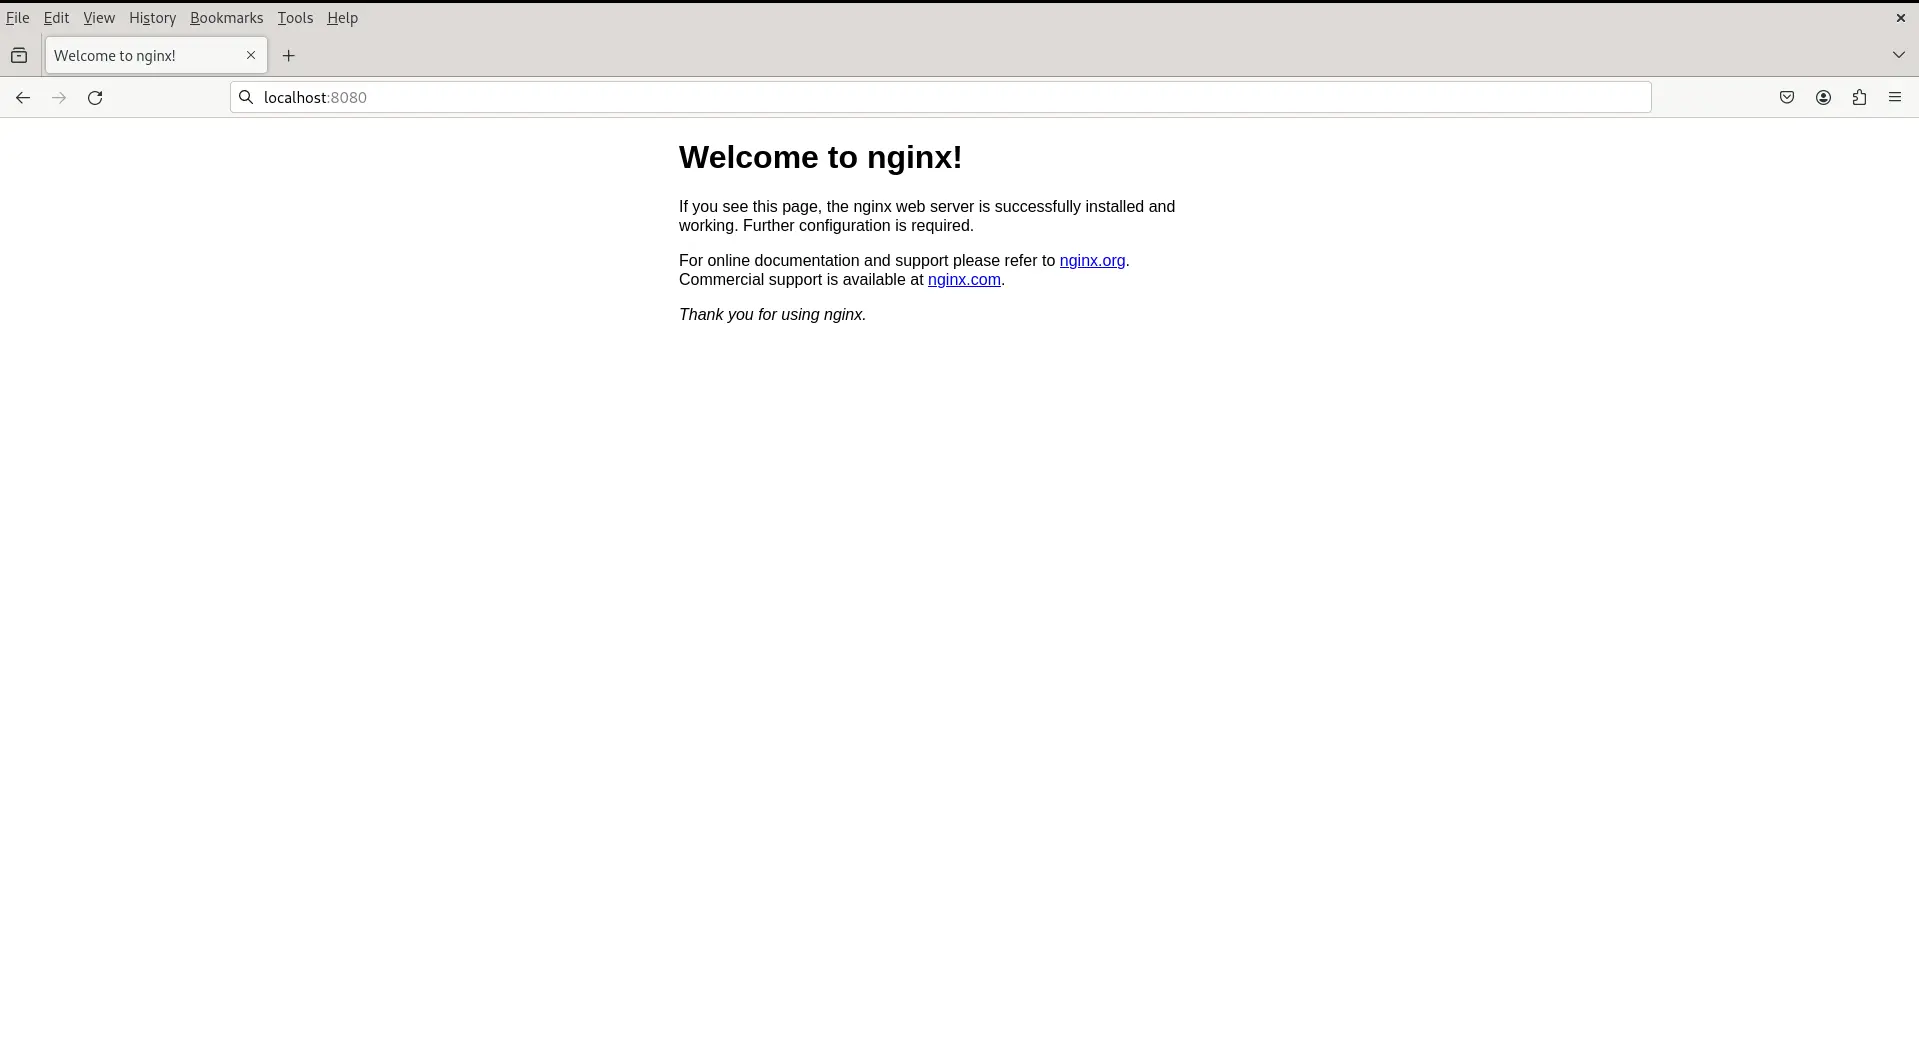
Photo by admingeek from Infotechys
If you’re accessing the web server from a different machine or using a remote browser, ensure that the firewall allows traffic on port 8080 to pass through.
$ sudo firewall-cmd --permanent --add-port=8080/tcp --add-port=80/tcp
$ sudo firewall-cmd --reload
$ sudo ufw allow 8080/tcp ; sudo ufw allow 80/tcp
$ sudo ufw reload
Also, enter the URL (http://ip_address:8080) where the "ip_address" is the actual public IP on the machine running the NGINX container.
Now that we have a basic web server running, you may want to customize it to suit your needs. You can do this by creating a custom index.html and mounting it into the container. Here’s an example of how to do this:
Create a directory on your host system to store your custom HTML file. Let’s name it html_files:
$ mkdir html_files
$ vim html_files/index.html
Inside the html_files directory, create your custom index.html file. You can copy and paste the example provided (below) or create your own HTML content.
<!DOCTYPE html>
<html lang="en">
<head>
<meta charset="UTF-8">
<meta name="viewport" content="width=device-width, initial-scale=1.0">
<title>My Website</title>
</head>
<body>
<header>
<h1>Welcome to My Website</h1>
</header>
<nav>
<ul>
<li><a href="#">Home</a></li>
<li><a href="#">About</a></li>
<li><a href="#">Services</a></li>
<li><a href="#">Contact</a></li>
</ul>
</nav>
<main>
<section>
<h2>About Us</h2>
<p>Lorem ipsum dolor sit amet, consectetur adipiscing elit. Sed do eiusmod tempor incididunt ut labore et dolore magna aliqua.</p>
</section>
<section>
<h2>Our Services</h2>
<ul>
<li>Service 1</li>
<li>Service 2</li>
<li>Service 3</li>
</ul>
</section>
<section>
<h2>Contact Us</h2>
<p>Email: info@example.com</p>
<p>Phone: 123-456-7890</p>
</section>
</main>
<footer>
<p>© 2024 My Website. All rights reserved.</p>
</footer>
</body>
</html>
Now, you can run the NGINX container, mounting the html_files directory into the container’s /usr/share/nginx/html directory where NGINX serves its default content. Use the following command:
$ podman run -d -p 8080:80 -v $(pwd)/html_files:/usr/share/nginx/html:Z nginx
Please ensure that you remove any existing containers mapped to port 8080 before running the command above. Failure to do so will result in the command failing, as another container is already using port 8080.
Run the following command(s) to remove any running containers:
$ podman ps
First, we list the container(s) with the podman ps command:
					CONTAINER ID  IMAGE                           COMMAND               CREATED      STATUS      PORTS                 NAMES
68f33bfc2884  docker.io/library/nginx:latest  nginx -g daemon o...  2 hours ago  Up 2 hours  0.0.0.0:8080->80/tcp  thirsty_wescoff
Then, remove it using its name or container ID.
$ podman stop thirsty_wescoff; podman rm 68f33bfc2884
					podman ps
CONTAINER ID  IMAGE       COMMAND     CREATED     STATUS      PORTS       NAMES
With the existing container removed, run the earlier command to mount your custom index.html.
					$ podman run -d -p 8080:80 -v $(pwd)/html_files:/usr/share/nginx/html:Z nginx
3a7b23ae0c1d7df1975107318553fcb9a9e41bbd2c9e3f62c6c45e12b006c8fa
-d: Runs the container in detached mode.-p 8080:80: Maps port 80 of the NGINX container to port 8080 on the host system, allowing access to the web server through port 8080.-v $(pwd)/html_files:/usr/share/nginx/html:Z: Mounts the html_files directory from the host system to the NGINX container’s /usr/share/nginx/html directory with the :Z flag. The :Z part is a SELinux context flag. It’s used to ensure that the mounted volume is properly labeled with the appropriate SELinux context, allowing the container to access it. This is particularly relevant when SELinux is enforcing policies. This makes your custom index.html file accessible to NGINX.nginx: Specifies the NGINX container image to useCheck the status of the container:
					$ podman ps
CONTAINER ID  IMAGE                           COMMAND               CREATED        STATUS        PORTS                 NAMES
3a7b23ae0c1d  docker.io/library/nginx:latest  nginx -g daemon o...  7 seconds ago  Up 7 seconds  0.0.0.0:8080->80/tcp  vibrant_shamir
Navigate to http://localhost:8080 in your web browser, NGINX will serve your custom index.html file from the html_files directory mounted into the container.
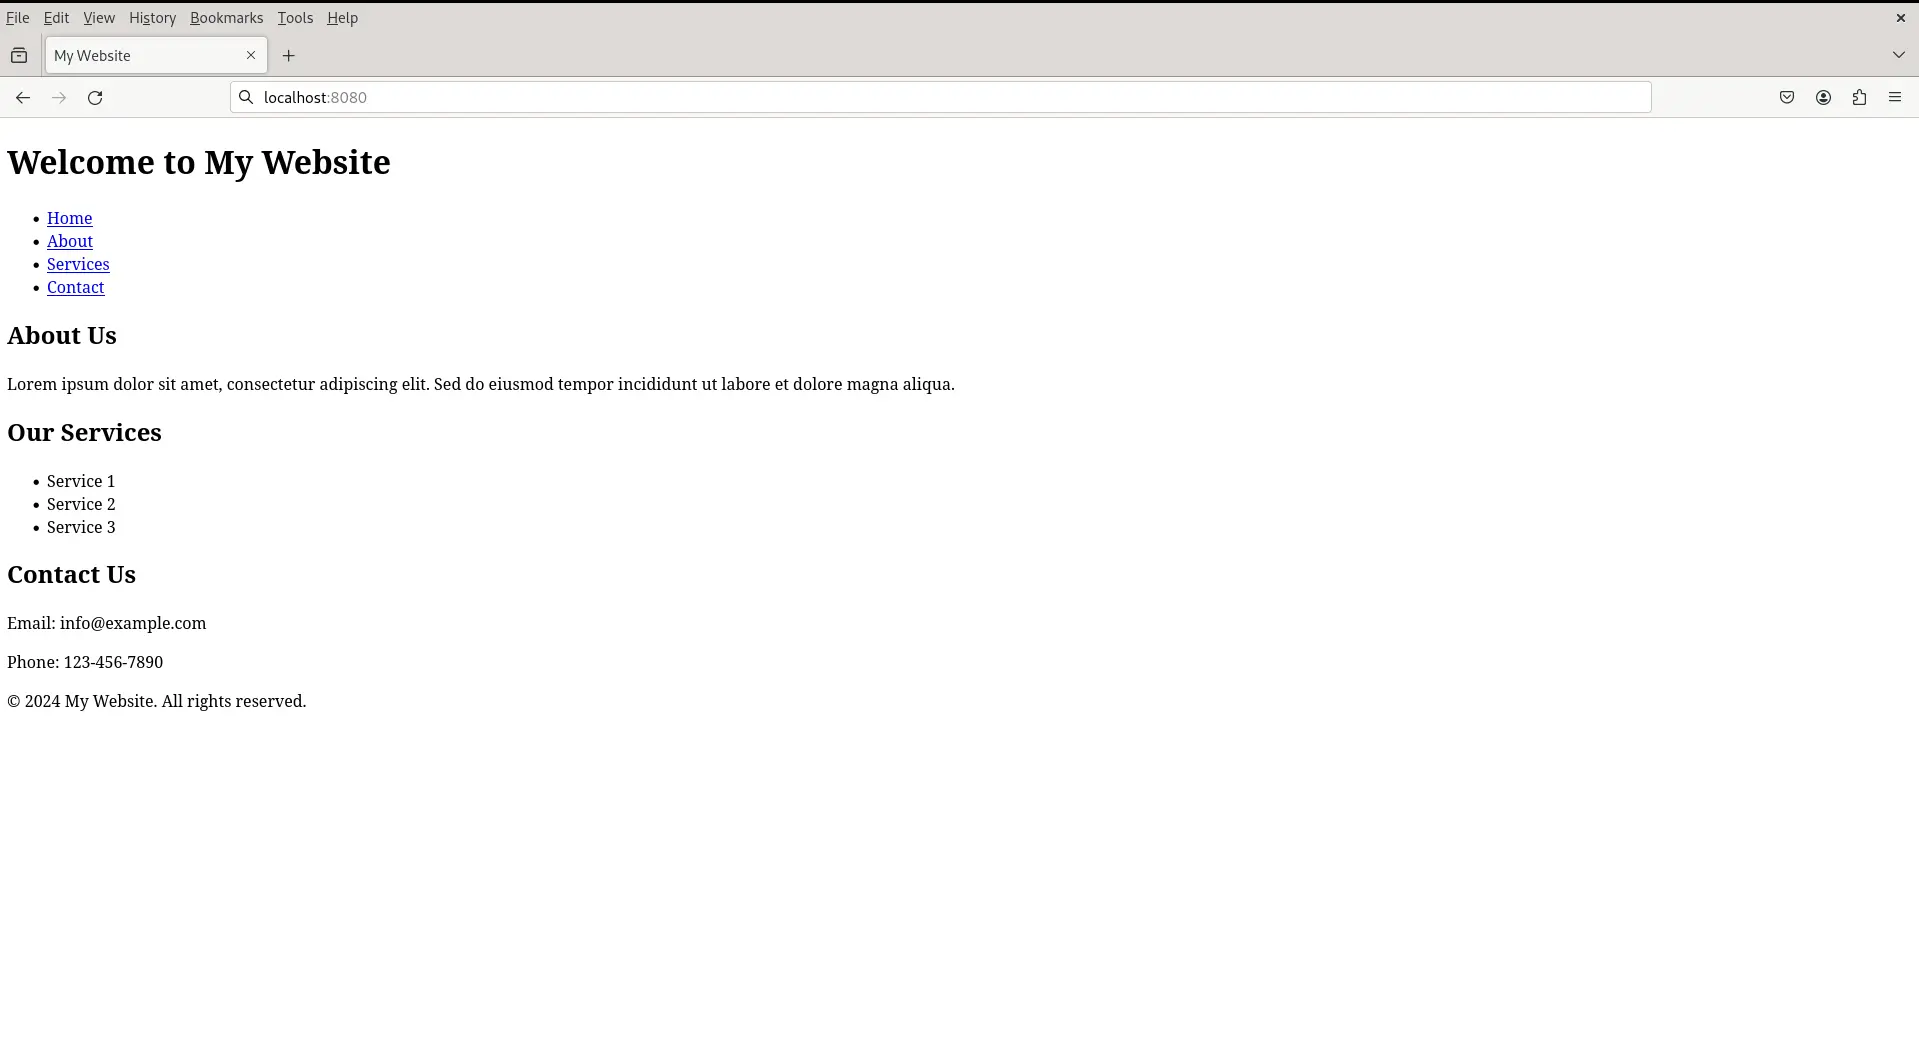
Photo by admingeek from Infotechys
In this guide, we’ve learned how to install a web server using Podman, a lightweight and secure containerization tool. By following the steps outlined above, you can quickly set up a web server using Podman and customize it to suit your specific requirements.
Did you find this article useful? Your feedback is invaluable to us! Please feel free to share your thoughts in the comments section below.
Related Posts
In this guide, we’ll walk you through the step-by-step process of installing Docker on Fedora 37, ensuring you’re ready to leverage its benefits efficiently. Table
In this article, we compare and contrast both container platforms and ultimately decide whether to docker or not to podman. Table of Contents Introduction When
Looking for a container management tool that integrates seamlessly with systemd? Podman containers with systemd support allow you to easily create, run, manage, and deploy