
Commands
Learn how to install Kubernetes using Ansible on Ubuntu 24.04. This comprehensive guide covers prerequisites, setup, and configuration, ensuring a streamlined and consistent deployment process.


Automating Zabbix Installations Using Ansible simplifies the deployment and configuration of Zabbix, an open-source monitoring solution. This comprehensive guide provides step-by-step instructions, essential YAML configurations, and best practices to enhance efficiency and reduce manual errors in your monitoring setup. Perfect for IT administrators looking to streamline their infrastructure management.
In the realm of IT infrastructure, automation is not just a luxury but a necessity. Ansible, a powerful automation tool, combined with Zabbix, an open-source monitoring solution, provides a robust framework for managing and monitoring IT environments. This guide will walk you through the process of automating the installation and configuration of Zabbix using Ansible, leveraging the provided YAML configurations.
Ansible is a simple yet powerful tool for automating IT tasks, including configuration management, application deployment, and orchestration. It uses a declarative language to describe system configurations.
Zabbix is a comprehensive monitoring solution for networks and applications. It provides capabilities such as real-time monitoring, alerting, and trending. By automating Zabbix installation with Ansible roles, you can ensure consistent deployments across multiple environments, reducing manual errors and saving time.
Now, let’s proceed with the breakdown of all the configuration files required to automate an install of Zabbix on RHEL 9 or CentOS 9.
| Configuration File | Description |
|---|---|
install_zabbix.yml | The main playbook that orchestrates the installation of Zabbix on all specified hosts using the ansible-zabbix-install role. |
inventory.yml | Defines the inventory of Zabbix nodes, specifying hostnames and their corresponding IP addresses. |
defaults/main.yml | Contains default variables for the Ansible role, including Zabbix version, RHEL version, database passwords, and repository URLs. |
handlers/main.yml | Defines handlers to restart or reload services (like Zabbix, Apache, and PostgreSQL) when changes occur during the playbook execution. |
tasks/main.yml | Includes various task files necessary for setting up Zabbix, such as PostgreSQL, network configuration, SSL setup, SELinux configuration, and frontend installation. |
tasks/network.yml | Configures firewall settings and SELinux policies to ensure proper access for Zabbix, PostgreSQL, and Apache. |
tasks/postgresql.yml | Handles the installation and configuration of PostgreSQL, including user creation, database setup, and remote access configuration. |
tasks/selinux.yml | Installs SELinux policy utilities and creates custom SELinux modules to allow PHP to allocate executable memory. |
tasks/zabbix.yml | Installs the Zabbix server, frontend, and agent, and configures the database and user permissions. |
tasks/ssl.yml | Manages the creation of SSL directories and self-signed certificates for secure communication. |
tasks/frontend.yml | Installs and configures Apache and PHP for the Zabbix frontend, ensuring all necessary services are started and enabled. |
Before we begin, ensure you have the following:
For demonstration purposes, we’ve configured our Linux nodes as follows (2 nodes, 1 ansible-ctl, 1 for zabbix install):
| Hostnames | RAM (GB) | Cores | Operating System (OS) |
| ansible-ctl.dev.naijalabs.net | 4 | 2 | Red Hat Enterprise Linux release 9.4 (Plow) |
| zbx-node1.dev.naijalabs.net | 4 | 2 | Red Hat Enterprise Linux release 9.4 (Plow) |
Copy and paste the following entries in the /etc/hosts file on each node (replace IP addresses and hostnames with your actual settings):
					# Ansible Zabbix Hosts
192.168.1.22  ansible-ctl.dev.naijlabs.net ansible-ctl
192.168.1.218 zbx-node1.dev.naijalabs.net
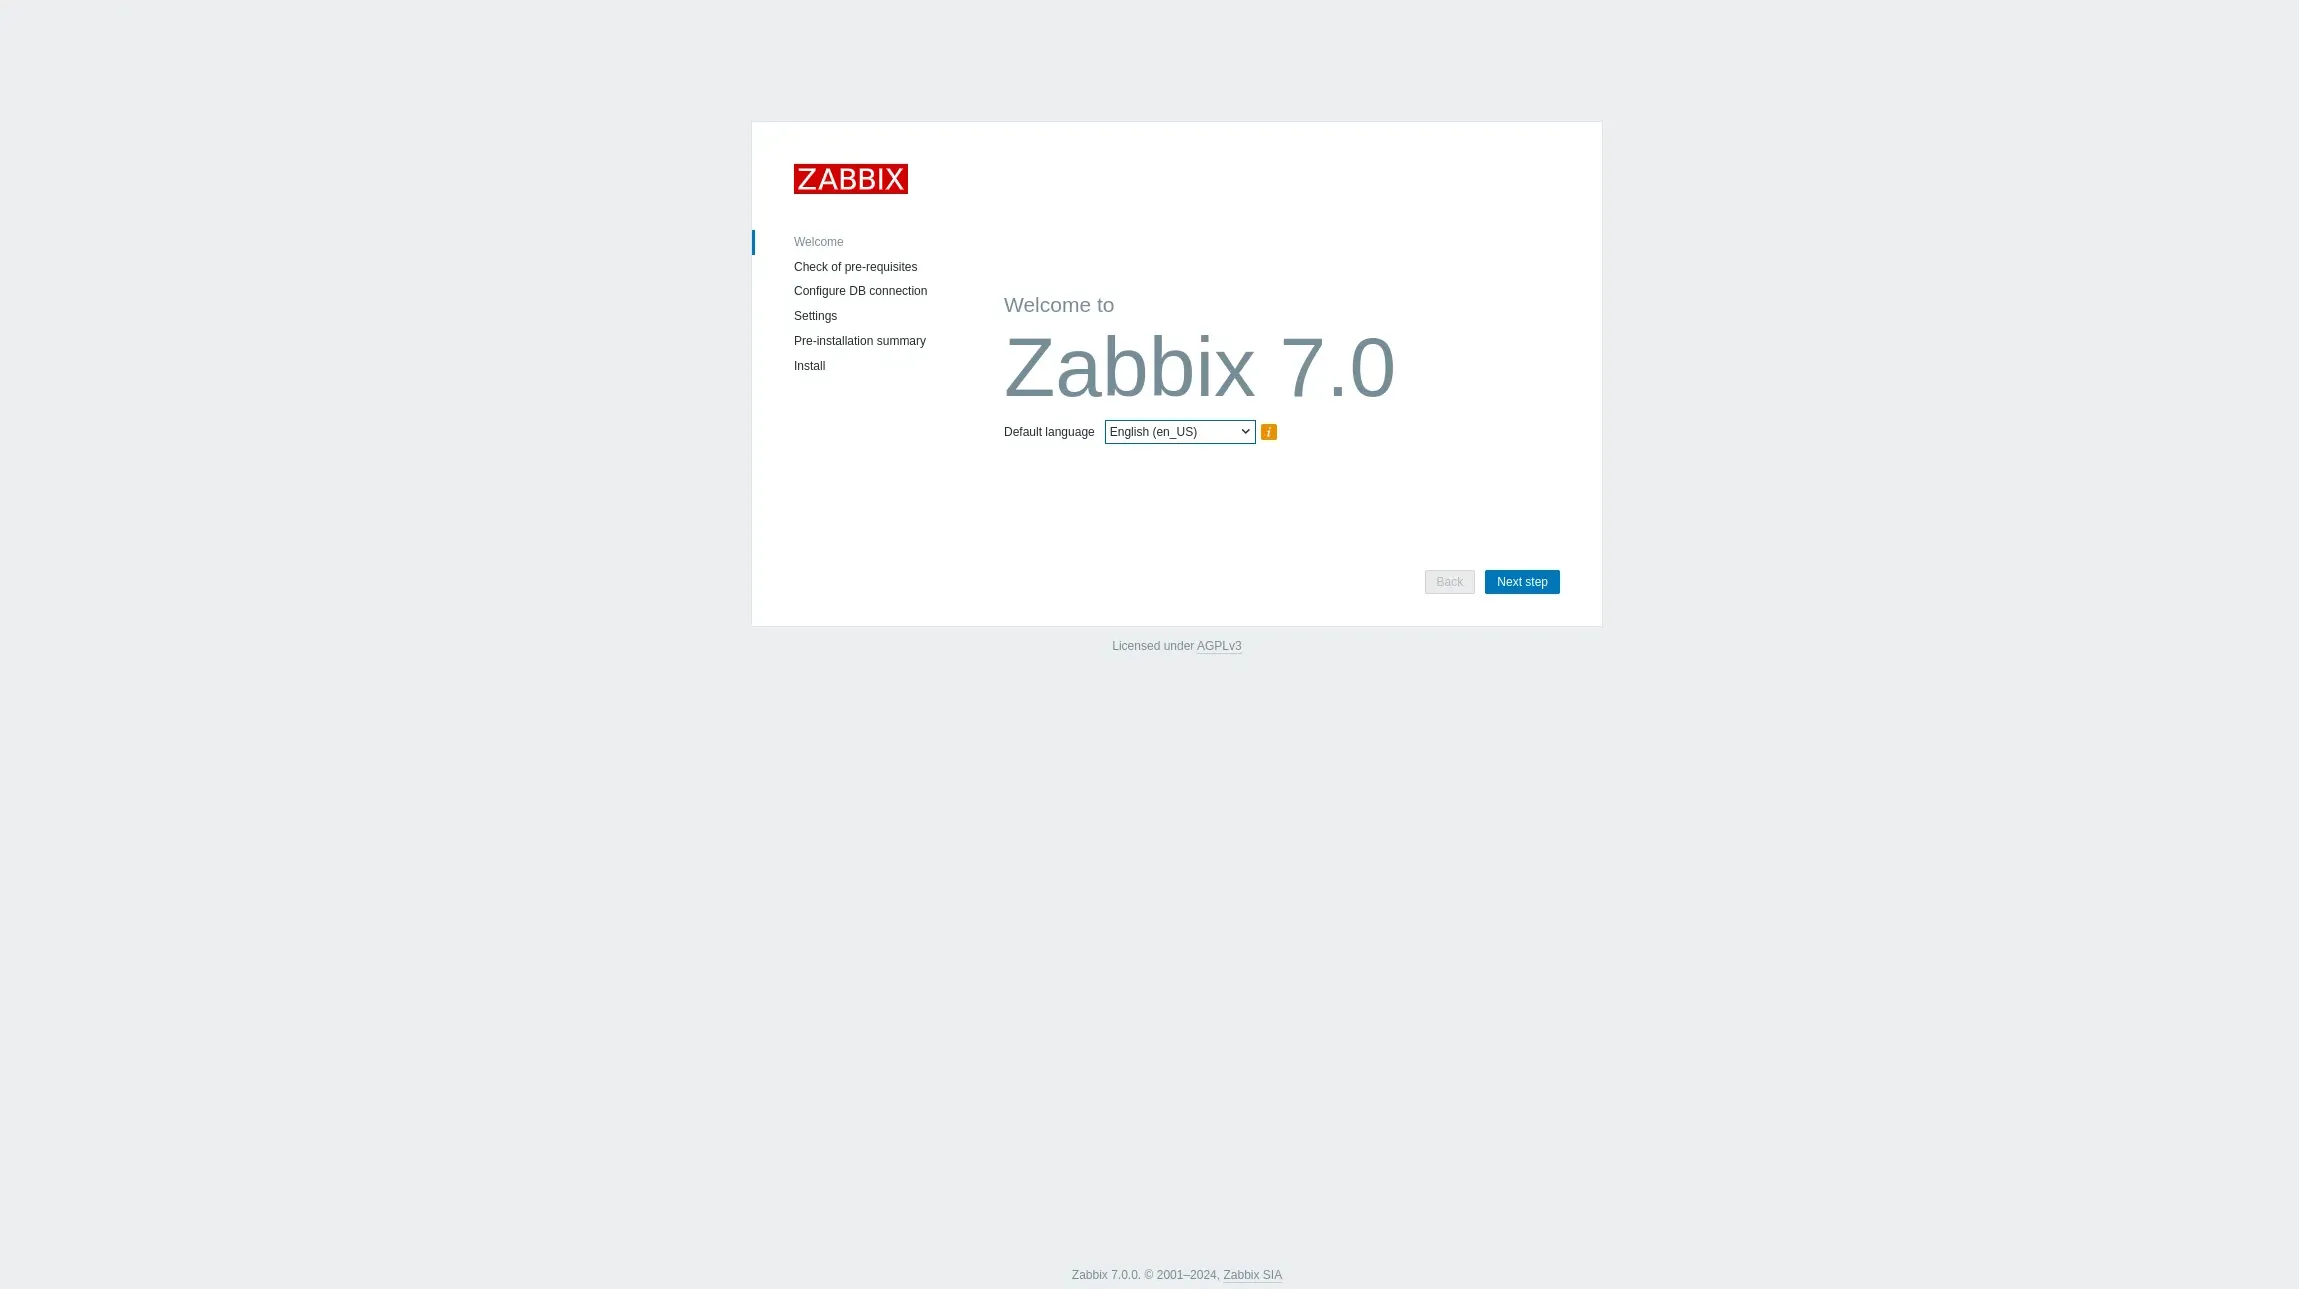
Photo by admingeek from Infotechys
Automating Zabbix Installations Using Ansible: A Step-by-Step Guide |
ansible and another one named inventory that will house all your inventory files. Then, navigate into the ansible directory:
$ mkdir -p ansible; mkdir -p inventory; cd ansible
If you don’t already have Ansible installed, install it with the following command:
$ sudo dnf install ansible -y
Then, run the following command to create the directory structure for the ansible-zabbix-install role.
$ ansible-galaxy init ansible-zabbix-install
- Role ansible-zabbix-install was created successfully
Next, run the tree command to view the directory structure:
$ tree
					.
└── ansible-zabbix-install
    ├── defaults
    │   └── main.yml
    ├── files
    ├── handlers
    │   └── main.yml
    ├── meta
    │   └── main.yml
    ├── README.md
    ├── tasks
    │   └── main.yml
    ├── templates
    ├── tests
    │   ├── inventory
    │   └── test.yml
    └── vars
        └── main.yml

9 directories, 8 files
Your directory structure should look similar to the output above. In the next section, we’ll breakdown all of the configuration files belonging to each sub-directory.
|
This playbook is the entry point for the Ansible role ansible-zabbix-install, which sets up Zabbix on all specified hosts.
					---
- hosts: all
  become: yes
  roles:
    - ansible-zabbix-install
|
Defines the Zabbix nodes and their respective IP addresses.
					---
zabbix_nodes:
  hosts:
    zbx-node1.dev.naijalabs.net:
      ansible_host: 192.168.1.218
|
Contains default variables for the Ansible role, such as Zabbix and RHEL versions, database passwords, and repository URLs.
					---
# defaults file for ansible-zabbix-install
playbook_dir: "~/ansible/ansible-zabbix-install"
zabbix_version: 6.4
rhel_version: 9
postgresql_password: postgres
zabbix_db_password: zabbix
zabbix_server_ip: 192.168.1.218
timezone: Etc/UTC
zabbix_repo_url: "https://repo.zabbix.com/zabbix/{{ zabbix_version }}/rhel/{{ rhel_version }}/x86_64/zabbix-release-latest.el{{ rhel_version }}.noarch.rpm"
|
Defines handlers to restart or reload services when changes occur.
					---
# handlers file for ansible-zabbix-install to restart services
- name: Restart Zabbix Server
  systemd:
    name: zabbix-server
    state: restarted

- name: Restart Zabbix Agent
  systemd:
    name: zabbix-agent
    state: restarted

- name: Restart Apache
  systemd:
    name: httpd
    state: restarted

- name: Restart PHP-FPM
  systemd:
    name: php-fpm
    state: restarted

- name: Reload firewalld
  service:
    name: firewalld
    state: reloaded

- name: Reload PostgreSQL
  systemd:
    name: postgresql
    state: reloaded

- name: Restart PostgreSQL
  systemd:
    name: postgresql
    state: restarted
|
Includes various task files necessary for setting up Zabbix.
					---
# tasks file for ansible-zabbix-install
- include_tasks: postgresql.yml
- include_tasks: zabbix.yml
- include_tasks: network.yml
- include_tasks: ssl.yml
- include_tasks: selinux.yml
- include_tasks: frontend.yml
|
Configures firewall settings and SELinux for Zabbix.
					---
# Firewall tasks section
- name: Open necessary firewall ports for Zabbix, PostgreSQL, and Apache
  firewalld:
    port: "{{ item }}"
    permanent: yes
    state: enabled
  with_items:
    - "10050/tcp"  # Zabbix server port
    - "10051/tcp"  # Zabbix server port
    - "5432/tcp"   # PostgreSQL port
    - "443/tcp"    # HTTPS/SSL port for Apache
  notify:
    - Reload firewalld

# SELinux configuration section
- name: Configure SELinux for Zabbix frontend access
  command: setsebool -P httpd_can_network_connect on
  when: ansible_selinux.status == "enabled"
|
Handles the installation and configuration of PostgreSQL.
					---
# Install PostgreSQL
- name: Install PostgreSQL packages
  dnf:
    name:
      - postgresql-server
      - postgresql-contrib
    state: present

# Initialize PostgreSQL database
- name: Initialize PostgreSQL Database
  command: postgresql-setup --initdb
  args:
    creates: /var/lib/pgsql/data/PG_VERSION

# Start and enable PostgreSQL
- name: Start and enable PostgreSQL
  systemd:
    name: postgresql
    state: started
    enabled: yes

# Install Python Pip
- name: Install Python pip
  dnf:
    name: python3-pip
    state: present

# Install Python Library (psycopg2)
- name: Install psycopg2 Python library
  pip:
    name: psycopg2-binary
    state: present

# Set PostgreSQL password for user 'postgres'
- name: Set PostgreSQL password for 'postgres' user
  become_user: postgres
  postgresql_user:
    name: postgres
    password: "{{ postgresql_password }}"

# Ensure PostgreSQL Remote Access
- name: Ensure PostgreSQL Remote Access
  lineinfile:
    path: /var/lib/pgsql/data/postgresql.conf
    regexp: '^#listen_addresses ='
    line: "listen_addresses = '*'"
    backup: yes
    state: present
  notify:
    - Restart PostgreSQL
|
Configures SELinux policies for Zabbix.
					---
- name: Install SELinux policy utilities
  dnf:
    name: policycoreutils-python-utils
    state: present
  become: yes

- name: Create custom SELinux module file for PHP PCRE JIT
  copy:
    dest: /tmp/php_jit.te
    content: |
      module php_jit 1.0;

      require {
          type httpd_t;
          class process execmem;
      }

      # Allow PHP to allocate executable memory
      allow httpd_t self:process execmem;

- name: Compile the custom SELinux module
  shell: |
    checkmodule -M -m -o /tmp/php_jit.mod /tmp/php_jit.te
    semodule_package -o /tmp/php_jit.pp -m /tmp/php_jit.mod
    semodule -i /tmp/php_jit.pp
  args:
    creates: /tmp/php_jit.pp
|
Installs and configures Zabbix server, frontend, and agent.
					---
# Disable EPEL repository if it exists
- name: Remove epel-release package if it exists
  ansible.builtin.package:
    name: epel-release
    state: absent
  ignore_errors: yes

# Install Zabbix repository
- name: Install Zabbix repository
  dnf:
    name: "{{ zabbix_repo_url }}"
    state: present
    disable_gpg_check: yes

# Install Zabbix server, frontend, agent, and dependencies
- name: Install Zabbix server, frontend, and agent packages
  dnf:
    name:
      - zabbix-server-pgsql
      - zabbix-web-pgsql
      - zabbix-web
      - zabbix-web-deps
      - zabbix-sql-scripts
      - zabbix-selinux-policy
      - zabbix-apache-conf
      - zabbix-agent
    state: present

# Create Zabbix database and user
- name: Create Zabbix user in PostgreSQL
  become_user: postgres
  postgresql_user:
    name: zabbix
    password: "{{ zabbix_db_password }}"
    state: present

- name: Create Zabbix database
  become_user: postgres
  postgresql_db:
    name: zabbix
    owner: zabbix

- name: Grant privileges to Zabbix database
  become_user: postgres
  postgresql_query:
    db: zabbix
    query: "GRANT ALL PRIVILEGES ON DATABASE zabbix TO zabbix;"

# Import Zabbix schema
- name: Import Zabbix schema into PostgreSQL
  ansible.builtin.shell: |
    zcat /usr/share/zabbix-sql-scripts/postgresql/server.sql.gz | sudo -u zabbix psql zabbix
  changed_when: false

- name: Update Zabbix Server Configuration with Database Credentials
  blockinfile:
    path: /etc/zabbix/zabbix_server.conf
    marker: "# {mark} MANAGED BLOCK"
    block: |
      DBPassword={{ zabbix_db_password }}
    state: present

# Configure PostgreSQL to Allow Database Connections
- name: Modify PostgreSQL configuration for Zabbix
  ansible.builtin.shell: |
    sed -i 's/ident/md5/' /var/lib/pgsql/data/pg_hba.conf
  changed_when: false

# Configure PostgreSQL to Allow Database Connections
- name: Ensure pg_hba.conf allows connections from localhost
  lineinfile:
    path: /var/lib/pgsql/data/pg_hba.conf
    regexp: '^host\s+zabbix\s+zabbix\s+127.0.0.1/32\s+md5'
    line: 'host    zabbix          zabbix          127.0.0.1/32            md5'
    state: present
  notify: Reload PostgreSQL
|
Handles the creation of SSL directories and self-signed certificates.
					---
- name: Ensure SSL directories exist
  file:
    path: "{{ item }}"
    state: directory
    mode: '0700'
  with_items:
    - /etc/pki/tls/private
    - /etc/pki/tls/certs

- name: Check if SSL key exists
  stat:
    path: /etc/pki/tls/private/self_signed.key
  register: ssl_key_stat

- name: Check if SSL certificate exists
  stat:
    path: /etc/pki/tls/certs/self_signed.crt
  register: ssl_crt_stat

- name: Generate self-signed SSL certificate if cert and key don't exist
  command: openssl req -x509 -nodes -days 365 -newkey rsa:2048 -keyout /etc/pki/tls/private/self_signed.key -out /etc/pki/tls/certs/self_signed.crt -subj "/C=US/ST=State/L=City/O=Organization/OU=OrgUnit/CN=localhost"
  when: not (ssl_key_stat.stat.exists and ssl_crt_stat.stat.exists)

- name: Output a message if the SSL certificate and key already exist
  debug:
    msg: "SSL certificate and key already exist; skipping generation."
  when: ssl_key_stat.stat.exists and ssl_crt_stat.stat.exists
|
Installs Apache and PHP, and configures them for Zabbix.
					---
# Install Apache and PHP
- name: Install Apache and PHP packages
  dnf:
    name:
      - httpd
      - php
      - php-pgsql
      - mod_ssl
    state: present

# Start and enable Apache and PHP services
- name: Start and enable Apache and PHP-FPM services
  systemd:
    name: "{{ item }}"
    state: started
    enabled: yes
  loop:
    - httpd
    - php-fpm

# Update Zabbix.conf for PHP-FPM
- name: Update Zabbix Configuration for PHP-FPM
  lineinfile:
    path: /etc/php-fpm.d/zabbix.conf
    regexp: '^php_value\[date.timezone\]'
    line: 'php_value[date.timezone] = {{ timezone }}'
    state: present

# Configure PHP timezone for Zabbix
- name: Configure PHP timezone for Zabbix
  template:
    src: php.ini.j2
    dest: /etc/php.ini
  notify: Restart PHP-FPM

# Ensure all Zabbix Services are Started and Enabled
- name: Ensure all Zabbix Services are Started and Enabled
  ansible.builtin.shell: |
    systemctl enable --now zabbix-server zabbix-agent httpd php-fpm
  changed_when: false
Jinja2 is a powerful templating engine that allows users to create dynamic configuration files by incorporating variables, control structures (like loops and conditionals), and filters. These templates enable the generation of customized content based on the specific needs of the deployment environment. When processed, the placeholders in the .j2 files are replaced with actual values, resulting in fully formed configuration files that can be deployed to servers. This approach enhances flexibility and maintainability in configuration management.
|
Configures time zone settings for PHP.
					[Date]
date.timezone = {{ timezone }}
Automating Zabbix Installations Using Ansible: Playbook Execution |
ansible-zabbix-install role, we are now prepared to run the playbook. It’s advisable to perform a dry run first to ensure everything is set up correctly before executing it for real.
$ ansible-playbook -i ~/ansible/inventory/zabbix_inventory.yml ~/ansible/install_zabbix.yml -K --check
BECOME password:
Enter your sudo credentials to continue:

Photo by admingeek from Infotechys
If the playbook run completes without errors or failed tasks, run it again for real without the --check option.
Verify the Deployment |
After execution, verify the Zabbix setup by accessing the web interface at: https://<zabbix_server_ip>/zabbix

Photo by admingeek from Infotechys
Finally, log on to the Zabbix frontend using the default credentials:
Quick Tips & Command-Line (CLI) Examples |
Here are a few more Ansible CLI examples:
$ ansible --version
$ ansible-inventory --list -i inventory/zabbix_inventory.yml
$ ansible-playbook -i inventory/zabbix_inventory.yml install_zabbix.yml -K -v
Deploying Zabbix using Ansible streamlines the process of setting up a monitoring infrastructure, ensuring consistency and reducing potential errors. The detailed configurations and tasks provided in this guide should serve as a comprehensive roadmap for automating Zabbix installations, allowing IT administrators to focus on more strategic tasks rather than repetitive setup procedures.
With this automation, your IT environment can become more resilient, scalable, and manageable, ultimately enhancing the overall efficiency and reliability of your operations. As always, test configurations in a staging environment before applying them in production to ensure everything works as intended.
Did you find this article useful? Your feedback is invaluable to us! Please feel free to share your thoughts in the comments section below.
Learn how to install Kubernetes using Ansible on Ubuntu 24.04. This comprehensive guide covers prerequisites, setup, and configuration, ensuring a streamlined and consistent deployment process.

This blog post covers how to install and configure Zabbix version 7.0-2 on RHEL 9 in detail, including prerequisites, step-by-step instructions, and troubleshooting tips. Table

Learn how to install Zabbix with PostgreSQL on RHEL 9 | CentOS 9 with our comprehensive step-by-step guide. Follow clear instructions with CLI examples and