Install VS Code on CentOS Stream 9 – Quick & Easy Tutorial

Install VS Code on CentOS Stream 9

Learn how to install Visual Studio Code on CentOS Stream 9 with this step-by-step tutorial. Quick, easy, and updated for 2025, this guide includes CLI examples, troubleshooting, and extension recommendations.

Table of Contents

🚀 Introduction

If you’re a developer or system administrator using CentOS Stream 9, you’re likely seeking an efficient way to install Visual Studio Code (VS Code)—a lightweight but powerful source code editor. Whether you’re developing in Python, C++, JavaScript, or any other language, VS Code offers robust features like IntelliSense, debugging, Git integration, and extensions that enhance productivity.

In this detailed yet quick and easy tutorial, we’ll walk you through every step required to install VS Code on CentOS Stream 9. We’ll cover multiple installation methods, offer troubleshooting tips, and include helpful tables and command-line examples to ensure a smooth setup.


🧾 Why Choose VS Code?

Before jumping into the installation, here’s a quick overview of why VS Code is a favorite among developers:

FeatureDescription
LightweightFast and responsive, even on lower-end systems.
Cross-platformAvailable on Windows, macOS, and Linux (including CentOS Stream 9).
ExtensibleThousands of extensions in the Visual Studio Marketplace.
Integrated GitBuilt-in version control with Git support.
Language SupportRich IntelliSense and debugging tools for multiple languages.

▶️ Prerequisites

Before we begin, ensure you have the following:

  • CentOS Stream 9 (Server with GUI or Workstation) up and running.
  • Sudo/root privileges
  • Access to terminal and internet connectivity

Let’s dive into the actual installation.


📥 Step 1: Update Your System

Always start by updating your packages to ensure the system is ready for new installations.

				
					sudo dnf update -y


📥 Step 2: Enable Microsoft’s VS Code Repository

Microsoft provides a dedicated repository for installing and updating VS Code on RPM-based systems like CentOS.

🔹Add the Microsoft GPG key:

				
					sudo rpm --import https://packages.microsoft.com/keys/microsoft.asc


🔹Create the repository file:

				
					sudo tee /etc/yum.repos.d/vscode.repo > /dev/null <<EOF
[code]
name=Visual Studio Code
baseurl=https://packages.microsoft.com/yumrepos/vscode
enabled=1
gpgcheck=1
gpgkey=https://packages.microsoft.com/keys/microsoft.asc
EOF


This step ensures that your system knows where to fetch the latest VS Code RPM package securely.


📥 Step 3: Install Visual Studio Code

Now that the repository is configured, installing VS Code is a simple one-liner:

				
					sudo dnf install code -y
				
			
Install VS Code on CentOS Stream 9

Photo by admingeek from Infotechys

This command will download and install all the necessary dependencies.


📥 Step 4: Verify the Installation

Once installation is complete, verify that VS Code is installed and accessible:

				
					code --version


You should see an output similar to:

				
					1.102.2
c306e94f98122556ca081f527b466015e1bc37b0
x64


📊 VS Code Installation Summary Table

Here’s a quick summary of the commands used:

StepCommand
System Updatesudo dnf update -y
Import GPG Keysudo rpm --import https://packages.microsoft.com/keys/microsoft.asc
Add VS Code Reposudo tee /etc/yum.repos.d/vscode.repo > /dev/null <<EOF ... EOF
Install VS Codesudo dnf install code -y
Verify Installationcode --version

🖥️ Launching VS Code

Once installed, you can launch VS Code in two ways:

🔹From the terminal:

				
					code
				
			
Install VS Code on CentOS Stream 9 | Post image: Launching VSCode

Photo by admingeek from Infotechys

🔹From the applications menu:

Go to Activities > Search for “Visual Studio Code” and click the icon.

Install VS Code on CentOS Stream 9 | Post image: Launching VSCode from Activities Menu

Photo by admingeek from Infotechys


🔁 Keeping VS Code Updated

Thanks to the added repository, updating VS Code is as simple as updating your system:

				
					sudo dnf update code -y


Or, if you’re updating everything:

				
					sudo dnf update -y


🔌 Recommended Extensions for CentOS Developers

Here are a few extensions you might want to install right away:

ExtensionCommand to InstallDescription
Pythoncode --install-extension ms-python.pythonPython development and Jupyter support
C/C++code --install-extension ms-vscode.cpptoolsIntelliSense, debugging for C/C++
GitLenscode --install-extension eamodio.gitlensAdvanced Git integration
Dockercode --install-extension ms-azuretools.vscode-dockerDockerfile and container support
Remote – SSHcode --install-extension ms-vscode-remote.remote-sshRemote development

🧰 Troubleshooting Common Issues

🔹1. VS Code Doesn’t Launch

Try launching with verbose logging:

				
					code --verbose


Check for missing dependencies:

				
					ldd /usr/share/code/code


🔹2. Error: Cannot open display

If you’re running over SSH, make sure X11 forwarding is enabled:

				
					ssh -X user@remote-ip


Also ensure you have an X server running locally.


🤔 Alternative: Install via Flatpak (Optional)

If you prefer containerized apps, Flatpak is another option.

🔹Enable Flatpak:

				
					sudo dnf install flatpak -y


🔹Add Flathub repository:

				
					flatpak remote-add --if-not-exists flathub https://flathub.org/repo/flathub.flatpakrepo


🔹Install VS Code (Code OSS version):

				
					flatpak install flathub com.visualstudio.code -y


You should see output similar to:

				
					Looking for matches…
Required runtime for com.visualstudio.code/x86_64/stable (runtime/org.freedesktop.Sdk/x86_64/24.08) found in remote flathub

com.visualstudio.code permissions:
    ipc                   network               pulseaudio                   ssh-auth       x11       devices       devel
    file access [1]       dbus access [2]       system dbus access [3]       tags [4]

    [1] host
    [2] com.canonical.AppMenu.Registrar, com.canonical.AppMenu.Registrar.*, org.freedesktop.Flatpak, org.freedesktop.Notifications, org.freedesktop.secrets
    [3] org.freedesktop.login1
    [4] proprietary


        ID                                   Branch          Op          Remote           Download
 1. [✓] org.freedesktop.Sdk.Locale           24.08           i           flathub           18.6 kB / 387.8 MB
 2. [✓] org.freedesktop.Sdk                  24.08           i           flathub          427.7 MB / 624.9 MB
 3. [✓] com.visualstudio.code                stable          i           flathub          112.9 MB / 114.7 MB

Installation complete.


🔹Run it:

				
					flatpak run com.visualstudio.code
				
			
VSCode Installation: Flatpak Option

Photo by admingeek from Infotechys

💡NOTE: This is a community-maintained version, not the official Microsoft one.


📁 Uninstalling VS Code

If you ever need to uninstall:

				
					sudo dnf remove code -y


Or, for the Flatpak version:

				
					flatpak remove com.visualstudio.code -y


					        ID                                   Branch        Op
 1. [-] com.visualstudio.code        stable        r

Uninstall complete.


And optionally remove the repository:

				
					sudo rm /etc/yum.repos.d/vscode.repo


✅ Final Thoughts

Installing VS Code on CentOS Stream 9 is straightforward once you know the right steps. Whether you’re a seasoned Linux user or transitioning from another OS, VS Code offers an incredible coding experience that integrates smoothly with your CentOS workflow.

By following this guide, you’ve not only installed VS Code but also configured your environment for efficient development. Be sure to explore extensions and keep your system updated for the best performance.

Did you find this article helpful? Your feedback is invaluable to us! Feel free to share this post with those who may benefit, and let us know your thoughts in the comments section below.


👉 Related Posts
Install VSCode on Fedora 40
Commands
Install VSCode on Fedora 40

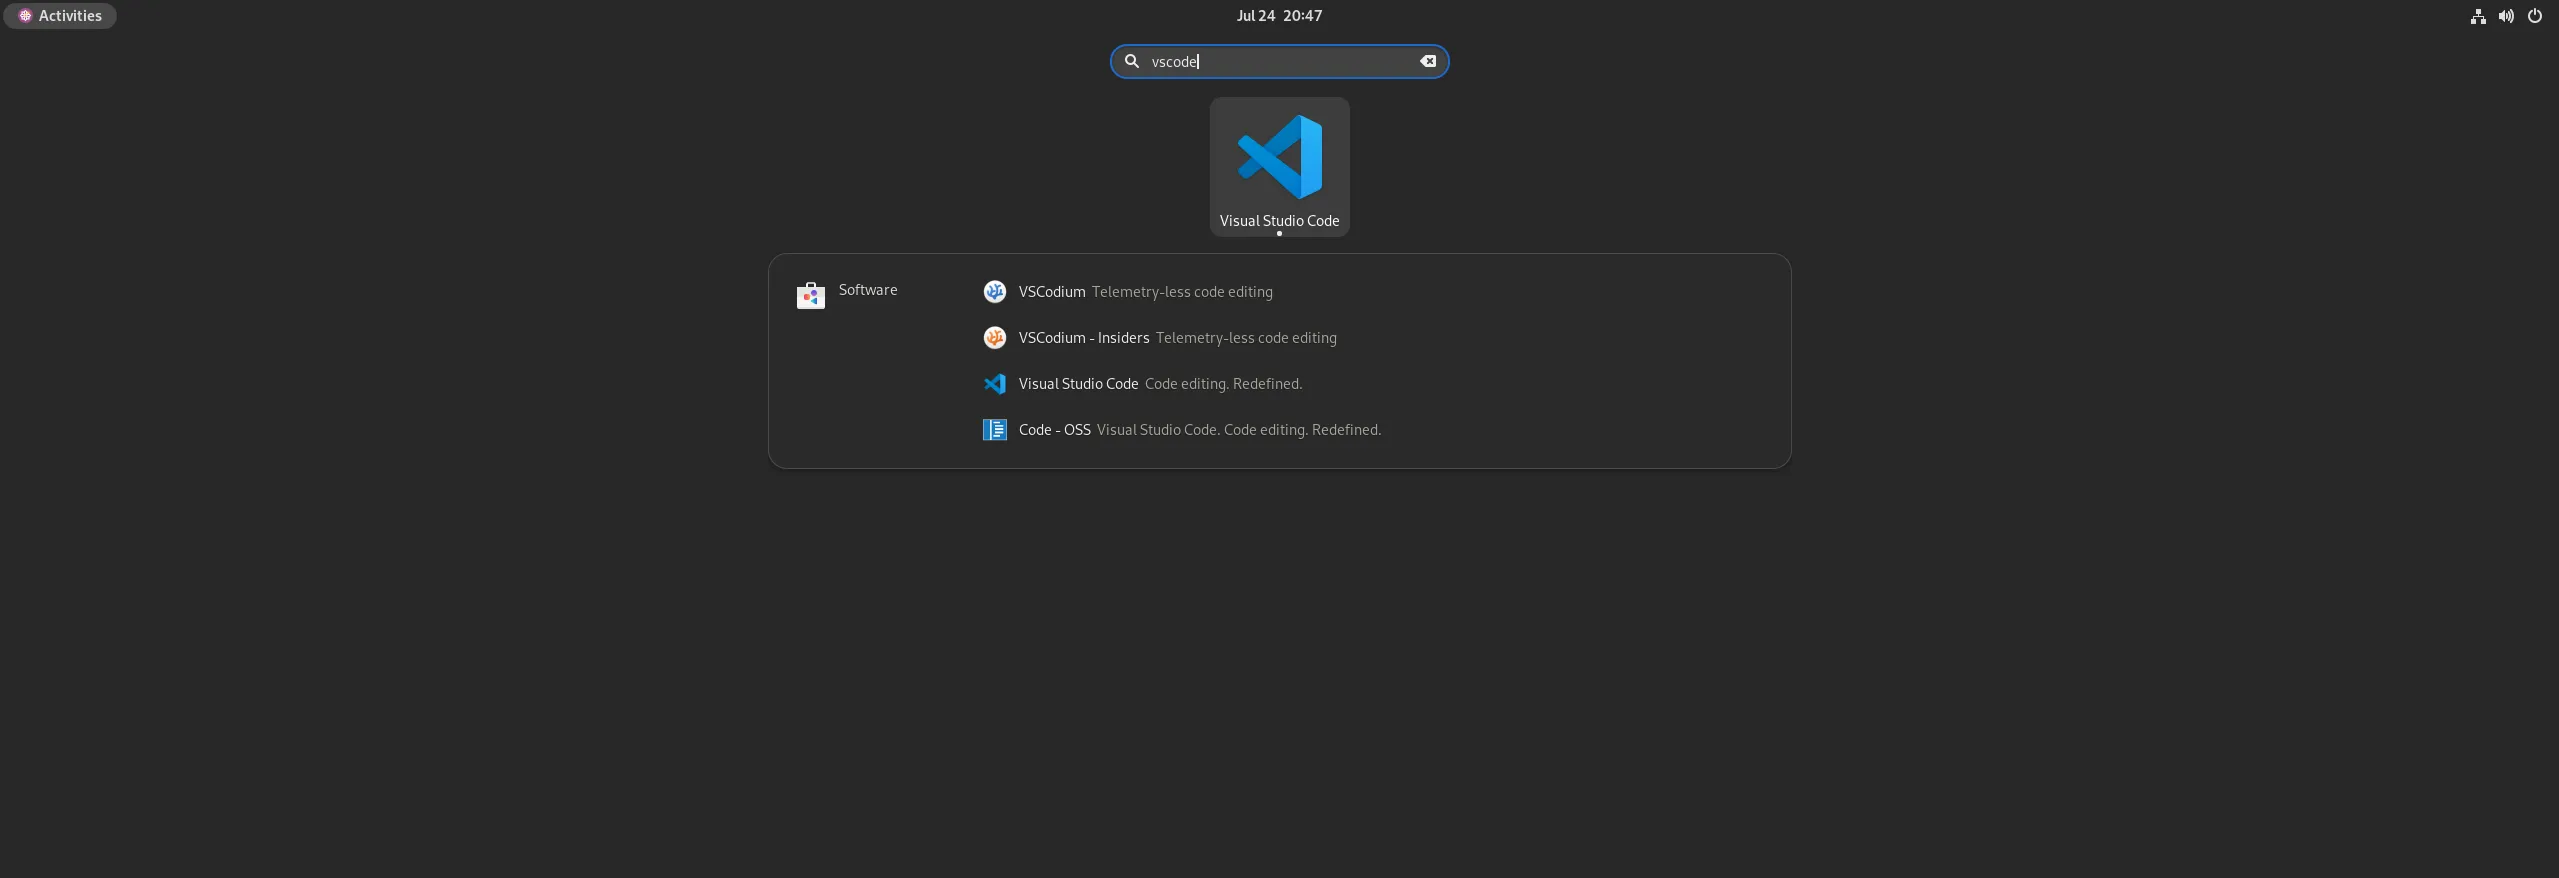
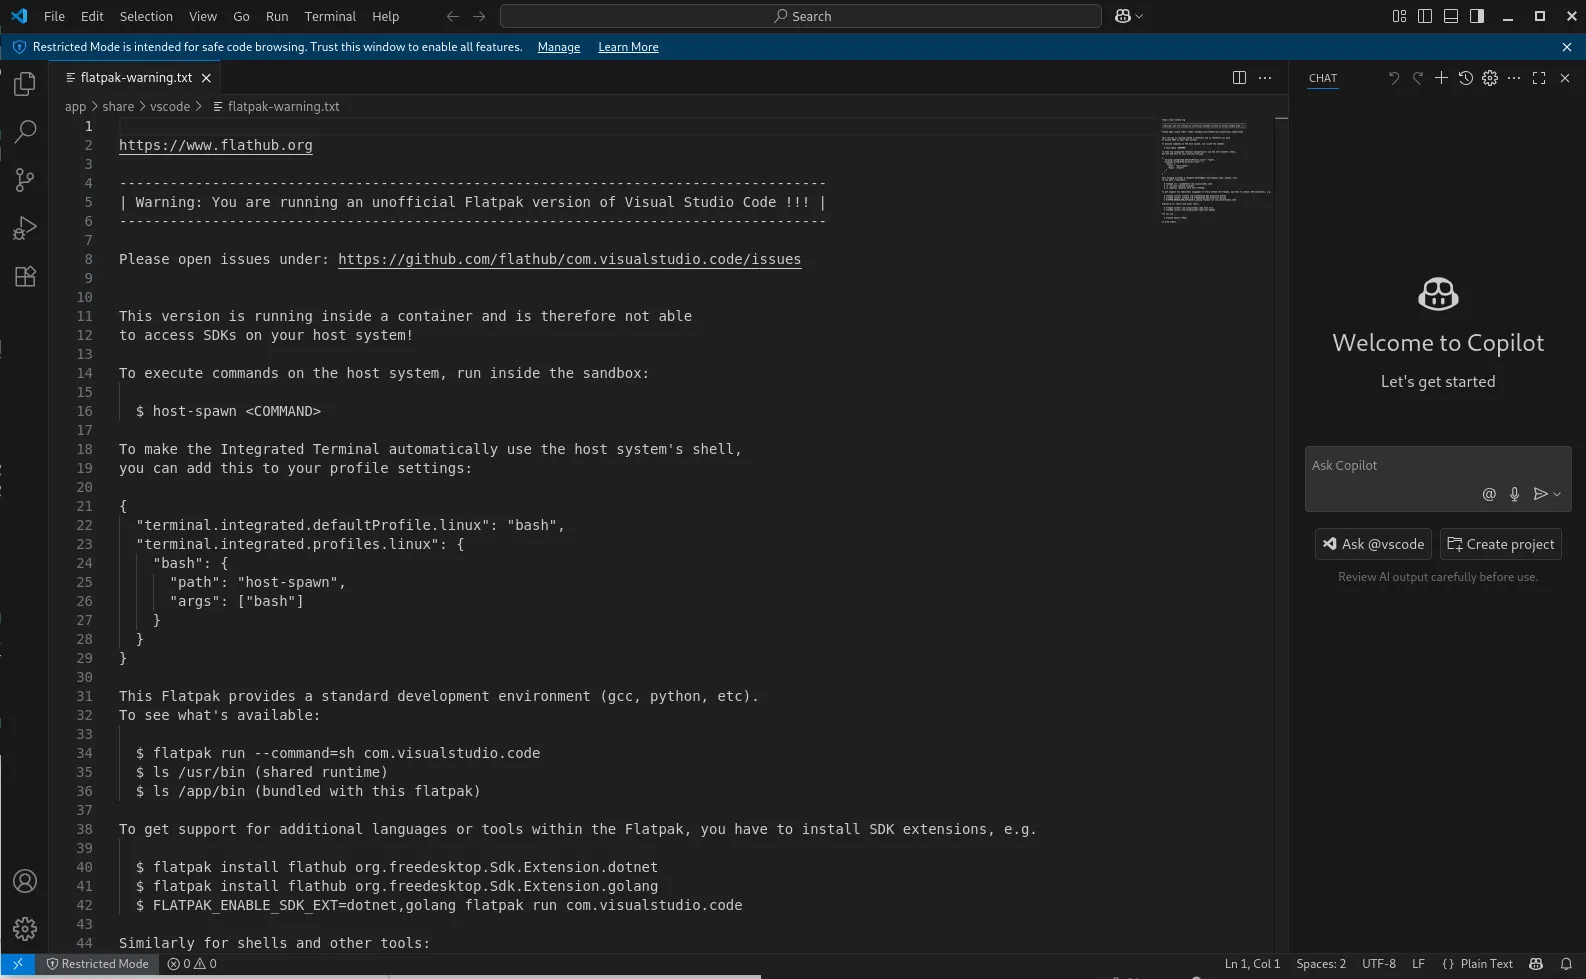
Learn how to install VSCode on Fedora 40 with our easy, step-by-step guide. Follow RPM and repository installation methods, CLI examples, and troubleshooting tips for
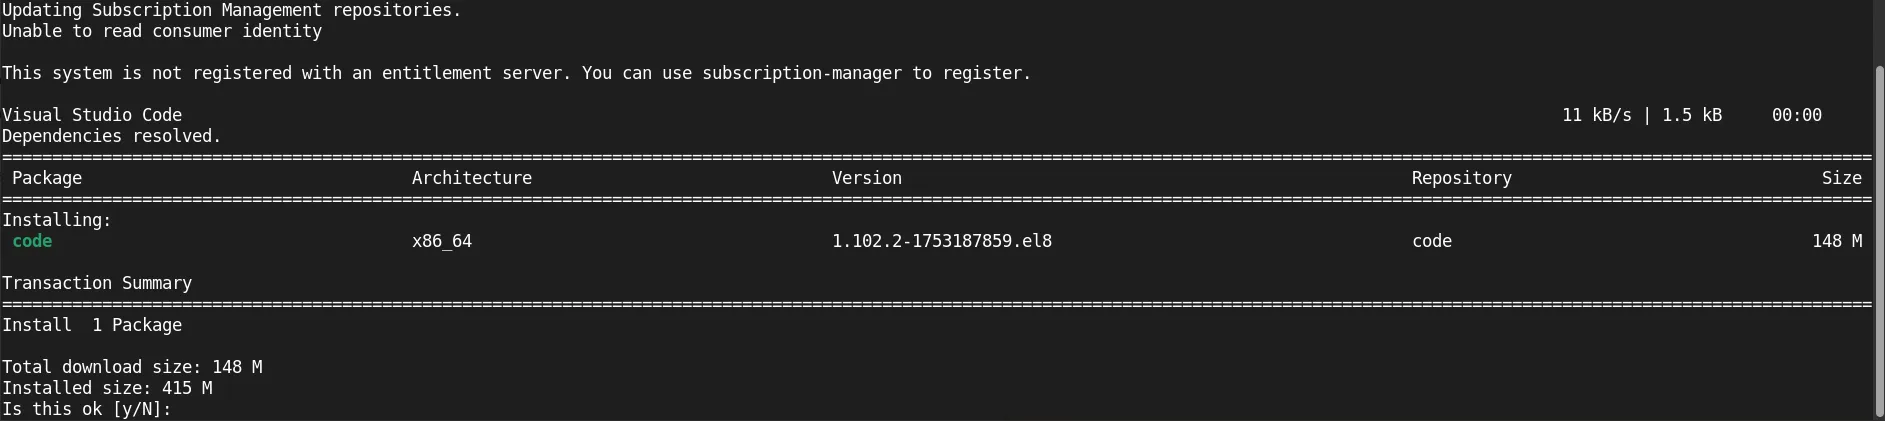
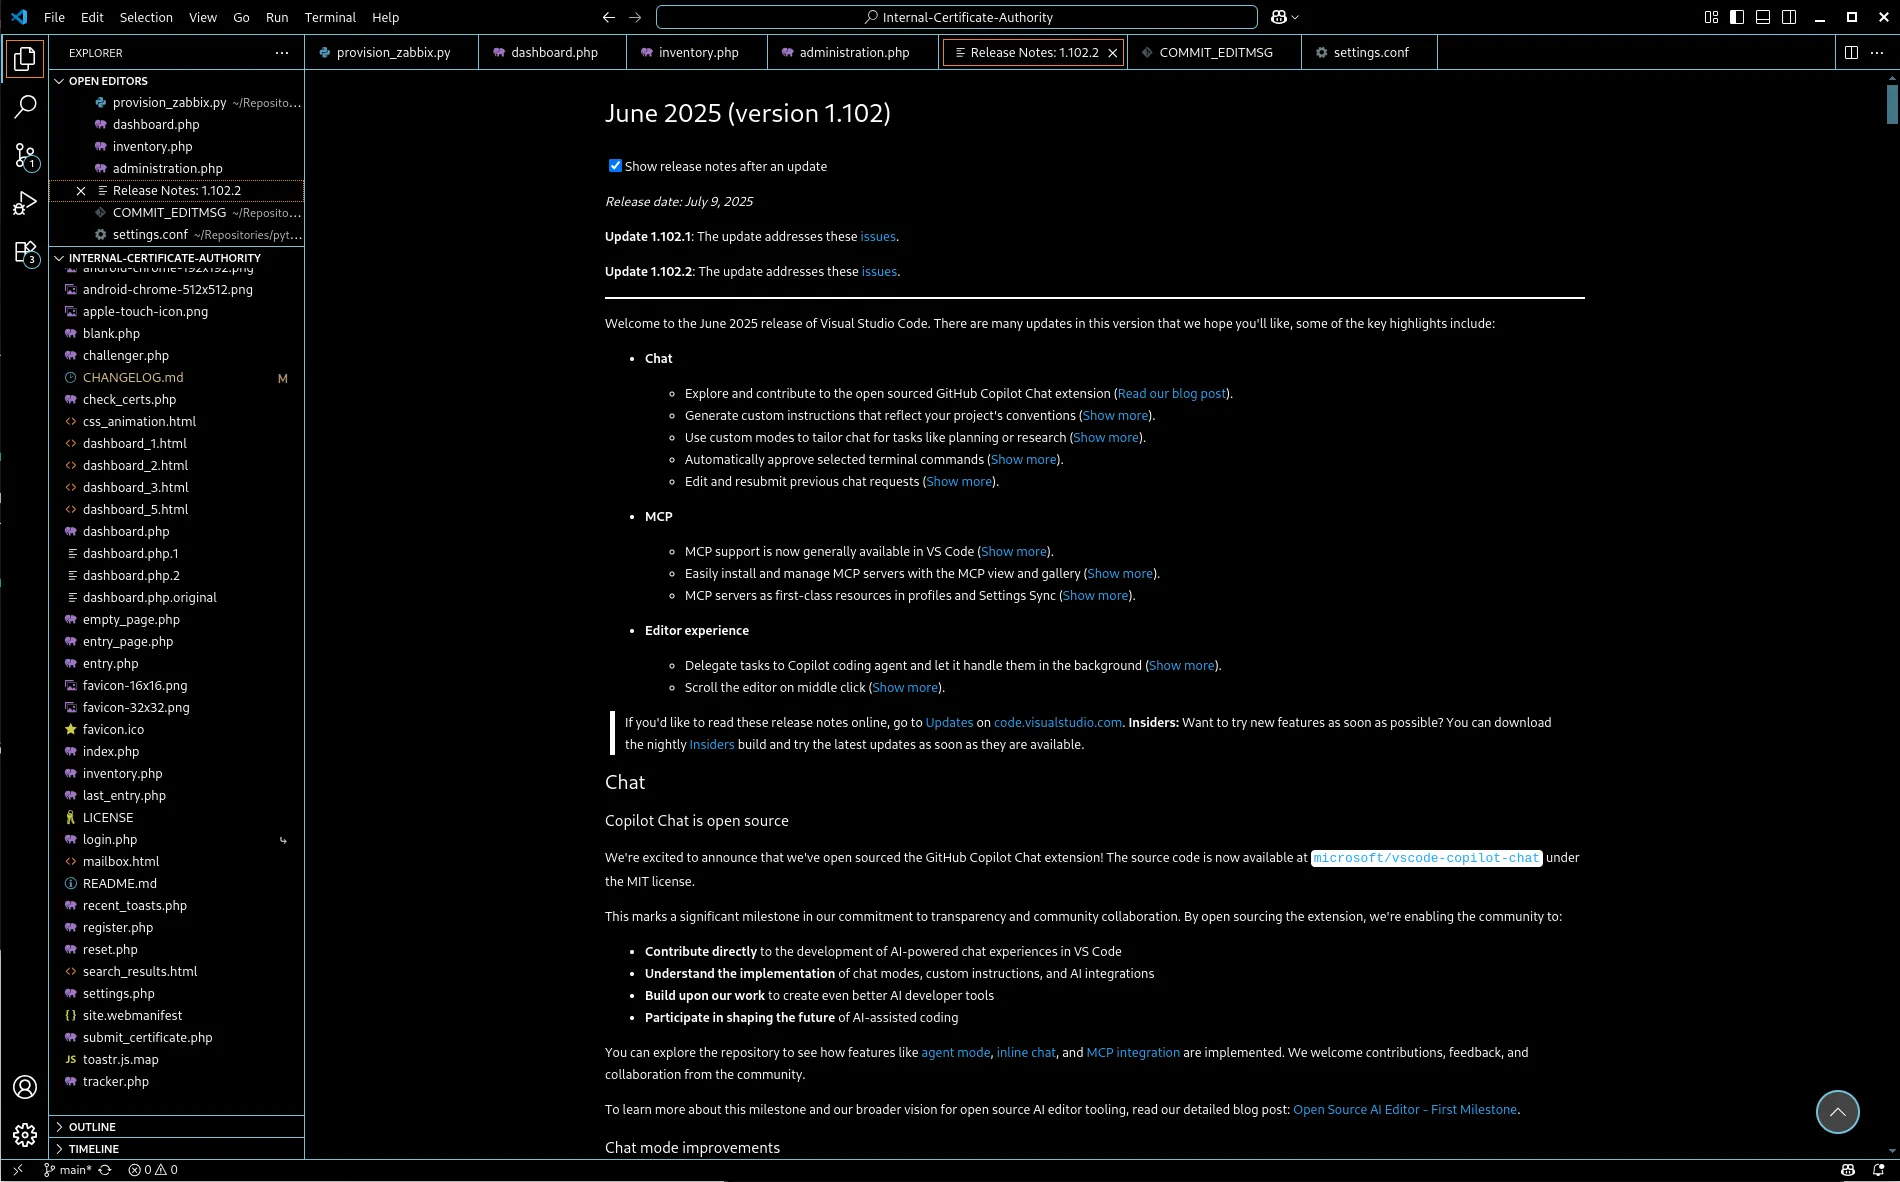
Read More »

Leave a Reply

Your email address will not be published. Required fields are marked *