
In this guide, we’ll walk you through the process of installing and configuring MediaWiki on RHEL 9 or CentOS 9, enabling you to create your
Learn how to install and configure a LAMP stack (Apache, MariaDB, PHP) on CentOS Stream 10 with clear CLI examples, security best practices, and performance tuning.
Linux + Apache + MySQL (MariaDB) + PHP = LAMP
This guide walks you through setting up a robust LAMP environment on CentOS Stream 10— from base installation to testing web-app readiness. Whether you’re deploying a CMS, custom app, or development server, this blueprint ensures clarity, performance, and best‑practice configuration geared for search‑engine visibility.
|
|
|
Ensure you have:
|
|
|
|
sudo dnf update -y
Configure firewall with:
sudo firewall-cmd --permanent --add-service={ssh,http,https}
sudo firewall-cmd --reload
firewall-cmd --list-all
					public (default, active)
  target: default
  ingress-priority: 0
  egress-priority: 0
  icmp-block-inversion: no
  interfaces: enp1s0
  sources:
  services: cockpit dhcpv6-client http https ssh
  ports:
  protocols:
  forward: yes
  masquerade: no
  forward-ports:
  source-ports:
  icmp-blocks:
  rich rules:
Allows SSH, HTTP, and HTTPS traffic—essential for remote administration and web access.
sudo dnf install httpd -y
sudo systemctl enable --now httpd
Check Apache:
sudo systemctl status httpd
Visit http://YOUR_SERVER_IP/ to confirm the default “It works!” page appears
Use virtual hosts to run multiple sites on one server:
sudo vim /etc/httpd/conf.d/example.com.conf
Paste the following content:
					<VirtualHost *:80>
  ServerName example.com
  ServerAlias www.example.com
  DocumentRoot /var/www/example.com
  ErrorLog /var/log/httpd/example.com-error.log
  CustomLog /var/log/httpd/example.com-access.log combined
</VirtualHost>
💡Replace example.com with the fully-qualified domain name (FQDN) of your web server.
Next, run the following commands:
sudo mkdir -p /var/www/example.com
sudo chown -R apache:apache /var/www/example.com
sudo chmod -R 755 /var/www/example.com
echo "<h1>example.com works!</h1>" | sudo tee /var/www/example.com/index.html
sudo systemctl restart httpd
Test by browsing http://example.com
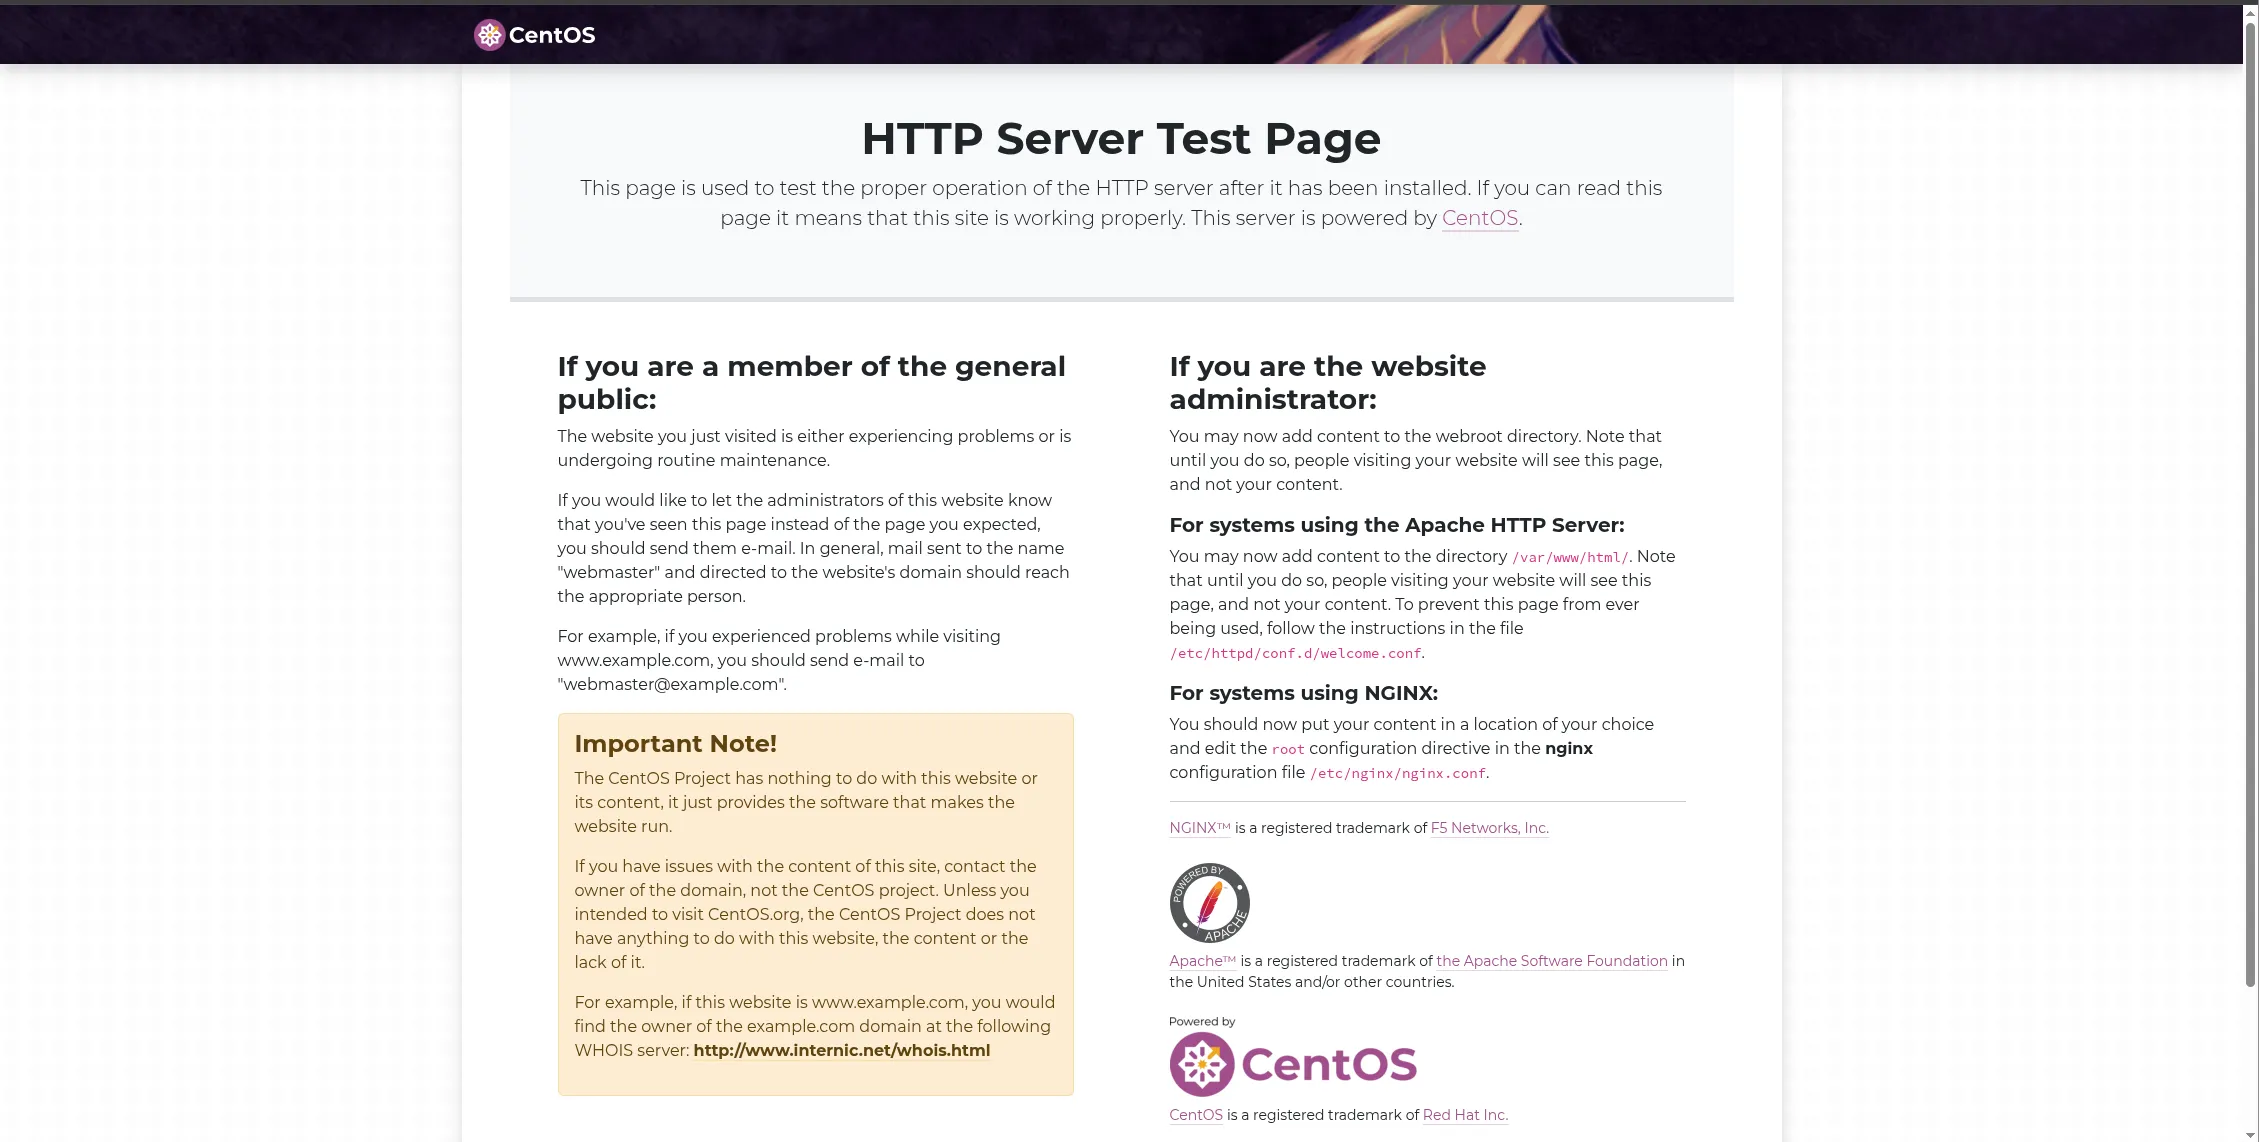
Photo by admingeek from Infotechys
MariaDB is the community-maintained fork of MySQL:
sudo dnf install mariadb-server mariadb -y
sudo systemctl enable --now mariadb
sudo systemctl status mariadb
By default, MariaDB is installed without root password.
sudo mysql_secure_installation
You will be prompted to:
|
|
|
|
|
sudo dnf install php php-mysqlnd php-cli php-json php-gd php-xml php-mbstring php-opcache -y
Check:
php -v
					PHP 8.3.19 (cli) (built: Mar 12 2025 13:10:27) (NTS gcc x86_64)
Copyright (c) The PHP Group
Zend Engine v4.3.19, Copyright (c) Zend Technologies
    with Zend OPcache v8.3.19, Copyright (c), by Zend Technologies
php -m
					[PHP Modules]
bz2
calendar
Core
ctype
curl
date
dom
...omitted for brevity...
Restart Apache to enable PHP:
sudo systemctl restart httpd
PHP-FPM offers better performance under high load. To enable:
sudo dnf install php-fpm -y
sudo systemctl enable --now php-fpm
Edit virtual host:
					<FilesMatch \.php$>
  SetHandler "proxy:unix:/run/php-fpm/www.sock"
</FilesMatch>
Restart Apache:
sudo systemctl restart httpd
This speeds request handling.
Create a phpinfo() file:
					sudo tee /var/www/html/info.php > /dev/null << 'EOF'
<?php phpinfo(); ?>
EOF
sudo systemctl restart httpd
Browse http://YOUR_SERVER_IP/info.php to verify PHP, MariaDB connections, loaded extensions.
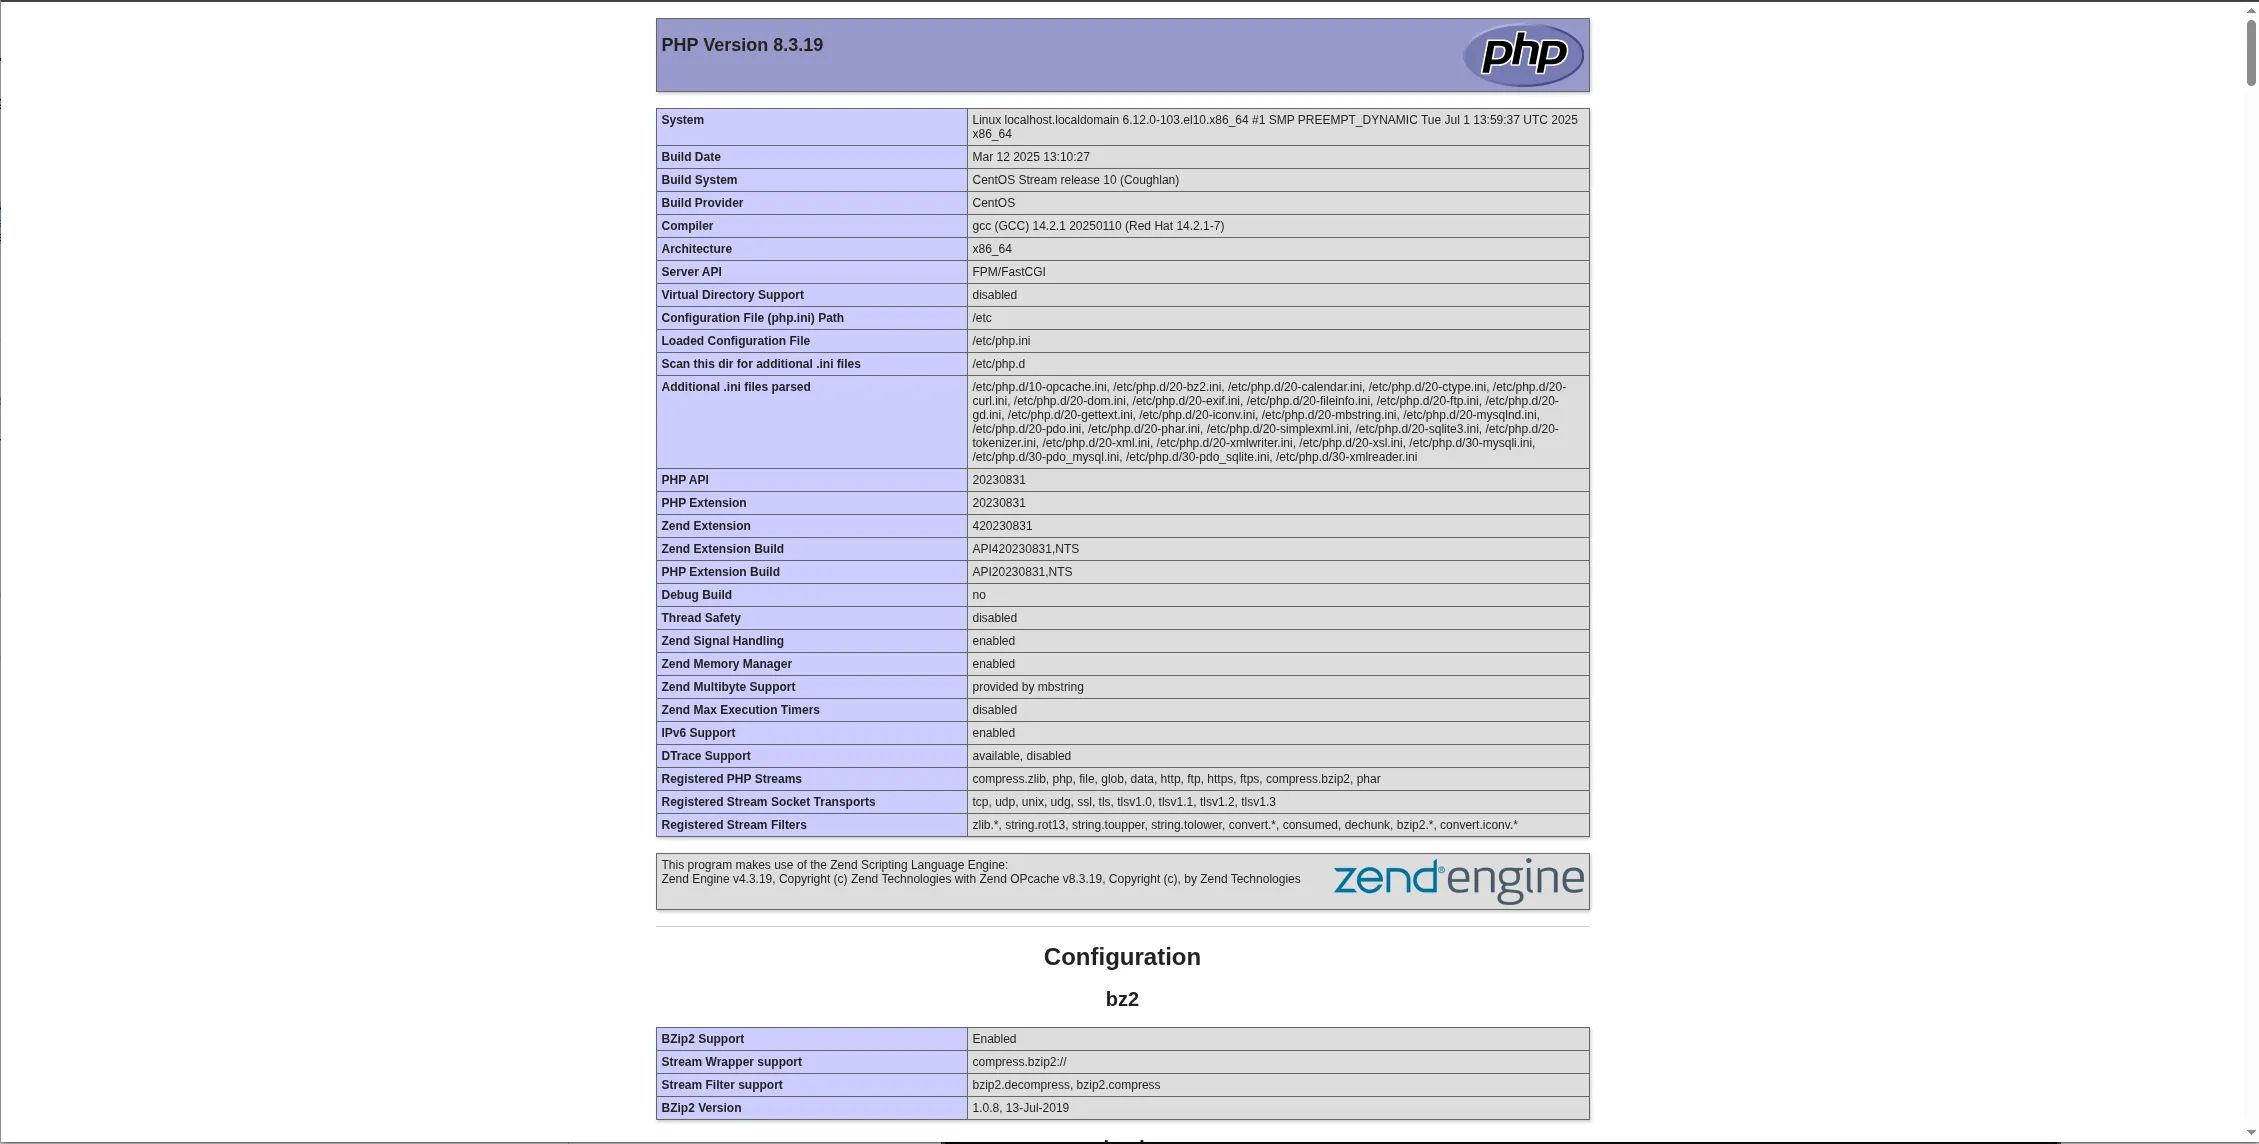
Photo by admingeek from Infotechys
Adjust for performance:
| Component | Tuning Changes |
|---|---|
| Apache | Enable mod_deflate, KeepAlive, SSL/TLS configs |
| MariaDB | innodb_buffer_pool_size, log_file_size, etc. phoenixNAP | Global IT Services+1Cloudspinx+1Reddit+4idroot+4LFCS Certification Guide+4 |
| PHP | Set date.timezone, increase upload_max_filesize |
| Security | SELinux audit, fail2ban, mod_security |
Example MariaDB tuning (server.cnf):
					[mysqld]
innodb_buffer_pool_size = 256M
innodb_log_file_size = 64M
innodb_flush_log_at_trx_commit = 2
Save and exit the file. Then, restart MariaDB:
sudo systemctl restart mariadb
Setting up a LAMP stack on CentOS Stream 10 is a powerful and reliable foundation for hosting dynamic websites and web applications. By following the steps outlined—updating the system, configuring Apache, securing MariaDB, and installing PHP—you now have a production-ready environment optimized for both performance and security.
With CentOS Stream 10 serving as a stable, forward-looking platform, this setup ensures long-term viability and aligns with modern DevOps workflows. Whether you plan to host a CMS like WordPress or develop custom PHP applications, this LAMP configuration gives you the flexibility and scalability you need.
Don’t stop here—take your server to the next level by:
|
|
|
Remember, a strong web stack is only the beginning. Continuous maintenance, security auditing, and performance tuning are key to keeping your server efficient and secure over time.
If you found this guide helpful, consider bookmarking it or sharing it with others managing CentOS-based infrastructure.

In this guide, we’ll walk you through the process of installing and configuring MediaWiki on RHEL 9 or CentOS 9, enabling you to create your
Learn how to install the LAMP stack on RHEL 9 | CentOS 9 using Podman with our comprehensive guide. Follow step-by-step instructions to set up

In this comprehensive guide, we’ll walk you through the process of creating and deploying a LAMP stack on Minikube, a tool that enables you to
