Commands
In this article, we will review installing and using Git on Linux machines. Besides minor differences in syntax, the install commands and procedures are similar

In this guide, we’ll walk you through the process of installing and configuring MediaWiki on RHEL 9 or CentOS 9, enabling you to create your own wiki for internal or public use.
MediaWiki, the powerful wiki platform that powers Wikipedia, is a popular choice for collaborative documentation and knowledge sharing within organizations. If you’re running Red Hat Enterprise Linux 9 (RHEL 9) or CentOS 9, installing MediaWiki can be a valuable addition to your infrastructure.
Before you begin the installation process, make sure your server meets the following requirements:
|
|
|
|
We’ve configured our system with the following settings:
| Hostname | wiki.localdomain |
| IP address | 192.168.1.159 |
| RAM | 4 |
| Cores | 2 |
| PHP Version | PHP 8.0.30 (cli) (built: Aug 3 2023 17:13:08) ( NTS gcc x86_64 ) |
| Mediawiki version | 1.37.1 |
| Database (MariaDB) Version | 10.5.22-MariaDB MariaDB Server |
| Operating System | Red Hat Enterprise Linux (RHEL) release 9.3 (Plow) |
Let’s delve into the specifics necessary for a successful installation of MediaWiki on your RHEL9 or CentOS9 system.
🔄 Install LAMP Stack |
MediaWiki relies on the LAMP (Linux, Apache, MySQL, PHP) stack for its operation. Start by installing Apache, MySQL, and PHP on your server using the following commands:
✅ For RHEL9: |
Download and install the latest Remi repository for RHEL9 with the following command(s):
$ sudo dnf -y install https://rpms.remirepo.net/enterprise/remi-release-9.rpm
$ sudo dnf install httpd mariadb-server php php-mysqlnd php-gd php-xml php-mbstring php-json php-intl
✅ For CentOS9: |
Download and install the latest Remi repository for CentOS9 with the following command(s):
$ sudo dnf module reset php
$ sudo dnf module install php:remi-8.0
$ sudo dnf install httpd mariadb-server php php-mysqlnd php-gd php-xml php-mbstring php-json php-intl

Photo by admingeek from Infotechys
🔄 Start and Enable Services |
Once the packages are installed, start and enable the Apache and MariaDB services to ensure they start automatically upon system boot:
$ sudo systemctl enable --now httpd
$ sudo systemctl enable --now mariadb
🔐 Secure MariaDB Installation |
Secure MariaDB Installation Run the MySQL secure installation script to improve the security of your MariaDB installation:
$ sudo mysql_secure_installation
Follow the prompts to set a root password, remove anonymous users, disallow remote root login, and remove the test database.
					NOTE: RUNNING ALL PARTS OF THIS SCRIPT IS RECOMMENDED FOR ALL MariaDB
      SERVERS IN PRODUCTION USE!  PLEASE READ EACH STEP CAREFULLY!

In order to log into MariaDB to secure it, we'll need the current
password for the root user. If you've just installed MariaDB, and
haven't set the root password yet, you should just press enter here.

Enter current password for root (enter for none):
Set a password for root and press Enter key to continue.
					OK, successfully used password, moving on...

Setting the root password or using the unix_socket ensures that nobody
can log into the MariaDB root user without the proper authorisation.

You already have your root account protected, so you can safely answer 'n'.

Switch to unix_socket authentication [Y/n]
Press the n key and Enter key to continue.
					By default, a MariaDB installation has an anonymous user, allowing anyone
to log into MariaDB without having to have a user account created for
them.  This is intended only for testing, and to make the installation
go a bit smoother.  You should remove them before moving into a
production environment.

Remove anonymous users? [Y/n] Y
Enter Y to remove anonymous users and hit the Enter key to continue.
					 ... Success!

Normally, root should only be allowed to connect from 'localhost'.  This
ensures that someone cannot guess at the root password from the network.

Disallow root login remotely? [Y/n] Y
Enter Y to disallow root login remotely and press the Enter key to continue.
					 ... Success!

By default, MariaDB comes with a database named 'test' that anyone can
access.  This is also intended only for testing, and should be removed
before moving into a production environment.

Remove test database and access to it? [Y/n] Y
Also, remove the test database by entering Y and enter to continue.
					 - Dropping test database...
 ... Success!
 - Removing privileges on test database...
 ... Success!

Reloading the privilege tables will ensure that all changes made so far
will take effect immediately.

Reload privilege tables now? [Y/n] Y
Finally, reload the privilege tables to ensure all changes take effect immediately. Enter Y and press Enter key to continue.
					 ... Success!

Cleaning up...

All done!  If you've completed all of the above steps, your MariaDB
installation should now be secure.

Thanks for using MariaDB!
With MariaDB now securely installed, we can move forward to configuring the database for the MediaWiki installation.
Log in to the MySQL shell as the root user:
$ sudo mysql -u root -p
					Enter password:
Welcome to the MariaDB monitor.  Commands end with ; or \g.
Your MariaDB connection id is 9
Server version: 10.5.22-MariaDB MariaDB Server

Copyright (c) 2000, 2018, Oracle, MariaDB Corporation Ab and others.

Type 'help;' or '\h' for help. Type '\c' to clear the current input statement.

MariaDB [(none)]>
Create a new database for MediaWiki and a dedicated user with privileges on that database:
					CREATE DATABASE mediawiki;
CREATE USER 'mediawiki'@'localhost' IDENTIFIED BY 'your_password';
GRANT ALL PRIVILEGES ON mediawiki.* TO 'mediawiki'@'localhost';
FLUSH PRIVILEGES;
EXIT;
🔄 Download and Extract MediaWiki |
Navigate to the web server’s document root directory and download the latest version of MediaWiki using wget:
$ cd /var/www/html
$ sudo wget https://releases.wikimedia.org/mediawiki/1.37/mediawiki-1.37.1.tar.gz
					HTTP request sent, awaiting response... 200 OK
Length: 50942702 (49M) [application/x-gzip]
Saving to: ‘mediawiki-1.37.1.tar.gz’

mediawiki-1.37.1.tar.gz                    100%[======================================================================================>]  48.58M  27.0MB/s    in 1.8s

2024-02-04 02:20:54 (27.0 MB/s) - ‘mediawiki-1.37.1.tar.gz’ saved [50942702/50942702]
Extract the downloaded tarball:
$ sudo tar -zxvf mediawiki-1.37.1.tar.gz
🔄 Configure Apache for MediaWiki |
Create a symbolic link to the MediaWiki directory and adjust the ownership:
$ sudo ln -s mediawiki-1.37.1 mediawiki
$ sudo chown -R apache:apache mediawiki-1.37.1
Navigate to the /etc/httpd/conf.d/ directory and open your preferred text editor to create a new configuration file named mediawiki.conf.
$ cd /etc/httpd/conf.d/; sudo vim mediawiki.conf
Copy and paste the following entries (below) in the mediawiki.conf.
					<VirtualHost *:80>
    ServerAdmin admin@example.com
    DocumentRoot /var/www/html/mediawiki
    ServerName your_domain.com

    <Directory /var/www/html/mediawiki>
        Options FollowSymLinks
        AllowOverride All
        Require all granted
    </Directory>

    ErrorLog /var/log/httpd/mediawiki_error.log
    CustomLog /var/log/httpd/mediawiki_access.log combined
</VirtualHost>
Save and close the file, then restart Apache for the changes to take effect:
$ sudo systemctl restart httpd
🔄 Complete the Installation |
Navigate to your server’s domain or IP address in a web browser to access the MediaWiki installation page. Follow the on-screen instructions to complete the installation, providing the necessary database information when prompted.
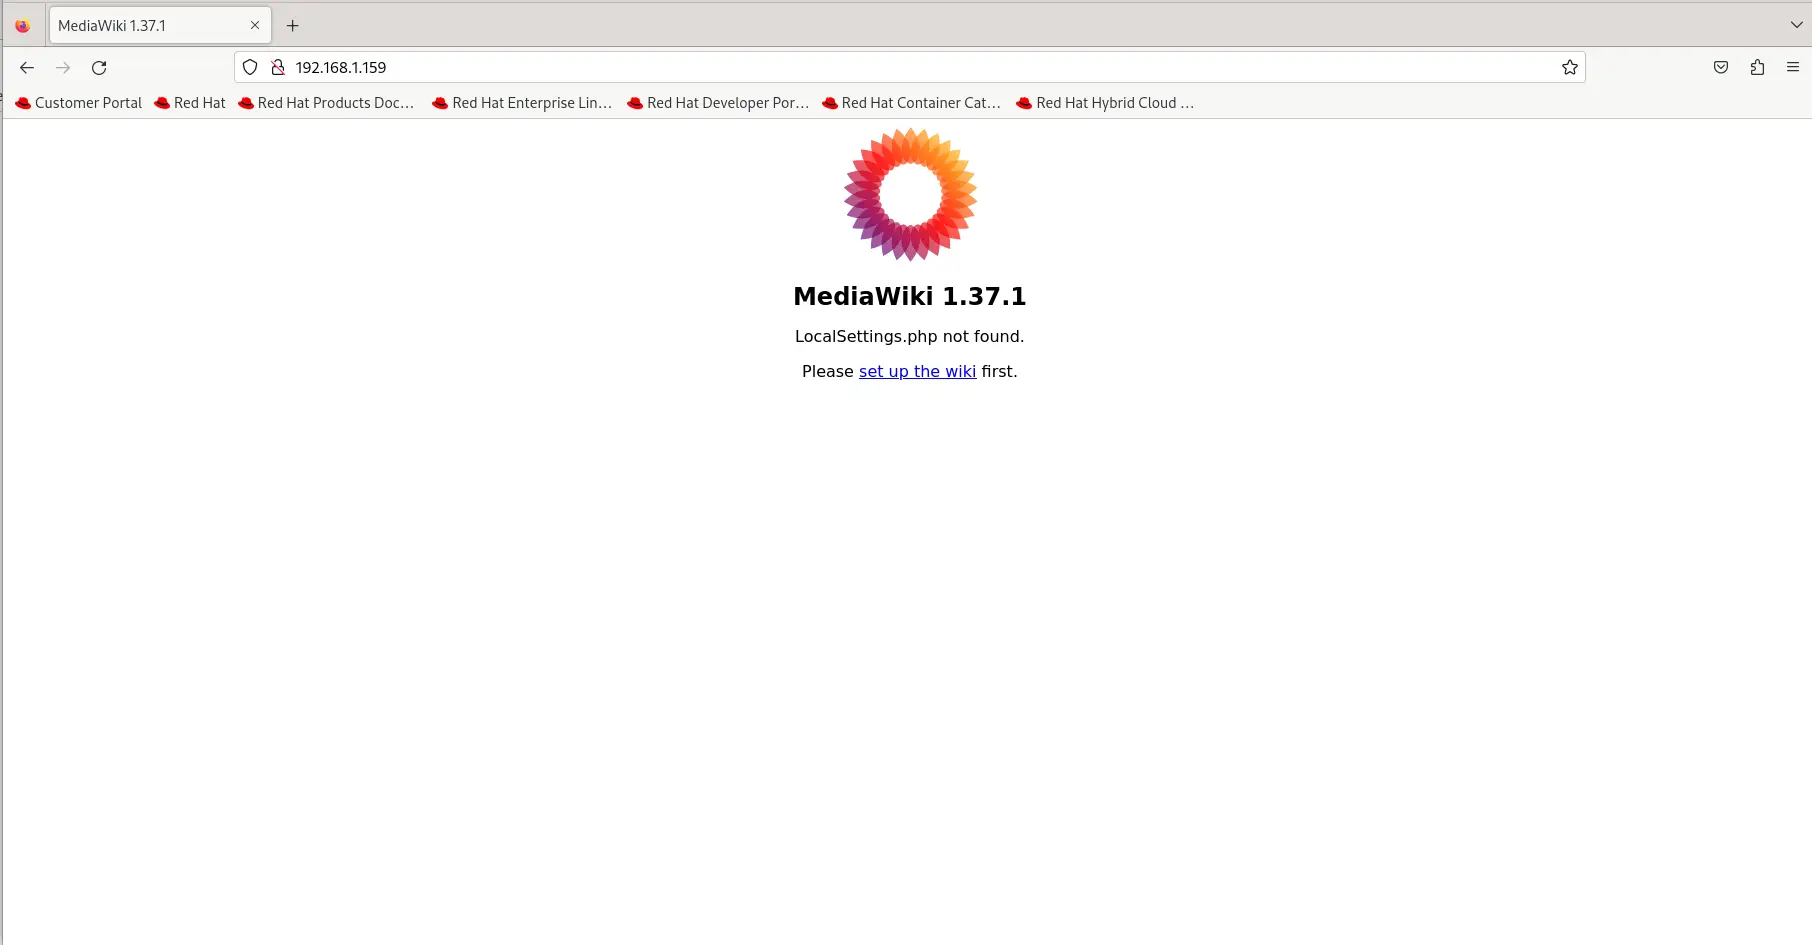
Photo by admingeek from Infotechys
After completing the installation, MediaWiki will provide you with a LocalSettings.php file. Download this file and place it in the MediaWiki directory:
$ sudo mv LocalSettings.php /var/www/html/mediawiki
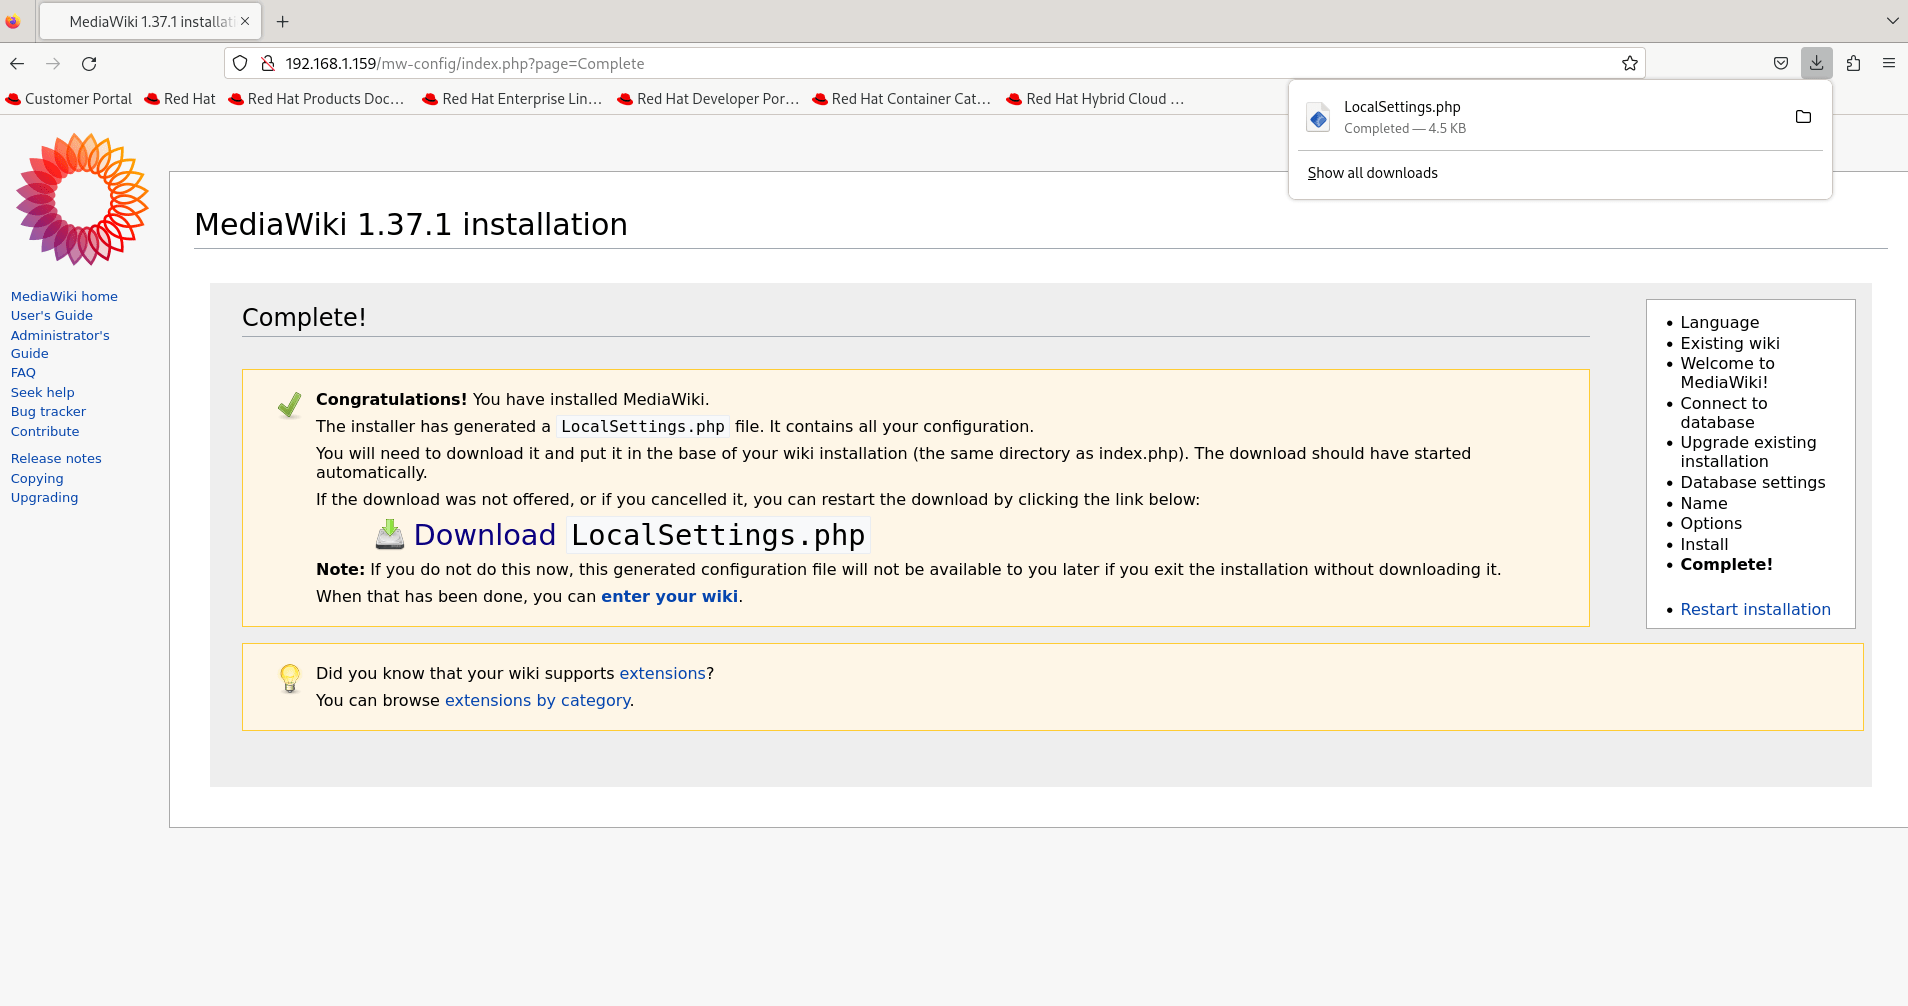
Photo by admingeek from Infotechys
Adjust the permissions of the MediaWiki directory:
$ sudo chmod -R 755 /var/www/html/mediawiki
You can now access your MediaWiki site and begin creating content!
By following this step-by-step guide, you’ve successfully installed and configured MediaWiki on your RHEL 9 or CentOS 9 server. Whether you’re using it for internal documentation, knowledge sharing, or collaborative editing, MediaWiki provides a powerful platform for organizing and sharing information within your organization or community.
Did you find this article helpful? Your feedback is invaluable to us! Feel free to share this post with those who may benefit, and let us know your thoughts in the comments section below.
👉 Related Posts
In this article, we will review installing and using Git on Linux machines. Besides minor differences in syntax, the install commands and procedures are similar
Are you tired of manually building, testing, and deploying your software? Learn how to install Jenkins on RHEL9 or CentOS9 and automate your software development
In this step-by-step guide, we will show you how to install mariaDB on CentOS7. MariaDB is a fork of MySQL relational database management systems (RDBMS). Table