
Commands
Learn how to automate routine server tasks like backups, system updates, and log cleanup using Crontab on Ubuntu 24.04. Boost server efficiency with scheduled tasks


Step‑by‑step guide: how to safely upgrade Ubuntu 22.04 LTS (“Jammy”) to Ubuntu 24.04 LTS (“Noble”) in 5 essential steps—backup, update, configure the upgrader, run the release upgrade, and verify clean‑up.
Upgrading from Ubuntu 22.04 LTS (“Jammy Jellyfish”) to Ubuntu 24.04 LTS (“Noble Numbat”) is a major step forward: newer kernel, updated toolchains, long‑term support until 2029, and better security.
Below is a clean, inclusive guide—five well‑defined steps—to carry out this upgrade safely. Whether you’re on desktop or server, local or remote, these instructions are designed to minimize risk and surprises.
| What | Why It Matters |
|---|---|
| Backup + snapshots | If something goes wrong, you can roll back without losing data. |
| Updating the current system fully | Ensures package dependencies are consistent before upgrading. |
| Installing or ensuring the upgrader tool is set correctly | Without ubuntu‑release‑upgrader‑core or correct settings, the new release might not be offered. |
| Running the actual upgrade | The core transition—packages, kernel, configuration. |
| Verifying & post‑upgrade clean‑ups | Confirm success, restore any disabled repos, clean up leftovers. |
Before anything else:
Full data backup
|
Ensure enough disk space
|
df -Ph
					$ df -Ph
Filesystem      Size  Used Avail Use% Mounted on
tmpfs           795M  1.6M  793M   1% /run
/dev/vda3       147G   11G  128G   8% /
tmpfs           3.9G     0  3.9G   0% /dev/shm
tmpfs           5.0M  4.0K  5.0M   1% /run/lock
/dev/vda2       512M  6.1M  506M   2% /boot/efi
tmpfs           795M  140K  795M   1% /run/user/1001
Disable or review non‑Ubuntu / third‑party PPAs / repositories
|
Ensure SSH fallback if remote (for servers)
|
Bring your Ubuntu 22.04 system fully up to date. Run these in a terminal:
sudo apt update
sudo apt upgrade -y
sudo apt dist-upgrade -y
sudo apt autoremove --purge -y
|
|
sudo reboot
Check your current version to confirm you’re on 22.04, ideally the point‑release (e.g. 22.04.5 LTS):
lsb_release -a
cat /etc/os-release
					PRETTY_NAME="Ubuntu 22.04.5 LTS"
NAME="Ubuntu"
VERSION_ID="22.04"
VERSION="22.04.5 LTS (Jammy Jellyfish)"
VERSION_CODENAME=jammy
ID=ubuntu
ID_LIKE=debian
HOME_URL="https://www.ubuntu.com/"
SUPPORT_URL="https://help.ubuntu.com/"
BUG_REPORT_URL="https://bugs.launchpad.net/ubuntu/"
PRIVACY_POLICY_URL="https://www.ubuntu.com/legal/terms-and-policies/privacy-policy"
UBUNTU_CODENAME=jammy
|
sudo apt install ubuntu‑release‑upgrader‑core
|
Prompt=lts
This ensures you only get offered LTS upgrades (from one long‑term support release to the next).
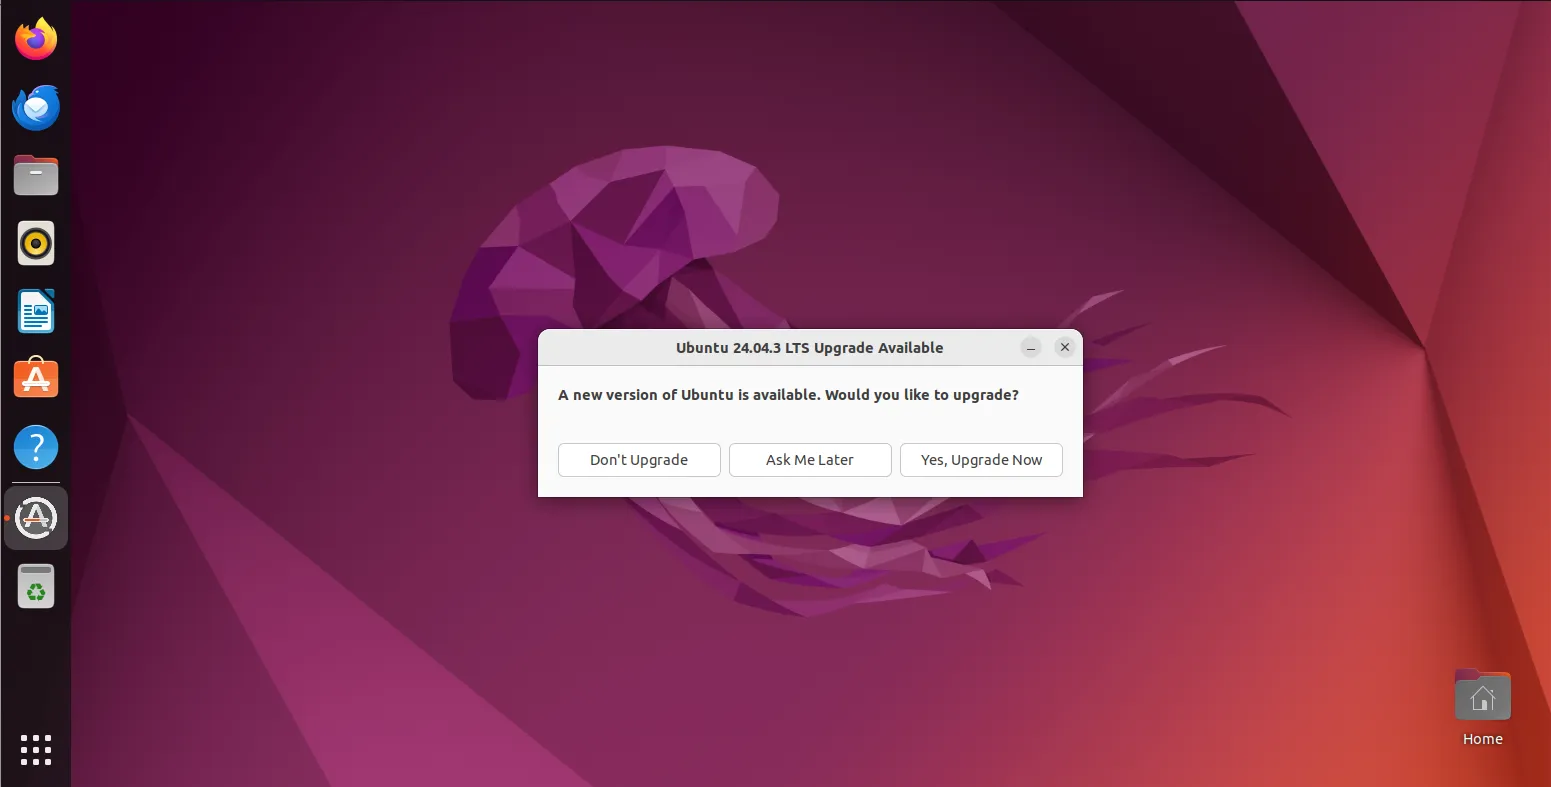
Photo by admingeek from Infotechys
Now you’ll run the actual upgrade. Choose the method depending on whether you can wait for the automatic offering or want to force it.
| Scenario | Command |
|---|---|
| Upgrade when automatic‑offer is available | sudo do-release-upgrade |
| Force upgrade immediately (if automatic is delayed) | sudo do-release-upgrade -d |
Follow all the interactive prompts:
|
|
|
After the upgrade completes, reboot your system:
sudo reboot
After reboot, check success, re‑enable needed sources, and clean up.
🔹Verification commands |
lsb_release -a
cat /etc/os-release
uname -mrs
Expected to see something like:
					Distributor ID: Ubuntu
Description:    Ubuntu 24.04.x LTS
Release:        24.04
Codename:       noble
Kernel:         Linux 6.XX.x‑generic (or whatever newer kernel)
🔹Post‑upgrade tasks |
|
|
					sudo apt autoremove --purge
sudo apt autoclean
sudo apt update
sudo apt upgrade
|
|
|
|
|
|
Here’s a compact sequence you might run in a terminal (local or remote), with fallback port support if needed:
					# Step 1: Backup & prep (done separately)

# Step 2: Update system
sudo apt update
sudo apt upgrade -y
sudo apt dist-upgrade -y
sudo apt autoremove --purge -y
sudo reboot

# After reboot

# Step 3: Ensure upgrader tools and LTS prompt
sudo apt install ubuntu-release-upgrader-core -y
sudo sed -i 's/^Prompt=.*/Prompt=lts/' /etc/update-manager/release‑upgrades

# If remote: enable fallback SSH port
sudo ufw allow 1022/tcp
sudo sed -i '/^Port /a Port 1022' /etc/ssh/sshd_config
sudo systemctl restart ssh

# Step 4: Upgrade
sudo do-release-upgrade -d

# Reboot when done
sudo reboot

# Step 5: Verify & clean up
lsb_release -a
uname -mrs
sudo apt autoremove --purge -y
sudo apt autoclean
sudo apt update && sudo apt upgrade -y

# If fallback SSH port in use and port 22 is confirmed working:
sudo ufw delete allow 1022/tcp
Upgrading Ubuntu is a trade‑off: you get newer software, better hardware support, and extended security, but there’s always risk—especially with custom configurations or third‑party software. By following these five steps—backup, update, configure upgrader, perform upgrade, verify & clean—you maximize safety. For production systems, test first (on VM or staging), ensure you have rollback plans, and monitor carefully after upgrade.
Did you find this article helpful? Your feedback is invaluable to us! Feel free to share this post with those who may benefit, and let us know your thoughts in the comments section below.
Learn how to automate routine server tasks like backups, system updates, and log cleanup using Crontab on Ubuntu 24.04. Boost server efficiency with scheduled tasks

Learn how to upgrade Ubuntu 23.10 to 24.04 with our comprehensive step-by-step guide. Ensure a smooth transition with pre-upgrade checklists, troubleshooting tips, and a comparison
Learn how to upgrade from Fedora 35 to Fedora 37 with this comprehensive guide. Follow step-by-step instructions, including preparation, upgrading, and post-upgrade tasks, to ensure