
Commands
In this blog post, we’ll explore 12 best practices to help you organize your Ansible playbooks for optimal performance and maintainability. Table of Contents 🔈Introduction


Learn how to effortlessly deploy and manage a LAMP stack on RHEL9 using Ansible. Streamline your server setup with automation!
Hey there, fellow tech enthusiasts! Are you ready to take your server game to the next level? Today, we’re diving into the world of LAMP stacks on RHEL 9 or CentOS 9 using the powerful automation tool Ansible. Whether you’re a seasoned sysadmin or just dipping your toes into the server management waters, this guide will walk you through the process step by step.
Before we jump into the nitty-gritty, let’s quickly cover what a LAMP stack actually is. LAMP stands for Linux, Apache, MySQL (or MariaDB), and PHP/Python/Perl. It’s a popular combination of software that forms the backbone of many web applications and dynamic websites.
Ansible is a powerful open-source automation tool that can simplify and streamline the process of managing servers. It allows you to define your server infrastructure as code, making it easy to replicate and scale your setup across multiple machines. Plus, Ansible’s simple syntax and agentless architecture make it a breeze to use, even for those new to automation.
For demonstration purposes, we’ve configured our Linux machines as follows:
| Hostname | RAM | Cores | OS |
| control.naijalabs.net | 4 | 2 | Red Hat Enterprise Linux release 9.3 (Plow) – Control Machine |
| node1.naijalabs.net | 4 | 2 | Red Hat Enterprise Linux release 9.3 (Plow) |
| node2.naijalabs.net | 4 | 2 | Red Hat Enterprise Linux release 9.3 (Plow) |
First things first, we need to make sure Ansible is installed on our control machine. If you haven’t already set up Ansible, you can install it using your package manager of choice. For RHEL 9 or CentOS 9, you can use the following commands:
sudo dnf -y install ansible
Before writing and executing the playbook, we need to define the hosts that Ansible will target. Below is an example inventory file named hosts.ini that includes three hosts with the specified IPs or hostnames (if registered with a DNS).
					[web_servers]
192.168.1.26
192.168.1.27
192.168.1.28
You can also add entries in the default inventory location for Ansible–the /etc/ansible/hosts file:
					[web_servers]
control.naijalabs.net
node1.naijalabs.net
node2.naijalabs.net
This inventory file defines a group called [web_servers] and lists the three IP addresses or fully-qualified domain names (FQDN) under it (depending on your environment). To ensure the connection to other nodes from the control machine, you can use the ping module directly with the ansible command.
ansible all -m ping
					control.naijalabs.net | SUCCESS => {
    "ansible_facts": {
        "discovered_interpreter_python": "/usr/bin/python3"
    },
    "changed": false,
    "ping": "pong"
}
node2.naijalabs.net | SUCCESS => {
    "ansible_facts": {
        "discovered_interpreter_python": "/usr/bin/python3"
    },
    "changed": false,
    "ping": "pong"
}
node1.naijalabs.net | SUCCESS => {
    "ansible_facts": {
        "discovered_interpreter_python": "/usr/bin/python3"
    },
    "changed": false,
    "ping": "pong"
}
Now that we have Ansible up and running, it’s time to write our playbook. A playbook is a YAML file that defines the tasks Ansible will perform on your servers. Below is a simple example of a playbook to install the LAMP stack:
					---
- name: Install LAMP Stack
  hosts: all
  become: true
  tasks:
    - name: Open necessary ports for Apache
      firewalld:
        port: 80/tcp
        permanent: true
        state: enabled

    - name: Install Apache
      package:
        name: httpd
        state: present

    - name: Start Apache and enable it on boot
      service:
        name: httpd
        state: started
        enabled: true

    - name: Open necessary ports for MySQL
      firewalld:
        port: 3306/tcp
        permanent: true
        state: enabled

    - name: Install MySQL
      package:
        name: mysql-server
        state: present

    - name: Start MySQL and enable it on boot
      service:
        name: mysqld
        state: started
        enabled: true

    - name: Install PHP
      package:
        name: php
        state: present

    - name: Restart Apache to apply PHP changes
      service:
        name: httpd
        state: restarted
Using your preferred text editor, copy and paste the contents (above) into a file called deploy_lamp.yml. Then, save and exit the file.
Let’s break down what each section of this playbook does:
| Command | Description |
|---|---|
| Playbook Structure (— three dashes) | Denotes the beginning of an Ansible playbook. |
| Play Name (name: Install LAMP Stack) | Describes the purpose or goal of the play. In this case, it’s installing the LAMP stack. |
| Hosts (hosts: all) | Specifies the target hosts or groups of hosts for this play. ‘all’ indicates that the tasks will be applied to all hosts defined in the inventory file. |
| Become (become: true) | Indicates whether to escalate privileges to perform tasks. ‘true’ means the tasks will be executed with sudo or root privileges. |
| Tasks | Contains a list of tasks to be executed on the target hosts. |
| Task Name | Purpose of the Task |
| Task 1 (name: Open necessary ports for Apache) | Configures firewalld to open port 80/tcp for Apache. ‘permanent: true’ ensures the rule is permanent. ‘state: enabled’ ensures the rule is enabled. |
| Task 2 (name: Install Apache) | Installs the Apache package (httpd) on the target hosts. |
| Task 3 (name: Start Apache and enable it on boot) | Starts the Apache service (httpd) and enables it to start on boot. |
| Task 4 (name: Open necessary ports for MySQL) | Configures firewalld to open port 3306/tcp for MySQL. ‘permanent: true’ ensures the rule is permanent. ‘state: enabled’ ensures the rule is enabled. |
| Task 5 (name: Install MySQL) | Installs the MySQL package (mysql-server) on the target hosts. |
| Task 6 (name: Start MySQL and enable it on boot) | Starts the MySQL service (mysqld) and enables it to start on boot. |
| Task 7 (name: Install PHP) | Installs the PHP package on the target hosts. |
| Task 8 (name: Restart Apache to apply PHP changes) | Restarts the Apache service to apply changes related to PHP installation. |
This playbook automates the installation and configuration of a LAMP stack (Linux, Apache, MySQL, PHP) on the target hosts, ensuring that necessary ports are opened and services are started and enabled.
Once you’ve saved your playbook, you can execute it using the ansible-playbook command:
ansible-playbook -i hosts.ini deploy_lamp.yml -k
Alternatively, execute this command if your inventory is stored in the /etc/ansible/hosts file:
ansible-playbook deploy_lamp.yml -k
The command ansible-playbook deploy_lamp.yml -k is used to execute an Ansible playbook named deploy_lamp.yml. The option -k prompts the user for the SSH password to establish connections with the remote hosts.
After executing the playbook to deploy your LAMP stack, it’s essential to conduct testing to ensure that everything is set up correctly. This “Trust but Verify” approach helps in verifying the success of the deployment and identifies any potential issues that need to be addressed. Below are some tests you can perform along with the commands to check the versions of different LAMP stack components:
| Check Type | Command | Description |
|---|---|---|
| Apache Version Check | httpd -v | Checks the version of the Apache HTTP server installed on your system. |
| MySQL Version Check | mysql --version | Displays the version of MySQL installed on your system. |
| PHP Version Check | php -v | Shows the version of PHP installed on your system. |
Additionally, you can verify the functionality of your LAMP stack by accessing it via a web browser:
http://your_server_ipyour_server_ip with the IP address of your server. Accessing this URL in a web browser should display the default Apache welcome page, confirming that Apache is serving web content properly.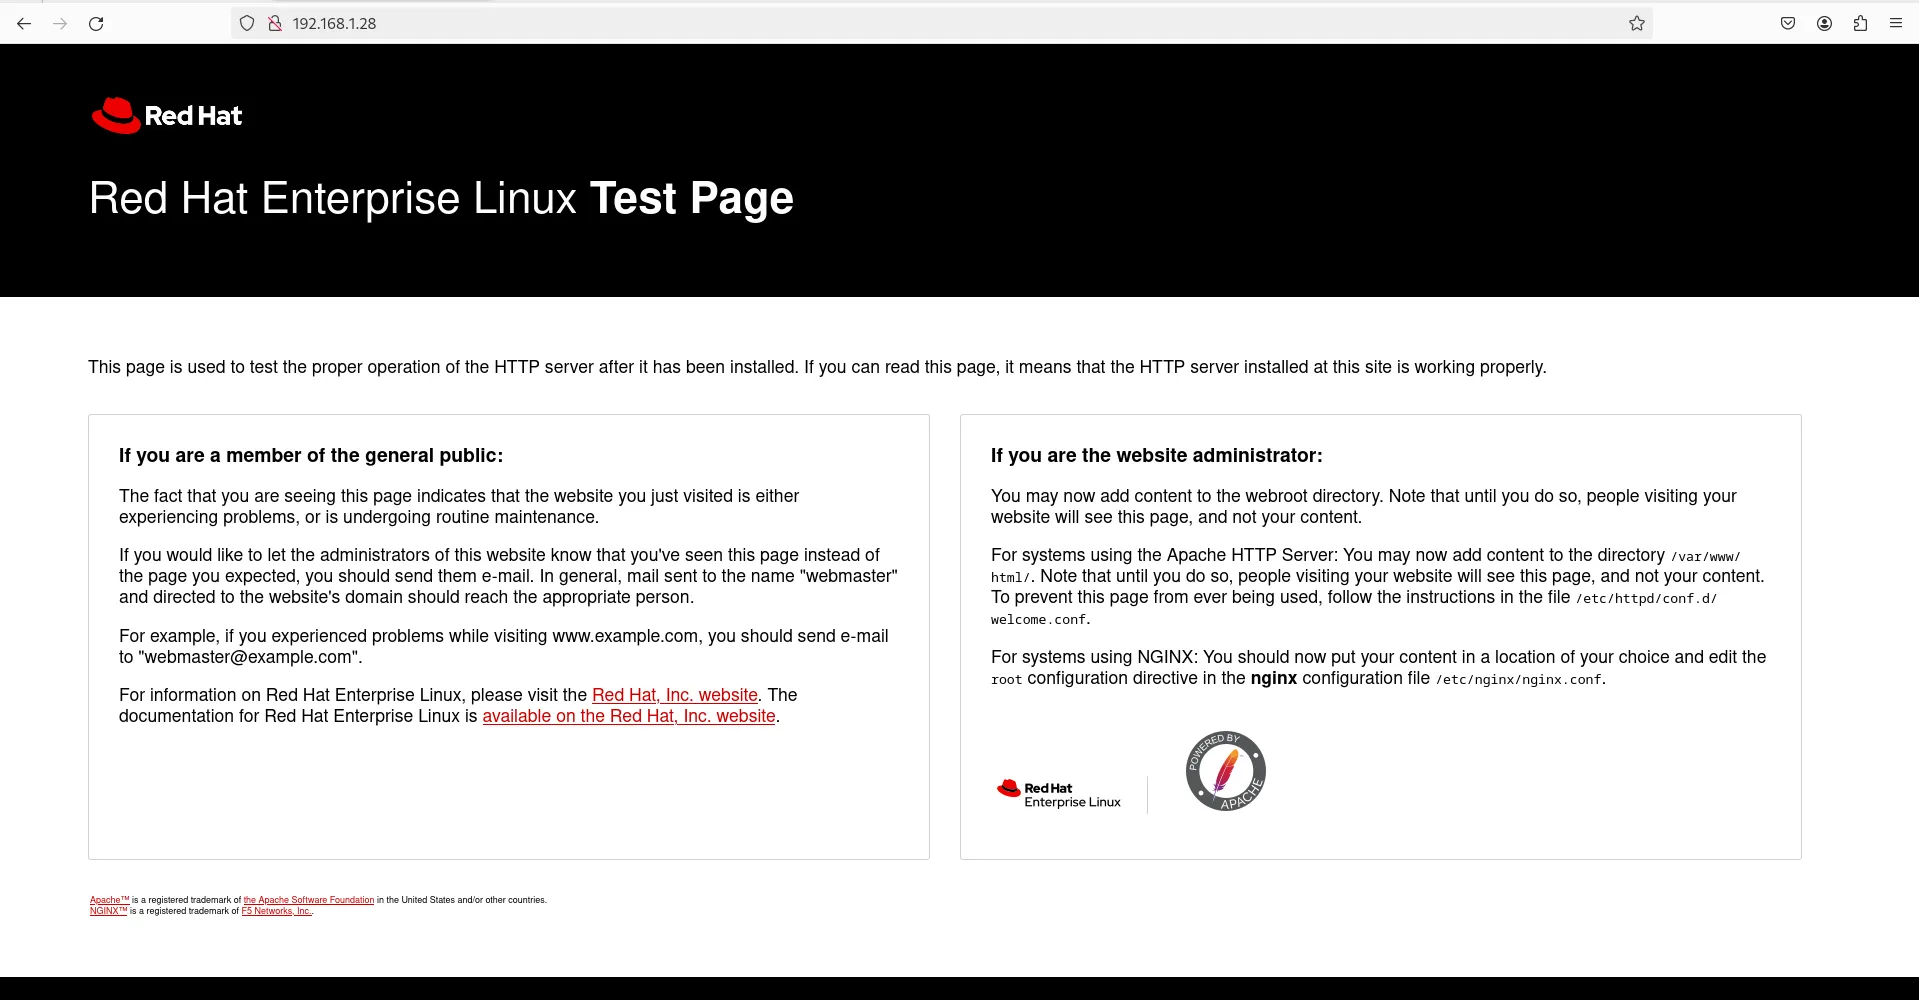
Photo by admingeek from Infotechys
With Ansible at our fingertips, we’ve made installing a LAMP stack on RHEL 9 or CentOS 9 a breeze. This automation doesn’t just save time; it also guarantees that every server in your infrastructure is set up the same way. Plus, Ansible’s idempotent feature means you can run the playbook over and over without worrying about messing things up.
But hey, we’re just getting started here! Check out the Ansible docs for even more cool stuff you can do. Think about diving into things like tightening up security on your Apache web server and MySQL database using Ansible roles. There’s a whole world of possibilities waiting for you to explore!
Did you find this article useful? Your feedback is invaluable to us! Please feel free to share your thoughts in the comments section below.
Related Posts
In this blog post, we’ll explore 12 best practices to help you organize your Ansible playbooks for optimal performance and maintainability. Table of Contents 🔈Introduction

Learn how to secure SSH with Ansible and protect your Linux systems from unauthorized access with this step-by-step guide. Table of Contents Introduction Ansible is

In this article, we will examine 10 ways to speed up your Ansible Playbooks, providing actionable strategies and examples to optimize performance and streamline automation