Learn how to easily install Gedit on Ubuntu 23.10 with our step-by-step guide. Discover the benefits of this versatile text editor and customize it to

In this guide, we’ll walk you through the step-by-step process of installing LibreOffice on RHEL 9 or CentOS 9.
Are you a Linux aficionado venturing into the newest release of Red Hat Enterprise Linux (RHEL 9) or CentOS 9, but encountering difficulties installing LibreOffice? Fear not! LibreOffice, the potent open-source office suite, remains an essential tool for many users.
Before we dive into the installation process, let’s quickly recap why LibreOffice is worth your attention. LibreOffice offers a comprehensive suite of office productivity tools, including Writer (word processing), Calc (spreadsheet), Impress (presentation), and more. It’s free, open-source, and compatible with popular office formats, making it an excellent alternative to proprietary office suites.
Before installing any new software, it’s essential to ensure that your system is up-to-date. Open a terminal and run the following commands:
$ sudo dnf update -y
This command will update your system’s package repository and install any available updates.
LibreOffice isn’t available in the default repositories of RHEL or CentOS. We’ll need to enable the Extra Packages for Enterprise Linux (EPEL) repository, which contains additional packages not included in the base distribution.
					$ sudo dnf install epel-release                                                              # On CentOS 9
$ sudo dnf install https://dl.fedoraproject.org/pub/epel/epel-release-latest-9.noarch.rpm    # On RHEL 9
Now that we have the EPEL repository enabled, we can proceed to install LibreOffice using the following command:
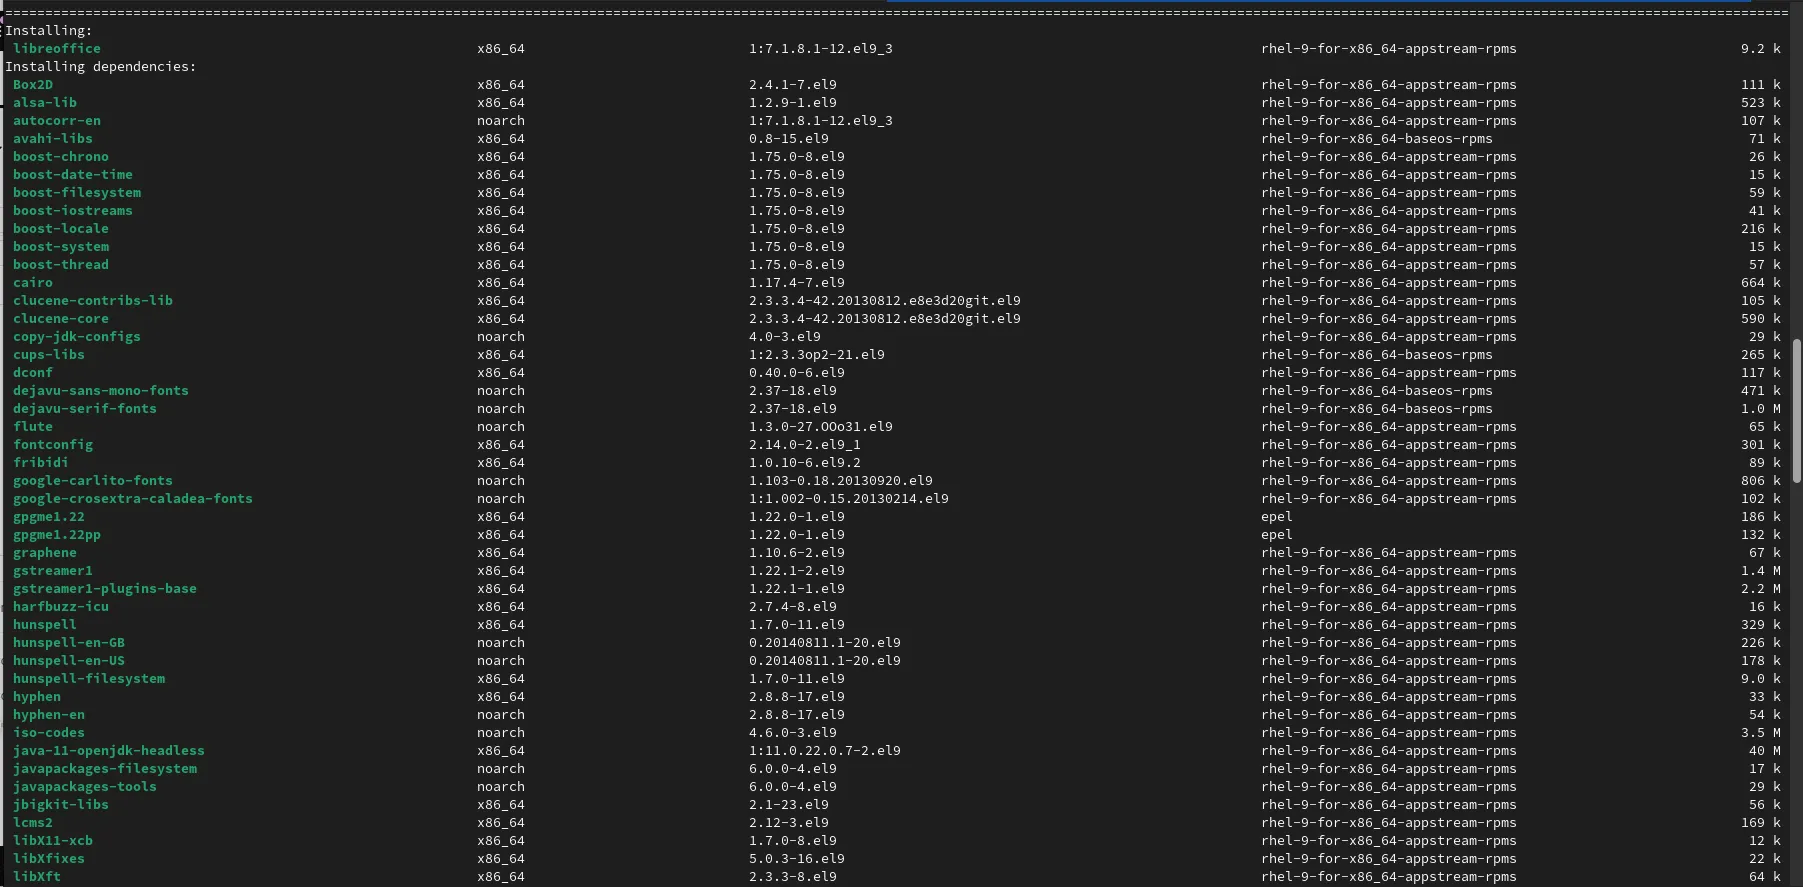
$ sudo dnf -y install libreoffice
This command will download and install the LibreOffice suite along with any necessary dependencies.

Photo by admingeek from Infotechys
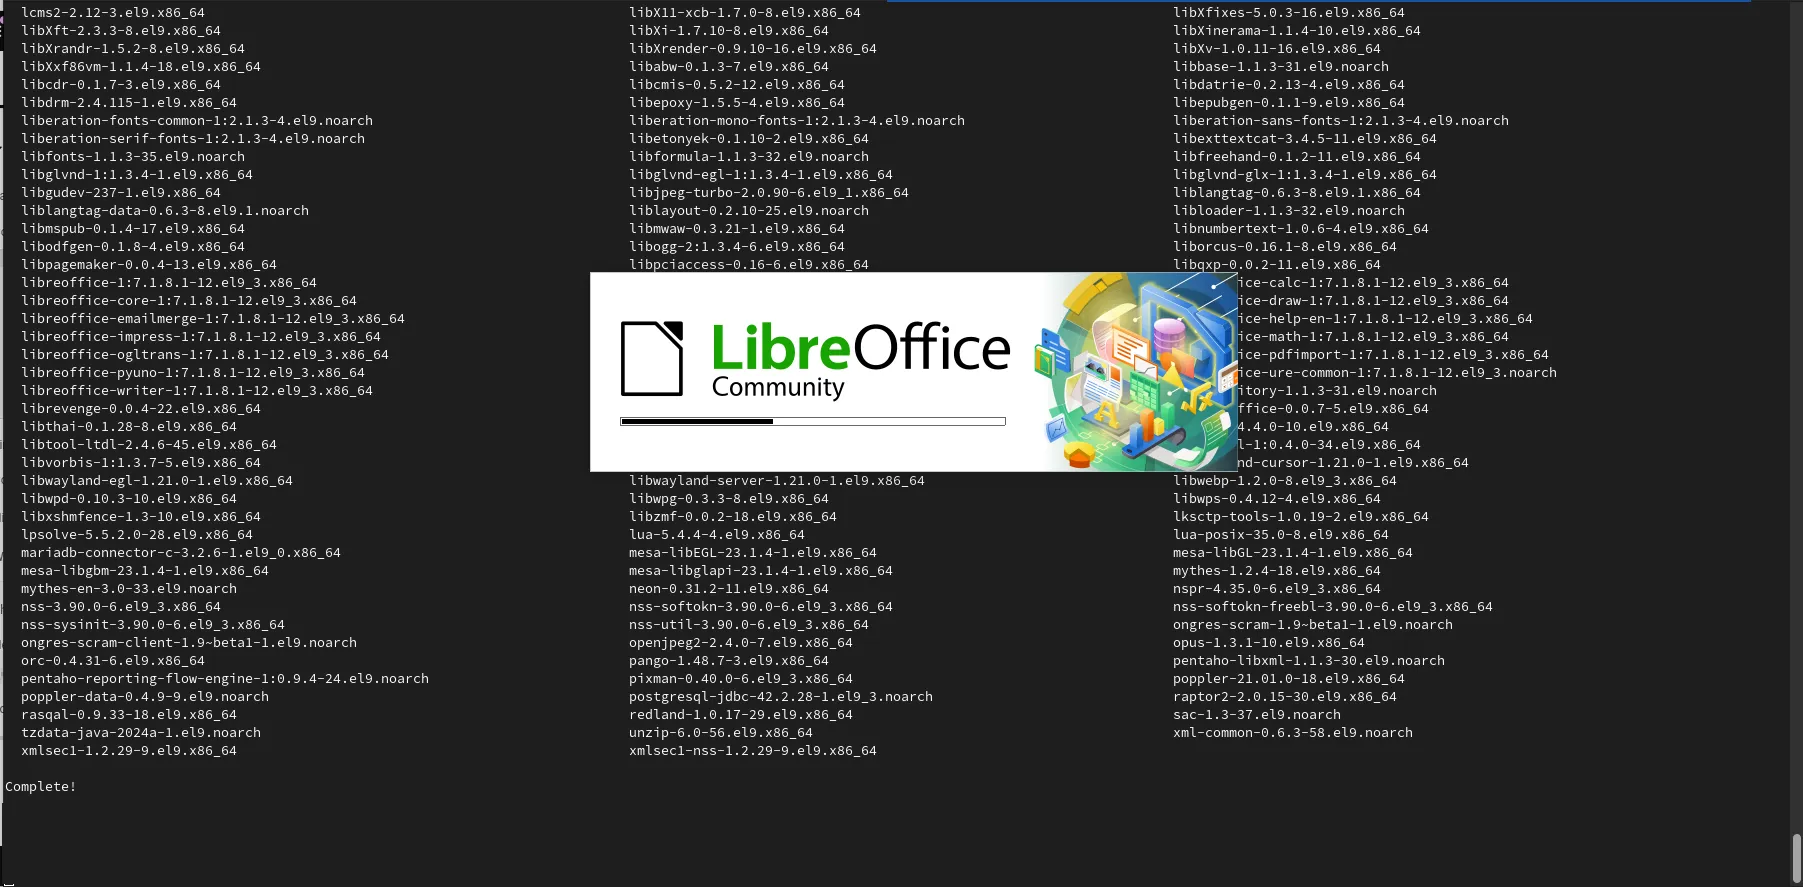
Once the installation is complete, you can launch LibreOffice from the applications menu or by running the following command in the terminal:
$ libreoffice

Photo by admingeek from Infotechys
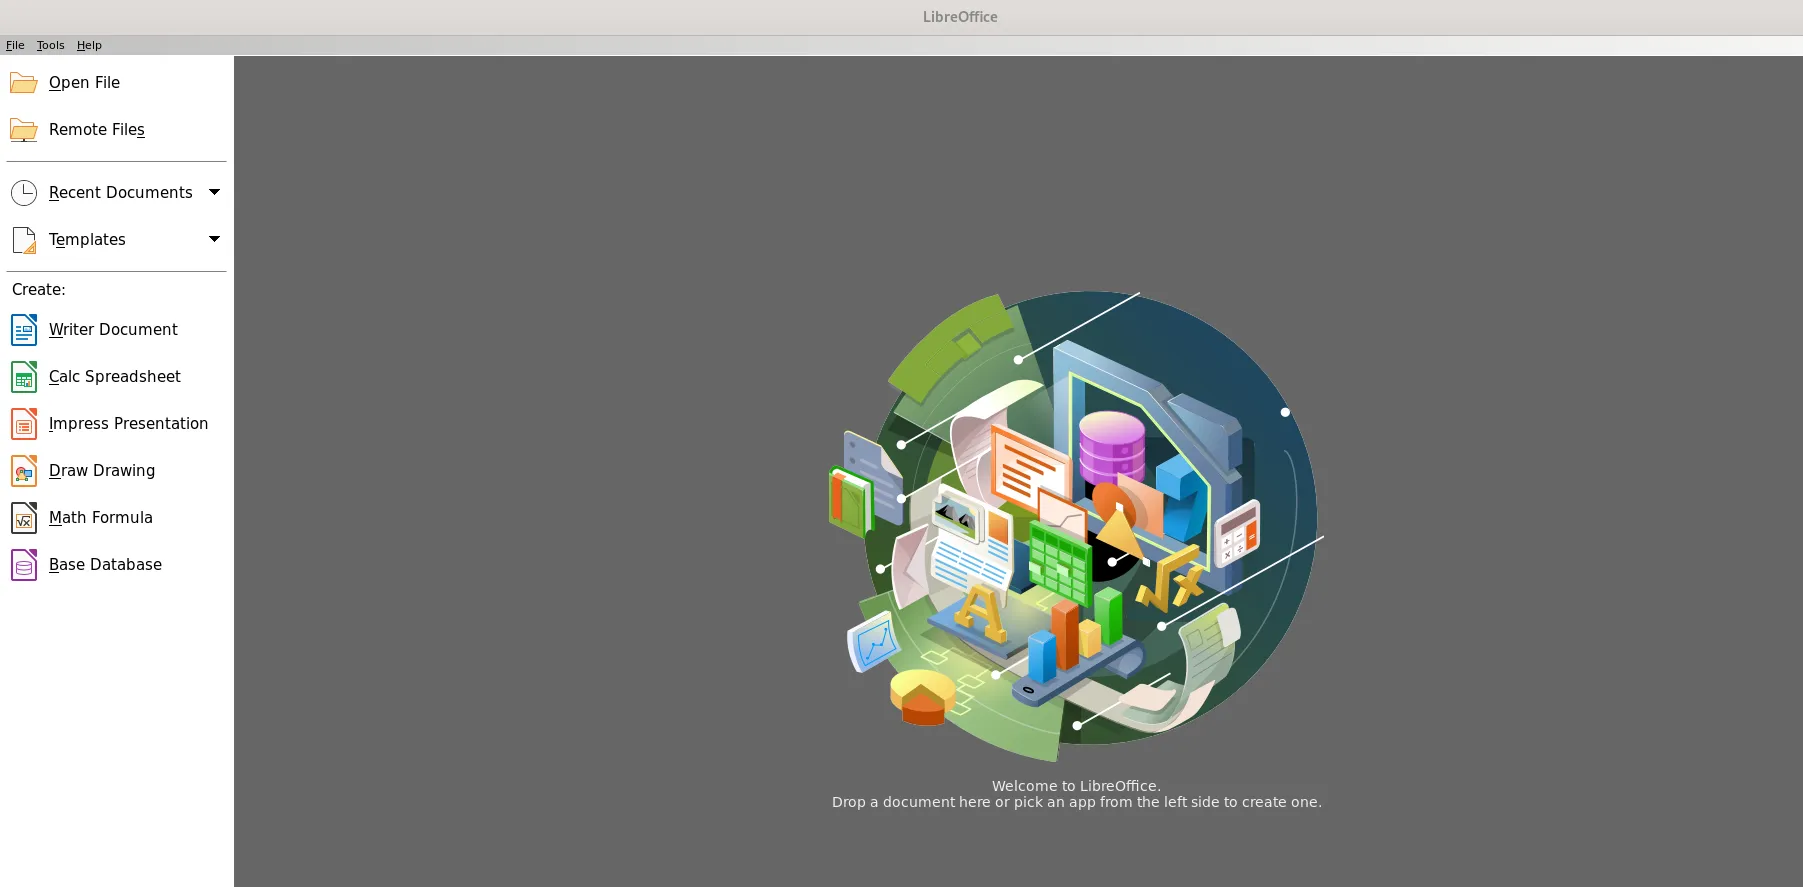
And there you have it! LibreOffice is now installed and ready to use on your RHEL 9 or CentOS 9 system.

Photo by admingeek from Infotechys
If you encounter any issues during the installation process, here are a few troubleshooting tips to help you out:
| Issue | Solution |
|---|---|
| Dependency Errors | If you encounter dependency errors, ensure that the EPEL repository is properly enabled and retry running the installation command. |
| Installation Failures | Check the terminal output for error messages if the installation fails. These messages can offer valuable insights into the underlying issue. |
| Incomplete Installation | In rare instances where the installation seems successful but LibreOffice fails to launch correctly, consider reinstalling LibreOffice using the sudo dnf reinstall libreoffice command. |
In this comprehensive guide, we’ve walked you through the process of installing LibreOffice on RHEL 9 or CentOS 9. By following these simple steps, you can harness the power of this versatile office suite to enhance your productivity and creativity on Linux.
Whether you’re a student, professional, or enthusiast, LibreOffice provides the tools you need to create, edit, and collaborate on documents, spreadsheets, presentations, and more—all without breaking the bank. With its user-friendly interface, robust feature set, and compatibility with popular file formats, LibreOffice is the perfect companion for your Linux journey.
Did you find this article useful? Your feedback is invaluable to us! Please feel free to share your thoughts in the comments section below.
Related Posts

Learn how to easily install Gedit on Ubuntu 23.10 with our step-by-step guide. Discover the benefits of this versatile text editor and customize it to

In this article, we review different ways to install VSCode on Fedora 39, providing step-by-step instructions to ensure a seamless setup of the Visual Studio

When it comes to popular text editors for Linux, text editors are like wallets. Everybody’s got one and more importantly, everyone’s choice of a text
