
HOWTO
In this article, we will examine installing and using Gitlab on Ubuntu server version 20.04. Gitlab community edition or Gitlab CE can be installed by


Learn how to install and configure IPA/IdM on RHEL 9 and CentOS 9. This comprehensive guide covers prerequisites, step-by-step installation, user management, and enabling 2FA for enhanced security.
Identity Management (IdM) or Identity, Policy, and Audit (IPA) is a robust, scalable, and secure centralized identity management system. It is especially useful for managing user authentication, authorization, and account information in a network environment. This guide will walk you through the process of installing and configuring IPA/IdM on RHEL 9 and CentOS 9.
Before diving into the installation process, it’s important to understand why you might want to use IPA/IdM. Here are some key benefits:
Prerequisites |
Before proceeding with the installation, ensure that you have the following prerequisites:
For demonstration purposes, we’ve configured our Linux instances as follows:
| Hostnames | RAM (GB) | Cores | Operating System (OS) |
| idm-1.dev.naijalabs.net | 4 | 2 | Red Hat Enterprise Linux release 9.4 (Plow) – Master Server |
| idm-2.dev.naijalabs.net | 4 | 2 | Red Hat Enterprise Linux release 9.4 (Plow) – Replica |
If you do not have a properly configured DNS, then ensure both instances have the following entries in their /etc/hosts files. Replace the FQDN and IP addresses with your actual information.
					# IDM
192.168.1.18	idm-1.dev.naijalabs.net idm-1
192.168.1.249	idm-2.dev.naijalabs.net idm-2
Step 1: Update Your System |
First, ensure both instances are updated and rebooted. Open a terminal and execute the following commands:
sudo dnf update -y; sudo systemctl reboot
Step 2: Install IPA Server Packages |
Next (on the master and replica instance), install the necessary IPA server packages. Use the following command:
sudo dnf install ipa-server bind-dyndb-ldap -y
On a fresh RHEL 9 server instance, more than 400 packages will be installed. This process takes some time, so it’s an excellent opportunity to take a break and perhaps grab a caffeinated beverage :).
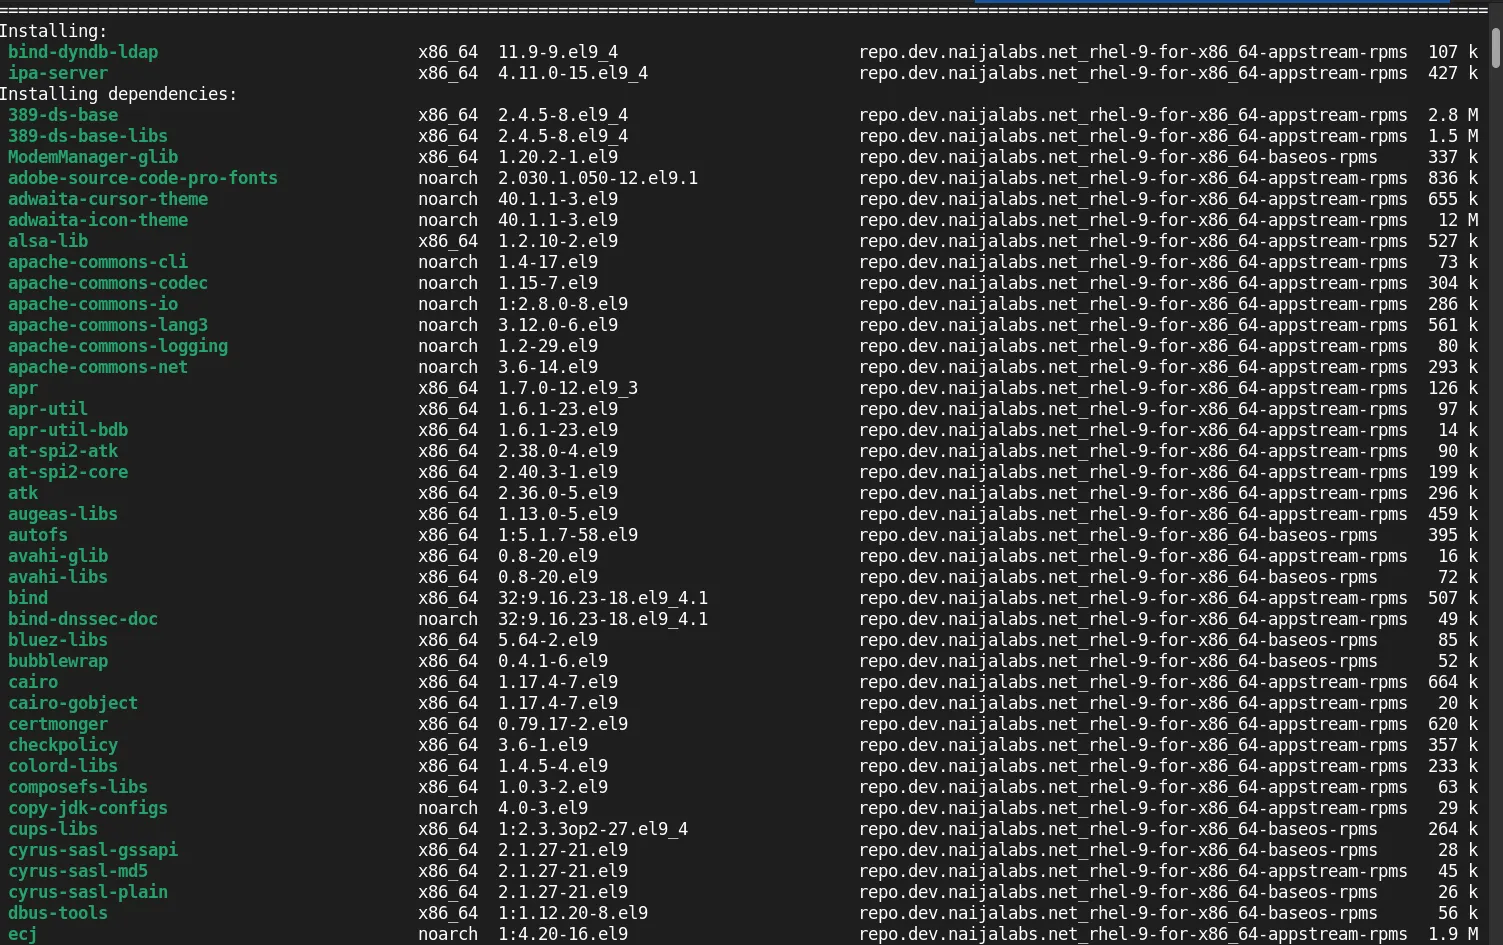
Photo by admingeek from Infotechys
Step 3: Configure the IPA Server |
After installing the packages, you need to configure the IPA server. Run the following command and follow the prompts:
sudo ipa-server-install
You will be asked to provide the following information:
The default answer is “no,” and you can accept this default by pressing Enter or type “yes” to configure DNS.
					The log file for this installation can be found in /var/log/ipaserver-install.log
==============================================================================
This program will set up the IPA Server.
Version 4.11.0

This includes:
  * Configure a stand-alone CA (dogtag) for certificate management
  * Configure the NTP client (chronyd)
  * Create and configure an instance of Directory Server
  * Create and configure a Kerberos Key Distribution Center (KDC)
  * Configure Apache (httpd)
  * Configure SID generation
  * Configure the KDC to enable PKINIT

To accept the default shown in brackets, press the Enter key.

Do you want to configure integrated DNS (BIND)? [no]:
Note: Integrating DNS with your IPA server install requires installation of the ipa-server-dns package.
Ensure it matches the FQDN. Then, press the Enter key to accept the default.
					Enter the fully qualified domain name of the computer
on which you're setting up server software. Using the form
<hostname>.<domainname>
Example: master.example.com


Server host name [idm-1.dev.naijalabs.net]:
Choose the domain name for your IPA realm. Again, press the Enter key to accept the default.
Please confirm the domain name [dev.naijalabs.net]:
Typically, this is the domain name in uppercase. Accept the default and continue.
					The kerberos protocol requires a Realm name to be defined.
This is typically the domain name converted to uppercase.

Please provide a realm name [DEV.NAIJALABS.NET]:
Set a password for the Directory Manager.
					Certain directory server operations require an administrative user.
This user is referred to as the Directory Manager and has full access
to the Directory for system management tasks and will be added to the
instance of directory server created for IPA.
The password must be at least 8 characters long.

Directory Manager password:
Set a password for the IPA admin user.
					The IPA server requires an administrative user, named 'admin'.
This user is a regular system account used for IPA server administration.

IPA admin password:
NetBIOS (Network Basic Input/Output System) is an older networking protocol that uses a simple naming convention to identify systems on a network. If the system or service doesn’t find a NetBIOS name, it means that the name that identifies the domain in a NetBIOS environment hasn’t been set yet. Proceed with the default suggested.
					Trust is configured but no NetBIOS domain name found, setting it now.
Enter the NetBIOS name for the IPA domain.
Only up to 15 uppercase ASCII letters, digits and dashes are allowed.
Example: EXAMPLE.


NetBIOS domain name [DEV]:
If you decide to configure Chrony, you will need to:
pool.ntp.org).
Do you want to configure chrony with NTP server or pool address? [no]:
Confirming these values means you agree to configure your IPA Master Server and CA with the specified settings. This step is crucial to ensure all components are correctly configured and can communicate effectively within your network environment. Type ‘yes’ and the Enter key to proceed.
					The IPA Master Server will be configured with:
Hostname:       idm-1.dev.naijalabs.net
IP address(es): 192.168.1.18
Domain name:    dev.naijalabs.net
Realm name:     DEV.NAIJALABS.NET

The CA will be configured with:
Subject DN:   CN=Certificate Authority,O=DEV.NAIJALABS.NET
Subject base: O=DEV.NAIJALABS.NET
Chaining:     self-signed

Continue to configure the system with these values? [no]: yes
The installation process will now begin and will take several minutes to complete. If you missed your first chance to take a break, now is the perfect time to stretch your legs!😊
					...
Using default chrony configuration.
Attempting to sync time with chronyc.
Time synchronization was successful.
Configuring directory server (dirsrv). Estimated time: 30 seconds
  [1/43]: creating directory server instance
Validate installation settings ...
Create file system structures ...
Perform SELinux labeling ...
Create database backend: dc=dev,dc=naijalabs,dc=net ...
Perform post-installation tasks ...
  [2/43]: tune ldbm plugin
  [3/43]: adding default schema
  [4/43]: enabling memberof plugin
  [5/43]: enabling winsync plugin
  [6/43]: configure password logging
  [7/43]: configuring replication version plugin
  [8/43]: enabling IPA enrollment plugin
...omitted for brevity...
Step 4: Open Firewall Ports |
Post install, you will be presented with a similar output (below). By following these steps, you ensure that your IPA server is correctly integrated into your network and fully operational.
					Please add records in this file to your DNS system: /tmp/ipa.system.records.4j6lyv4k.db
==============================================================================
Setup complete

Next steps:
	1. You must make sure these network ports are open:
		TCP Ports:
		  * 80, 443: HTTP/HTTPS
		  * 389, 636: LDAP/LDAPS
		  * 88, 464: kerberos
		UDP Ports:
		  * 88, 464: kerberos
		  * 123: ntp

	2. You can now obtain a kerberos ticket using the command: 'kinit admin'
	   This ticket will allow you to use the IPA tools (e.g., ipa user-add)
	   and the web user interface.

Be sure to back up the CA certificates stored in /root/cacert.p12
These files are required to create replicas. The password for these
files is the Directory Manager password
The ipa-server-install command was successful
IPA requires certain ports to be open for communication. We can accomplish this one of two ways (by referencing the services):
sudo firewall-cmd --permanent --add-service={http,https,dns,freeipa-ldap,freeipa-ldaps,kerberos,kpasswd,ntp}
sudo firewall-cmd --reload
Or, by referencing the ports:
sudo firewall-cmd --permanent --add-port=80/tcp --add-port=443/tcp --add-port=389/tcp --add-port=636/tcp --add-port=88/tcp --add-port=464/tcp --add-port=464/udp --add-port=88/udp --add-port=123/udp
sudo firewall-cmd --reload
Ensure firewall ports are open on both the master and replica instances.
Setting up a replica server ensures high availability and load balancing for your IPA infrastructure. Follow these steps to install an IPA replica:
Step 1: Enroll the Replica Server |
On the replica server, run the following command to enroll it as a client:
ipa-client-install --domain=dev.naijalabs.net --realm=DEV.NAIJALABS.NET --server=idm-1.dev.naijalabs.net
Replace the --domain, --realm, and --server entries with your actual information.
					Autodiscovery of servers for failover cannot work with this configuration.
If you proceed with the installation, services will be configured to always access the discovered server for all operations and will not fail over to other servers in case of failure.
Proceed with fixed values and no DNS discovery? [no]: yes
For this demonstration, we opted to go without the DNS setup. Therefore, we can proceed by typing ‘yes’ and the Enter key to continue.
We opted to go without the Chrony setup with NTP for the master server. So, we will proceed with the default here and press the Enter key to continue.
Do you want to configure chrony with NTP server or pool address? [no]:
You should see an output similar to the one below on your terminal. Verify that all settings are correct. Then, type ‘yes’ and press Enter to accept and continue.
					Client hostname: idm-2.dev.naijalabs.net
Realm: DEV.NAIJALABS.NET
DNS Domain: dev.naijalabs.net
IPA Server: idm-1.dev.naijalabs.net
BaseDN: dc=dev,dc=naijalabs,dc=net

Continue to configure the system with these values? [no]: yes
The user authorized to enroll computers is admin by default: Type ‘admin’ and the Enter key to continue.
					Synchronizing time
No SRV records of NTP servers found and no NTP server or pool address was provided.
Using default chrony configuration.
Attempting to sync time with chronyc.
Time synchronization was successful.
User authorized to enroll computers: admin
Enter the IPA admin password you set up earlier in the IPA admin Password section:
Password for admin@DEV.NAIJALABS.NET:
The enrollment process will begin, and upon completion, your terminal will display an output similar to the example shown below.
					...
SSSD enabled
Configured /etc/openldap/ldap.conf
Configured /etc/ssh/ssh_config
Configured /etc/ssh/sshd_config.d/04-ipa.conf
Configuring dev.naijalabs.net as NIS domain.
Configured /etc/krb5.conf for IPA realm DEV.NAIJALABS.NET
Client configuration complete.
The ipa-client-install command was successful
On the master server, run the following command to verify that the replica server has been added to the ipaservers host group:
sudo ipa hostgroup-show ipaservers
					  Host-group: ipaservers
  Description: IPA server hosts
  Member hosts: idm-1.dev.naijalabs.net, idm-2.dev.naijalabs.net
Step 2: Configure the IPA Replica |
Once we’ve verified that our replica server is now part of the ipaservers host group, we can log on to the replica instance and proceed with the following command to initiate the replication process:
sudo ipa-replica-install
This command installs and configures a new replica of an existing IPA server, ensuring that the new server can provide the same directory, authentication, and policy services as the original IPA server. This includes copying data from the master server and setting up replication agreements to keep the servers synchronized.
					Run connection check to master
Connection check OK
Disabled p11-kit-proxy
Configuring directory server (dirsrv). Estimated time: 30 seconds
  [1/40]: creating directory server instance
Validate installation settings ...
Create file system structures ...
Perform SELinux labeling ...
Create database backend: dc=dev,dc=naijalabs,dc=net ...
Perform post-installation tasks ...
  [2/40]: tune ldbm plugin
  [3/40]: adding default schema
  [4/40]: enabling memberof plugin
  [5/40]: enabling winsync plugin
  [6/40]: configure password logging
  [7/40]: configuring replication version plugin
  [8/40]: enabling IPA enrollment plugin
...
Upon completion, you should see the following warning (below):
					WARNING: The CA service is only installed on one server (idm-1.dev.naijalabs.net).
It is strongly recommended to install it on another server.
Run ipa-ca-install(1) on another master to accomplish this.

The ipa-replica-install command was successful
Run the following command to add the CA service on the replica:
sudo ipa-ca-install
Directory Manager (existing master) password:
Enter the Directory Manager Password (from earlier IPA server setup) and press the Enter key to continue:
					...
  [22/28]: configure certificate renewals
  [23/28]: Configure HTTP to proxy connections
  [24/28]: updating IPA configuration
  [25/28]: enabling CA instance
  [26/28]: importing IPA certificate profiles
  [27/28]: configuring certmonger renewal for lightweight CAs
  [28/28]: deploying ACME service
Done configuring certificate server (pki-tomcatd).
Step 3: Verify the Replica Installation |
After the installation is complete, verify that the replica is working correctly by checking the status of the IPA services:
sudo ipa-replica-manage list
					idm-1.dev.naijalabs.net: master
idm-2.dev.naijalabs.net: master
This command should show the new replica along with the master server.
Congratulations! You’ve successfully installed an IPA master server and a replica instance on RHEL 9 or CentOS 9. You can now access the IdM web interface by entering the following URL in your preferred browser: https://<your-fqdn> or in our example, https://idm-1.dev.naijalabs.net
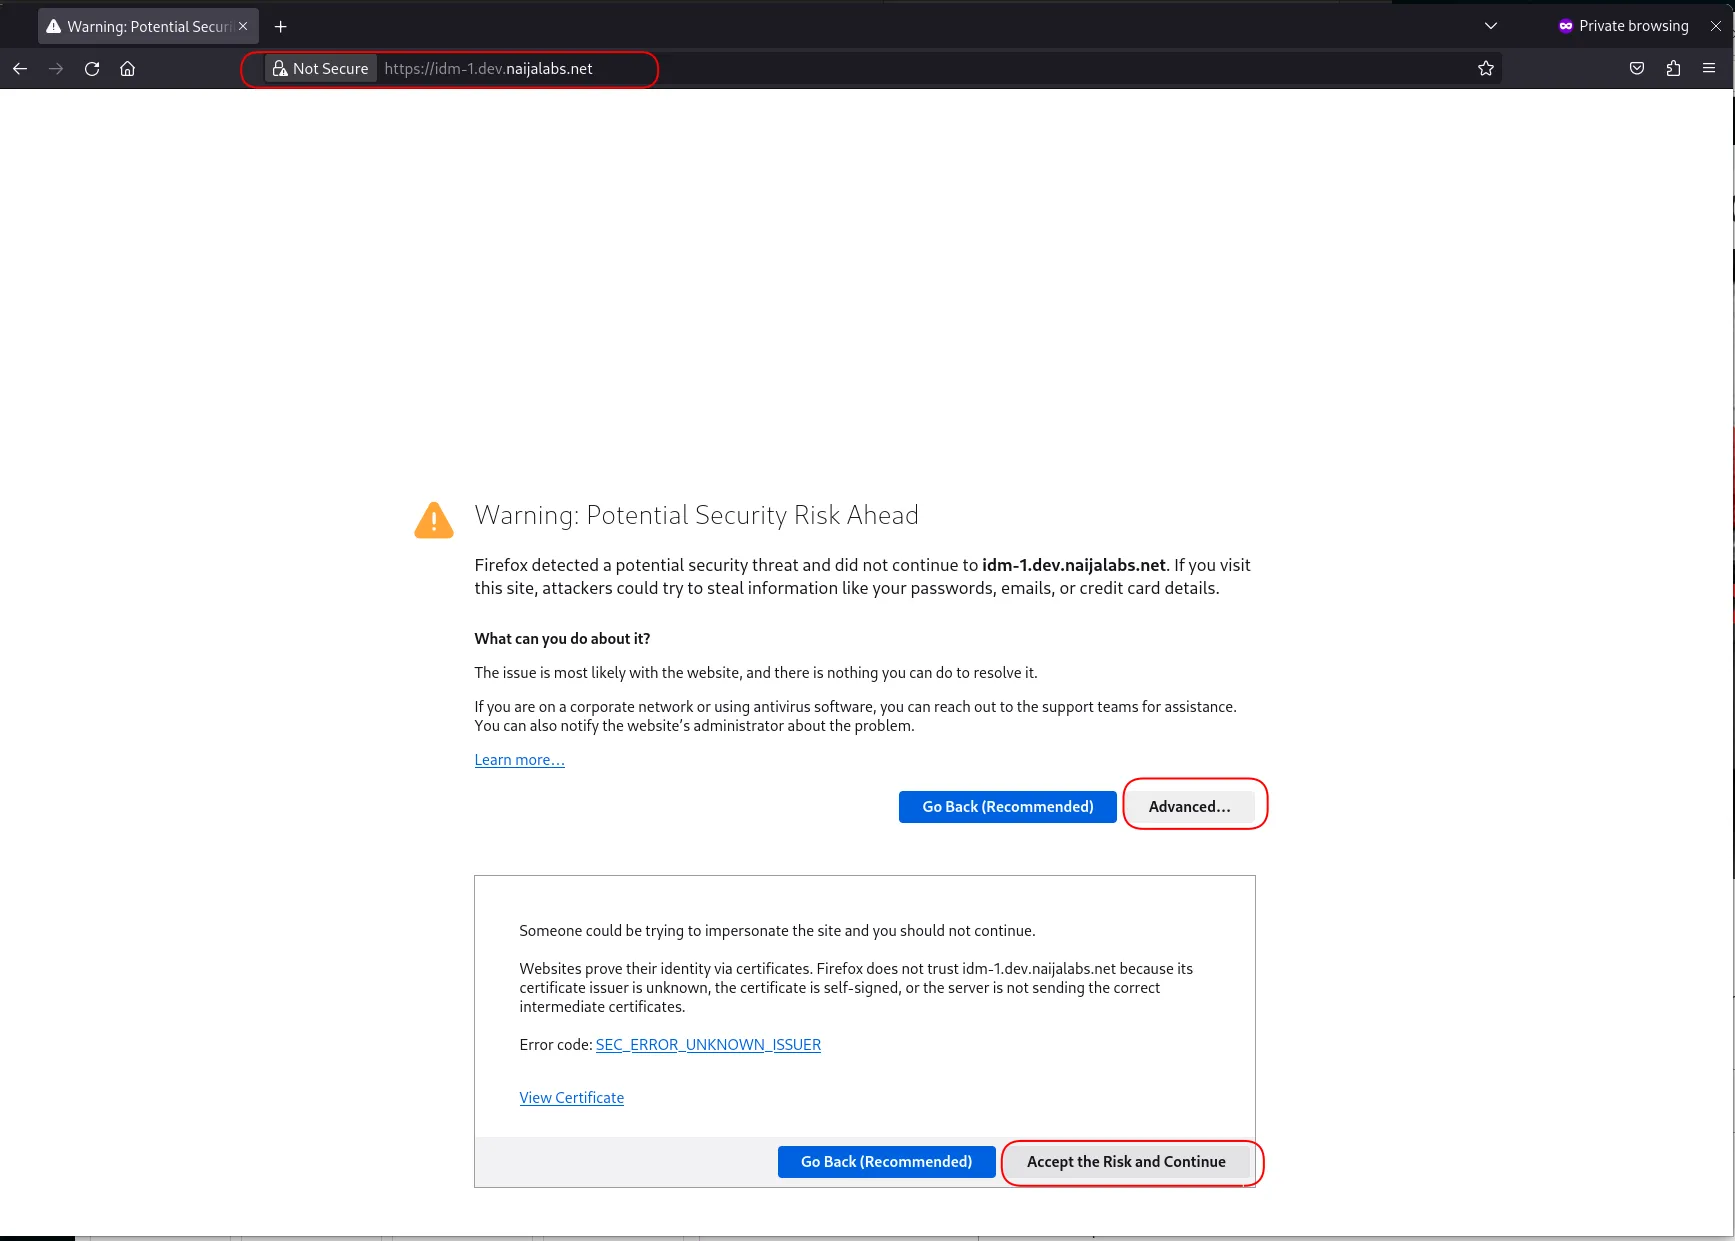
Photo by admingeek from Infotechys
You’ll notice that the connection is not secure or SSL is not implemented. We will address this issue momentarily. In the meantime, click on the ‘Advanced’ and ‘Accept the Risk and Continue’ buttons (highlighted in red) to proceed to the login page.
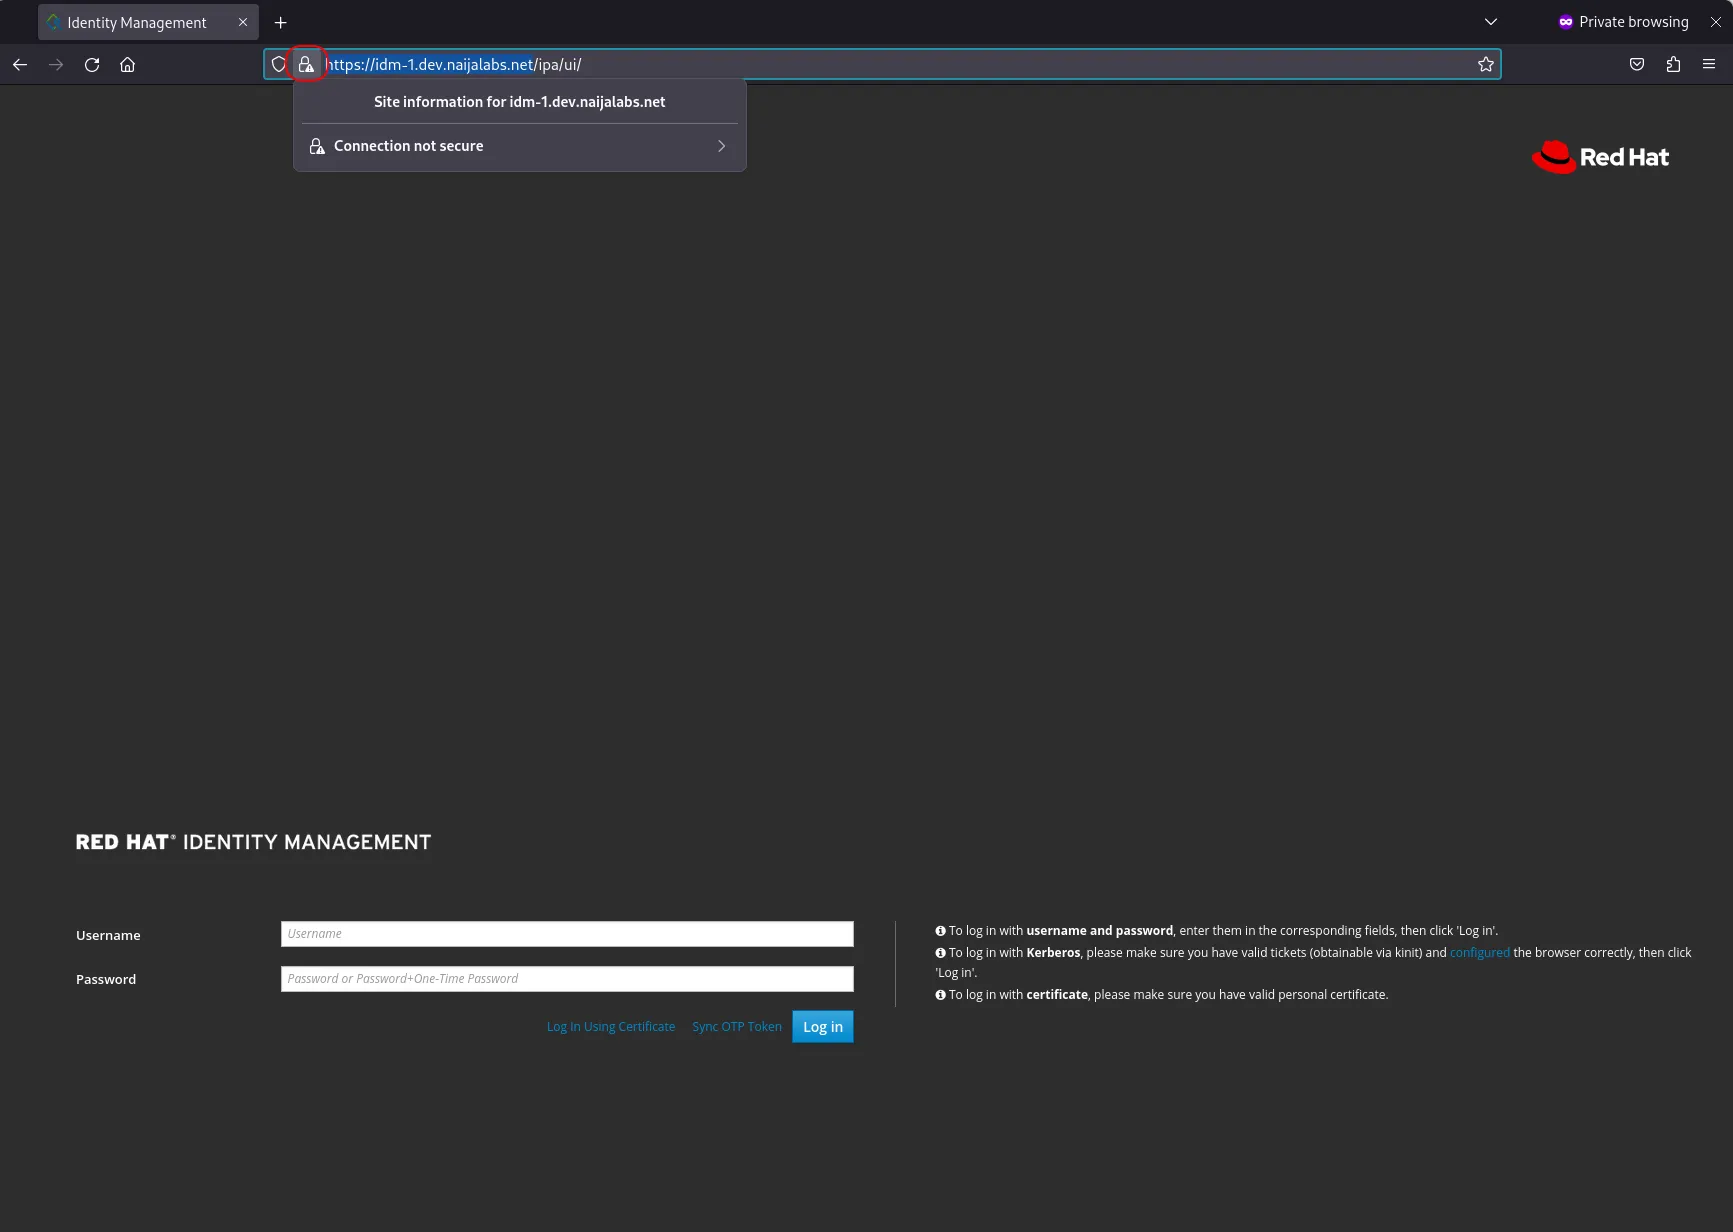
Photo by admingeek from Infotechys
💡Before we proceed, this is a good time to take snapshots/backups of your master and replica instances. This will allow you to revert to this current state if any unforeseen issues arise during the installation.
Step 1: Obtain an SSL Certificate from a Certificate Authority (CA) |
Obtain an SSL certificate from a trusted CA. You will receive a certificate file (.crt) and a private key (.key). The process will differ depending on which CA you decide to use. More importantly, the certificate file (.crt) must be signed by a CA that is recognized by the service you are using. If it is not, you can use the commands ipa-cacert-manage install and ipa-certupdate to load the CA’s certificate before installing the new certificate.
Step 2: Install SSL certificate |
Since we are using an internal CA for this demonstration, we will need the complete certificate chain. This includes the root, intermediate, and server certificates, along with the private key file. Copy all certificates to your preferred location on the master server.
Execute the following commands to load the CA root certificate:
cat rootCA.crt subCA.crt > ca.crt
This command combines the root and intermediate certificates into one file that we’re calling ca.crt.
sudo ipa-cacert-manage -t C,, install ca.crt
					Installing CA certificate, please wait
Verified CN=Root CA Internal,O=Internal Certificate Authority,L=Laurel,ST=Maryland,C=US
Verified CN=Intermediate CA Internal,O=Internal Certificate Authority,L=Laurel,ST=Maryland,C=US
CA certificate successfully installed
The ipa-cacert-manage command was successful
sudo ipa-certupdate
					Systemwide CA database updated.
Systemwide CA database updated.
The ipa-certupdate command was successful
Now that we’ve successfully loaded the root and intermediate certificates, we can proceed with installing our server certificate and private key.
sudo ipa-server-certinstall -w -d idm-1.dev.naijalabs.net.key idm-1.dev.naijalabs.net.crt
					Directory Manager password:

Enter private key unlock password:
Provide the Directory Manger and private key unlock passwords (store these passwords in a safe place, preferably a password manager):
Upon a successful certificate installation, restart the IPA services with the following command:
sudo ipactl restart
					Restarting Directory Service
Restarting krb5kdc Service
Restarting kadmin Service
Restarting httpd Service
Restarting ipa-custodia Service
Restarting pki-tomcatd Service
Restarting ipa-otpd Service
ipa: INFO: The ipactl command was successful
Step 3: Verify SSL Configuration |
Access the IPA web interface using https://<your-fqdn>. Verify that the SSL certificate is properly installed and valid.

Photo by admingeek from Infotechys
Congratulations! You’ve successfully implemented SSL on your IPA master instance. Now, repeat the steps for the replica instance.
Step 1: Install IPA Client Packages |
On the client machine, install the necessary IPA client packages using the following command (enrolling a CentOS9 virtual machine (VM)):
sudo dnf install ipa-client -y
Step 2: Configure the IPA Client |
Run the following command to configure the IPA client:
sudo ipa-client-install
You will be prompted to provide the IPA server’s FQDN (e.g. idm-1.dev.naijalabs.net) and the domain name (e.g. dev.naijalabs.net). Follow the prompts to complete the configuration.
Step 3: Verify IPA Client Configuration |
To check if an IPA client is properly enrolled and connected to the IPA server, you can use the ipa command-line tool to query the client’s status. Here are a few methods to verify the client enrollment:
Use the ipa host-show command to check if the client host is enrolled in the IPA server. Replace ipa host-show centos9-vm1 with the actual hostname of your client instance:
sudo ipa host-show centos9-vm1
					  Host name: centos9-vm1.localdomain
  Platform: x86_64
  Operating system: 5.14.0-479.el9.x86_64
  Principal name: host/centos9-vm1.localdomain@DEV.NAIJALABS.NET
  Principal alias: host/centos9-vm1.localdomain@DEV.NAIJALABS.NET
  SSH public key fingerprint: SHA256:HbZglLtVFzYVAAo9Ir0K99JsIvgMPNOxEO0ASl6VQY4 (ecdsa-sha2-nistp256),
                              SHA256:+ebe7vxiB/8bdTMmHiJG+tIGKnHShPnNlLArgbyy7KY (ssh-ed25519),
                              SHA256:NcyLVKYqvr8FqZZtE06ZfsRtaT6PQE/T4apZHd3ux3A (ssh-rsa)
  Password: False
  Keytab: True
  Managed by: centos9-vm1.localdomain
If the client is enrolled, this command will display detailed information about the host. If it is not enrolled, you will receive an error message.
You can check if the client has a valid Kerberos ticket, which indicates it is properly enrolled and authenticated:
sudo klist
					Ticket cache: KCM:0
Default principal: admin@DEV.NAIJALABS.NET

Valid starting       Expires              Service principal
08/05/2024 14:49:27  08/06/2024 14:43:46  HTTP/idm-1.dev.naijalabs.net@DEV.NAIJALABS.NET
08/05/2024 14:49:24  08/06/2024 14:43:46  krbtgt/DEV.NAIJALABS.NET@DEV.NAIJALABS.NET
Open a web browser and navigate to the IPA server’s web interface. Use the IPA admin credentials to access the interface.

Photo by admingeek from Infotechys
Then, click on the “Hosts” link in the top menu or the left sidebar. This section will display a list of all hosts currently enrolled in the IPA domain.
Adding Users |
To add a new user, use the following command:
sudo ipa user-add username --first=FirstName --last=LastName --email=email@example.com
Adding Groups |
To add a new group, use the following command:
sudo ipa group-add groupname
Assigning Users to Groups |
To assign a user to a group, use the following command:
sudo ipa group-add-member groupname --users=username
For example, to add a user jdoe with the first name John, last name Doe, and email jdoe@example.com, the command would be:
sudo ipa user-add jdoe --first=John --last=Doe --email=jdoe@example.com
To create a group developers and add the user jdoe to this group, the commands would be:
sudo ipa group-add developers
sudo ipa group-add-member developers --users=jdoe
Installing and configuring IPA/IdM on RHEL 9 and CentOS 9 can significantly enhance your network’s security and management capabilities. By following this comprehensive guide, you can set up a centralized identity management system that streamlines user authentication, authorization, and account management. Regular backups, 2FA, and effective user and group management further ensure a secure and efficient environment. Additionally, installing a replica server ensures high availability and load balancing.
Did you find this article useful? Your feedback is invaluable to us! Please feel free to share your thoughts in the comments section below.
Related Posts
In this article, we will examine installing and using Gitlab on Ubuntu server version 20.04. Gitlab community edition or Gitlab CE can be installed by

Discover how to easily set up and manage a secure and centralized authentication system using a FreeIPA server on CentOS 8. Table of Contents 🔈Introduction

Learn how to install Kubernetes using Ansible on Ubuntu 24.04. This comprehensive guide covers prerequisites, setup, and configuration, ensuring a streamlined and consistent deployment process.