Commands
Are you looking to set up MySQL on your RHEL 9 or CentOS 9 server? Follow these detailed steps to install MySQL on RHEL 9 or

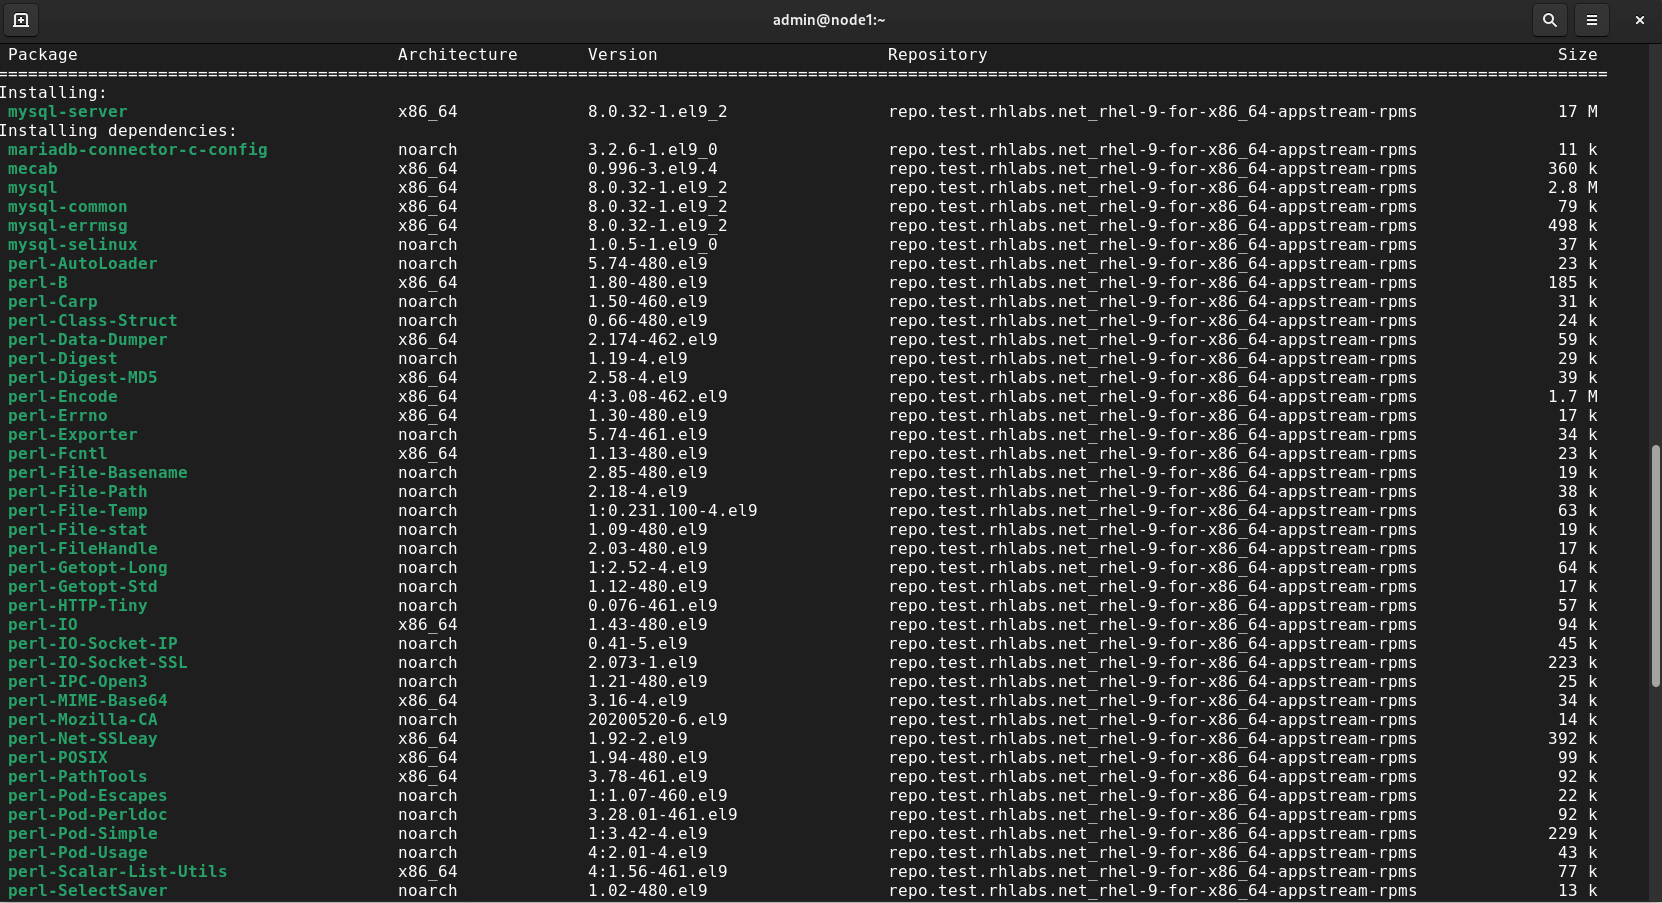
Are you looking to set up MySQL on your RHEL 9 or CentOS 9 server? Follow these detailed steps to install MySQL on RHEL 9 or
Unlock the power of relational databases and streamline your data management processes by discovering how to easily install MySQL on CentOS – a must-know skill
In this step-by-step guide, we will show you how to install mariaDB on CentOS7. MariaDB is a fork of MySQL relational database management systems (RDBMS). Table