
Commands
In this article, we’ll explore the simple steps to enable HTTPS on your website. We’ll guide you through the process of installing SSL on RHEL9,


In this comprehensive guide, we’ll explore step-by-step how to install LAMP stack on Ubuntu 23.10, ensuring you have the foundation to power your web projects efficiently.
When it comes to web development, having a robust server environment is crucial. Among the myriad of options available, the LAMP stack stands out as a reliable and powerful foundation for hosting web applications. If you’re diving into Ubuntu 23.10 and aiming to set up your server, mastering the installation of the LAMP stack is a fundamental step. In this guide, we’ll walk you through the process, ensuring you have a solid grasp of each step along the way.
Before we delve into the installation process, let’s briefly recap what the LAMP stack comprises:
Linux: The operating system providing the foundation.
Apache: The web server software handling HTTP requests.
MySQL: The relational database management system for storing and managing data.
PHP: The scripting language enabling dynamic content generation.
Let’s dive right into the installation process without delay.
As with any server setup process, it’s essential to start by ensuring your system is up-to-date. Open a terminal and execute the following commands:
sudo apt update -y ; sudo apt upgrade -y
Apache is one of the most widely used web servers globally, known for its reliability and performance. Install Apache by running the following command:
sudo apt install apache2 -y
As part of the installation process, the apache2.service will be enabled to automatically start upon reboot. Verify Apache’s status by executing:
sudo systemctl status apache2
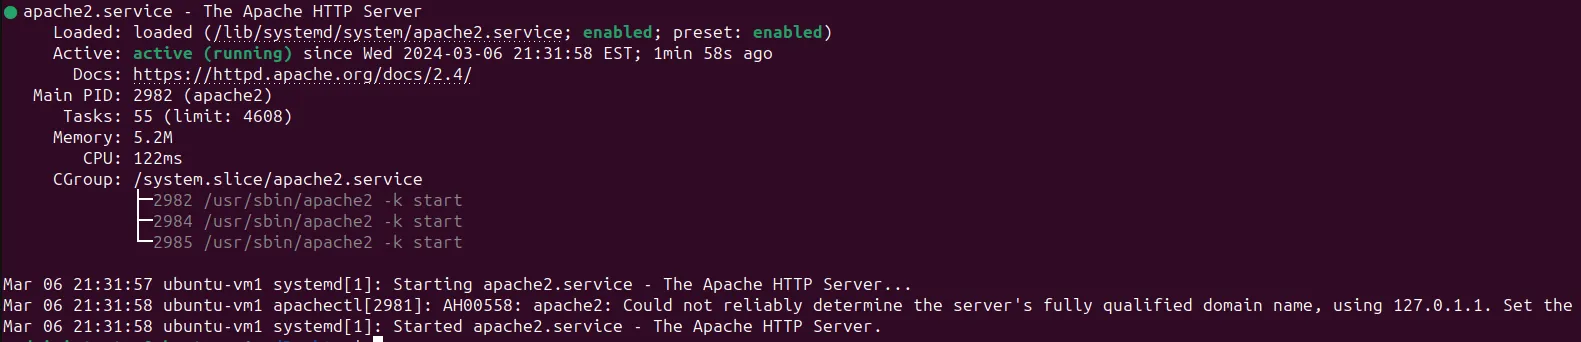
Photo by admingeek from Infotechys
MySQL is a popular open-source relational database management system. Install MySQL by running the following command:
sudo apt install mysql-server
Once the installation is complete, you can verify MySQL’s status by running:
sudo systemctl status mysql

Photo by admingeek from Infotechys
Securing MySQL helps protect your database from unauthorized access and potential security threats. Run the following command to launch the MySQL security script:
sudo mysql_secure_installation
You’ll be prompted to set a root password, remove anonymous users, disallow root login remotely, remove the test database, and reload the privilege tables. Follow the on-screen prompts and answer with ‘Y’ (yes) or ‘N’ (no) accordingly to secure your MySQL installation.
| Enter current password for root (enter for none): | If you have already set a root password for MySQL, you would enter it here. If not, simply press Enter to proceed |
Set root password? [Y/n]: | This prompt asks if you want to set a password for the MySQL root user. If you haven’t set a password yet or want to change it, type ‘Y’ and follow the prompts (You’ll be asked to select how strong you want your password to be set) to set a new password. If you prefer not to set a password at this time, you can type ‘n’. |
Remove anonymous users? [Y/n] | MySQL allows users to connect without specifying a user name or password. This prompt asks if you want to remove these anonymous users for security reasons. Typing ‘Y’ will remove them, while ‘n’ will keep them. |
Disallow root login remotely? [Y/n] | By default, the MySQL root user can log in from any host. Disabling remote root login adds an extra layer of security by restricting root access to the local machine only. Type ‘Y’ to disallow remote root login or ‘n’ to allow it. |
Remove test database and access to it? [Y/n] | MySQL comes with a test database that is often used for testing purposes. This prompt asks if you want to remove this test database and the associated access privileges. Typing ‘Y’ will remove them, while ‘n’ will retain them. |
Reload privilege tables now? [Y/n] | After making changes to the MySQL privileges, you need to reload the privilege tables for the changes to take effect. Typing ‘Y’ will reload the privilege tables, while ‘n’ will skip this step. |
If you encounter the following message below while attempting to set the root password during the mysql_secure_installation process at the time of reading this article:
					Skipping password set for root as authentication with auth_socket is used by default.
If you would like to use password authentication instead, this can be done with the "ALTER_USER" command.
See https://dev.mysql.com/doc/refman/8.0/en/alter-user.html#alter-user-password-management for more information.
					$ mysql -u root -p
Enter password:
ERROR 1698 (28000): Access denied for user 'root'@'localhost'
Run the following commands to resolve this issue and set the root password.
sudo mysql
Use sudo to become the mysql user and enter the following at the mysql prompt:
mysql> ALTER USER 'root'@'localhost' IDENTIFIED WITH mysql_native_password BY 'str0ngP@ss!';
Replace ‘str0ngP@ss!‘ with your actual password. Or, leave it blank ‘ ‘ to set the password to an empty string. Then, exit mysql and restart the service.
					mysql> exit
Bye

$ sudo systemctl restart mysql
You should now be able to log into MySQL successfully, either by entering the password you set or by pressing the Enter key if you didn’t set one.
					$ mysql -u root -p
Enter password:
					Welcome to the MySQL monitor.  Commands end with ; or \g.
Your MySQL connection id is 8
Server version: 8.0.36-0ubuntu0.23.10.1 (Ubuntu)

Copyright (c) 2000, 2024, Oracle and/or its affiliates.

Oracle is a registered trademark of Oracle Corporation and/or its
affiliates. Other names may be trademarks of their respective
owners.

Type 'help;' or '\h' for help. Type '\c' to clear the current input statement.

mysql>
PHP is a powerful scripting language widely used for web development. Install PHP along with additional modules by executing:
sudo apt install php libapache2-mod-php php-mysql
After the installation, you can verify PHP’s presence by creating a test PHP file (using your preferred text editor) in the Apache web root directory:
sudo vim /var/www/html/info.php
Add the following line to the file:
<?php phpinfo(); ?>
Save and close the file. You can then access this file through a web browser by navigating to http://your_server_ip/info.php. It should display information about your PHP installation.
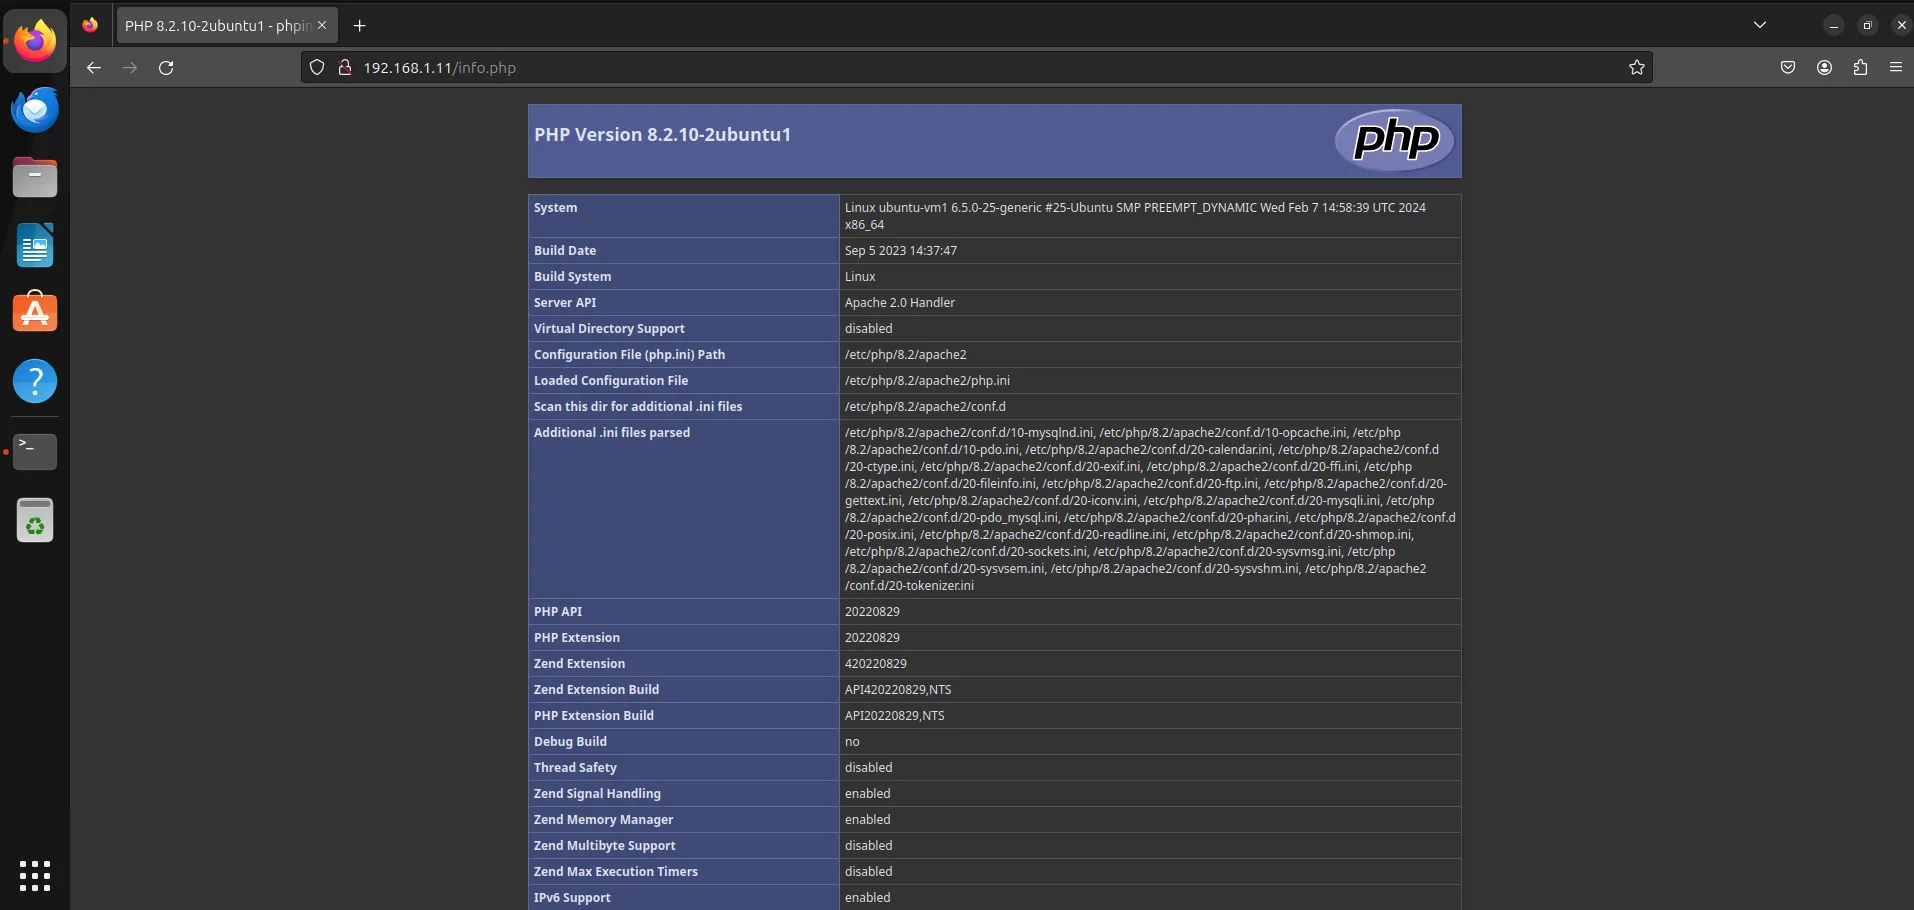
Photo by admingeek from Infotechys
To ensure Apache recognizes PHP files and serves them correctly, you need to modify the Apache configuration file. Open the file for editing:
sudo vim /etc/apache2/mods-enabled/dir.conf
Move the PHP index file (index.php) to the beginning of the list, so it takes precedence over index.html. Save and close the file.
DirectoryIndex index.html index.cgi index.pl index.php index.xhtml index.htm
Restart Apache to apply the changes:
sudo systemctl restart apache2
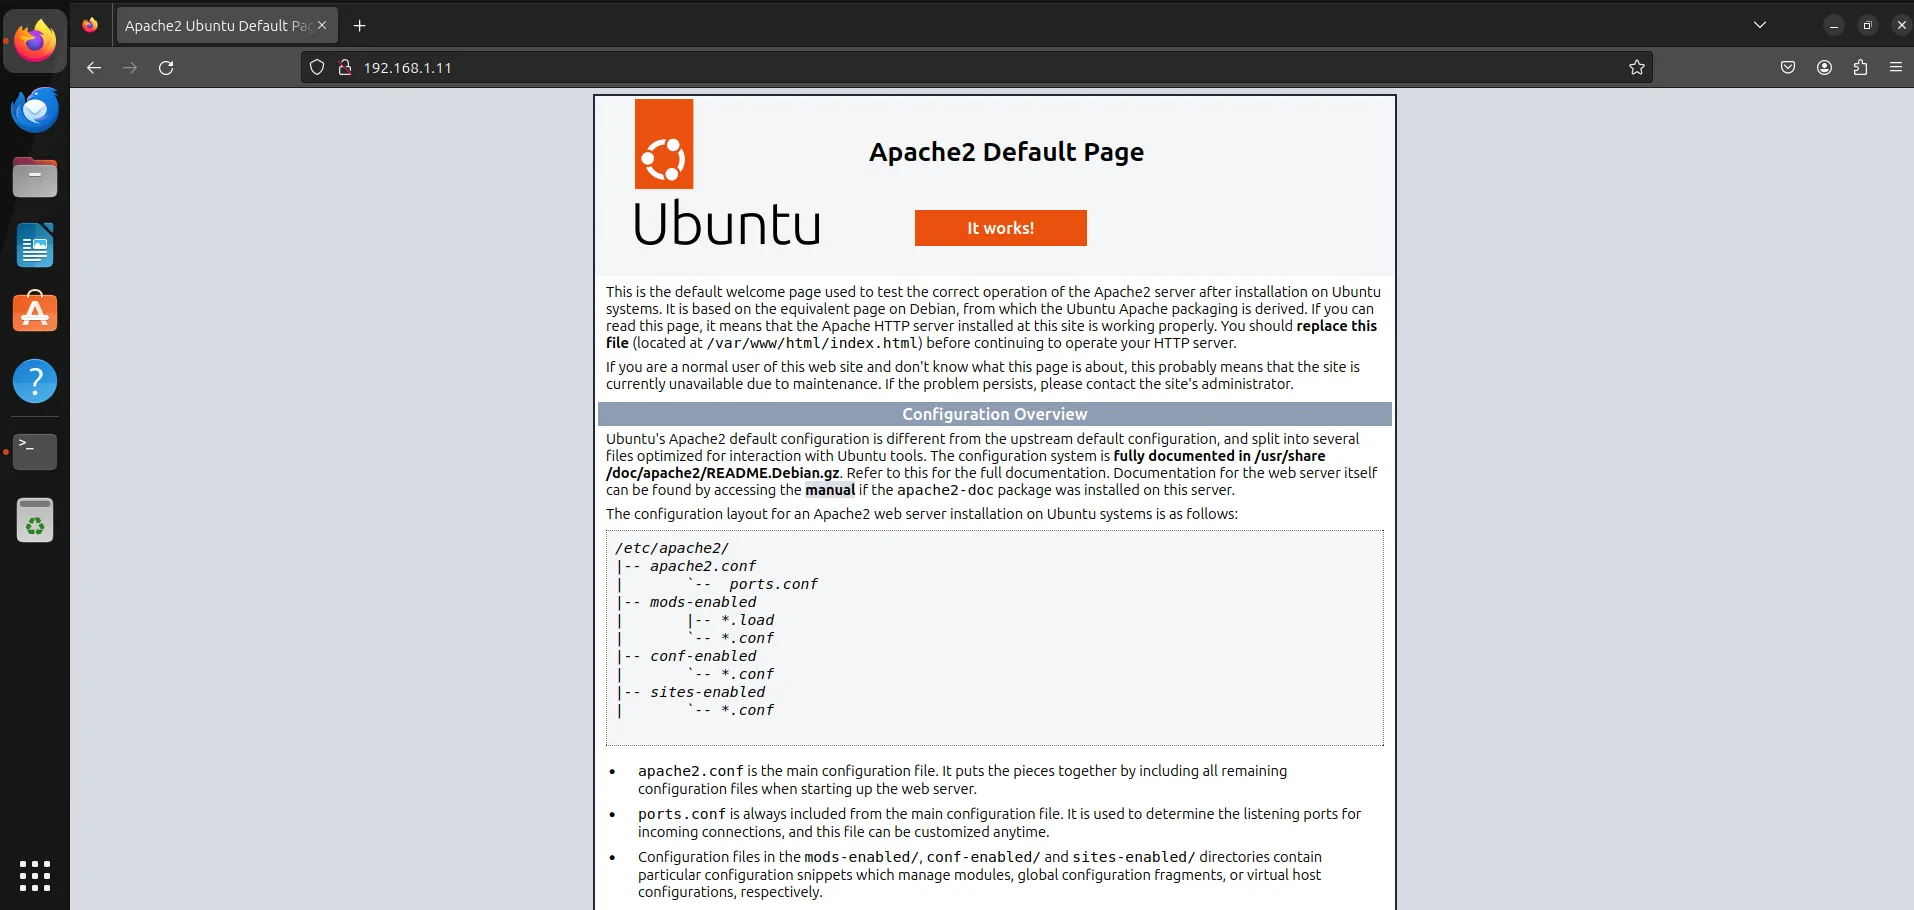
Photo by admingeek from Infotechys
Congratulations! You’ve successfully installed the LAMP stack on your Ubuntu 23.10 server. With Apache serving as the web server, MySQL handling the database management, and PHP enabling dynamic content generation, you now have a robust environment ready to host your web applications.
Remember, this guide serves as a starting point. As you delve deeper into web development and server administration, you’ll encounter more advanced configurations and optimizations to further enhance your server’s performance and security. Happy coding!
Did you find this article useful? Your feedback is invaluable to us! Please feel free to share your thoughts in the comments section below.
Related Posts
In this article, we’ll explore the simple steps to enable HTTPS on your website. We’ll guide you through the process of installing SSL on RHEL9,

Looking to establish a reliable and secure web presence? Learn how to Install Apache web server on CentOS and unlock the potential of your website
This guide examines how to setup an HTTPS server using Podman, a containerization tool, thereby fortifying a secure and streamlined hosting environment for your web