
Learn how to install Google Cloud CLI on CentOS 9 with this comprehensive guide. Includes step-by-step commands, configuration tips, and troubleshooting advice to help you
Learn how to install Google Chrome on CentOS Stream 10 using RPM and official Google repositories, with complete CLI examples, troubleshooting, and update configuration.
CentOS Stream 10 is Red Hat’s rolling‑release platform—ideal for users wanting next‑generation RHEL preview updates. It’s great for developers and advanced users who prefer stable yet forward‑looking systems. While it ships with Firefox by default, many prefer Google Chrome for performance, extension support, and wider compatibility. This guide walks through installing Chrome on CentOS Stream 10 with clear CLI examples, troubleshooting tips, and update methods—all designed to serve newcomers and seasoned sysadmins alike.
Google Chrome offers:
|
|
|
|
For CentOS Stream 10 (released December 12, 2024), Chrome helps round out the desktop experience with polished rendering and cross‑platform consistency.
| Requirement | Description |
|---|---|
| OS Version | CentOS Stream 10, x86_64 or supported arch |
| Disk Space | ~1 GB free (Chrome ~200–300 MB) |
| RAM | Minimum 2 GB, 4 GB or more recommended |
| Tools | dnf, wget or curl, sudo |
| GPG Key Access | Internet access to fetch Google signing key |
System should be updated before proceeding to avoid dependency mismatches.
🔄 Step 1: Update System Packages |
sudo dnf update -y
Ensures base system is current and avoids conflicts during install.
🔄 Step 2: Download Chrome RPM |
wget https://dl.google.com/linux/direct/google-chrome-stable_current_x86_64.rpm
This fetches the latest stable RPM directly from Google.
🔄 Step 3: Import Google GPG Signing Key |
sudo rpm --import https://dl.google.com/linux/linux_signing_key.pub
If rpm errors about missing signature, adding --nogpgcheck may be necessary—but ideally key import resolves it.
🔄 Step 4: Install Chrome RPM |
sudo dnf localinstall -y ./google-chrome-stable_current_x86_64.rpm
Alternatively, you can install the RPM with this command:
sudo dnf install -y https://dl.google.com/linux/direct/google-chrome-stable_current_x86_64.rpm
dnf resolves dependencies automatically; yum may be used interchangeably if available.
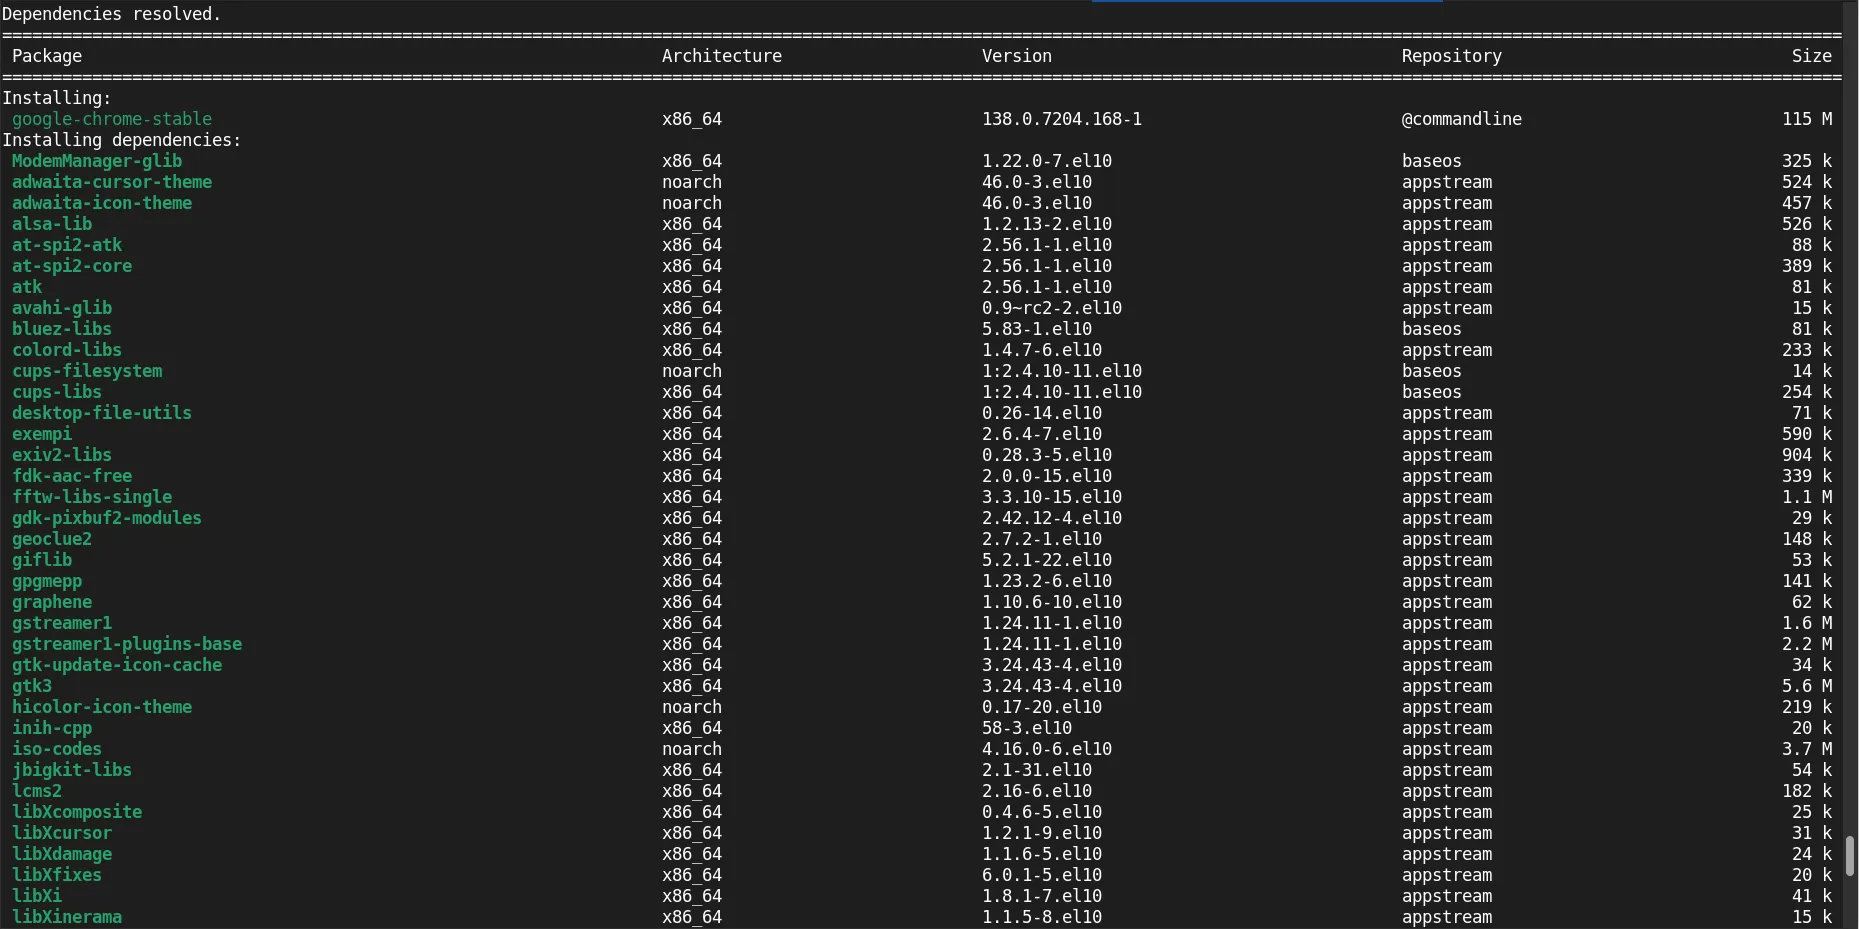
Photo by admingeek from Infotechys
🔄 Step 5: Create Official Google Repo for Updates |
					sudo tee /etc/yum.repos.d/google-chrome.repo << 'EOF'
[google-chrome]
name=google-chrome - stable
baseurl=http://dl.google.com/linux/chrome/rpm/stable/$basearch
enabled=1
gpgcheck=1
gpgkey=https://dl.google.com/linux/linux_signing_key.pub
EOF
This ensures Chrome stays up-to-date via standard update processes.
🔄 Step 6: Launch Chrome |
google-chrome &
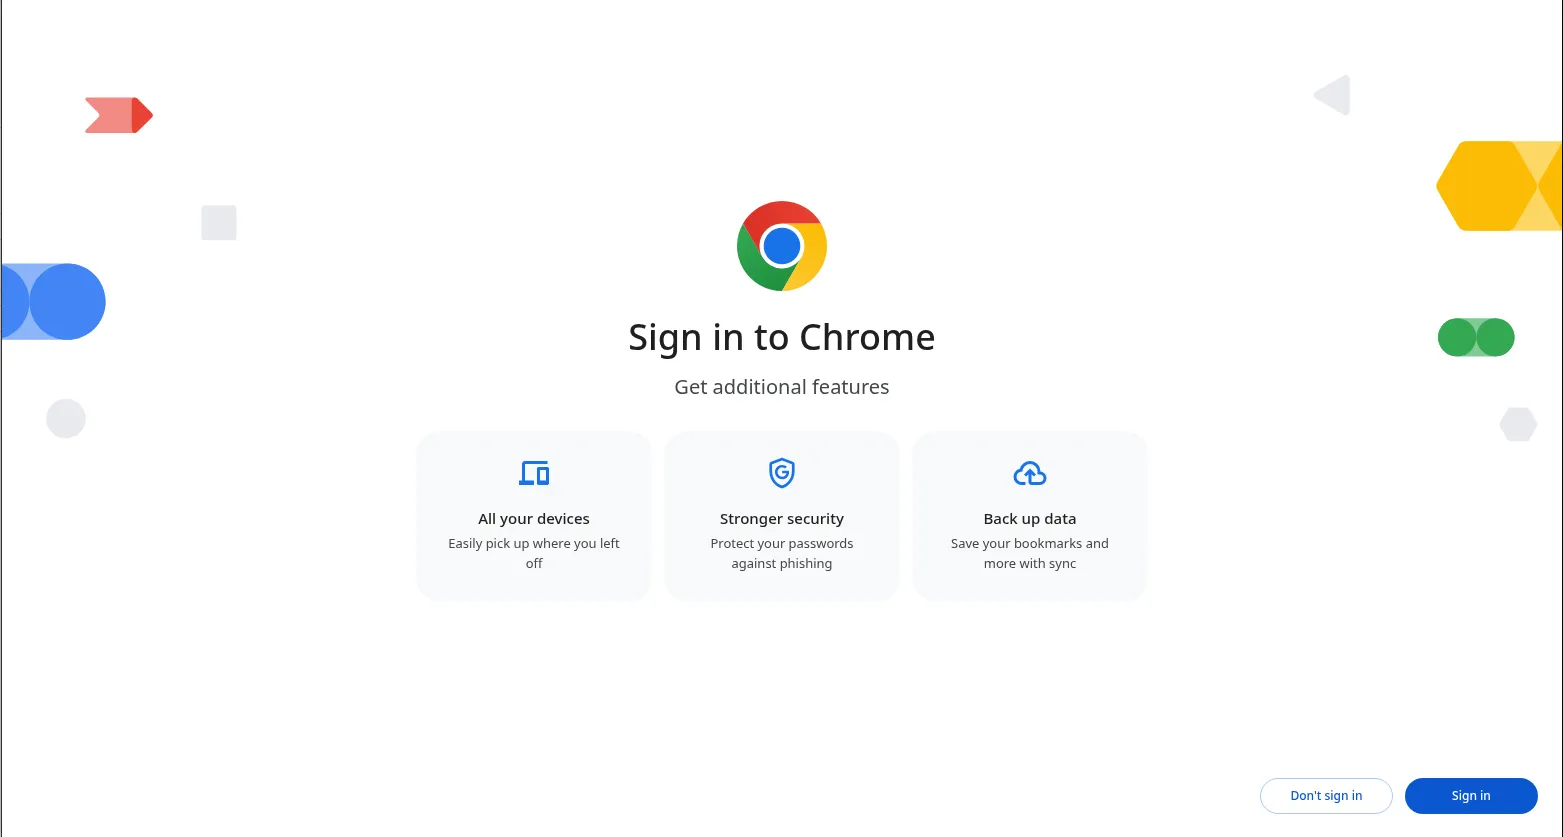
Photo by admingeek from Infotechys
Or via GUI: navigate to Activities → Google Chrome.
Here’s a consolidated CLI sequence from start to finish:
					sudo dnf update -y
wget https://dl.google.com/linux/direct/google-chrome-stable_current_x86_64.rpm
sudo rpm --import https://dl.google.com/linux/linux_signing_key.pub
sudo dnf localinstall -y google-chrome-stable_current_x86_64.rpm
sudo tee /etc/yum.repos.d/google-chrome.repo << 'EOF'
[google-chrome]
name=google-chrome - stable
baseurl=http://dl.google.com/linux/chrome/rpm/stable/$basearch
enabled=1
gpgcheck=1
gpgkey=https://dl.google.com/linux/linux_signing_key.pub
EOF
google-chrome &
Check Chrome version |
google-chrome --version
Set as default browser |
xdg-settings set default-web-browser google-chrome.desktop
Launch in Incognito |
google-chrome --incognito
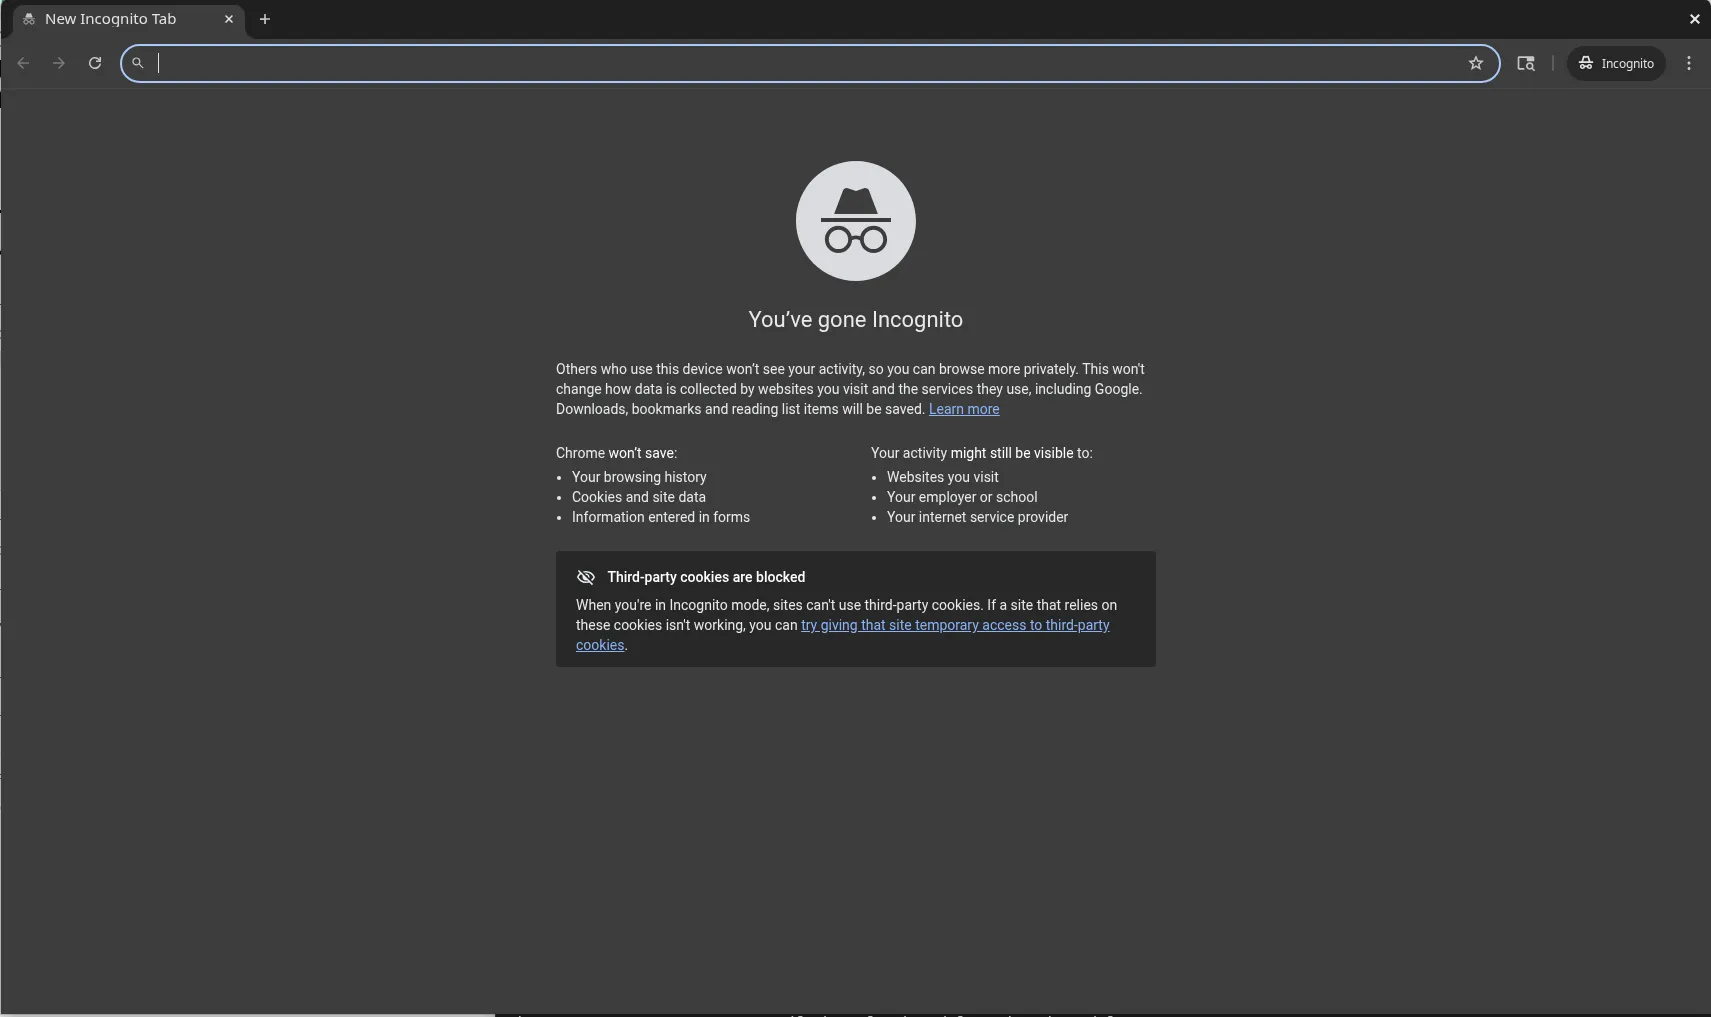
Photo by admingeek from Infotechys
Enable sync with Google account for seamless cross-device access.
a) Missing Dependencies or Broken Packages |
If dlopen or library errors appear, run:
sudo dnf install -f
Or reinstall:
sudo dnf reinstall -y google-chrome-stable
b) GPG Signature Errors |
Older rpm versions (CentOS 7/compatibility situations) may fail to verify subkeys. Solutions:
|
|
c) Performance Issues or Crashes |
|
|
|
d) Repo or Internet Connectivity Issues |
Confirm access to dl.google.com. Ensure firewall or proxy allows HTTPS.
Once the repo is enabled, Chrome will receive updates via normal system upgrade processes:
sudo dnf check-update google-chrome-stable
sudo dnf upgrade -y google-chrome-stable
Or update the entire system:
sudo dnf upgrade -y
This ensures security patching and feature releases continue automatically.
Q1: Does Chrome work on CentOS Stream 10 as on CentOS 8 or 9? |
Yes—CentOS Stream 10 supports Chrome installation via RPM exactly like CentOS 8/Stream 9, with minor dependency differences due to rolling base libraries.
Q2: Why add the Google repo if I installed the RPM directly? |
Without a repo, Chrome won’t automatically update. The .repo entry ensures Chrome gets patched alongside your regular system upgrades.
Q3: Can Chrome run in headless or server environment? |
Yes. Use google-chrome --headless --disable-gpu --remote-debugging-port=9222 for headless automation tasks or testing.
Q4: What if Chrome installation breaks dependencies? |
Use sudo dnf install -f to fix, or remove Chrome via sudo dnf remove google-chrome-stable and reinstall.
Installing Google Chrome on CentOS Stream 10 is straightforward:
|
|
|
|
|
|
This approach offers both ease of installation and long-term maintenance. Whether you rely on web apps, development tools, or Google services, Chrome delivers stability, speed, and consistent behavior.
By following this guide, you ensure a solid, maintainable Chrome setup on your CentOS Stream 10 workstation or desktop environment.
Did you find this article helpful? Your feedback is invaluable to us! Feel free to share this post with those who may benefit, and let us know your thoughts in the comments section below.

Learn how to install Google Cloud CLI on CentOS 9 with this comprehensive guide. Includes step-by-step commands, configuration tips, and troubleshooting advice to help you

In this guide, we’ll walk you through the step-by-step process of installing Chromium on your Fedora 37 system, ensuring you’re equipped with the latest features
Learn how to install and configure Google Chrome Remote Desktop on Ubuntu 24.04 with this comprehensive step-by-step guide. Ensure secure and efficient remote access to
