
Learn how to install and configure PostgreSQL on RHEL 9 or CentOS 9 with our comprehensive step-by-step guide. Ensure your database is set up correctly

Learn how to install Confluence on RHEL 9 or CentOS 9 with this detailed step-by-step guide. Includes prerequisites, database setup, CLI examples, and optional reverse proxy configuration.
Confluence is a powerful collaboration tool developed by Atlassian, designed to help teams manage projects and share knowledge efficiently. Installing Confluence on RHEL 9 or CentOS 9 ensures optimal performance and seamless integration with enterprise environments. This guide will walk you through the process of installing Confluence on RHEL 9 or CentOS 9, including prerequisites, installation steps, and tips for best practices.
Before installing Confluence, ensure the following:
| Requirement | Details |
|---|---|
| OS | RHEL 9 (64-bit) |
| Java | OpenJDK 11 or Oracle JDK 11 |
| Database | PostgreSQL 12+ (preferred) |
| Hardware Requirements | 4 GB+ RAM, 2 CPU cores, and 20 GB+ free disk space |
| Firewall | Port 8090 open for incoming traffic |
For this demonstration, we’ve configured our RHEL 9 server as follows:
| Hostname | RAM (GB) | Cores | IP Address/OS |
| confluence.dev.naijalabs.net | 8 | 2 | 192.168.1.213 / Red Hat Enterprise Linux release 9.5 (Plow) |
Step 1: Prepare the system |
Update and reboot the system:
sudo dnf update -y && sudo systemctl reboot
Ensure the hostname is set correctly:
sudo hostnamectl set-hostname confluence-server
Replace confluence-server with the actual fully-qualified domain name (FQDN) of your RHEL 9 server.
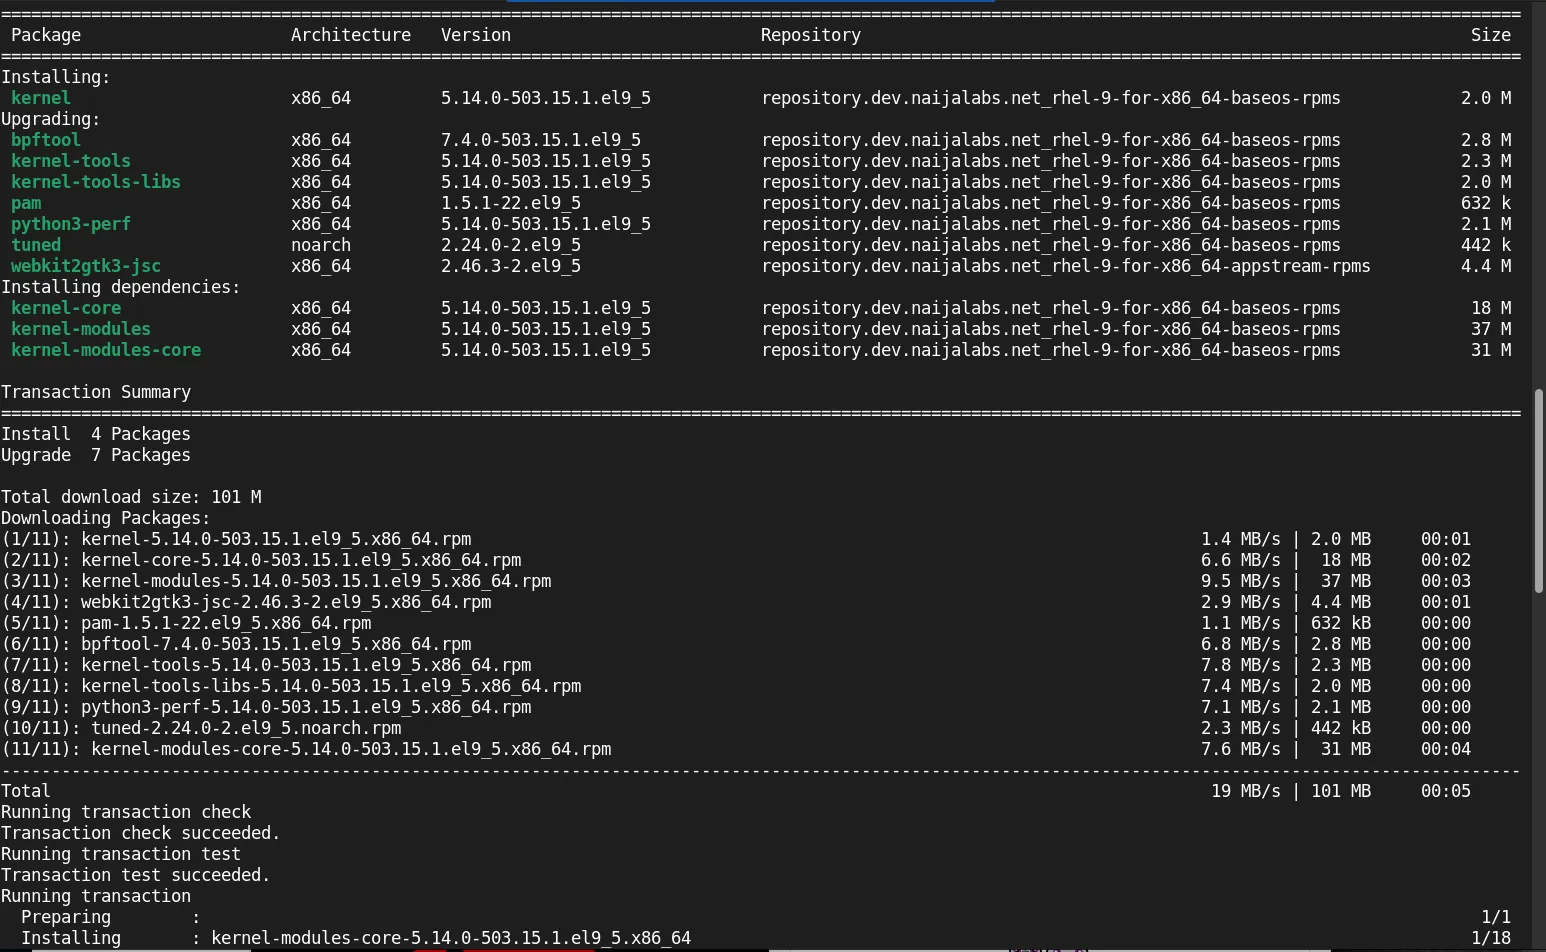
Photo by admingeek from Infotechys
Step 2: Installing Dependencies |
Confluence requires Java 11. Install OpenJDK 11 with:
sudo dnf install java-11-openjdk -y
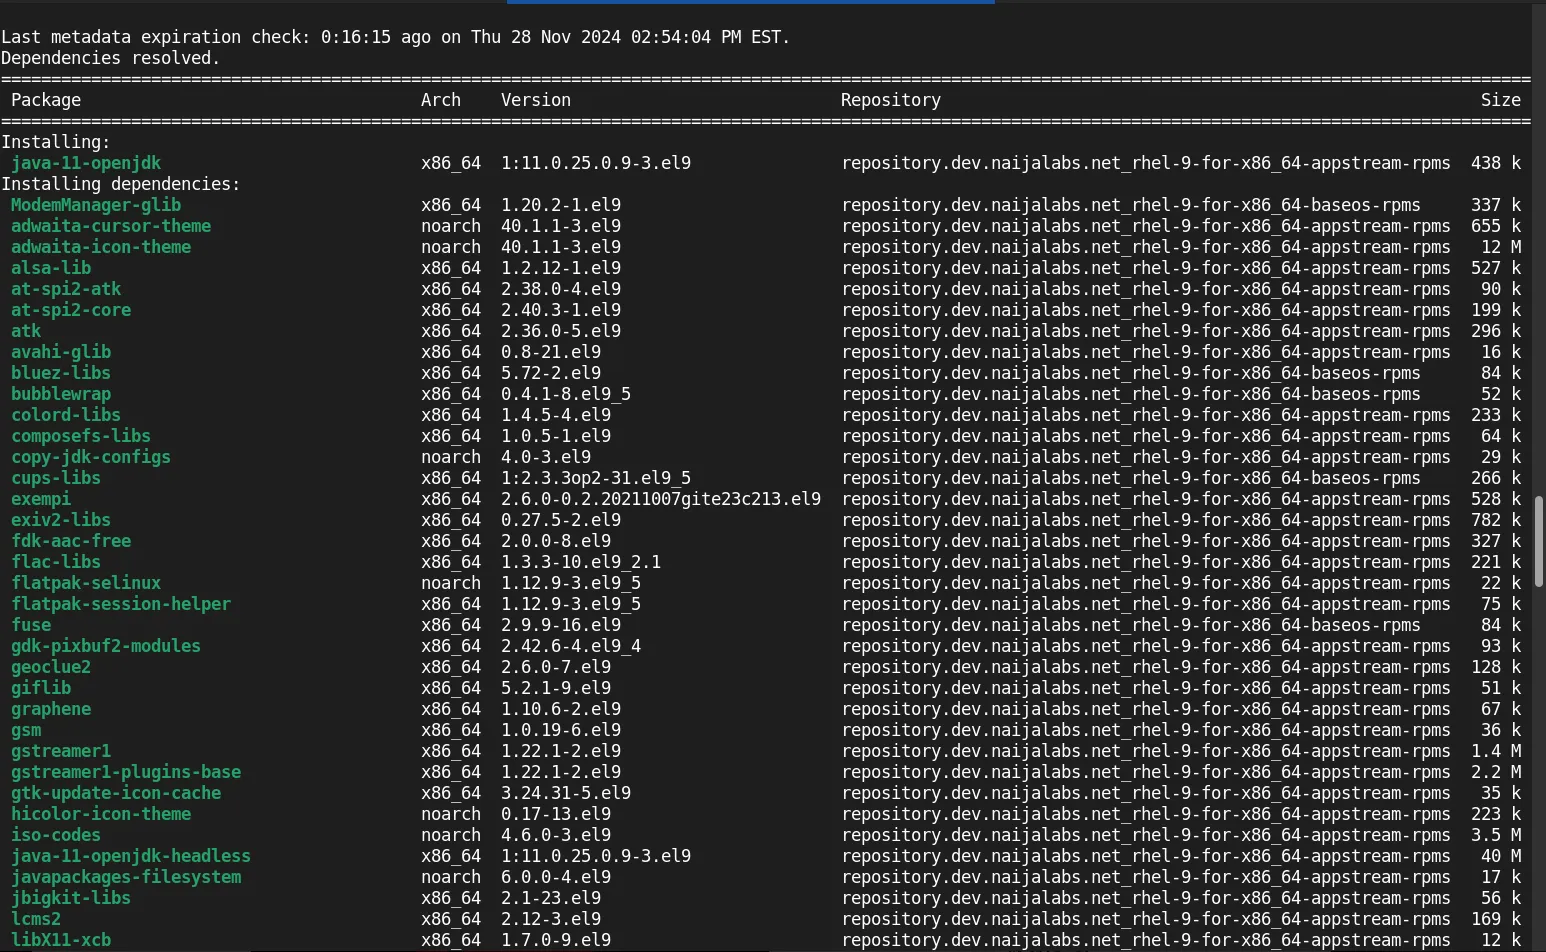
Photo by admingeek from Infotechys
Verify the installation:
java -version
					openjdk version "11.0.25" 2024-10-15 LTS
OpenJDK Runtime Environment (Red_Hat-11.0.25.0.9-1) (build 11.0.25+9-LTS)
OpenJDK 64-Bit Server VM (Red_Hat-11.0.25.0.9-1) (build 11.0.25+9-LTS, mixed mode, sharing)
Add the PostgreSQL repository and install PostgreSQL:
sudo dnf install -y https://download.postgresql.org/pub/repos/yum/reporpms/EL-9-x86_64/pgdg-redhat-repo-latest.noarch.rpm
sudo dnf install -y postgresql15-server
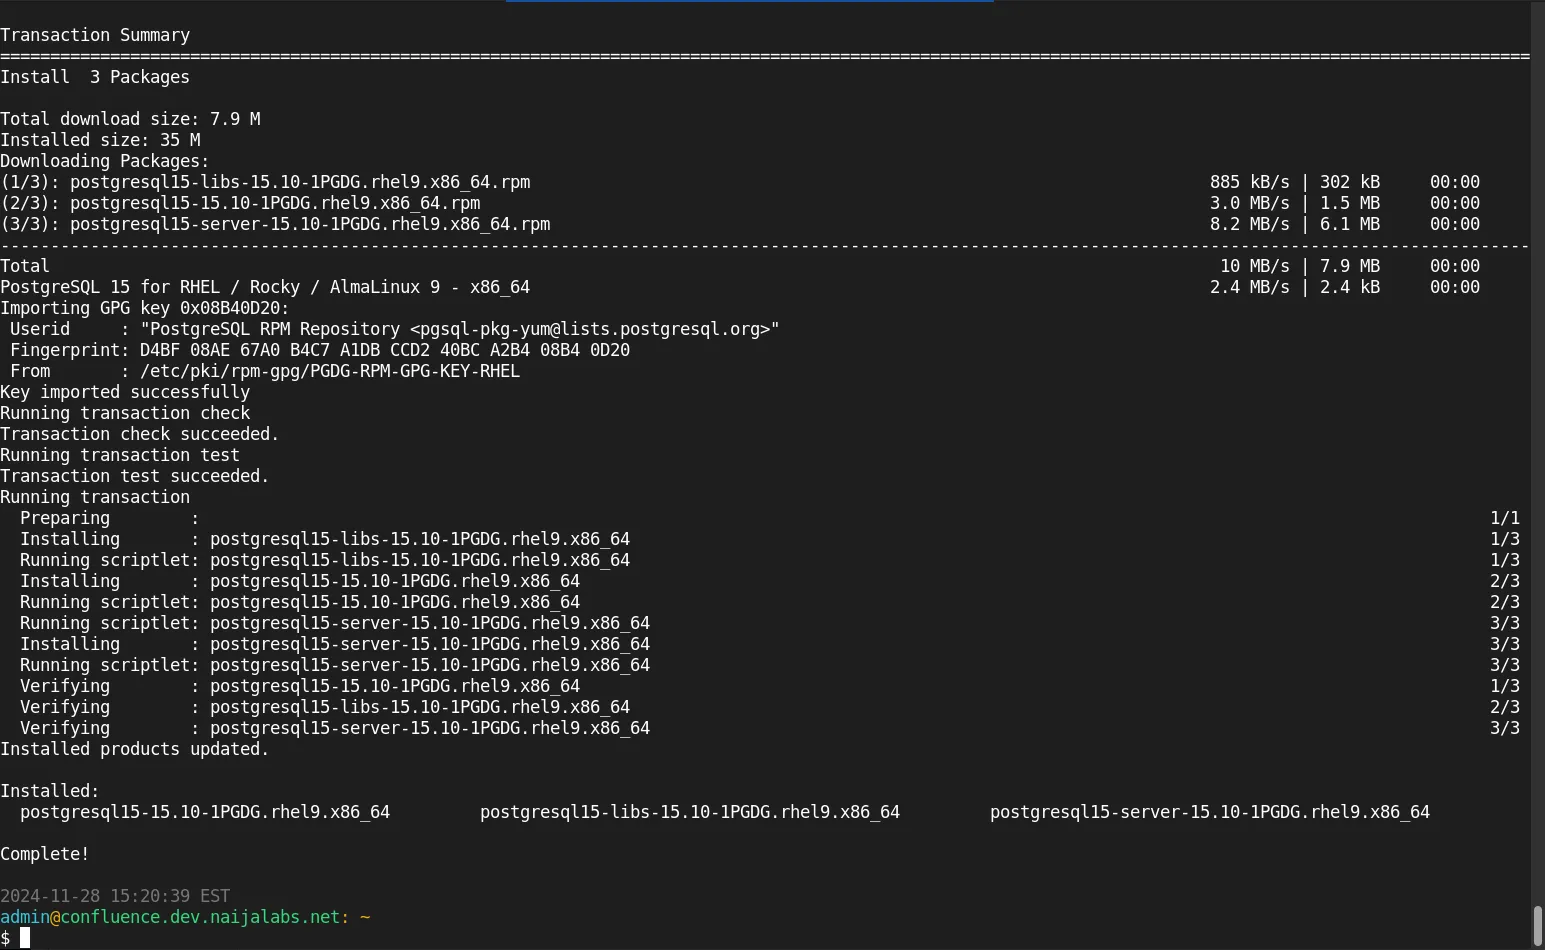
Photo by admingeek from Infotechys
Initialize and start the PostgreSQL service:
sudo /usr/pgsql-15/bin/postgresql-15-setup initdb
Initializing database ... OK
sudo systemctl enable --now postgresql-15
Created symlink /etc/systemd/system/multi-user.target.wants/postgresql-15.service → /usr/lib/systemd/system/postgresql-15.service.
Install tools like wget and tar if they are not installed:
sudo dnf install wget tar -y
Step 3: Download the Confluence Installation File |
Visit the Atlassian Downloads page to get the latest version link. Use wget to download:
wget https://product-downloads.atlassian.com/software/confluence/downloads/atlassian-confluence-X.X.X-x64.bin
Replace X.X.X with the version number. As of the date of this publication, the latest version Confluence version is 9.1.1.
wget https://product-downloads.atlassian.com/software/confluence/downloads/atlassian-confluence-9.1.1-x64.bin
					--2024-11-29 17:49:28--  https://product-downloads.atlassian.com/software/confluence/downloads/atlassian-confluence-9.1.1-x64.bin
Resolving product-downloads.atlassian.com (product-downloads.atlassian.com)... 3.162.95.144, 2600:9000:26c1:7c00:1f:ab86:b54:f861, 2600:9000:26c1:a00:1f:ab86:b54:f861, ...
Connecting to product-downloads.atlassian.com (product-downloads.atlassian.com)|3.162.95.144|:443... connected.
HTTP request sent, awaiting response... 200 OK
Length: 981676694 (936M) [application/octet-stream]
Saving to: ‘atlassian-confluence-9.1.1-x64.bin’

atlassian-confluence-9.1.1-x64.bin     100%[=========================================================================>] 936.20M   111MB/s    in 8.5s

2024-11-29 17:49:37 (110 MB/s) - ‘atlassian-confluence-9.1.1-x64.bin’ saved [981676694/981676694]
Ensure the installer is executable:
chmod +x atlassian-confluence-9.1.1-x64.bin
Open ports 8090, 5432, 8443, 443 using the following commands:
sudo firewall-cmd --permanent --add-port=8090/tcp --add-port=5432/tcp --add-port=8443/tcp --add-port=443/tcp && sudo firewall-cmd --reload
Opening these ports ensures secure access to your Confluence server and the PostgreSQL database during the frontend installation.
Start the installation process:
sudo ./atlassian-confluence-9.1.1-x64.bin
					Complete!
Regenerating the font cache
Fonts and fontconfig have been installed
Unpacking JRE ...
Starting Installer ...

This will install Confluence 9.1.1 on your computer.
OK [o, Enter], Cancel [c]
Follow the on-screen prompts to complete the installation.
					Start Confluence now?
Yes [y, Enter], No [n]
y

Please wait a few moments while Confluence starts up.
Launching Confluence ...

SLF4J: No SLF4J providers were found.
SLF4J: Defaulting to no-operation (NOP) logger implementation
SLF4J: See https://www.slf4j.org/codes.html#noProviders for further details.
Your installation of Confluence 9.1.1 is now ready and can be accessed via
your browser.
Confluence 9.1.1 can be accessed at http://localhost:8090
Finishing installation ...
Now, you can access the frontend from your preferred browser using the IP address or FQDN or your Confluence server.
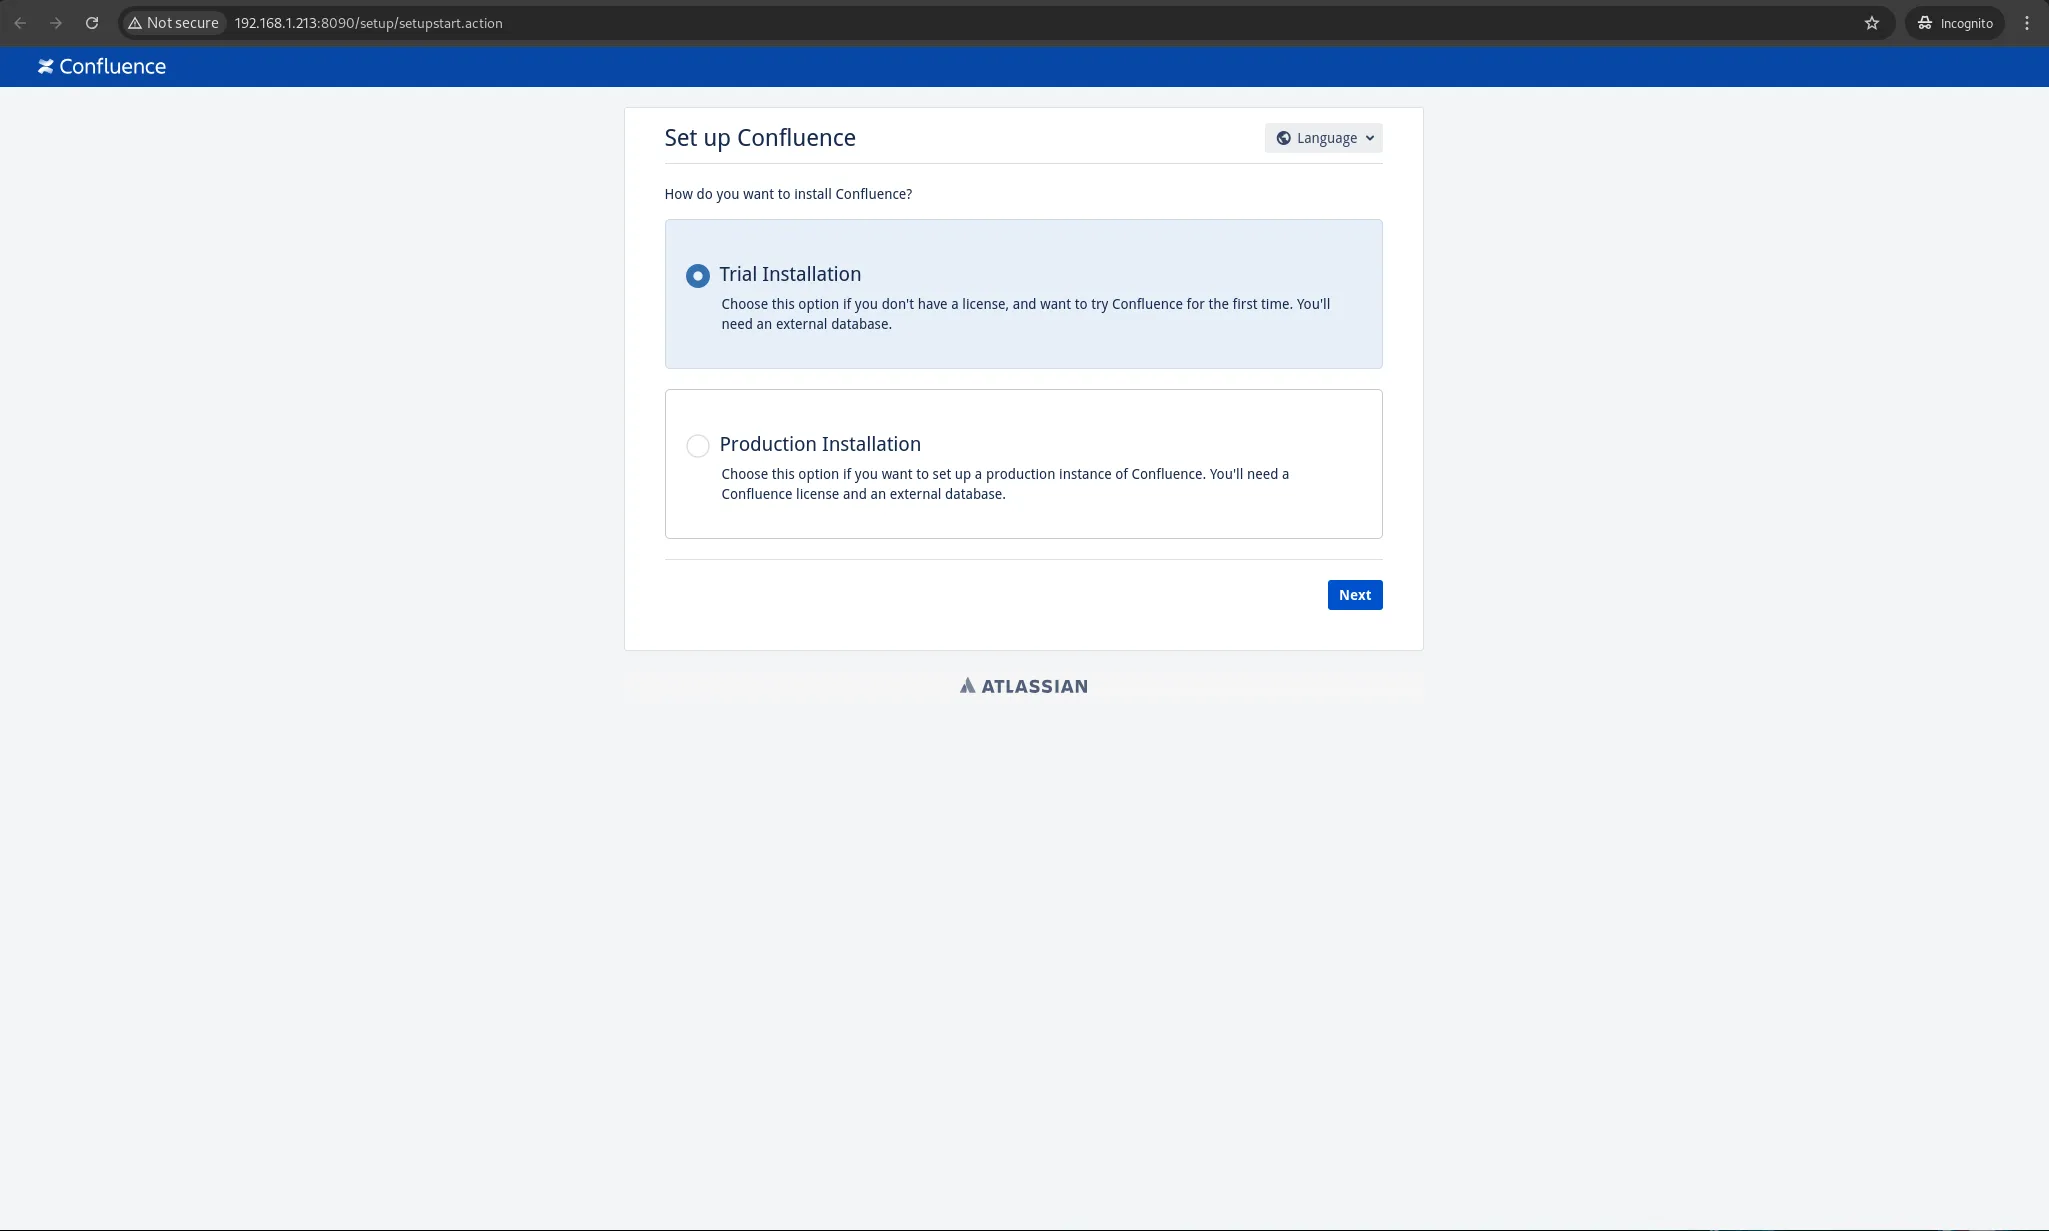
Photo by admingeek from Infotechys
We are choosing the Trial Installation option, which requires that we set up a database (next section).
Step 4: Create a Database for Confluence |
Log into PostgreSQL:
sudo -i -u postgres psql
					psql (15.10)
Type "help" for help.

postgres=#
Create a new database and user:
					CREATE DATABASE confluence WITH ENCODING 'UTF8';
CREATE USER confluenceuser WITH PASSWORD 'yourpassword';
GRANT ALL PRIVILEGES ON DATABASE confluence TO confluenceuser;
\q
					CREATE DATABASE
CREATE ROLE
GRANT
Step 5: Configure PostgreSQL |
Edit the pg_hba.conf file to allow Confluence to connect:
sudo vim /var/lib/pgsql/15/data/pg_hba.conf
Add the following line (then, save and exit the file):
host confluence confluenceuser 127.0.0.1/32 md5
Restart PostgreSQL:
sudo systemctl restart postgresql-15
While you can set up Confluence without SSL/TLS, it is not recommended for security reasons. The next section covers how to enable SSL/TLS on your Confluence server.
Step 6: Configuring Reverse Proxy |
To serve Confluence over a domain or secure it with HTTPS, configure a reverse proxy with Nginx:
sudo dnf install nginx -y
Edit the Nginx configuration file:
sudo vim /etc/nginx/conf.d/confluence.conf
Add the following:
					server {
    listen 80;
    server_name confluence.dev.naijalabs.net;
    return 301 https://$host$request_uri;
}

server {
    listen 443 ssl;
    server_name confluence.dev.naijalabs.net;

    ssl_certificate /path/to/your_ssl_cert/confluence.dev.naijalabs.net/fullchain.pem;
    ssl_certificate_key /path/to/your_ssl_cert_key/confluence.dev.naijalabs.net/privkey.pem;

    location / {
        proxy_set_header X-Real-IP $remote_addr;
        proxy_set_header X-Forwarded-For $proxy_add_x_forwarded_for;
        proxy_set_header Host $host;
        proxy_set_header X-Forwarded-Proto $scheme;

        proxy_pass http://localhost:8090;
        proxy_redirect off;
    }
}
sudo systemctl enable --now nginx
Step 7: Start the Confluence Service |
Use the following command to start Confluence:
sudo /opt/atlassian/confluence/bin/start-confluence.sh
Verify it is running by checking the logs:
tail -f /opt/atlassian/confluence/logs/catalina.out
Open a browser and navigate to:
Photo by admingeek from Infotechys
You can now proceed with the setup wizard to configure your instance.
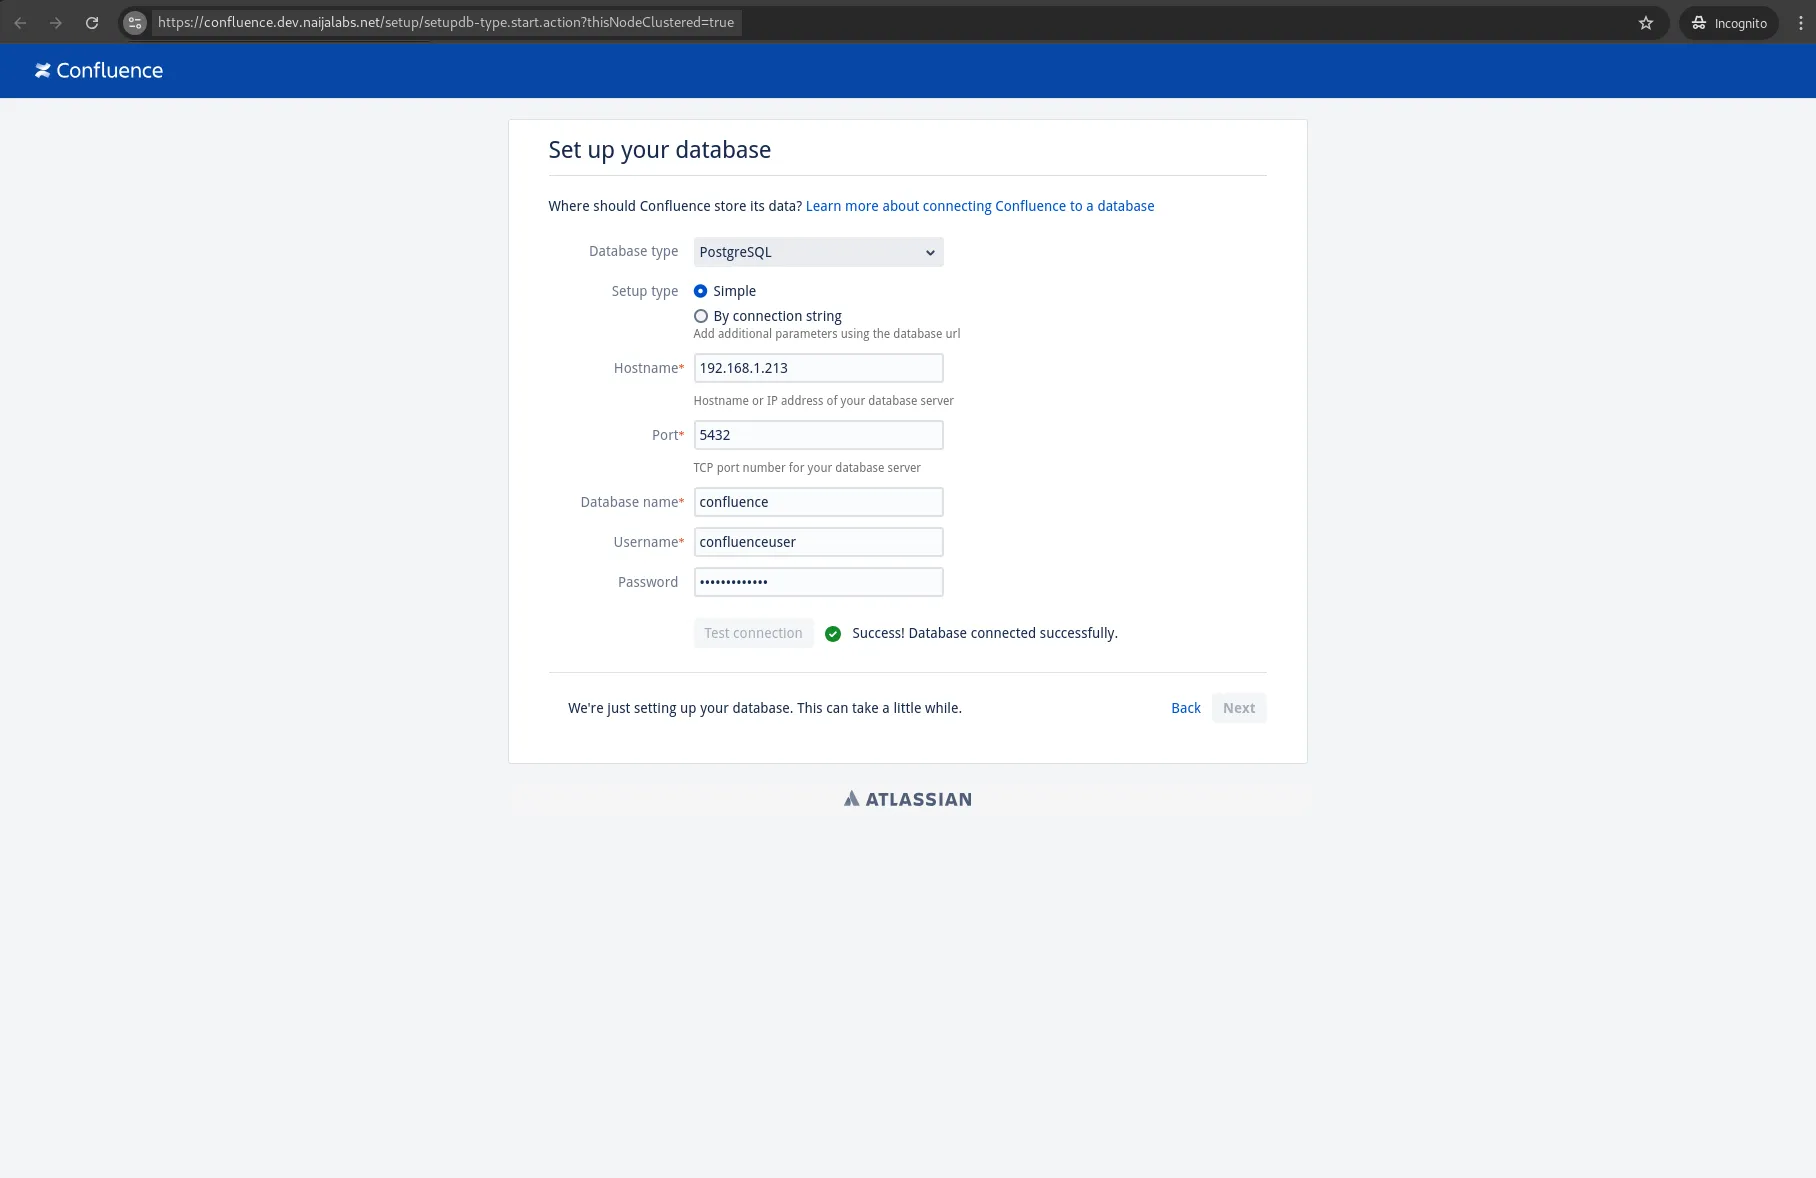
Photo by admingeek from Infotechys
| Issue | Solution |
|---|---|
| Java not found | Ensure java-11-openjdk is installed correctly. |
| Database connection error | Check pg_hba.conf and ensure proper credentials. |
| Confluence not accessible on 8090 | Verify firewall settings or proxy configuration. |
Here are some helpful links to help you along your journey to mastering Confluence!
| Atlassian Community | Initiate discussions or get answers to questions from experts in the community. |
| Running Confluence over SSL or HTTPS | Reference Confluence SSL/HTTPS Documentation |
| Official Confluence Documentation | Confluence Data Center Documentation |
Installing Confluence on RHEL 9 or CentOS 9 provides a robust platform for collaboration and knowledge sharing. This guide ensures you have all the tools and steps needed to successfully deploy and manage Confluence. Whether you are running it for a small team or a large enterprise, following these steps will set you up for success.
Did you find this article useful? Your feedback is invaluable to us! Please feel free to share this post as well as, your thoughts in the comments section below.

Learn how to install and configure PostgreSQL on RHEL 9 or CentOS 9 with our comprehensive step-by-step guide. Ensure your database is set up correctly

Learn how to install Jira on RHEL 9 or CentOS 9 with our step-by-step guide. Enhance your team’s collaboration and productivity with this comprehensive tutorial.

Learn how to install MariaDB on RHEL 9 and CentOS 9 with this comprehensive step-by-step guide. Discover essential commands, configurations, and tips for setting up
