
Commands
Looking to establish a reliable and secure web presence? Learn how to Install Apache web server on CentOS and unlock the potential of your website


In this step-by-step guide, we’ll review how to install Apache Guacamole on Fedora 37, enabling you to set up your own remote desktop gateway effortlessly.
In today’s fast-paced digital world, remote access solutions have become an integral part of many organizations and individuals. Whether you’re a system administrator managing multiple servers or a remote worker accessing your office desktop from home, having a reliable remote desktop gateway is crucial. Apache Guacamole, an open-source remote desktop gateway, provides a seamless and secure way to access your machines from anywhere with just a web browser.
Before proceeding with the installation of Apache Guacamole, it’s essential to ensure that your Fedora 37 system is up-to-date. Open a terminal and run the following commands:
$ sudo dnf update -y
This command will update all installed packages to their latest versions, ensuring compatibility and security.
Apache Guacamole relies on several dependencies to function correctly. Install these dependencies by executing the following command:
$ sudo dnf install -y epel-release
$ sudo dnf install -y wget cairo-devel libjpeg-devel libpng-devel uuid-devel freerdp-devel pango-devel libssh2-devel libtelnet-devel libvncserver-devel pulseaudio-libs-devel openssl-devel libvorbis-devel libwebsockets-devel tomcat-native
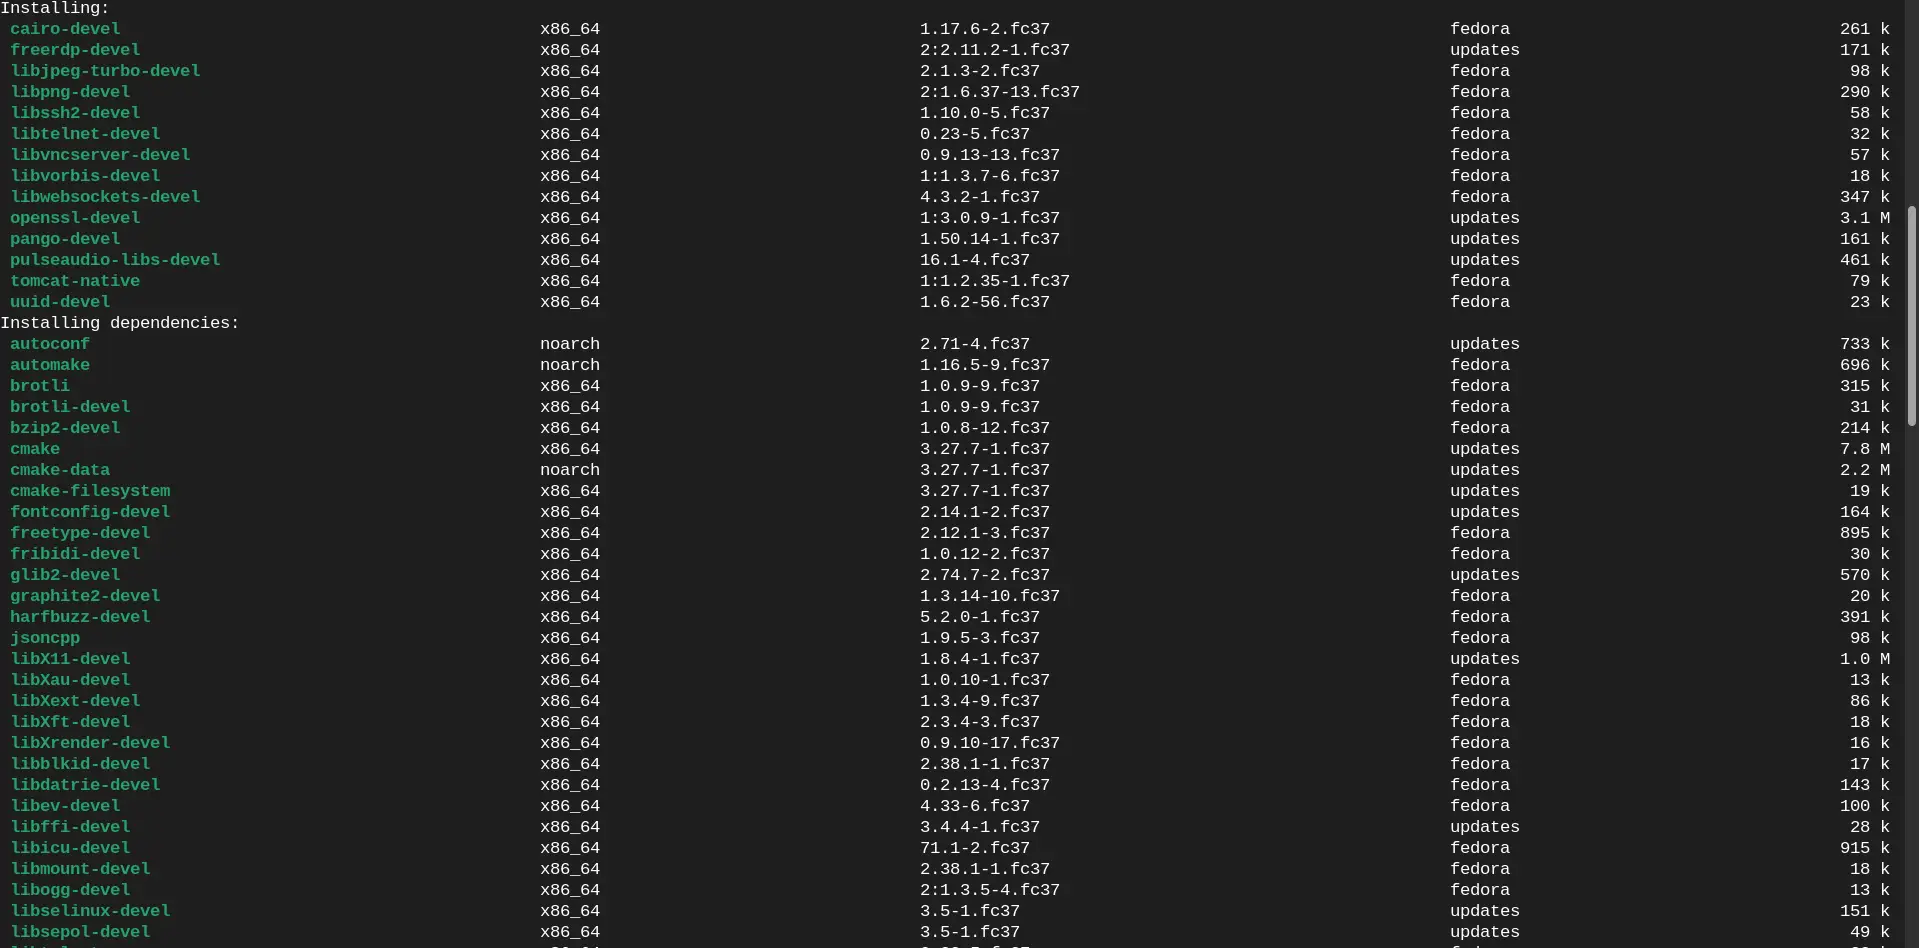
Photo by admingeek from Infotechys
This command will install the necessary libraries and development tools required for building and running Apache Guacamole.
Next, navigate to the Apache Guacamole website and download the latest source package. You can do this using the following command:
$ wget https://downloads.apache.org/guacamole/1.5.4/source/guacamole-server-1.5.4.tar.gz
This command will download the latest tarball (version 1.5.4 as of the date of this publication). Once the download is complete, extract the contents of the archive:
					$ tar -zxvf guacamole-server-1.5.4.tar.gz
$ cd guacamole-server-1.5.4
Now, it’s time to build and install the Guacamole server. Execute the following commands:
$ ./configure --with-systemd-dir=/etc/systemd/system/ --disable-dependency-tracking
$ make
$ sudo make install
$ sudo ldconfig
These commands will configure, compile, and install the Guacamole server on your Fedora 37 system.
Now, while we are still in the guacamole-server-1.5.4 directory, we will download the Web Application Archive (WAR) file. WAR files contain all the necessary components of a web application, including servlets, JSP pages, HTML files, libraries, and other resources. They are typically deployed on Java servlet containers like Apache Tomcat to run web applications.
Let’s download the WAR file with the following command:
$ sudo wget https://downloads.apache.org/guacamole/1.5.4/binary/guacamole-1.5.4.war
In the later sections, we will need this file.
Apache Guacamole relies on Apache Tomcat as its servlet container. Install Tomcat on your system using the following command:
$ sudo dnf install tomcat
Once installed, start and enable Tomcat to ensure it starts automatically upon system boot:
$ sudo systemctl enable --now tomcat
					$ sudo systemctl is-active tomcat
active
Now, let’s deploy the Guacamole web application to Tomcat. Copy the Guacamole WAR file to the Tomcat webapps directory:
$ sudo cp guacamole-1.5.4.war /var/lib/tomcat/webapps/guacamole.war
Restart tomcat to apply the changes:
$ sudo systemctl restart tomcat
Create a configuration file for Guacamole by copying the provided sample configuration file (but first, run the following commands to prepare a storage location for the guacamole server that will house its extensions and libraries it will need):
$ sudo mkdir -p /etc/guacamole/{extensions,lib}
Ensure that the tomcat service loads the guacamole configuration directory by running the following command:
$ echo GUACAMOLE_HOME=/etc/guacamole >> /etc/default/tomcat
While you’re still in the guacamole-1.5.4 directory, create a file named guacamole.properties.example using your favorite text editor.
$ sudo vim guacamole.properties.example
Then, copy and paste these contents (below) into that file.
					# Guacamole properties

# Hostname and port of guacamole proxy
guacd-hostname: localhost
guacd-port: 4822

# Auth provider class (authenticates user credentials)
# Example LDAP authentication
#auth-provider: net.sourceforge.guacamole.net.basic.BasicFileAuthenticationProvider
# Example MySQL authentication
#auth-provider: net.sourceforge.guacamole.net.mysql.MySQLAuthenticationProvider
# Example JDBC authentication
#auth-provider: net.sourceforge.guacamole.net.jdbc.JDBCAuthenticationProvider

# LDAP properties
#ldap-hostname: ldap.example.com
#ldap-port: 389
#ldap-user-base-dn: dc=example,dc=com
#ldap-username-attribute: uid
#ldap-encryption-method: none
#ldap-search-bind-dn: cn=admin,dc=example,dc=com
#ldap-search-bind-password: password

# MySQL properties
#mysql-hostname: localhost
#mysql-port: 3306
#mysql-database: guacamole_db
#mysql-username: guacamole_user
#mysql-password: password

# JDBC properties
#jdbc-driver: com.mysql.jdbc.Driver
#jdbc-url: jdbc:mysql://localhost:3306/guacamole_db
#jdbc-username: guacamole_user
#jdbc-password: password

# Guacamole authentication
# Example basic file authentication
#basic-user-mapping: /etc/guacamole/user-mapping.xml

# Guacamole properties
# The value of "guacd-hostname" is ignored if using "guacd-socket".
#guacd-hostname: localhost
#guacd-port: 4822
#guacd-socket: /var/run/guacd/guacd.sock

# Enable SSL
#guacamole-ssl: true
#guacamole-ssl-certificate: /etc/pki/tls/certs/localhost.crt
#guacamole-ssl-key: /etc/pki/tls/private/localhost.key
#guacamole-ssl-key-password: password

# WebSocket configuration
#web-socket-support: true
#web-socket-maximum-connections: 100

# Token parameter name
#token-parameter-name: token

# User permissions
#admin-group: admin
#user-group: users

# Disable user input history
#history-size: 0
This example file includes various configuration options for Guacamole, such as authentication provider settings (LDAP, MySQL, JDBC), guacd connection details, SSL configuration, WebSocket support, and user permissions. You can uncomment and modify the relevant sections based on your specific requirements and environment setup.
But first, copy the example file to the /etc/guacamole directory:
$ sudo cp guacamole.properties.example /etc/guacamole/guacamole.properties
Edit the configuration file to customize Guacamole according to your requirements:
$ sudo vim /etc/guacamole/guacamole.properties
Also, create a guacd.conf file. We will revisit this file in later sections.
$ sudo touch /etc/guacamole/guacd.conf
Once you’ve completed the configuration, you can access the Guacamole web interface by navigating to http://your_fqdn:8080/guacamole or http://localhost:8080/guacamole. Replace your_fqdn with the fully-qualified domain name (FQDN) of your Fedora 37 system.
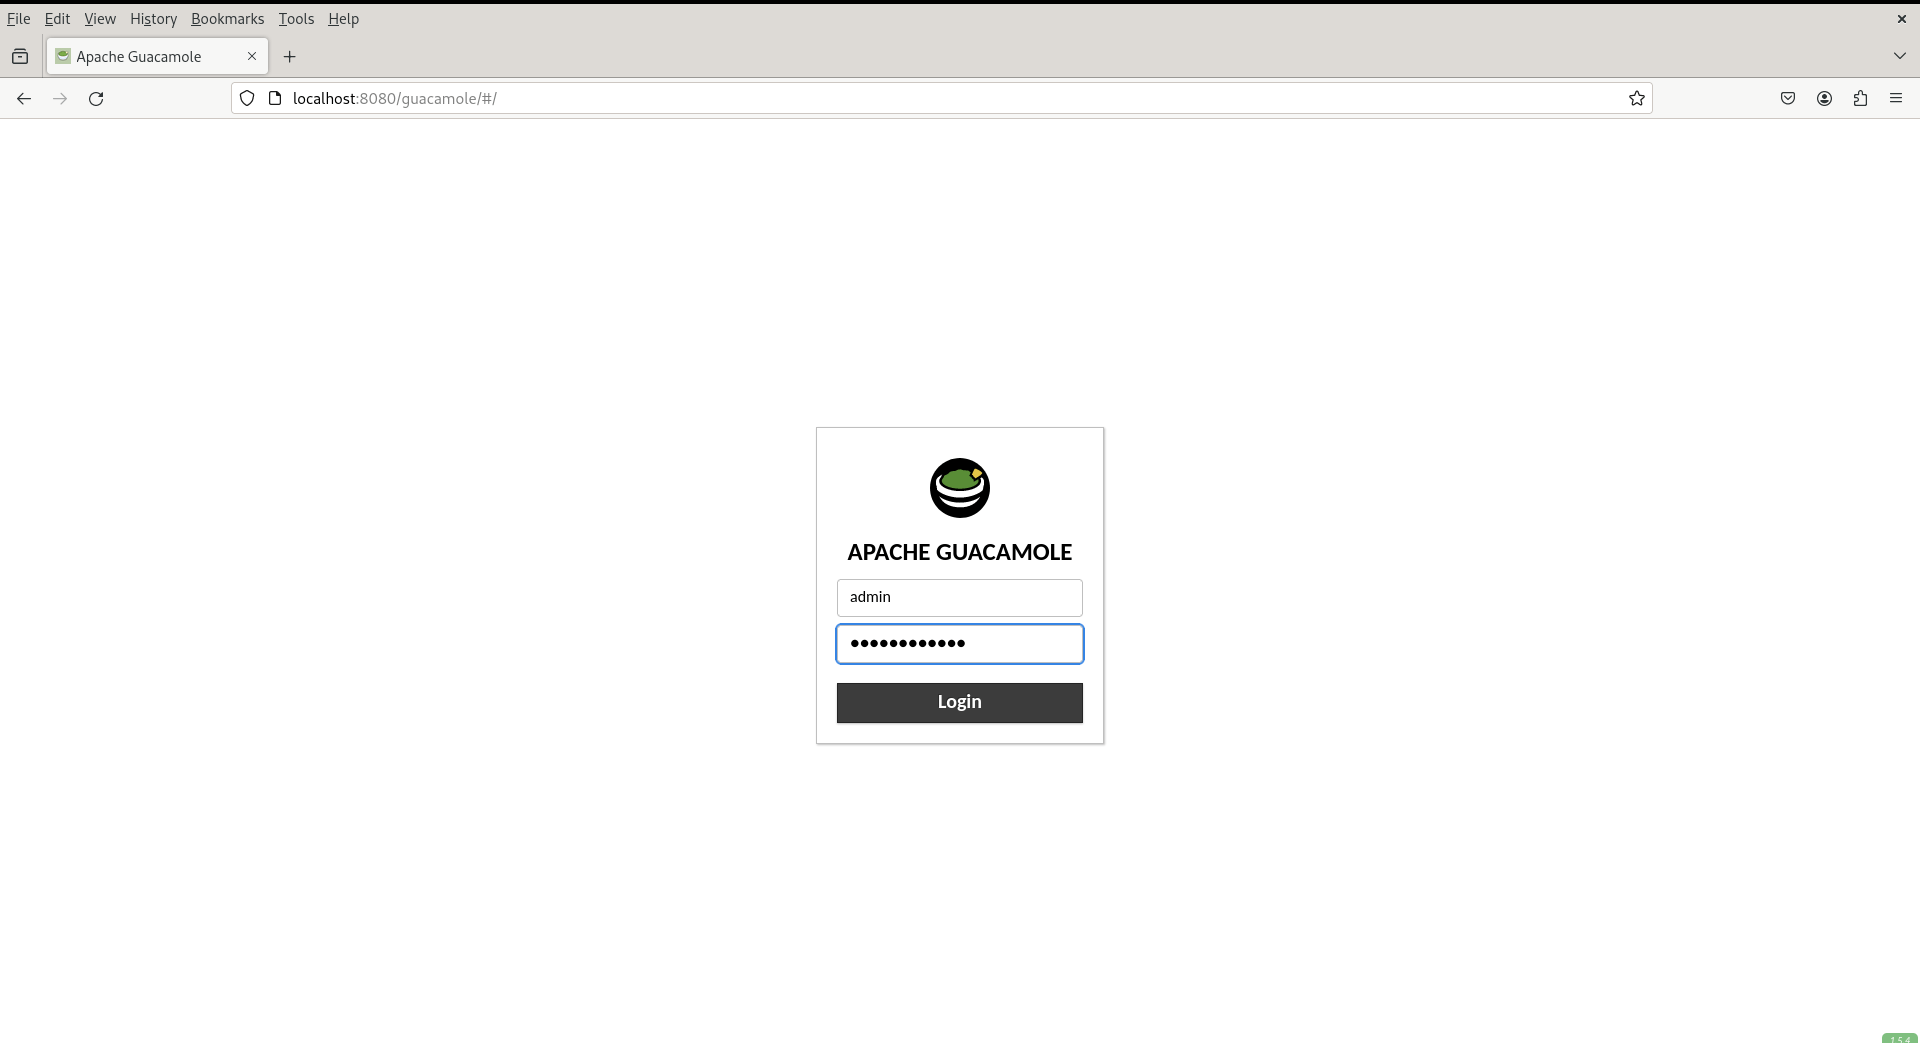
Photo by admingeek from Infotechys
At this juncture, you’ve successfully concluded the foundational setup of Apache Guacamole. However, the next step involves configuring its authentication method. In this tutorial, we’ll implement authentication using the MariaDB database for Apache Guacamole.
If you do not already have mariadb installed and active, run the following commands:
$ sudo dnf install mariadb-server -y
$ sudo systemctl enable --now mariadb
These commands will ensure that mariadb is installed, active, and set to startup automatically upon reboot.
Run the following command to initiate the mysql_secure_installation script:
$ sudo mysql_secure_installation
The mysql_secure_installation script is a utility provided with MySQL and MariaDB installations to enhance the security of the database server. It guides users through several steps to set up various security measures, including:
Setting a root password: If no root password is set, users are prompted to create one to prevent unauthorized access to the MySQL/MariaDB server.
Removing anonymous user accounts: Anonymous users typically have unrestricted access to the database server, so removing them improves security.
Disabling remote root login: By default, the root user can log in from any host, which poses a security risk. This step restricts root logins to the local host, enhancing security.
Removing the test database: The test database is often installed by default and is unnecessary for production environments. Removing it reduces the attack surface of the database server.
Reloading privilege tables: After making these security changes, the script reloads the privilege tables to apply the modifications immediately.
Now, log into the database and create a guacamole_db database with the following command:
$ sudo # mysql -u root -p
MariaDB [(none)]> CREATE DATABASE guacamole_db;
Query OK, 1 row affected (0.001 sec)
Exit the database and return to the shell.
MariaDB [(none)]> exit
To establish database authentication for Apache Guacamole, you’ll need to manually install the database extension and import the database schema.
$ sudo wget https://dlcdn.apache.org/guacamole/1.5.4/binary/guacamole-auth-jdbc-1.5.4.tar.gz
Run the following commands to extract the contents of the tarball.
$ sudo tar -xzvf guacamole-auth-jdbc-1.5.4.tar.gz
Change to the working directory and execute the following cat command to import the Apache Guacamole MariaDB database schema (schema/*.sql) into the guacamole_db database.
$ sudo cd guacamole-auth-jdbc-1.5.4/mysql; sudo cat schema/*.sql | mysql -u root -p guacamole_db
Now, that we’ve created the database (guacamole_db), let’s also create a guacamole_user.
$ sudo mysql -u root -p
					MariaDB [(none)]> show databases;
+--------------------+
| Database           |
+--------------------+
| guacamole_db       |
| information_schema |
| mysql              |
| performance_schema |
+--------------------+
4 rows in set (0.000 sec)
Run the following queries to establish a guacamole_user
MariaDB [(none)]> CREATE USER 'guacamole_user'@'localhost' IDENTIFIED BY 'Str0ngP@ssw0rd';
Query OK, 0 rows affected (0.155 sec)
Allow the guacamole_user to access the guacamole_db.
MariaDB [(none)]> GRANT SELECT,INSERT,UPDATE,DELETE ON guacamole_db.* TO 'guacamole_user'@'localhost';
Query OK, 0 rows affected (0.101 sec)
Finally, reload all privileges and exit the database.
MariaDB [(none)]> FLUSH PRIVILEGES;
Query OK, 0 rows affected (0.001 sec)
MariaDB [(none)]> exit
With the MariaDB database and user for Apache Guacamole now set up, your next step is to install the Guacamole database authentication extension and the MySQL/J connector for the database driver.
These extensions enable Apache Guacamole to authenticate through databases like MySQL/MariaDB and PostgreSQL, providing enhanced security and flexibility. The MySQL/J connector library facilitates connectivity between Apache Guacamole and the MySQL/MariaDB database, ensuring smooth and reliable operation.
Navigate to the guacamole-auth-jdbc-1.5.4/mysql/directory and cp the guacamole-auth-jdbc-mysql-1.5.4.jar/etc/guacamole/extensions directory.
$ sudo cp guacamole-auth-jdbc-mysql-1.5.4.jar /etc/guacamole/extensions/
This command installs and enables MariaDB/MySQL extensions for Apache Guacamole.
Visit the Downloads page or run the following command to download and install the MySQL/J Connector library:
$ sudo dnf install https://cdn.mysql.com/archives/mysql-connector-java-8.2/mysql-connector-j-8.2.0-1.fc37.noarch.rpm
Finally, run the command below to copy the mysql-connector-java.jar file to the /etc/guacamole/lib directory.
$ sudo cp /usr/share/java/mysql-connector-java.jar /etc/guacamole/lib/mysql-connector.jar
This command enables Apache Guacamole to utilize the MySQL/J library for connecting to the MariaDB database.
Now let’s revisit the guacamole.properties file and uncomment/modify the MySQL properties section:
					# MySQL properties
mysql-hostname: localhost
mysql-port: 3306
mysql-database: guacamole_db
mysql-username: guacamole_user
mysql-password: Str0ngP@ssw0rd
Also, populate the guacd.conf file with the following:
					[server]
bind_host = 0.0.0.0
bind_port = 4822
Lastly, restart the tomcat and guacd services:
$ sudo systemctl restart guacd
$ sudo systemctl restart tomcat
It is advised to modify the SELinux settings on your system to Permissive in order to allow for a smoother experience running Apache Guacamole. Log in using the default guacadmin for the user and password. Also, consult the cerbot documentation to setup SSL certificates for your domain name using Letsencrypt.

Photo by admingeek from Infotechys
Congratulations! You’ve successfully installed Apache Guacamole on Fedora 37, creating your own remote desktop gateway. With Apache Guacamole, you can now securely access your machines from anywhere with just a web browser, making remote work and system administration more convenient than ever before.
By following this comprehensive guide, you’ve not only set up Apache Guacamole but also gained valuable insights into the installation process, empowering you to manage your remote access needs efficiently. Whether you’re a seasoned system administrator or a curious enthusiast, Apache Guacamole on Fedora 37 opens up a world of possibilities for remote connectivity.
Did you find this article useful? Your feedback is invaluable to us! Please feel free to share your thoughts in the comments section below.
Related Posts
Looking to establish a reliable and secure web presence? Learn how to Install Apache web server on CentOS and unlock the potential of your website

Are you looking to improve your database management skills? Learn how to install and configure Cassandra, the highly scalable NoSQL database, and take your career

Learn how to install and configure Apache Hadoop on Linux, the open-source framework that revolutionized big data management with its fault-tolerance, scalability, and support for