In this guide, we’ll walk you through the step-by-step process of installing Remmina on RHEL9 or CentOS9. Remmina is a feature-rich remote desktop client that allows
In this guide, we’ll walk you through how to install AnyDesk on Ubuntu 22.04, ensuring a smooth and hassle-free setup process for seamless remote desktop access.
AnyDesk is a popular remote desktop software that allows users to access their computers from anywhere, providing a seamless remote connection experience. If you’re using Ubuntu 22.04 and looking to install AnyDesk, you’re in the right place.
The first step is to download the AnyDesk package for Ubuntu 22.04. You can do this by visiting the official AnyDesk website and navigating to the download section. Once there, select the appropriate version for Ubuntu and download the .deb package.
After downloading the AnyDesk package, open the Terminal on your Ubuntu system. You can do this by pressing Ctrl+Alt+T or by searching for “Terminal” in the applications menu.
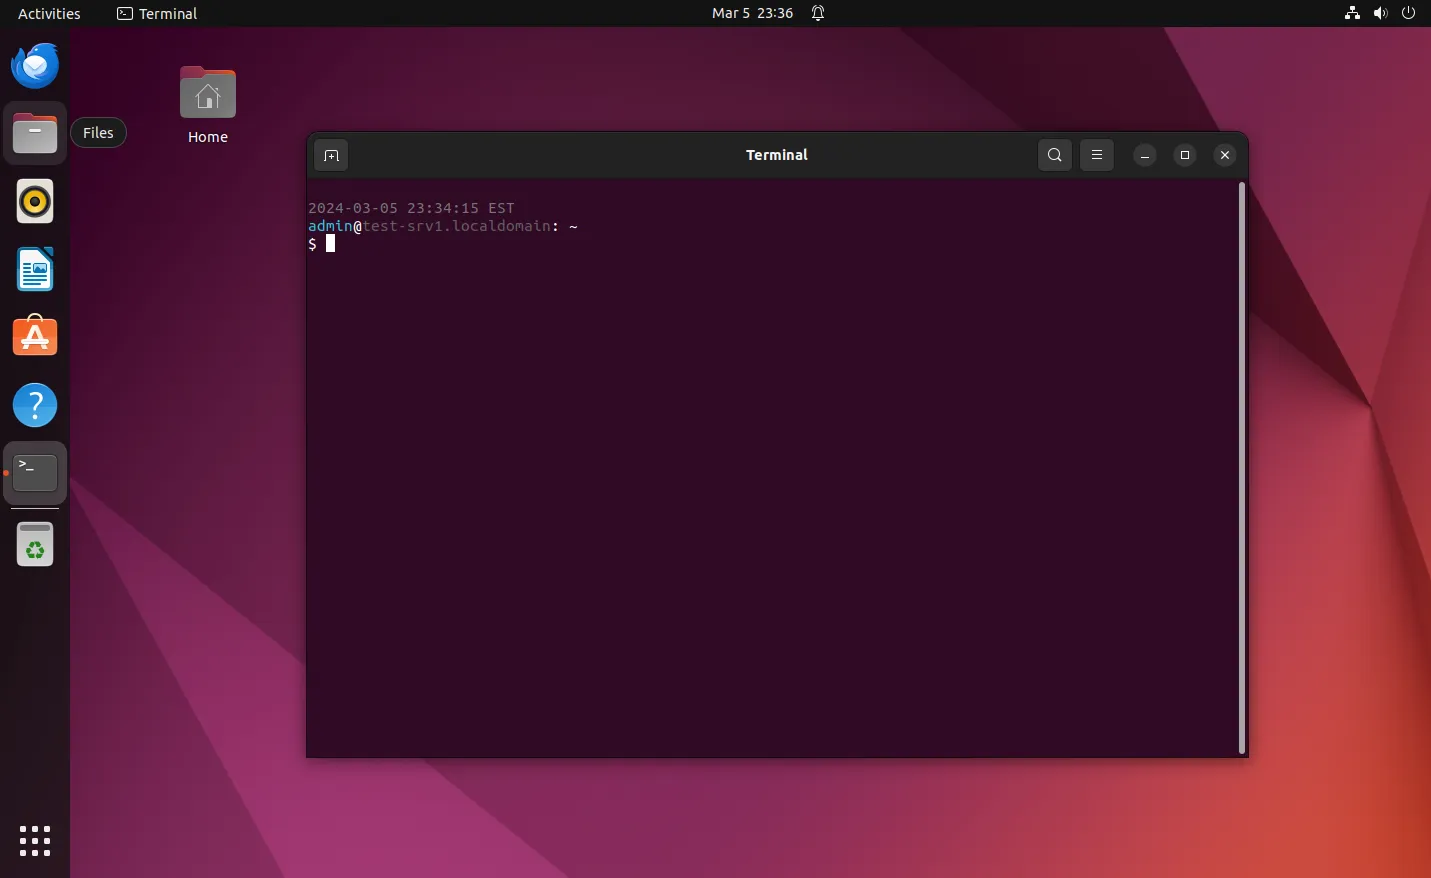
Photo by admingeek from Infotechys
Next, navigate to the folder where the AnyDesk package was downloaded. Typically, this will be the Downloads folder. You can use the cd command to change directories in the Terminal. For example:
$ cd Downloads
					$ ll
total 6868
-rw-rw-r-- 1 admin admin 7030504 Mar  5 23:30 anydesk_6.3.0-1_amd64.deb
Once you’re in the Downloads folder, you can install AnyDesk using the dpkg command. Replace “anydesk_6.3.0-1_amd64.deb” with the actual name of the AnyDesk package you downloaded:
$ sudo dpkg -i anydesk_6.3.0-1_amd64.deb
					Selecting previously unselected package anydesk.
(Reading database ... 325945 files and directories currently installed.)
Preparing to unpack anydesk_6.3.0-1_amd64.deb ...
Failed to stop anydesk.service: Unit anydesk.service not loaded.
Unpacking anydesk (6.3.0) ...
dpkg: dependency problems prevent configuration of anydesk:
 anydesk depends on libgtkglext1; however:
  Package libgtkglext1 is not installed.

dpkg: error processing package anydesk (--install):
 dependency problems - leaving unconfigured
Processing triggers for hicolor-icon-theme (0.17-2) ...
Processing triggers for mailcap (3.70+nmu1ubuntu1) ...
Processing triggers for gnome-menus (3.36.0-1ubuntu3) ...
Processing triggers for desktop-file-utils (0.26-1ubuntu3) ...
Errors were encountered while processing:
 anydesk
This command will install AnyDesk on your Ubuntu 22.04 system. However, if you encounter dependency issues (above), consult the next section for a resolution.
If you encounter any dependency issues during the installation process, you can use the following command to resolve them:
$ sudo apt-get install ~/Downloads/anydesk_6.3.0-1_amd64.deb -f
This command will automatically install any missing dependencies required by AnyDesk.
					Reading package lists... Done
Building dependency tree... Done
Reading state information... Done
Correcting dependencies... Done
Note, selecting 'anydesk' instead of '/home/admin/Downloads/anydesk_6.3.0-1_amd64.deb'
anydesk is already the newest version (6.3.0).
The following NEW packages will be installed:
  libgtkglext1
0 upgraded, 1 newly installed, 0 to remove and 9 not upgraded.
1 not fully installed or removed.
Need to get 73.9 kB of archives.
After this operation, 426 kB of additional disk space will be used.
Get:1 http://us.archive.ubuntu.com/ubuntu jammy/universe amd64 libgtkglext1 amd64 1.2.0-11 [73.9 kB]
Fetched 73.9 kB in 0s (381 kB/s)
Selecting previously unselected package libgtkglext1:amd64.
(Reading database ... 325963 files and directories currently installed.)
Preparing to unpack .../libgtkglext1_1.2.0-11_amd64.deb ...
Unpacking libgtkglext1:amd64 (1.2.0-11) ...
Setting up libgtkglext1:amd64 (1.2.0-11) ...
Setting up anydesk (6.3.0) ...
Created symlink /etc/systemd/system/multi-user.target.wants/anydesk.service → /etc/systemd/system/anydesk.service.
Processing triggers for libc-bin (2.35-0ubuntu3.6) ...
Once AnyDesk is installed, you can launch it from the applications menu (Activities -> Type ‘Anydesk‘ in the search bar) or by typing anydesk in the Terminal.
$ anydesk
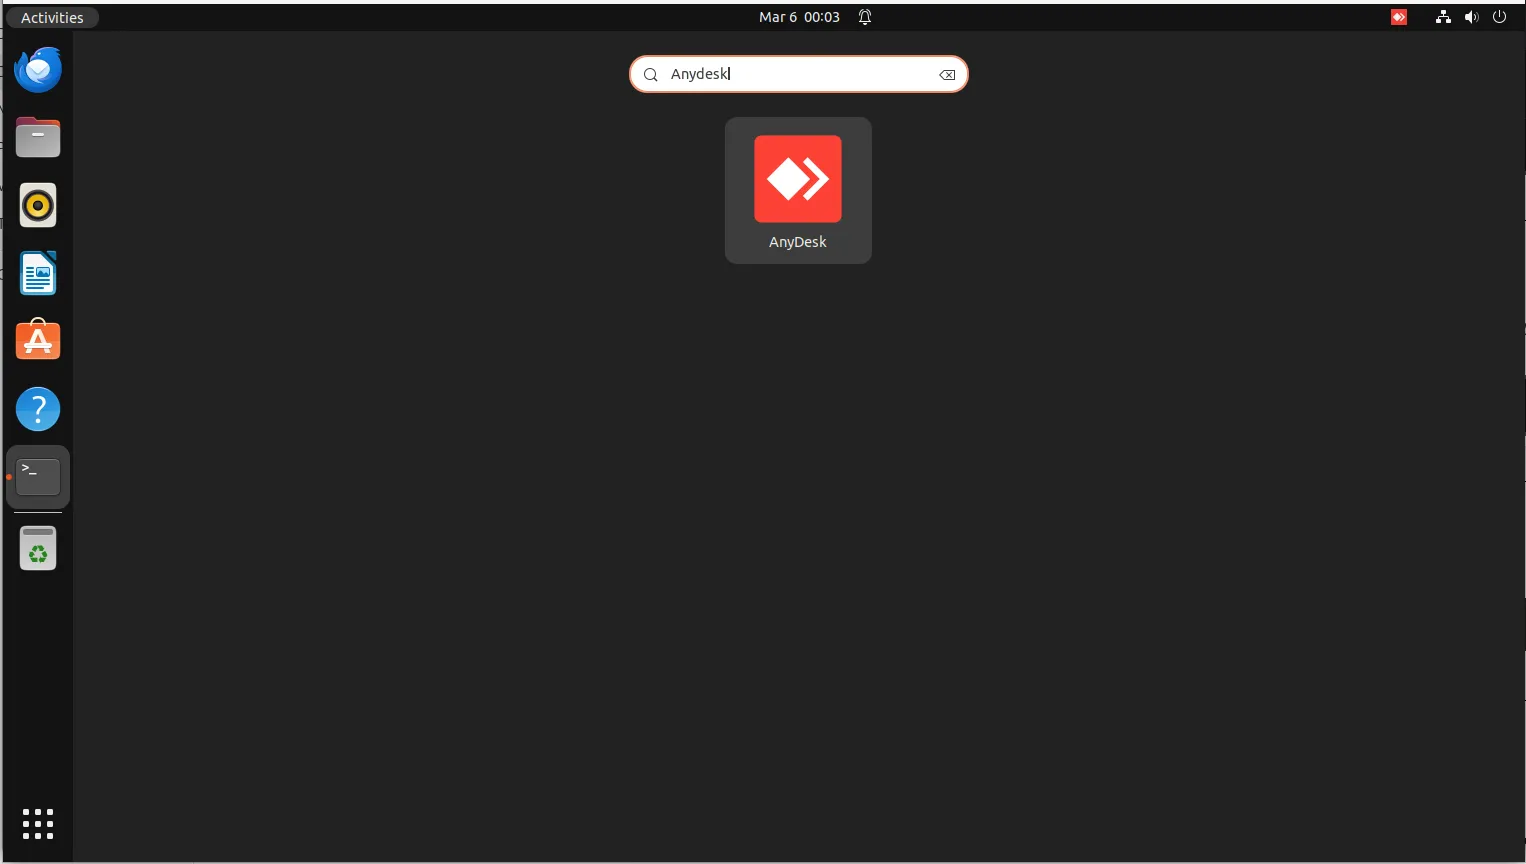
Photo by admingeek from Infotechys
Upon launching AnyDesk for the first time, you’ll be presented with the free license (non-professional use) version.
With AnyDesk installed and running, you can now connect to remote computers using their AnyDesk address or by entering the remote computer’s ID manually. Simply enter the AnyDesk address or ID in the “Remote Desk” field and click “Connect“.
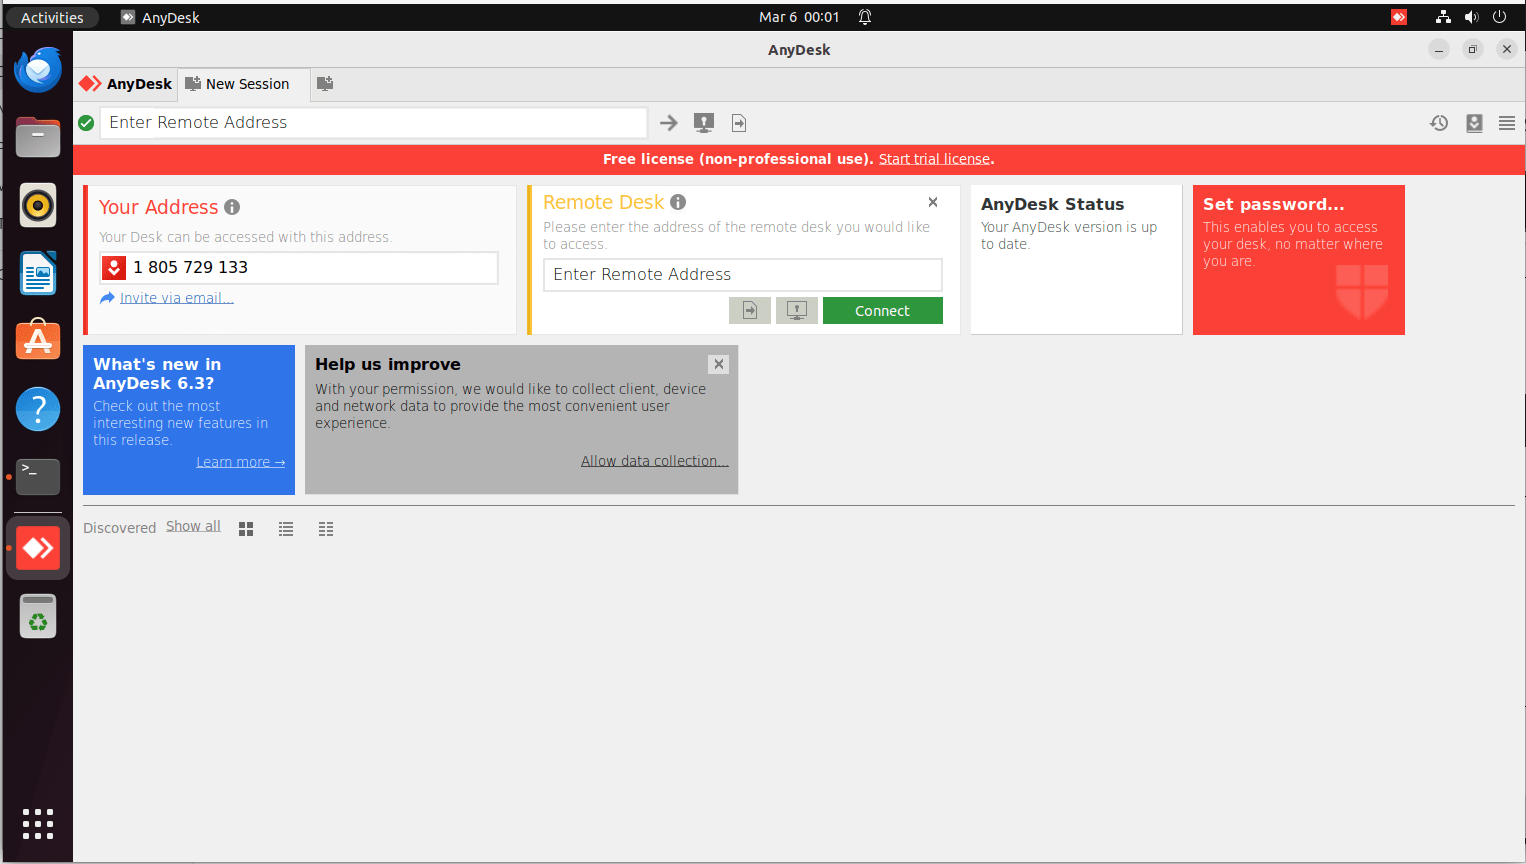
Photo by admingeek from Infotechys
Congratulations! You have successfully installed AnyDesk on Ubuntu 22.04 and are now ready to enjoy seamless remote desktop access. Whether you need to access your work computer from home or provide remote support to a friend or family member, AnyDesk has you covered.
Installing AnyDesk on Ubuntu 22.04 is a straightforward process that can be completed in just a few simple steps. By following the steps outlined in this guide, you can quickly set up AnyDesk and start enjoying the benefits of remote desktop access on your Ubuntu system.
Remember to always download AnyDesk from the official website to ensure you’re getting the latest and most secure version of the software. Additionally, be sure to keep AnyDesk and your Ubuntu system up to date with the latest security patches and updates to protect against potential vulnerabilities.
With AnyDesk, you can stay connected to your computer from anywhere, anytime, making remote work and support easier and more convenient than ever before. Did you find this article useful? Your feedback is invaluable to us! Please feel free to share your thoughts in the comments section below.
Related Posts

In this guide, we’ll walk you through the step-by-step process of installing Remmina on RHEL9 or CentOS9. Remmina is a feature-rich remote desktop client that allows
In this guide, we’ll walk you through the step-by-step process to install Remmina on Ubuntu 20.04. Remmina is a comprehensive remote desktop client packed with features,
In this article, we will review how to install VirtualBox on RHEL 9 or CentOS 9, providing step-by-step instructions for a seamless installation process. Table of
