
Commands
Learn how to install and configure IPA/IdM on RHEL 9 and CentOS 9. This comprehensive guide covers prerequisites, step-by-step installation, user management, and enabling 2FA

Learn how to implement SSL on FreeIPA servers to secure communication channels. This comprehensive guide covers obtaining, installing, and verifying SSL certificates, along with troubleshooting tips and best practices.
In today’s cybersecurity landscape, securing communication channels is paramount. For organizations utilizing Identity Management (IdM) solutions like FreeIPA, implementing Secure Sockets Layer (SSL) certificates ensures encrypted data transmission, safeguarding sensitive information. This guide delves into the process of configuring SSL on FreeIPA servers, providing step-by-step instructions, command-line examples, and best practices.
FreeIPA is an integrated Identity and Authentication solution for Linux/UNIX networked environments. It provides centralized authentication, authorization, and account information by combining LDAP, Kerberos, DNS, and Certificate Authority (CA) services. Implementing SSL ensures that data transmitted between clients and the FreeIPA server is encrypted, protecting against eavesdropping and man-in-the-middle attacks.
Before configuring SSL on FreeIPA, ensure the following:
|
|
|
|
To secure your FreeIPA server, you can obtain SSL certificates from a trusted CA. Alternatively, for testing purposes, you can use self-signed certificates. Here’s how to generate a self-signed certificate using OpenSSL:
openssl req -x509 -newkey rsa:2048 -days 365 -nodes -keyout ipa-server.key -out ipa-server.crt -subj "/CN=ipa.example.com"
For production environments, it’s recommended to obtain certificates from a trusted CA. This involves generating a Certificate Signing Request (CSR) and submitting it to the CA for issuance.
Once you have your SSL certificate and private key, you can install them on the FreeIPA server. FreeIPA provides the ipa-server-certinstall command for this purpose.
⚠️Warning: Before you issue the |
Start by installing the Root and Intermediate CA certificates individually:
sudo ipa-cacert-manage install root.pem
					Installing CA certificate, please wait
Verified CN=ISRG Root X1,O=Internet Security Research Group,C=US
CA certificate successfully installed
The ipa-cacert-manage command was successful
sudo ipa-cacert-manage install intermediate.pem
					Installing CA certificate, please wait
Verified CN=E5,O=Let's Encrypt,C=US
CA certificate successfully installed
The ipa-cacert-manage command was successful
sudo ipa-certupdate
					Systemwide CA database updated.
Systemwide CA database updated.
The ipa-certupdate command was successful
Run the following command to verify:
sudo ipa-cacert-manage list
					DEV.NAIJALABS.NET IPA CA  1
CN=ISRG Root X1,O=Internet Security Research Group,C=US  172886928669790476064670243504169061120
CN=E5,O=Let's Encrypt,C=US  174873564306387906651619802726858882526
The ipa-cacert-manage command was successful
Finally, we can proceed with installing the server or domain-level certificate along with its private key.
Step 1: Install the Certificate |
Use the following command to install the SSL certificate and private key:
ipa-server-certinstall -w -d privkey.pem fullchain.pem
The -w option installs the certificate for the HTTP server, while the -d option installs it for the Directory Server. Enter you Directory Manager and private key unlock passwords.
					Directory Manager password:

Enter private key unlock password:
You should see a similar output (below) on your terminal, indicating a successful install:
					Please restart ipa services after installing certificate (ipactl restart)
The ipa-server-certinstall command was successful
Step 2: Restart FreeIPA Services |
After installing the certificate, restart the FreeIPA services to apply the changes:
ipactl restart
					Restarting Directory Service
Restarting krb5kdc Service
Restarting kadmin Service
Restarting named Service
Restarting httpd Service
Restarting ipa-custodia Service
Restarting pki-tomcatd Service
Restarting ipa-otpd Service
Restarting ipa-dnskeysyncd Service
ipa: INFO: The ipactl command was successful
This command restarts all FreeIPA services, including HTTP, Directory Server, and others.
To verify that SSL is correctly configured on your FreeIPA server, you can perform the following checks:
Check 1: Using OpenSSL |
Run the following command to connect to the FreeIPA server and display the SSL certificate:
openssl s_client -connect ipa.example.com:443 -showcerts
Replace ipa.example.com with your FreeIPA server’s hostname. This command will display the server’s SSL certificate chain.
Check 2: Using a Web Browser |
Open a web browser and navigate to https://ipa.example.com/ipa/ui. Click on the padlock icon in the address bar to view the SSL certificate details.
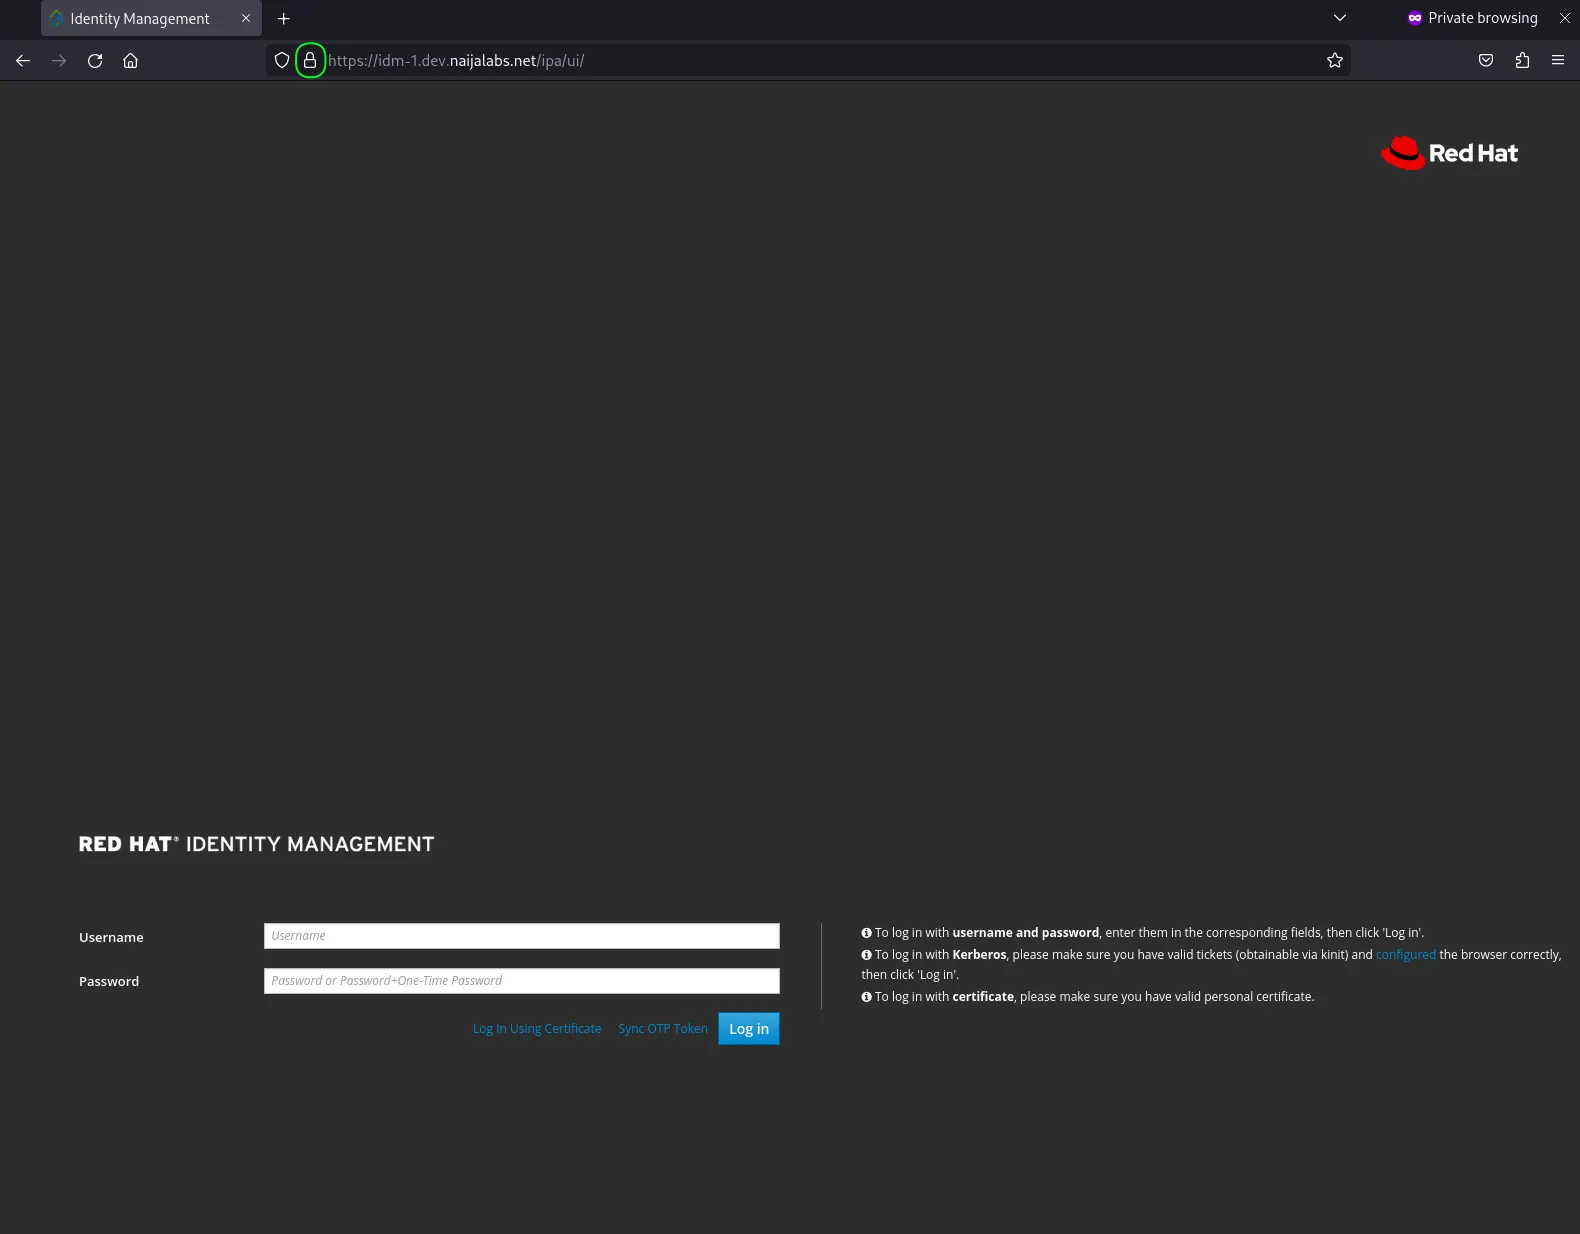
Photo by admingeek from Infotechys
If you encounter issues after configuring SSL, consider the following troubleshooting steps:
|
|
|
To maintain a secure FreeIPA environment, adhere to the following best practices:
|
|
|
|
Implementing SSL on your FreeIPA server is a crucial step in securing your organization’s identity management infrastructure. By following the steps outlined in this guide, you can ensure encrypted communication between clients and the server, protecting sensitive data from unauthorized access. Regular maintenance and adherence to best practices will help maintain a secure and reliable FreeIPA environment.
Did you find this article useful? Your feedback is invaluable to us! Please feel free to share this post with those who may benefit or–your thoughts in the comments section below.
Learn how to install and configure IPA/IdM on RHEL 9 and CentOS 9. This comprehensive guide covers prerequisites, step-by-step installation, user management, and enabling 2FA

In this article, we’ll explore the simple steps to enable HTTPS on your website. We’ll guide you through the process of installing SSL on RHEL9,

Discover how to easily set up and manage a secure and centralized authentication system using a FreeIPA server on CentOS 8. Table of Contents 🔈Introduction