In this guide, we’ll explore how to deploy a web server using Podman, a powerful containerization tool that provides a lightweight and secure environment for
In this guide, we’ll explore how to host your own Podman repository, empowering you with greater control over your container images.
In the continuously evolving realm of containerization, tools such as Podman have become indispensable for both developers and system administrators. As an alternative to Docker gains momentum, efficient management of container images emerges as a pivotal concern. While platforms like Docker Hub effectively fulfill their roles, circumstances arise where establishing your repository becomes imperative, driven by considerations of security, compliance, or performance.
Before delving into the how-to, let’s briefly touch on the why. Hosting your Podman repository offers several benefits:
Operating System: Verify that you have a compatible operating system installed. Podman is primarily designed for Linux distributions. Ensure that your system is running a supported version of CentOS, Fedora, Debian, Ubuntu, or another Linux distribution.
Root or Sudo Access: You’ll need root or sudo access to install packages and configure system settings. Ensure that you have the necessary permissions to perform administrative tasks on your system.
Podman Installation: Install Podman on your system if it’s not already installed. Podman is a container management tool similar to Docker but designed to run without a daemon, making it suitable for use in environments with strict security requirements.
We’ve configured our Linux server with the following settings:
| Hostname | localhost.localdomain |
| IP address | 192.168.1.199 |
| RAM | 4 GB |
| Cores | 2 |
| Operating System | Ubuntu 22.04.4 LTS |
Several repository solutions are compatible with Podman, including Docker Distribution (commonly referred to as Docker Registry), Nexus Repository, and Harbor. For this guide, we’ll use podman’s built-in registry. Ok. Let’s dive into the process!
To begin, you’ll need to create a directory where the repository will reside. Start by logging into your CentOS machine, then execute the following command:
$ sudo mkdir -p /var/lib/registry
Now that the directory is established, it’s time to initiate the deployment of the local registry. This process is simplified with the assistance of Podman. We’ll utilize the'--privileged' flag, which instructs the engine to initiate the container launch without imposing additional security constraints and to refrain from granting any additional privileges beyond those possessed by the process launching the containers.
The command for deploying the registry is as follows:
$ sudo podman run --privileged -d --name registry -p 5000:5000 -v /var/lib/registry:/var/lib/registry --restart=always registry:2
The provided command should execute without encountering any issues. Additionally, the podman images and podman ps commands won’t display status information since you executed the command with sudo, which grants root user privileges.
Now, we can proceed to configure the Podman registries.conf file to inform it about the existence of a repository hosted on the local machine. To accomplish this, open the file for editing using your favorite text editor. We’ll use vim and issue the following command:
$ sudo vim /etc/containers/registries.conf
In that file, look for the following entry (below) or add it:
registries = []
Modify that line as follows:
registries = ['localhost:5000']
					[[registry]]
location = "localhost:5000"
What we have accomplished is setting the registry address to localhost and specifying the port as 5000. Once you’ve made the changes, save and exit the file. Then, restart Podman using the following command:
$ sudo systemctl restart podman
Let’s put this to the test using the reliable and official NGINX image. However, if you’ve already prepared your own images, feel free to bypass the NGINX retrieval step and proceed directly to tagging your custom image for pushing. For those who haven’t created their own images yet, let’s illustrate the process using the official NGINX image.
Retrieve the NGINX image by executing the following command:
$ sudo podman pull docker.io/nginx
Prior to pushing the NGINX image to the registry, we’ll customize it to create our own version. To start, launch a container using the freshly downloaded image with the following command:
$ sudo podman run --name nginx-template-base -p 8080:80 -e TERM=xterm -d nginx
Once the container deploys, there are a couple of ways you can access the running container (Note the Container ID and Name):
					$ sudo podman ps
CONTAINER ID  IMAGE                           COMMAND               CREATED        STATUS            PORTS                 NAMES
2d312d5ec7f6  docker.io/library/nginx:latest  nginx -g daemon o...  4 seconds ago  Up 3 seconds ago  0.0.0.0:8080->80/tcp  nginx-template-base
You can access the container using the following command and its name (nginx-template-bash):
					$ sudo podman exec -it nginx-template-base bash
root@2d312d5ec7f6:/#
You can access the container using the following command and its CONTAINER ID (2d312d5ec7f6 – yours will differ):
					$ sudo podman exec -it 2d312d5ec7f6 bash
root@2d312d5ec7f6:/#
root@2d312d5ec7f6:/# apt update; apt upgrade; apt install -y vim nano build-essential php
root@2d312d5ec7f6:/# exit
$ sudo podman commit YOUR_CONTAINER_ID nginx-template
$ sudo podman commit 2d312d5ec7f6 nginx-template
					Getting image source signatures
Copying blob ceb365432eec skipped: already exists
Copying blob 84619992a45b skipped: already exists
Copying blob 3137f8f0c641 skipped: already exists
Copying blob 7d52a4114c36 skipped: already exists
Copying blob 188d128a188c skipped: already exists
Copying blob bcc6856722b7 skipped: already exists
Copying blob 61a7fb4dabcd skipped: already exists
Copying blob ac2362e4fff8 done
Copying config 82e9a322ca done
Writing manifest to image destination
Storing signatures
82e9a322cadbf26cbb10bfaa172b1323e28fa184ff68d94f7dc46cc96cb817fe
$ sudo podman images
					REPOSITORY                  TAG         IMAGE ID      CREATED             SIZE
localhost/nginx-template    latest      82e9a322cadb  About a minute ago  596 MB
docker.io/library/nginx     latest      e4720093a3c1  9 days ago          191 MB
docker.io/library/registry  2           a8781fe3b7a2  3 weeks ago         26 MB
sudo podman tag localhost/nginx-template localhost:5000/nginx-template
sudo podman ps command again (Notice the localhost:5000/nginx-template image):
$ sudo podman images
					REPOSITORY                     TAG         IMAGE ID      CREATED         SIZE
localhost/nginx-template       latest      82e9a322cadb  12 minutes ago  596 MB
localhost:5000/nginx-template  latest      82e9a322cadb  12 minutes ago  596 MB
docker.io/library/nginx        latest      e4720093a3c1  9 days ago      191 MB
docker.io/library/registry     2           a8781fe3b7a2  3 weeks ago     26 MB
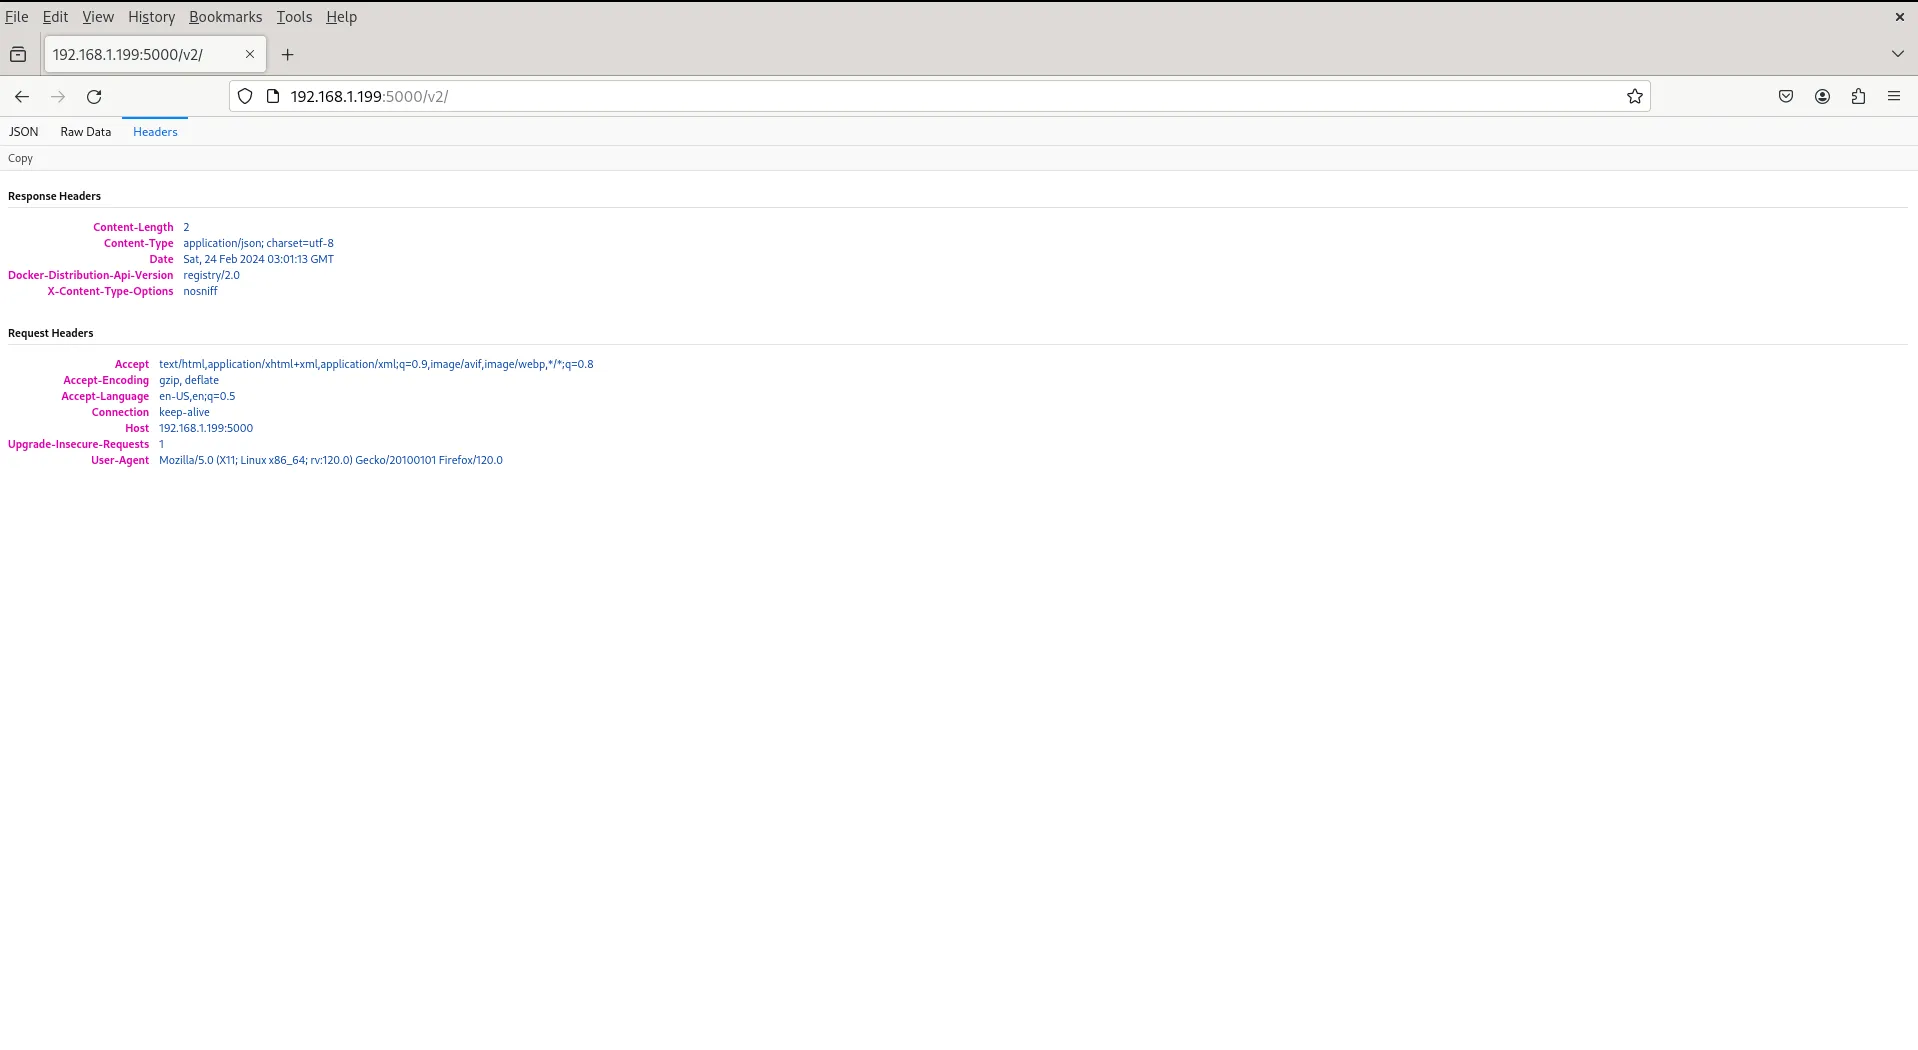
Photo by admingeek from Infotechys
Well done! You’ve successfully set up your personal Podman registry, retrieved an NGINX image, customized it, tagged the modified version, and uploaded it to your local registry.
Did you find this article useful? Your feedback is invaluable to us! Please feel free to share your thoughts in the comments section below.
Related Posts

In this guide, we’ll explore how to deploy a web server using Podman, a powerful containerization tool that provides a lightweight and secure environment for
This guide examines how to setup an HTTPS server using Podman, a containerization tool, thereby fortifying a secure and streamlined hosting environment for your web
In this comprehensive guide, we’ll walk through the process of deploying a MySQL database using Podman, covering installation, configuration, and best practices. Table of Contents
