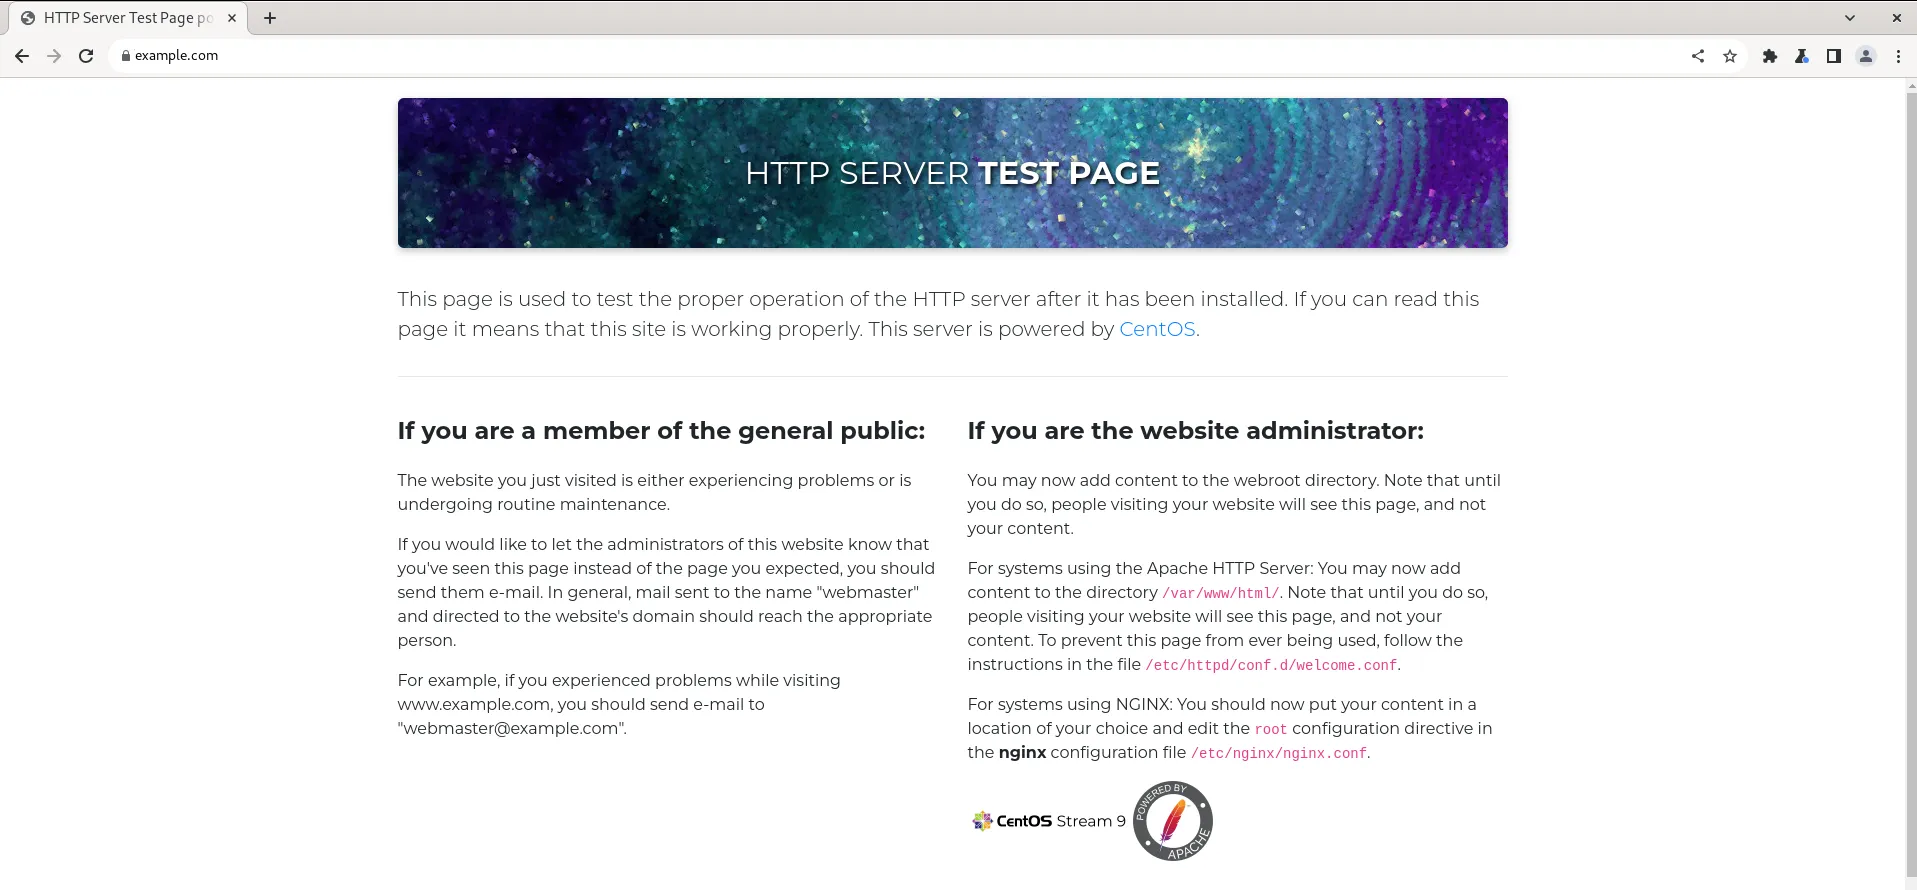
In this article, we’ll explore the simple steps to enable HTTPS on your website. We’ll guide you through the process of installing SSL on RHEL9,

In this guide, we’ll delve into how to generate Letsencrypt wildcard certificates using Certbot, ensuring secure connections for your main domain and all its subdomains.
In today’s digital landscape, securing your website with SSL/TLS encryption is paramount. Not only does it protect sensitive data transmitted between your website and its visitors, but it also enhances trust and credibility. Let’s Encrypt (Letsencrypt), a free and automated Certificate Authority (CA), has revolutionized the process of obtaining SSL certificates.
Wildcard certificates provide a convenient solution for securing not just your main domain but all its subdomains with a single certificate. This means you can secure example.com, www.example.com, subdomain.example.com, and any other subdomains you have, all with one wildcard certificate.
Before diving into the process of generating wildcard SSL certificates with Certbot, there are a few prerequisites you need to ensure are in place. Here’s what you’ll need:
Access to Domain DNS Settings: You should have access to the DNS settings for the domain for which you want to generate the wildcard certificate. This is necessary to create DNS records required for domain verification.
Certbot Installed: Ensure that Certbot, the Let’s Encrypt client, is installed on your server. Certbot provides a convenient command-line interface for obtaining and managing SSL certificates from Let’s Encrypt.
Server Configuration: Make sure your web server (e.g., Apache, Nginx) is correctly configured to serve HTTPS traffic. This includes setting up VirtualHost configurations and ensuring that your web server software is up-to-date.
Domain Ownership: You must own or have administrative control over the domain(s) for which you intend to generate wildcard certificates. Let’s Encrypt requires domain validation to ensure that the entity requesting the certificate has control over the domain.
DNS Provider with API Access (Optional): While not strictly necessary, having API access to your DNS provider can streamline the process of DNS validation. Certbot supports various DNS plugins that automate the process of adding and removing DNS records required for domain validation.
Certbot is a popular and easy-to-use tool for obtaining and managing SSL certificates from Let’s Encrypt. If you haven’t installed Certbot yet, you can do so using your package manager. Here’s how to install Certbot on Ubuntu/Debian:
					sudo apt update
sudo apt install certbot python3-certbot-apache
					sudo yum update
sudo yum install https://dl.fedoraproject.org/pub/epel/epel-release-latest-7.noarch.rpm  # for Red Hat
sudo yum install epel-release # for CentOS
sudo yum install certbot python-certbot-apache
					sudo dnf update
sudo dnf install https://dl.fedoraproject.org/pub/epel/epel-release-latest-$(grep -oE '[0-9]+' /etc/redhat-release | head -n 1).noarch.rpm  # for Red Hat 8+
sudo dnf install epel-release # for CentOS 8+
sudo dnf install certbot python3-certbot-apache
Note: We are assuming that you already have Apache or Nginx installed and running with ports 80 and 443 open for HTTPS traffic. Now that Certbot is installed, let’s generate a wildcard certificate for your domain. Replace example.com with your actual domain name in the command below:
sudo certbot certonly --manual --preferred-challenges dns -d example.com -d *.example.com
This command tells Certbot to obtain a wildcard certificate (-d *.example.com) using the DNS challenge method (--preferred-challenges dns). You’ll be prompted to create a DNS TXT record to prove domain ownership.
Certbot will provide you with instructions on how to create the required DNS TXT record. Follow these instructions carefully and update your DNS settings accordingly. Typically, this involves Cerbot prompting you twice to update your DNS TXT record with the following (here’s one example below): Again, replace example.com with your actual domain name.
Name Entry:
_acme-challenge_example.com.
TXT Record Content:
7Q5feHdhffMnqnq07tUTViSoJ89JnV-7yKUkCXRwOEk
Once done, wait for the DNS changes to propagate. Verify your DNS records have been updated with the following command:
$ dig TXT _acme-challenge.example.com
					; <<>> DiG 9.18.19 <<>> TXT _acme-challenge.example.com
;; global options: +cmd
;; Got answer:
;; ->>HEADER<<- opcode: QUERY, status: NOERROR, id: 27562
;; flags: qr rd ra; QUERY: 1, ANSWER: 2, AUTHORITY: 0, ADDITIONAL: 1

;; OPT PSEUDOSECTION:
; EDNS: version: 0, flags:; udp: 65494
;; QUESTION SECTION:
;_acme-challenge.example.com.	IN	TXT

;; ANSWER SECTION:
_acme-challenge.example.com. 300 IN	TXT	"7Q5feHdhffMnqnq07tUTViSoJ89JnV-7yKUkCXRwOEk"
_acme-challenge.example.com. 300 IN	TXT	"0NxQOoHsNuM1gr0w4mCxJM_eOZUE7t-Rbzm9YOi9nsQ"

;; Query time: 75 msec
;; SERVER: 127.0.0.53#53(127.0.0.53) (UDP)
;; WHEN: Sun Mar 03 04:34:48 EST 2024
;; MSG SIZE  rcvd: 170
After updating your DNS settings, press Enter to let Certbot proceed with the verification process. Certbot will check for the DNS TXT record and, upon successful verification, generate your wildcard certificate.
					IMPORTANT NOTES:
 - Congratulations! Your certificate and chain have been saved at:
   /etc/letsencrypt/live/example.com/fullchain.pem
   Your key file has been saved at:
   /etc/letsencrypt/live/example.com/privkey.pem
   Your cert will expire on 2024-06-01
   ... output omitted for brevity ...
Once the wildcard certificate is generated, you’ll find the certificate files in the /etc/letsencrypt/live/example.com/ directory. You need to configure your web server to use these certificate files. Here’s an example Apache VirtualHost configuration:
					<VirtualHost *:443>
    ServerName example.com
    ServerAlias www.example.com
    DocumentRoot /var/www/html

    SSLEngine on
    SSLCertificateFile /etc/letsencrypt/live/example.com/fullchain.pem
    SSLCertificateKeyFile /etc/letsencrypt/live/example.com/privkey.pem
</VirtualHost>
After configuring your web server, restart it to apply the changes:
For Ubuntu/Debian:
sudo systemctl restart apache2
For Linux (RHEL/CentOS):
sudo systemctl restart httpd

Photo by admingeek from Infotechys
Congratulations! You’ve successfully generated a wildcard SSL certificate for your domain using Certbot. With this wildcard certificate, you can now secure your main domain and all its subdomains, ensuring encrypted connections and bolstering the security of your website. Remember to set up automated certificate renewal to keep your SSL certificates valid.
Securing your website with SSL/TLS encryption not only protects your visitors’ data but also improves your search engine ranking. With Let’s Encrypt and Certbot, obtaining wildcard certificates has never been easier or more accessible. Stay secure, stay encrypted!
Related Posts

In this article, we’ll explore the simple steps to enable HTTPS on your website. We’ll guide you through the process of installing SSL on RHEL9,

Looking to establish a reliable and secure web presence? Learn how to Install Apache web server on CentOS and unlock the potential of your website

This guide examines how to setup an HTTPS server using Podman, a containerization tool, thereby fortifying a secure and streamlined hosting environment for your web
