NFS or Network File System is a commonly known method for network file sharing on Linux hosts. We will create and export an NFS server.
Converting virtual machines are a necessary evil in today’s ever-evolving Information Technology (IT) modernization age. As IT infrastructures continue to advance and the costs for building and maintain them reduces, the need to ensure your virtual environments are functioning according to industry standard becomes not only feasible, but necessary.
In this article, we will review how to migrate a virtual machine (VM) running in one virtual environment to another virtual environment. Specifically, we will migrate a VM created using a kernel-based virtual machine (KVM) hypervisor to another virtual environment running VMware.

Photo by Sergei Starostin from Pexels
This tutorial assumes you have root privileges or can sudo to become root to perform the tasks and procedures necessary when migrating a VM from one virtual environment to another. We will use the quick emulator (QEMU) disk imaging utility or qemu-img as its commonly-known, to complete this task.
The qemu-img utility will allow us to create, convert, and modify images offline. The following image formats (below) are supported by QEMU.
| Format | Description | Typical Use |
|---|---|---|
| VHD | Typically used as the hard disk of a virtual machine in modern versions of Windows. Native format for Microsoft’s Hyper-V hypervisor. | Microsoft Hyper-V |
| VMDK | Originally developed by VMware, now an open format. Commonly used in VMware Workstation or Oracle VirtualBox virtual machines. | VMware Workstation, Oracle VirtualBox |
| QCOW | Utilizes a storage optimization strategy delaying allocation until needed. Commonly used in Red Hat Enterprise Virtualization (RHEV), KVM, and projects like oVirt. Supports qcow, qcow2, and qcow3. | Red Hat Enterprise Virtualization, KVM, oVirt |
| RAW | A simple and unstructured disk image format natively supported by both KVM and Xen hypervisors. | KVM, Xen |
| VDI | Typically used as the disk image for virtual machines in Oracle Virtualbox environment. | Oracle VirtualBox |
The installation of the qemu-img package will differ depending on your Linux distribution. Below we will review how to install qemu-img on rpm-based and Debian-based distributions.
sudo yum -y install qemu-img
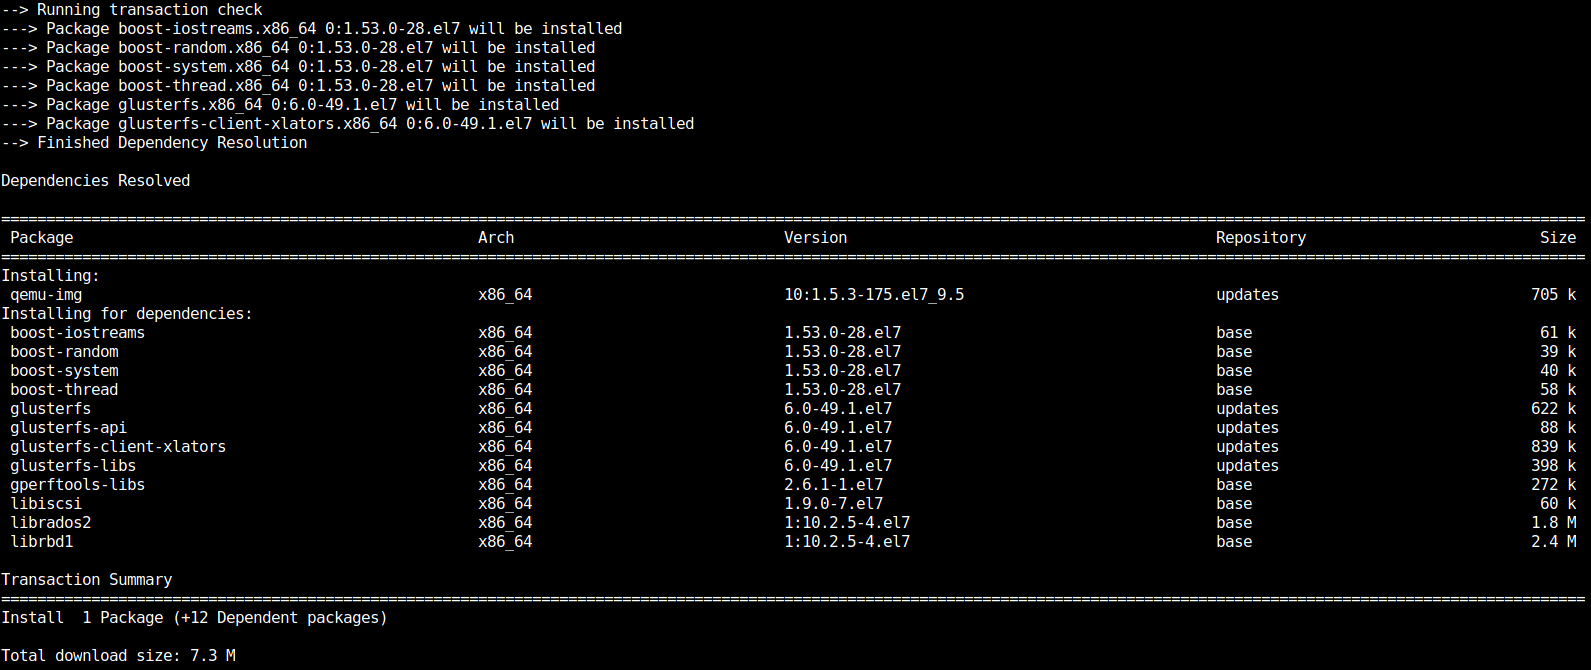
Photo by admingeek from Infotechys
sudo dnf -y install qemu-img
sudo apt install qemu-utils -y
You can verify qemu-img is installed on your machine by issuing the following command (below):
qemu-img --version
The command output displays the current running qemu-img version along with other useful information like command syntax and parameters, as well as, supported image file formats.
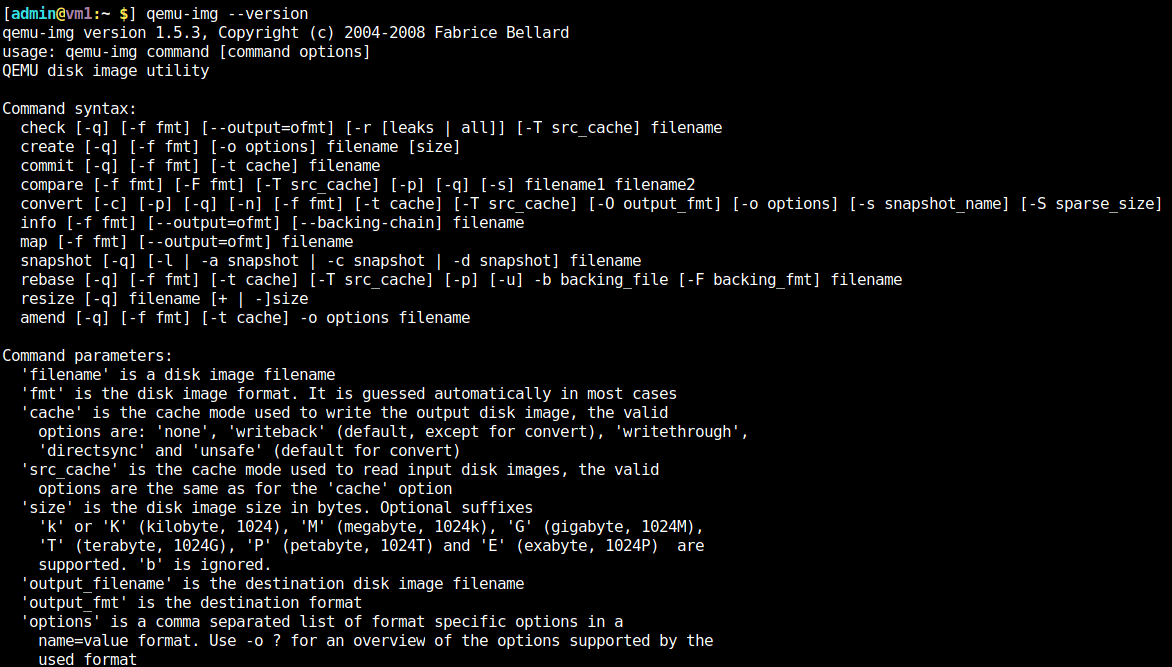
Photo by admingeek from Infotechys
Before we proceed with the format conversion process, we must first determine the format of the image we want to convert. Passing the info option to the qemu-img command (below), checks for the disk image format and outputs the results to our terminal.
sudo qemu-img info dev-infotechys-1.img
image: dev-infotechys-1.img |
Moreover, we can see the qcow2 optimization process in action (also referred to as thin-provisioning). Although, the size allocated to the disk image is 100GB, it is actually using 6.12GB of storage space.
In order to convert an image from one format to another, pass the convert option to the qemu-img command (see an example of the proper syntax below).
NOTE: Make sure to powered down any virtual machine(s) associated with the image you’d like to convert. Converting a disk image while it is running in your virtual environment can cause serious damage to the disk image.
sudo qemu-img convert -f <current image format> -O <converted image format> <path to image file> <converted image name>.converted_image_extension
We can convert a raw image to vmdk format by running the following command (below):
sudo qemu-img convert -f raw -O vmdk /tmp/images/vm5-dev.infotechys.img vm5.vmdk
In this example (above), we are converting the raw image file (vm5-dev.infotechys.img) to an image format compatible with the VMware environment (vm5.vmdk). Depending on your machine’s resources and the size of the image you’re converting, this process could take several minutes to several hours to complete.
Pass the -p flag to qemu-img convert command to show progress (below):
sudo qemu-img convert -f raw -O vmdk /tmp/images/vm5-dev.infotechys.img vm5.vmdk -p
Upon completing the disk image conversion, you will notice the following:
$ ls -l /tmp/images
					total 175550224
-rw-r--r--. 1 root root 107374182400 Feb 24 21:24 vm5-dev.infotechys.img
-rw-r--r--. 1 root root 2169503744 Feb 24 21:33 vm5.vmdk
Thankfully, VMware has a tool called vmkfstools. Using this tool, we can import the vm5.vmdk image to the VMware environment and account for thin-provisioning. However, before importing the vmdk image, we will create a new directory on our ESXI host to store the new image.
sudo mkdir /vmfs/volumes/datastore0/VM5
sudo vmkfstools -i /vmfs/volumes/datastore0/vm5.vmdk -d thin /vmfs/volumes/datastore0/VM5/new-vm5.vmdk
Destination disk format: VMFS thin-provisionedCloning disk '/vmfs/volumes/datastore0/VM.tmp.vmdk'...Clone: 100% done. |
As you can see in line #2 (above), the vm5.vmdk image is cloned (-i stands for --clonevirtualdisk oldName newName) to the name (new-vm5.vmdk) located under /vmfs/volumes/datastore0/VM5 (-d stands for --diskformat).
The new-vm5.vmdk should run in your VMware environment. If you’re still encountering problems running the new vmdk image, consider changing the type of hard drive (from IDE to SCSI or vice versa in VMware).
We’ve reviewed how to migrated a raw disk image format to vmdk and deployed it to a VMware environment. Was this article helpful to you? If so, leave us some feedback in the comment section below. We’d love to hear from you!
Related Posts

NFS or Network File System is a commonly known method for network file sharing on Linux hosts. We will create and export an NFS server.
Installing RHEL7 or CentOS7 on a PC is fairly easy to do. In this tutorial, we will review the installation process step-by-step. Today’s focus will

In this article, we will review how to install VMware Workstation Player on a RHEL7 or CentOS7 Linux machine, guiding you through the installation process
