Commands
In this article, we will explore how to implement security warning banners in Zabbix to enhance compliance and user awareness. This step-by-step guide covers creating


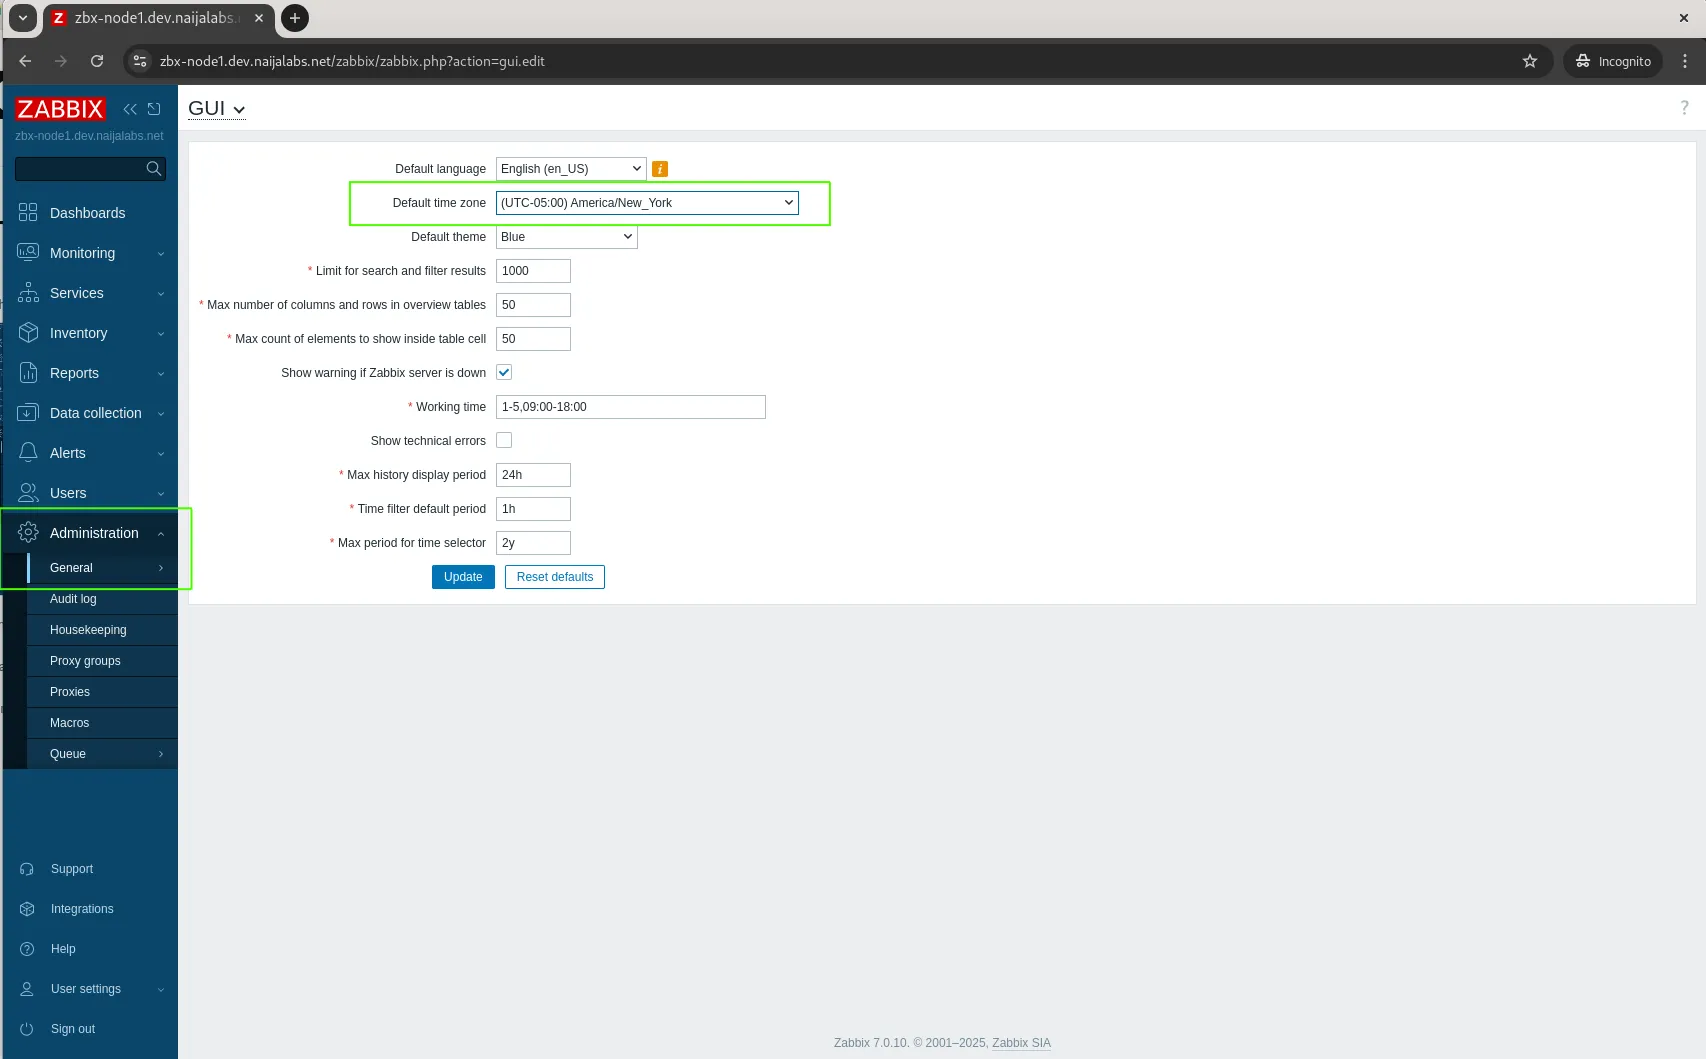
In this article, we will explore how to implement security warning banners in Zabbix to enhance compliance and user awareness. This step-by-step guide covers creating
This blog post covers how to install and configure Zabbix version 7.0-2 on RHEL 9 in detail, including prerequisites, step-by-step instructions, and troubleshooting tips. Table
Learn how to automate adding hosts to Zabbix using Bash script. This comprehensive guide covers script functions, examples, and best practices to streamline your IT