In this article, we will review how to change DNS settings using nmcli. In RHEL7 and CentOS7, modifying the ifcfg scripts or /etc/resolv.conf files directly

Adding a virtual bridge using nmcli involves several steps. A virtual bridge is commonly used in networking to connect multiple virtual or physical network interfaces.
In networking, a virtual bridge serves as a crucial component for connecting and managing multiple network interfaces. It allows for the creation of a unified network infrastructure, whether for virtual machines or physical devices. The NetworkManager Command-Line Interface (nmcli) is a powerful tool for configuring network connections on Linux systems.

This guide outlines the steps to create a virtual bridge using nmcli, providing a seamless way to consolidate network interfaces and enhance connectivity. Here are the steps:
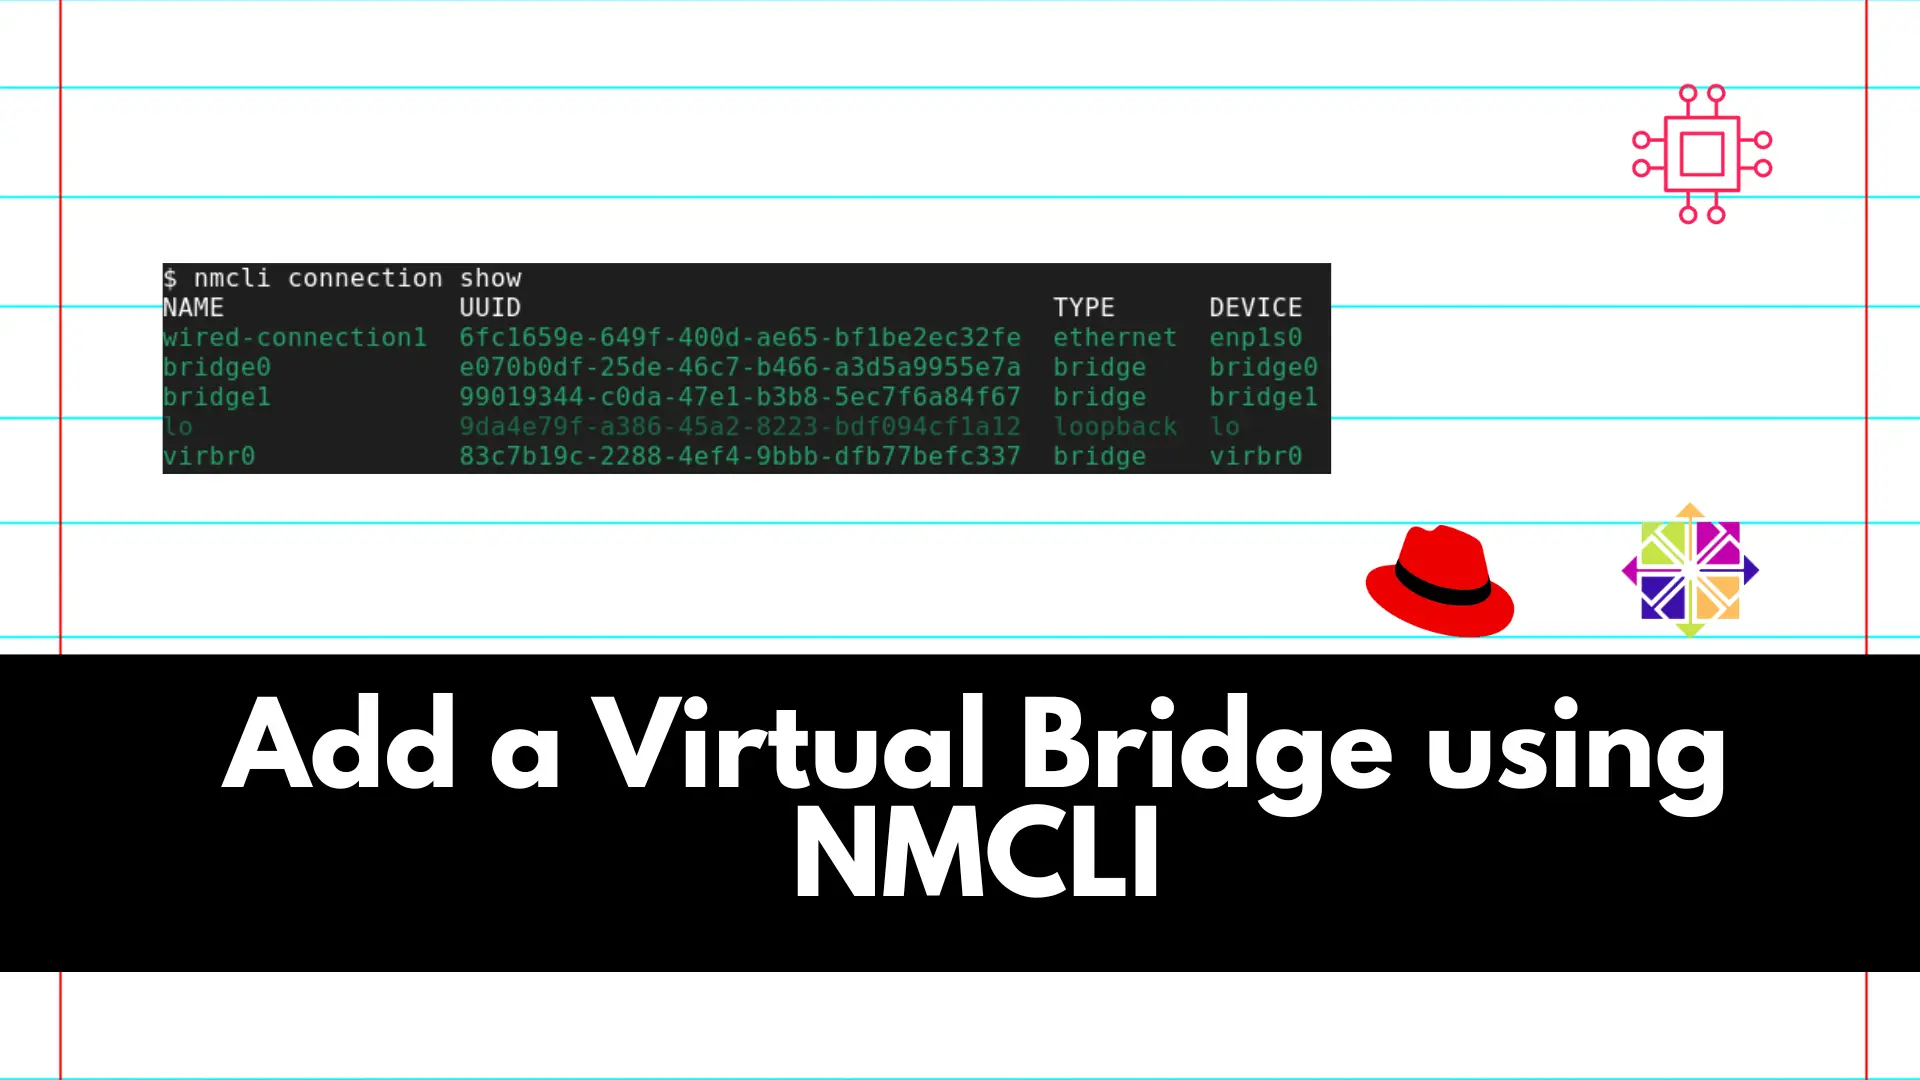
Before creating a bridge, it’s good to check existing network connections. You can use the following command to list available connections:
$ nmcli connection show
Abbreviations of this command like nmcli con show or nmcli c s will work as well.
Use nmcli to create a new bridge connection. For this example, we will use br0 as the desired bridge name.
$ nmcli connection add type bridge ifname br0
Add the network interfaces you want to include in the bridge. Replace enp0s1 and enp0s2 with the actual interface names you’d like to include as yours will be different.
					$ nmcli connection add type bridge-slave ifname enp0s1 master br0
$ nmcli connection add type bridge-slave ifname enp0s2 master br0
Activate the bridge connection to apply the changes.
$ nmcli connection up br0
Confirm that the bridge and its associated interfaces are configured correctly.
$ nmcli connection show
Ensure that the bridge connection is active and the interfaces are part of the bridge.
$ nmcli con show --active
If needed, you can assign an IP address to the bridge interface.
					$ nmcli connection modify br0 ipv4.addresses 192.168.2.2/24
$ nmcli connection modify br0 ipv4.method manual
Adjust the IP address and subnet mask according to your network configuration.
Activate the changes to apply the IP address configuration.
$ nmcli connection up br0
Confirm that the IP address is assigned to the bridge interface.
					$ nmcli con show br0 | grep addresses
802-3-ethernet.accept-all-mac-addresses:-1 (default)
ipv4.addresses:                         192.168.2.2/24
ipv6.addresses:                         --
In conclusion, utilizing the nmcli tool to create a virtual bridge offers an effective solution for managing multiple network interfaces within a Linux environment. The step-by-step guide provided above enables users to seamlessly integrate interfaces into a unified bridge, enhancing network connectivity and facilitating efficient communication between devices.
Whether for virtual machines or physical systems, the virtual bridge configuration, coupled with IP address assignment, ensures a well-organized and responsive network infrastructure. By following these steps, users can harness the power of nmcli to streamline network management, contributing to a more robust and interconnected computing environment.
We hope you found this guide helpful and informative. Share your thoughts and ideas with us in the comments section below.
Related Posts

In this article, we will review how to change DNS settings using nmcli. In RHEL7 and CentOS7, modifying the ifcfg scripts or /etc/resolv.conf files directly

Learn about the differences between NMCLI and NMTUI, two powerful tools for managing network connections on Linux systems, and discover which one is best suited

Discover the convenient and efficient way to change IPv4 addresses on your Linux machine using the nmcli utility, and take control of your network settings
