
Commands
Learn how to deploy a highly available MariaDB cluster on RHEL 9 using Galera. Step-by-step instructions with CLI examples and best practices for setting up,


Learn how to deploy a highly available PostgreSQL cluster on AlmaLinux 9 using Patroni for automatic failover, seamless scaling, and enhanced reliability.
High Availability (HA) is a crucial feature for modern databases, particularly for critical applications requiring constant uptime and reliability. PostgreSQL, known for its stability and robustness, can be configured as a highly available solution with the help of tools like Patroni. In this post, we will walk you through the process of deploying a High Availability PostgreSQL cluster on AlmaLinux 9 using Patroni, Etcd, and HAProxy. This guide aims to provide a detailed, step-by-step approach to ensure your PostgreSQL database is always up and running.
What Is Patroni? |
Patroni is an open-source tool that automates the management of PostgreSQL clusters, offering automated failover and high availability. It leverages Etcd or Consul for storing cluster state and coordinating leader election. Patroni is often chosen for its flexibility and simplicity compared to other HA solutions like PgPool or PgBouncer.
Why Choose Patroni for PostgreSQL High Availability? |
|
|
|
|
Prerequisites |
Before starting, ensure you have the following:
| Requirement | Description |
|---|---|
| Operating System | Three (3) or more AlmaLinux 9 servers |
| User Privileges | Root or sudo access to the servers |
| Network Configuration | Stable network setup with firewall rules allowing communication between nodes |
| PostgreSQL Version | PostgreSQL 15 or later installed on each node |
| Node IP Addresses | – node 1: 192.168.1.242– node 2: 192.168.1.243– node 3: 192.168.1.244 |
If you do not have a DNS setup, each node should have the following entries in the /etc/hosts file:
					# Postgresql Cluster
192.168.1.242 db1.dev.naijalabs.net db1 node1
192.168.1.243 db2.dev.naijalabs.net db2 node2
192.168.1.244 db3.dev.naijalabs.net db3 node3
👀NOTE: Replace the IP addresses and node names with your actual information or preference. |
Recommended Hardware Specifications |
| Component | Minimum Requirement |
|---|---|
| CPU | 4 Cores |
| RAM | 8 GB |
| Disk Space | 50 GB (SSD recommended) |
| Network | 1 Gbps Ethernet |
For this demonstration, we configured our AlmaLinux 9 database servers as follows:
| Hostname | IP Address | RAM (GB) | Cores | OS |
|---|---|---|---|---|
| db1.dev.naijalabs.net (node1) | 192.168.1.242 | 8 | 4 | AlmaLinux release 9.5 (Teal Serval) |
| db2.dev.naijalabs.net (node 2) | 192.168.1.243 | 8 | 4 | AlmaLinux release 9.5 (Teal Serval) |
| db3.dev.naijalabs.net (node 3) | 192.168.1.244 | 8 | 4 | AlmaLinux release 9.5 (Teal Serval) |
Step 1: Install PostgreSQL |
First, make sure all database nodes are patched and rebooted:
sudo dnf update -y && sudo systemctl reboot
Enable PostgreSQL Repository |
sudo dnf install -y https://download.postgresql.org/pub/repos/yum/reporpms/EL-9-x86_64/pgdg-redhat-repo-latest.noarch.rpm
Additionally, enable the pgdg-rhel9-extras repository with the following command:
sudo dnf config-manager --enable pgdg-rhel9-extras
Install PostgreSQL and Initialize Database |
sudo dnf install -y postgresql15-server postgresql15-contrib
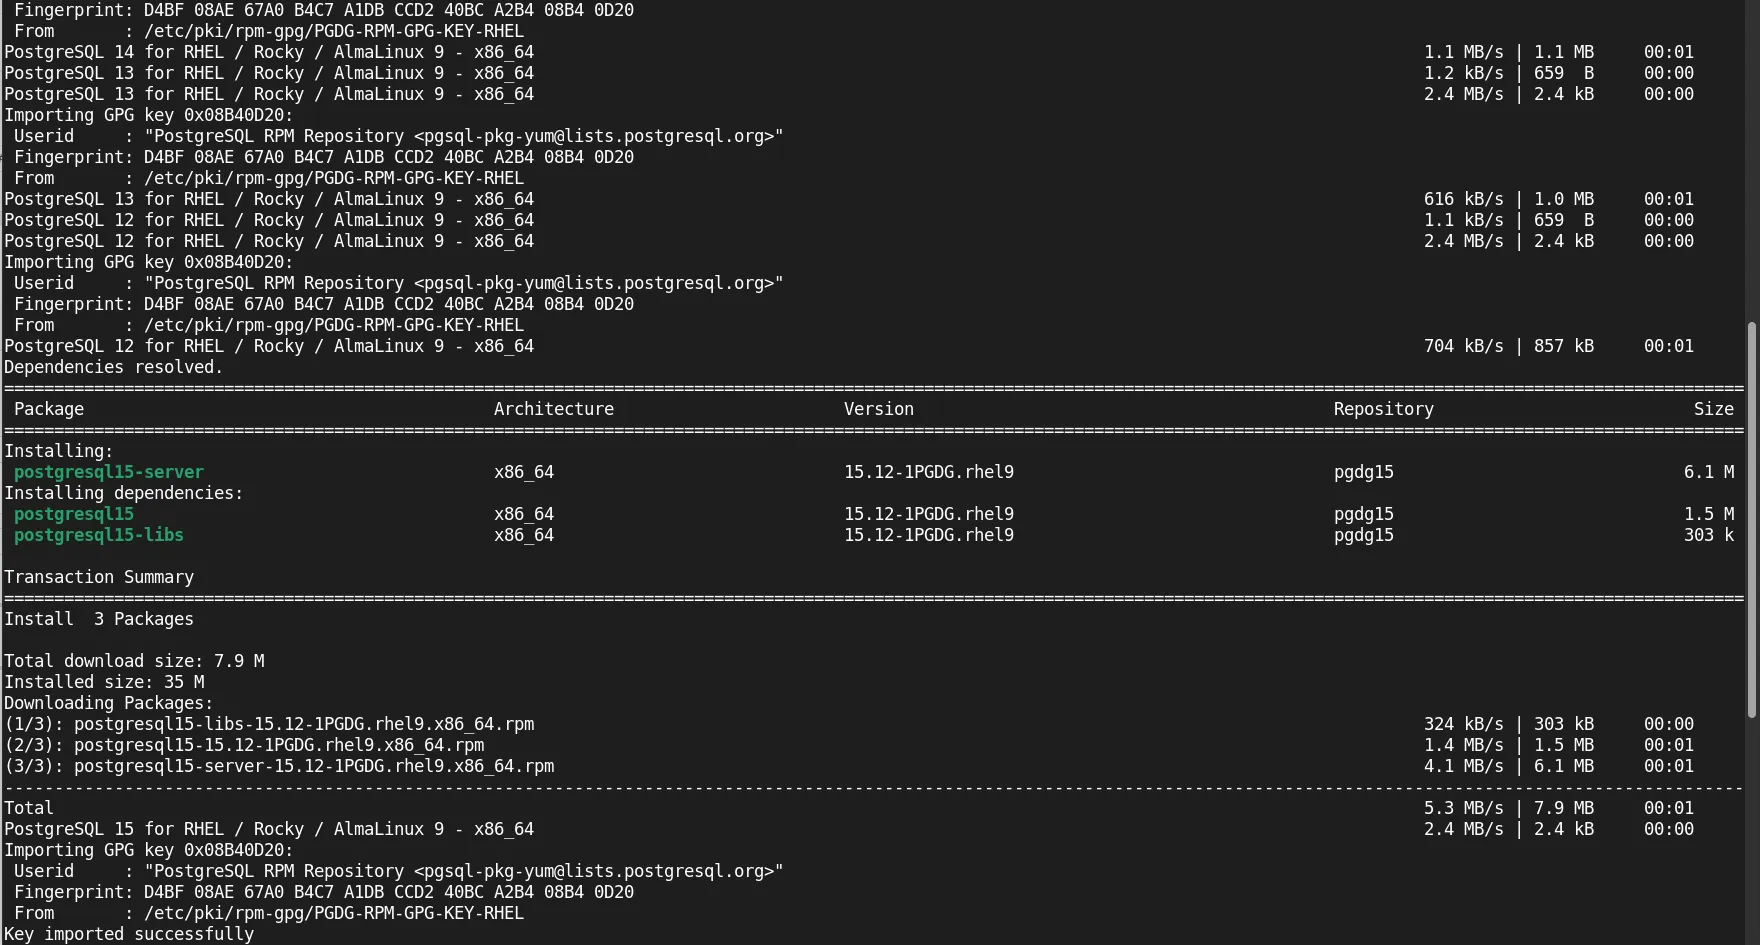
Photo by admingeek from Infotechys
Ensure the postgresql-15.service is stopped and disabled as the Patroni service will manage this:
sudo systemctl stop postgresql-15 && sudo systemctl disable postgresql-15
Verify the service is stopped and disabled:
sudo systemctl status postgresql-15
					○ postgresql-15.service - PostgreSQL 15 database server
     Loaded: loaded (/usr/lib/systemd/system/postgresql-15.service; disabled; preset: disabled)
     Active: inactive (dead)
       Docs: https://www.postgresql.org/docs/15/static/
Install Etcd |
This command (below) installs the etcd server, which Patroni will use as its Distributed Configuration Store (DCS).
sudo dnf install -y etcd
Ensure, the right permissions are set on the /var/lib/etcd directory:
sudo chmod -R 700 /var/lib/etcd
The Extra Packages for Enterprise Linux (EPEL) repository provides additional packages not included in the default repositories and needed by the patroni-etcd package.
sudo dnf install -y epel-release
Install Patroni |
sudo dnf install -y patroni-etcd
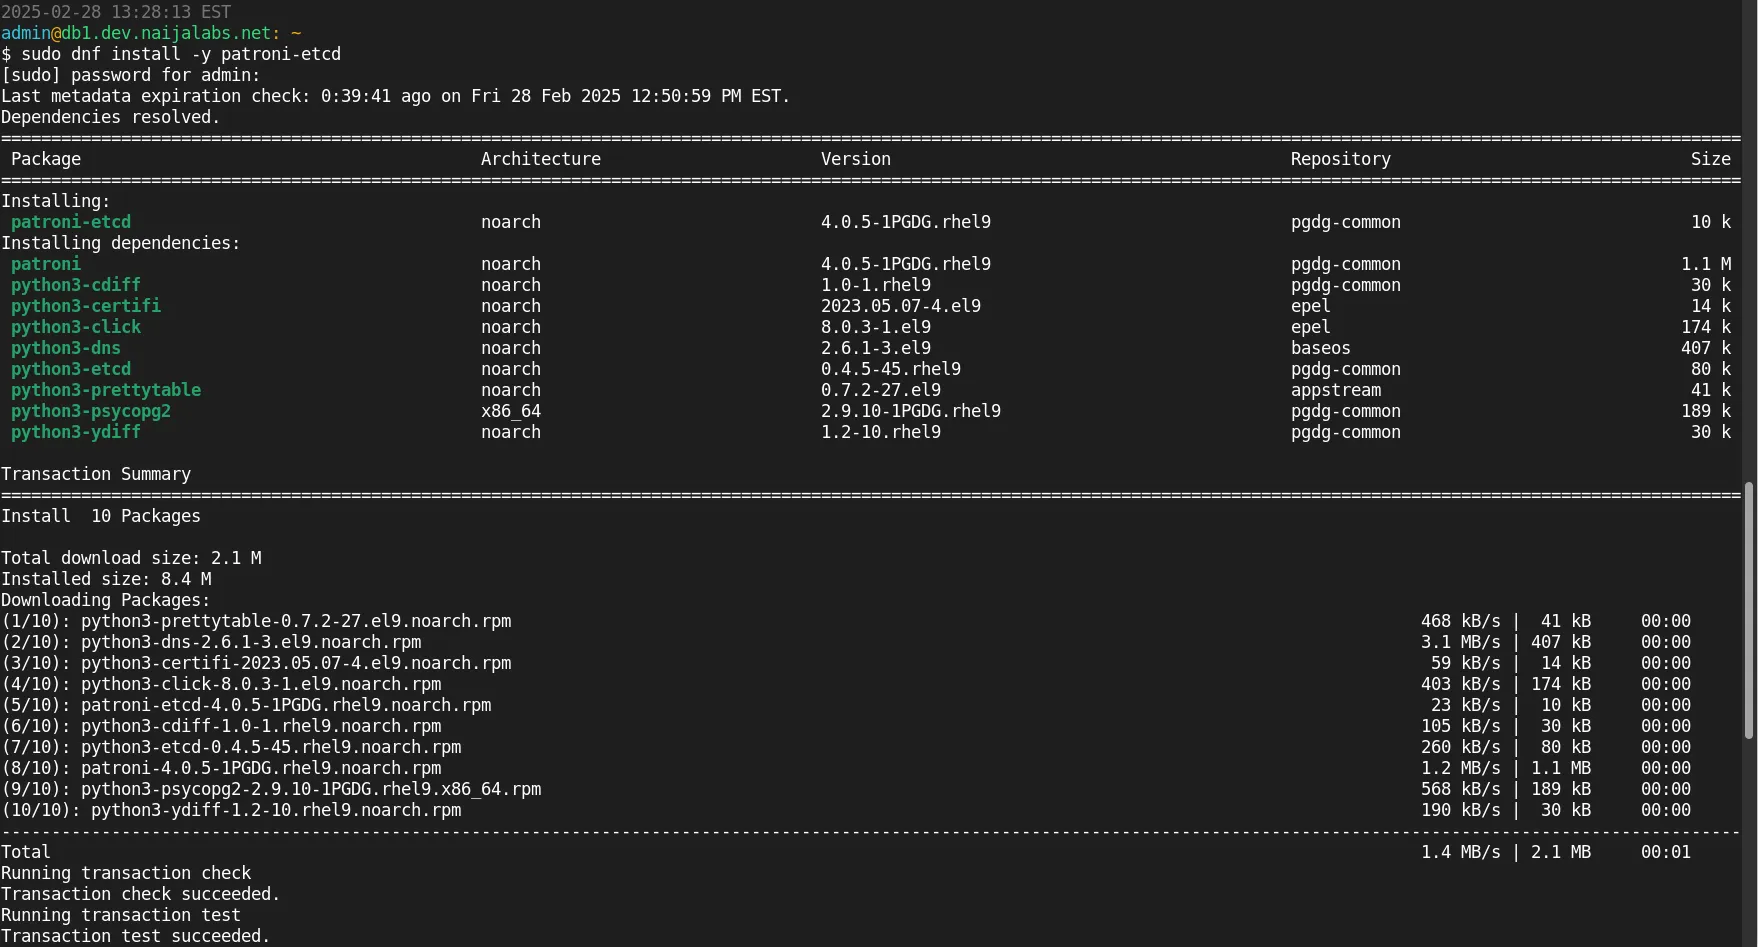
Photo by admingeek from Infotechys
This package includes Patroni along with the necessary dependencies to integrate with etcd.
Install HAProxy (Load Balancer) |
sudo dnf install -y haproxy
With HAProxy successfully installed, all necessary components for our High-Availability PostgreSQL Database Cluster are now in place. We can proceed to configure each component, beginning with etcd.
First, we’re going to copy the existing etcd.conf file to a backup. Then, using your preferred text editor, modify /etc/etcd/etcd.conf (on each node):
sudo cp /etc/etcd/etcd.conf /etc/etcd/etcd.conf.backup && sudo vim /etc/etcd/etcd.conf
For node1, the configuration should look like this:
					# [member]
ETCD_NAME=node1
ETCD_DATA_DIR="/var/lib/etcd"
ETCD_LISTEN_PEER_URLS="http://192.168.1.242:2380"
ETCD_LISTEN_CLIENT_URLS="http://192.168.1.242:2379"

#[cluster]
ETCD_INITIAL_ADVERTISE_PEER_URLS="http://192.168.1.242:2380"
ETCD_INITIAL_CLUSTER="node1=http://192.168.1.242:2380,node2=http://192.168.1.243:2380,node3=http://192.168.1.244:2380"
ETCD_INITIAL_CLUSTER_STATE="new"
ETCD_INITIAL_CLUSTER_TOKEN="etcd-cluster"
ETCD_ADVERTISE_CLIENT_URLS="http://192.168.1.242:2379"
For all additional nodes (nodes 2 & 3 in this case), change the node names and IP addresses accordingly:
					# [member]
ETCD_NAME=node2
ETCD_DATA_DIR="/var/lib/etcd"
ETCD_LISTEN_PEER_URLS="http://192.168.1.243:2380"
ETCD_LISTEN_CLIENT_URLS="http://192.168.1.243:2379"

#[cluster]
ETCD_INITIAL_ADVERTISE_PEER_URLS="http://192.168.1.243:2380"
ETCD_INITIAL_CLUSTER="node1=http://192.168.1.242:2380,node2=http://192.168.1.243:2380,node3=http://192.168.1.244:2380"
ETCD_INITIAL_CLUSTER_STATE="new"
ETCD_INITIAL_CLUSTER_TOKEN="etcd-cluster"
ETCD_ADVERTISE_CLIENT_URLS="http://192.168.1.243:2379"
Node 3 Etcd Configuration:
					# [member]
ETCD_NAME=node3
ETCD_DATA_DIR="/var/lib/etcd"
ETCD_LISTEN_PEER_URLS="http://192.168.1.244:2380"
ETCD_LISTEN_CLIENT_URLS="http://192.168.1.244:2379"

#[cluster]
ETCD_INITIAL_ADVERTISE_PEER_URLS="http://192.168.1.244:2380"
ETCD_INITIAL_CLUSTER="node1=http://192.168.1.242:2380,node2=http://192.168.1.243:2380,node3=http://192.168.1.244:2380"
ETCD_INITIAL_CLUSTER_STATE="new"
ETCD_INITIAL_CLUSTER_TOKEN="etcd-cluster"
ETCD_ADVERTISE_CLIENT_URLS="http://192.168.1.244:2379"
On each node, ensure all the necessary ports are open to allow traffic:
sudo firewall-cmd --permanent --add-port=5432/tcp --add-port=2379/tcp --add-port=2380/tcp --add-port=8008/tcp --add-port=443/tcp && sudo firewall-cmd --reload
Then, start and enable etcd on each node:
sudo systemctl enable --now etcd
Created symlink /etc/systemd/system/multi-user.target.wants/etcd.service → /usr/lib/systemd/system/etcd.service.
Verify the health of etcd:
etcdctl --endpoints=http://192.168.1.242:2379,http://192.168.1.243:2379,http://192.168.1.244:2379 endpoint health
					http://192.168.1.242:2379 is healthy: successfully committed proposal: took = 5.801844ms
http://192.168.1.244:2379 is healthy: successfully committed proposal: took = 5.213591ms
http://192.168.1.243:2379 is healthy: successfully committed proposal: took = 6.494254ms
Modify /etc/patroni/patroni.yml:
Node1 configuration |
Copy and paste the following content into the patroni.yml file:
					scope: postgres
namespace: /db/
name: db1 # node1

etcd3:
  hosts: 192.168.1.242:2379,192.168.1.243:2379,192.168.1.244:2379

restapi:
  listen: "0.0.0.0:8008"
  connect_address: "192.168.1.242:8008"

bootstrap:
  dcs:
    ttl: 30
    loop_wait: 10
    retry_timeout: 10
    maximum_lag_on_failover: 1048576
    postgresql:
      parameters:
        max_connections: 100
        wal_level: replica
        hot_standby: "on"
      pg_hba:
        - host replication all 192.168.1.242/32 trust
        - host replication all 192.168.1.243/32 trust
        - host replication all 192.168.1.244/32 trust
        - local all all trust   # Allow all local connections to the database
        - host all all 127.0.0.1/32 trust    # Allow all local connections (can be restricted)
        - host all all 192.168.1.0/24 trust  # Allow all connections within the network (can be restricted)
  initdb:
    - encoding: UTF8
    - data-checksums

postgresql:
  listen: "0.0.0.0:5432"
  connect_address: "192.168.1.242:5432"
  data_dir: "/var/lib/pgsql/15/data"
  bin_dir: "/usr/pgsql-15/bin"
  authentication:
    superuser:
      username: postgres
      password: postgres@123
    replication:
      username: replicator
      password: replicator@123
  parameters:
    max_connections: 100
    shared_buffers: 256MB

tags:
  nofailover: false
  noloadbalance: false
  clonefrom: false
Save and quit the file. Then, rinse and repeat for the additional nodes in the cluster replacing the node names and IP addresses respectively. Do not add the bootstrap section to the node2 and 3 configuration.
Node2 configuration |
Add the following content into the patroni.yml file:
					scope: postgres
namespace: /db/
name: db2 # node2

etcd3:
  hosts: 192.168.1.242:2379,192.168.1.243:2379,192.168.1.244:2379

restapi:
  listen: "0.0.0.0:8008"
  connect_address: "192.168.1.243:8008"
...
postgresql:
  listen: "0.0.0.0:5432"
  connect_address: "192.168.1.243:5432"
...
Node3 configuration |
Add the following content into the patroni.yml file:
					scope: postgres
namespace: /db/
name: db3 # node3

etcd3:
  hosts: 192.168.1.242:2379,192.168.1.243:2379,192.168.1.244:2379

restapi:
  listen: "0.0.0.0:8008"
  connect_address: "192.168.1.244:8008"
...
postgresql:
  listen: "0.0.0.0:5432"
  connect_address: "192.168.1.244:5432"
...
Then, start and enable Patroni on all nodes:
sudo systemctl enable --now patroni
Check the logs to ensure the patroni.service is running as expected:
journalctl -u patroni -f
					Mar 06 13:13:18 db1.dev.naijalabs.net patroni[1816]: 2025-03-06 13:13:18,290 INFO: initialized a new cluster
Mar 06 13:13:18 db1.dev.naijalabs.net patroni[1816]: 2025-03-06 13:13:18,435 INFO: no action. I am (db1), the leader with the lock
Mar 06 13:13:28 db1.dev.naijalabs.net patroni[1816]: 2025-03-06 13:13:28,296 INFO: no action. I am (db1), the leader with the lock
Mar 06 13:13:39 db1.dev.naijalabs.net patroni[1816]: 2025-03-06 13:13:39,672 INFO: no action. I am (db1), the leader with the lock
...omitted for brevity...
We can observe that db1 is now the leader and responding as expected in the cluster. Check the other two nodes to ensure they are responding as well.
					Mar 06 13:21:08 db2.dev.naijalabs.net patroni[1764]: 2025-03-06 13:21:08,933 INFO: no action. I am (db2), a secondary, and following a leader (db1)
Mar 06 13:21:18 db2.dev.naijalabs.net patroni[1764]: 2025-03-06 13:21:18,888 INFO: no action. I am (db2), a secondary, and following a leader (db1)
Mar 06 13:21:28 db2.dev.naijalabs.net patroni[1764]: 2025-03-06 13:21:28,932 INFO: no action. I am (db2), a secondary, and following a leader (db1)
...omitted for brevity...
According to the output of the logs, the cluster is running successfully and nodes (db) 2 and 3 are following the leader node1.
					Mar 06 13:24:58 db3.dev.naijalabs.net patroni[1844]: 2025-03-06 13:24:58,915 INFO: no action. I am (db3), a secondary, and following a leader (db1)
Mar 06 13:25:08 db3.dev.naijalabs.net patroni[1844]: 2025-03-06 13:25:08,961 INFO: no action. I am (db3), a secondary, and following a leader (db1)
Mar 06 13:25:18 db3.dev.naijalabs.net patroni[1844]: 2025-03-06 13:25:18,915 INFO: no action. I am (db3), a secondary, and following a leader (db1)
...omitted for brevity...
Check the Patroni cluster status:
patronictl -c /etc/patroni/patroni.yml list
					+ Cluster: postgres (7478761236584306472) -----+----+-----------+
| Member | Host          | Role    | State     | TL | Lag in MB |
+--------+---------------+---------+-----------+----+-----------+
| db1    | 192.168.1.242 | Leader  | running   |  1 |           |
| db2    | 192.168.1.243 | Replica | streaming |  1 |         0 |
| db3    | 192.168.1.244 | Replica | streaming |  1 |         0 |
+--------+---------------+---------+-----------+----+-----------+
Verify PostgreSQL replication:
psql -U postgres -x -c "select * from pg_stat_replication;"
					-[ RECORD 1 ]----+------------------------------
pid              | 1898
usesysid         | 16384
usename          | replicator
application_name | db2
client_addr      | 192.168.1.243
client_hostname  |
client_port      | 59512
backend_start    | 2025-03-06 15:07:00.755323-05
backend_xmin     |
state            | streaming
sent_lsn         | 0/404E958
write_lsn        | 0/404E958
flush_lsn        | 0/404E958
replay_lsn       | 0/404E958
write_lag        |
flush_lag        |
replay_lag       |
sync_priority    | 0
sync_state       | async
reply_time       | 2025-03-06 15:10:52.622196-05
...omitted for brevity...
With the patroni.service running and replication working as expected, we can now modify the etcd configuration file on each node:
sudo vim /etc/etcd/etcd.conf
Change the ETCD_INITIAL_CLUSTER_STATE variable from "new" to "existing":
					#ETCD_INITIAL_CLUSTER_STATE="new"
ETCD_INITIAL_CLUSTER_STATE="existing"
Modify /etc/haproxy/haproxy.cfg:
					frontend pgsql_front
    bind *:5000
    default_backend pgsql_back

backend pgsql_back
    balance roundrobin
    server node1 192.168.1.239:5432 check
    server node2 192.168.1.240:5432 check
    server node3 192.168.1.241:5432 check
Restart HAProxy:
sudo systemctl restart haproxy
Step 6: Verify Cluster Status |
Check Patroni cluster status:
patronictl -c /etc/patroni.yml list
Verify PostgreSQL replication:
psql -x -c "select * from pg_stat_replication;"
Deploying a PostgreSQL cluster on AlmaLinux 9 ensures high availability and fault tolerance. By leveraging Patroni, etcd, and HAProxy, you can build a resilient database infrastructure. Implementing robust replication methods, automated failover mechanisms, and effective load balancing are essential components of this setup. Adhering to best practices for monitoring and backups is crucial to maintain an optimal environment. Regularly testing your high availability configuration ensures that it meets your organization’s requirements and can handle unexpected failures.
We hope you found this article informative and helpful. Your feedback is invaluable to us; please consider sharing this post and your thoughts in the comments section below.
Learn how to deploy a highly available MariaDB cluster on RHEL 9 using Galera. Step-by-step instructions with CLI examples and best practices for setting up,

Learn how to install a Kubernetes cluster on RHEL 9 | CentOS 9. Explore step-by-step instructions, best practices, and considerations for smooth deployment and operation.

Learn how to deploy a highly available PostgreSQL database cluster using Pacemaker on RHEL 9 or CentOS 9. This comprehensive guide covers installation, configuration, and testing