Commands
Learn how to install Podman on Rocky Linux 9 with this step-by-step guide. Discover essential commands, advanced features, troubleshooting tips, and system integration techniques to

Learn how to set up and use Podman Compose on AlmaLinux 9.5 with this detailed guide. Includes installation steps, CLI examples, and best practices for managing multi-container applications.
Podman is a versatile container management tool that has rapidly gained traction among developers and system administrators for its secure, daemonless architecture. While Podman itself provides a lightweight solution for containerization, when working with multi-container applications, the need for orchestration arises. This is where Podman Compose comes into play.
Podman Compose is a tool that acts as a drop-in replacement for Docker Compose, allowing you to manage multi-container environments easily. It’s designed to work seamlessly with Podman, enabling you to define and run complex container setups via a simple YAML configuration file. In this blog post, we’ll explore how to set up and use Podman Compose on AlmaLinux 9.5, with detailed instructions and examples to help you get started efficiently.
What is Podman Compose? |
Podman Compose is a tool that allows users to define multi-container applications using a single configuration file, similar to Docker Compose. Instead of managing individual containers manually, Podman Compose automates the process of launching and linking multiple containers.
This tool is particularly useful for deploying complex applications that require different services (e.g., web server, database, cache) to work together. Podman Compose uses a docker-compose.yml-like file (called podman-compose.yml), where you define the services, networks, volumes, and other configurations.
While Podman itself provides the container engine, Podman Compose enables an orchestration layer for managing multi-container setups.
Why Use Podman Compose with AlmaLinux? |
AlmaLinux 9.5, being an enterprise-grade Linux distribution, provides an ideal platform for running production-grade containerized applications. By using Podman Compose, you get the following benefits:
|
|
|
|
Using Podman Compose with AlmaLinux ensures that your containers are highly manageable, secure, and efficient.
Before you install Podman Compose on AlmaLinux, ensure that the following prerequisites are met:
|
|
|
|
Step 1: Install Podman on AlmaLinux 9.5 |
If Podman is not already installed, follow these steps to install it from the AlmaLinux repository:
Update Your System |
sudo dnf update -y
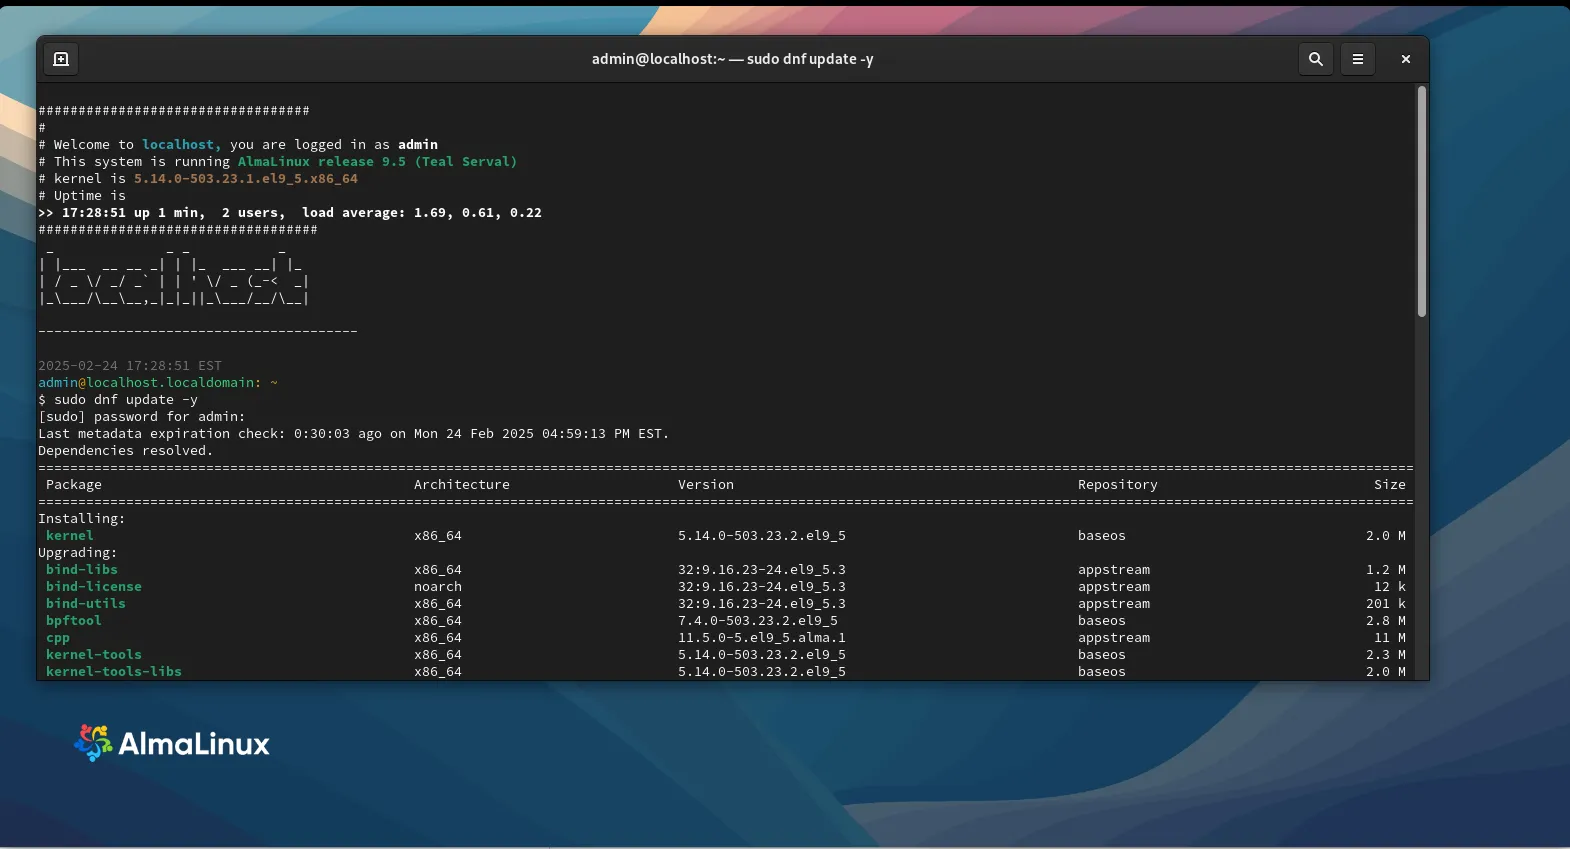
Photo by admingeek from Infotechys
Install Podman |
Run the following command to install Podman:
sudo dnf install podman -y
Verify the Installation |
Ensure that Podman is installed correctly by checking its version:
podman --version
podman version 5.2.2
The output should display the installed version, e.g., podman version 5.2.2.
Step 2: Install Podman Compose |
Podman Compose can be installed using pip, Python’s package manager. This method ensures you get the latest version of Podman Compose.
Install Python 3 and pip (if not already installed): |
sudo dnf install python3 python3-pip -y
Install Podman Compose |
Use the following command to install Podman Compose:
sudo pip3 install podman-compose
					Collecting podman-compose
  Downloading podman_compose-1.3.0-py2.py3-none-any.whl (41 kB)
     |████████████████████████████████| 41 kB 195 kB/s
Requirement already satisfied: pyyaml in /usr/lib64/python3.9/site-packages (from podman-compose) (5.4.1)
Collecting python-dotenv
  Downloading python_dotenv-1.0.1-py3-none-any.whl (19 kB)
Installing collected packages: python-dotenv, podman-compose
...omitted for brevity...
Verify Podman Compose Installation |
After the installation completes, verify that Podman Compose is installed correctly:
podman-compose --version
The output should show the installed version of Podman Compose.
					podman-compose version 1.3.0
podman version 5.2.2
A key feature of Podman Compose is the ability to define multi-container setups using a configuration file. This configuration is typically named podman-compose.yml and includes the necessary definitions for services, networks, and volumes. Here’s a simple example of a podman-compose.yml file:
					version: "3.8"
services:
  web:
    image: nginx:latest
    ports:
      - "8080:80"
    networks:
      - webnet
  db:
    image: postgres:latest
    environment:
      POSTGRES_PASSWORD: example
    networks:
      - webnet
networks:
  webnet:
    driver: bridge
In this example:
|
|
|
This file defines a web server and a database that can communicate over the webnet network.
Once the podman-compose.yml file is ready, you can use the following commands to manage your multi-container applications.
Step 1: Start Services |
Navigate to the directory containing your podman-compose.yml file and run:
podman-compose up
Select the docker.io registry. This command will pull the necessary images (if not already available) and start the containers defined in the (podman-compose.yml) YAML file.
					02c401634acd5c96c354ad756a76af64b8b72e6dcf4291e07d38184a37a4ef01
? Please select an image:
    registry.access.redhat.com/nginx:latest
    registry.redhat.io/nginx:latest
  ▸ docker.io/library/nginx:latest
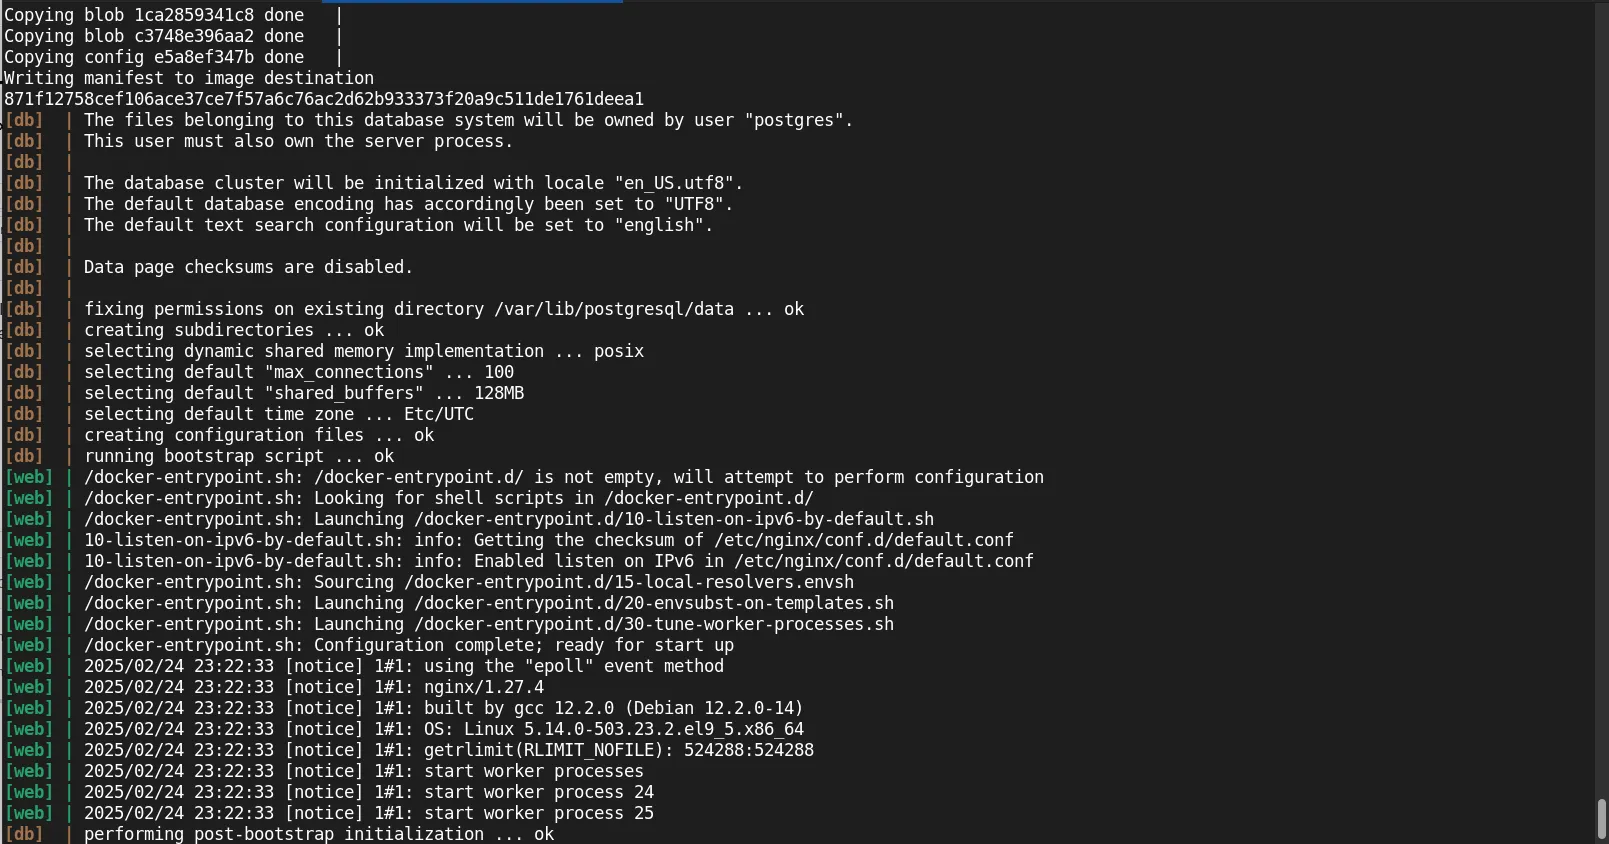
Photo by admingeek from Infotechys
Step 2: Run in Detached Mode |
To run the services in the background (detached mode), use the -d flag:
podman-compose up -d
Step 3: Stop Services |
To stop the running containers, use the following command:
podman-compose down
					admin_db_1
admin_web_1
admin_db_1
admin_web_1
02c401634acd5c96c354ad756a76af64b8b72e6dcf4291e07d38184a37a4ef01
admin_webnet
This command stops and removes the containers defined in the configuration file.
Step 4: View Logs |
You can view the logs of all services using:
podman-compose logs
					ced060f7cff8 The files belonging to this database system will be owned by user "postgres".
bb8832df22f1 /docker-entrypoint.sh: /docker-entrypoint.d/ is not empty, will attempt to perform configuration
ced060f7cff8 This user must also own the server process.
bb8832df22f1 /docker-entrypoint.sh: Looking for shell scripts in /docker-entrypoint.d/
ced060f7cff8
ced060f7cff8 The database cluster will be initialized with locale "en_US.utf8".
ced060f7cff8 The default database encoding has accordingly been set to "UTF8".
ced060f7cff8 The default text search configuration will be set to "english".
...omitted for brevity...
To view logs for a specific service, use:
podman-compose logs web
Here are some best practices for managing your multi-container applications with Podman Compose:
|
|
|
|
While using Podman Compose, you might encounter some common issues. Here are a few troubleshooting tips:
| Issue | Solution |
|---|---|
| Podman Compose Fails to Start Containers | Ensure that Podman is running correctly by verifying with podman ps. If Podman itself has issues, resolve them before retrying. |
| Service Not Connecting | If your services cannot communicate with each other, verify the network configurations in your YAML file. |
| Outdated Images | If Podman Compose pulls outdated images, you can force it to pull the latest version by using podman-compose pull. |
Podman Compose is an essential tool for anyone working with multi-container applications on AlmaLinux 9.5. By providing an easy-to-use configuration file and leveraging Podman’s rootless, daemonless architecture, it offers a secure, efficient, and scalable solution for managing containers.
With the steps outlined in this post, you now have the knowledge to install, configure, and use Podman Compose effectively on AlmaLinux. Whether you’re deploying a simple web application or a complex microservices architecture, Podman Compose will help simplify container orchestration and management.
Did you find this article useful? Your feedback is invaluable to us! Please feel free to share this post!
Learn how to install Podman on Rocky Linux 9 with this step-by-step guide. Discover essential commands, advanced features, troubleshooting tips, and system integration techniques to
Discover how to enhance Podman container management with systemd using Quadlets in this comprehensive guide. Learn about the benefits, setup process, and performance improvements, along

Learn how to install Podman on AlmaLinux 9.5 with a step-by-step guide. Set up Podman containers, use Podman Compose, and manage multi-container applications securely. Table