| Hostname | IP Address | RAM (GB) | Cores | Storage (GB) | OS |
|---|---|---|---|---|---|
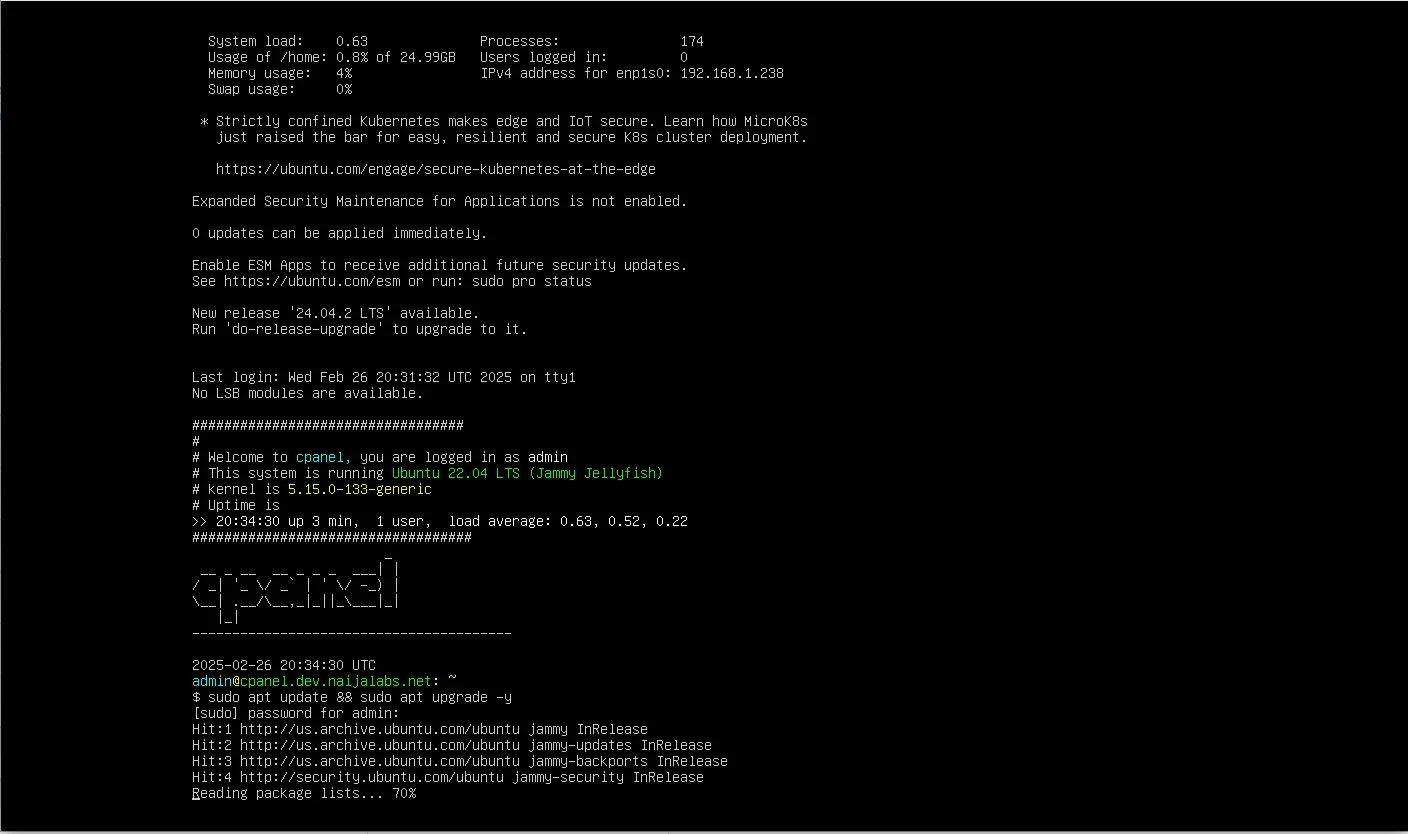
| cpanel.dev.naijalabs.net | 192.168.1.238 | 8 | 4 | 650 | Ubuntu 22.04 LTS (Jammy Jellyfish) |


In this guide, we’ll walk you through the seamless process of migrating from Ubuntu 20.04 to 22.04, ensuring a smooth transition without losing any data
In this comprehensive guide, we’ll walk you through the step-by-step process of installing Podman on Ubuntu 22.04, empowering you to leverage its capabilities for your

In this guide, we’ll walk you through how to install AnyDesk on Ubuntu 22.04, ensuring a smooth and hassle-free setup process for seamless remote desktop