
Commands
In this guide, we’ll walk you through the step-by-step process of installing Remmina on RHEL9 or CentOS9. Remmina is a feature-rich remote desktop client that allows

Learn how to install and configure AnyDesk on Rocky Linux 9 with this step-by-step guide. Discover installation methods, configuration tips, and troubleshooting solutions for a seamless remote desktop experience.
AnyDesk is a powerful, fast, and secure remote desktop application that allows users to access and control computers remotely. Whether you’re an individual seeking remote access to your computer, or a team managing multiple systems across various locations, AnyDesk provides a seamless experience for remote connections. In this blog post, we will walk you through the process of installing and configuring AnyDesk on Rocky Linux 9, one of the popular enterprise-grade Linux distributions.
We will cover:
| How to install AnyDesk on Rocky Linux 9 |
| Configuring AnyDesk for optimal performance and security |
| Troubleshooting tips for AnyDesk on Rocky Linux 9 |
Let’s dive in!
AnyDesk is known for its low latency, efficient bandwidth usage, and high-quality video and audio during remote connections. It is particularly ideal for use cases in IT support, accessing virtual machines, or simply controlling remote workstations.
Some of the benefits of AnyDesk include:
| Cross-Platform Support: Works on Linux, Windows, macOS, and mobile devices. |
| High Performance: Optimized for low-bandwidth environments. |
| Security: End-to-end encryption and strong authentication mechanisms. |
| User-Friendly Interface: Simple to use for both beginners and experts. |
Rocky Linux 9, a downstream rebuild of Red Hat Enterprise Linux (RHEL), provides an enterprise-grade, stable environment for running AnyDesk. Whether you’re an IT professional or a home user, this setup will help you connect to any machine easily.
Before starting the installation, make sure your system is up-to-date and meets the necessary dependencies. Follow the steps below to install AnyDesk on your Rocky Linux 9 machine.
Step 1: Update Your System |
It’s always a good idea to update your system before installing new software. Open a terminal window and run the following commands to update your system packages:
sudo dnf update -y
Step 2: Add AnyDesk Repository |
AnyDesk provides a dedicated repository for Red Hat-based systems like Rocky Linux 9. To add the repository to your system, run the following commands:
					cat > /etc/yum.repos.d/AnyDesk-RHEL.repo << "EOF"
[anydesk]
name=AnyDesk RHEL - stable
baseurl=http://rpm.anydesk.com/rhel/$basearch/
gpgcheck=1
repo_gpgcheck=1
gpgkey=https://keys.anydesk.com/repos/RPM-GPG-KEY
EOF
Step 3: Install AnyDesk |
Once the repository is added, you can install AnyDesk using the dnf package manager (Then, reboot your machine):
sudo dnf install -y anydesk && sudo systemctl reboot
This command will download and install AnyDesk and its dependencies on your Rocky Linux 9 system.
NOTE: AnyDesk is set to autostart after installation. If it doesn’t run after reboot, proceed to step 4.
Step 4: Start and Enable AnyDesk Service |
Run the following command–if you need to start and enable the AnyDesk service to ensure it starts automatically on boot:
sudo systemctl enable --now anydesk
Step 5: Verify Installation |
To verify that AnyDesk has been successfully installed, you can check the service status using the following command:
sudo systemctl status anydesk
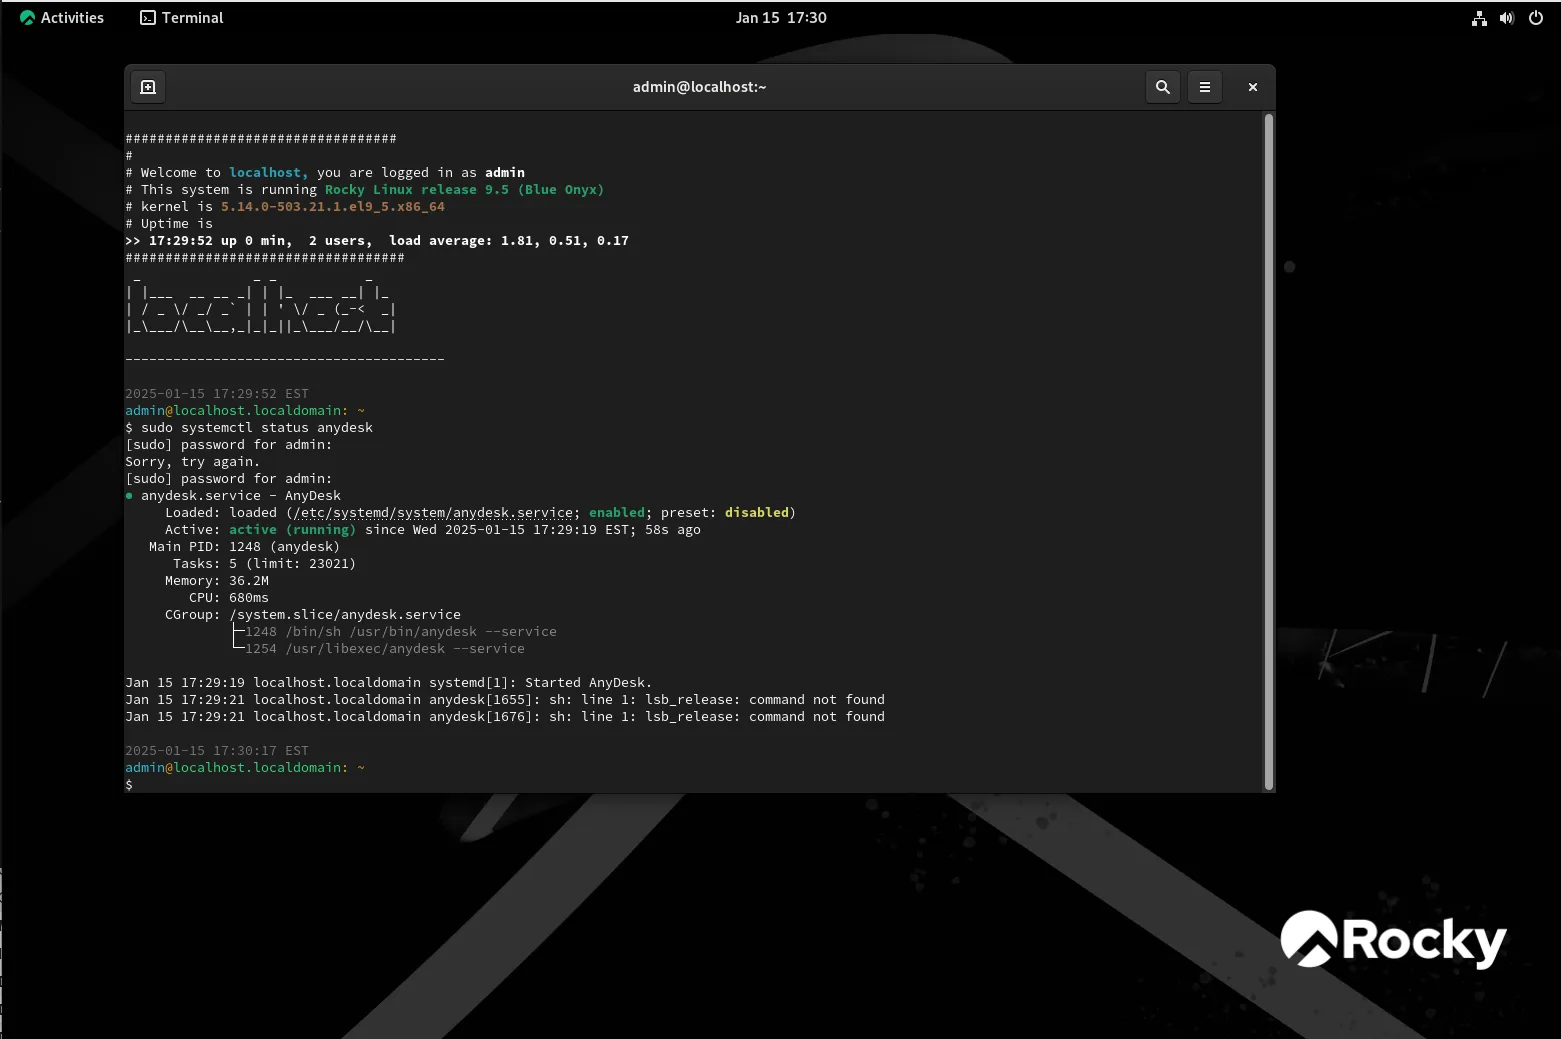
Photo by admingeek from Infotechys
Once AnyDesk is installed on your Rocky Linux 9 machine, it’s important to configure it to optimize performance and enhance security. Here are the key settings to consider:
1. Configuring Security Settings |
Security is a critical aspect of any remote desktop solution. AnyDesk provides several settings that you can configure to ensure that your remote connections are secure.
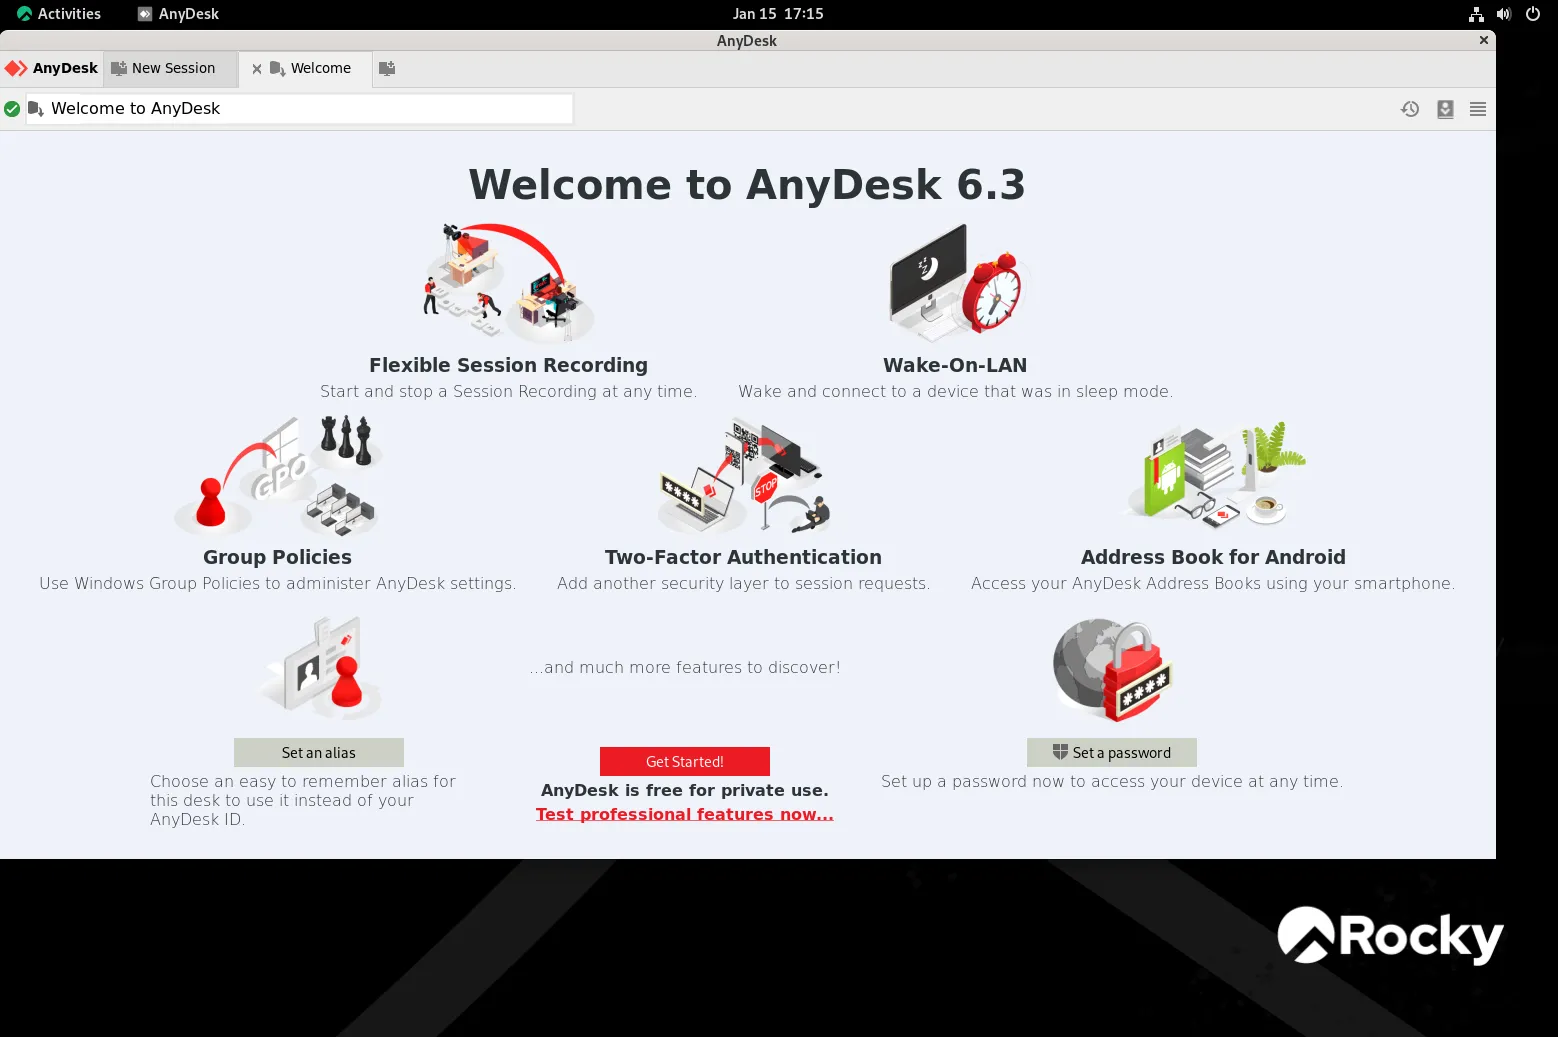
Photo by admingeek from Infotechys
Set a Password for Unattended Access |
To allow remote access when you’re not around, you need to set a password for unattended access. This ensures that only authorized users can connect to your machine.
anydesk
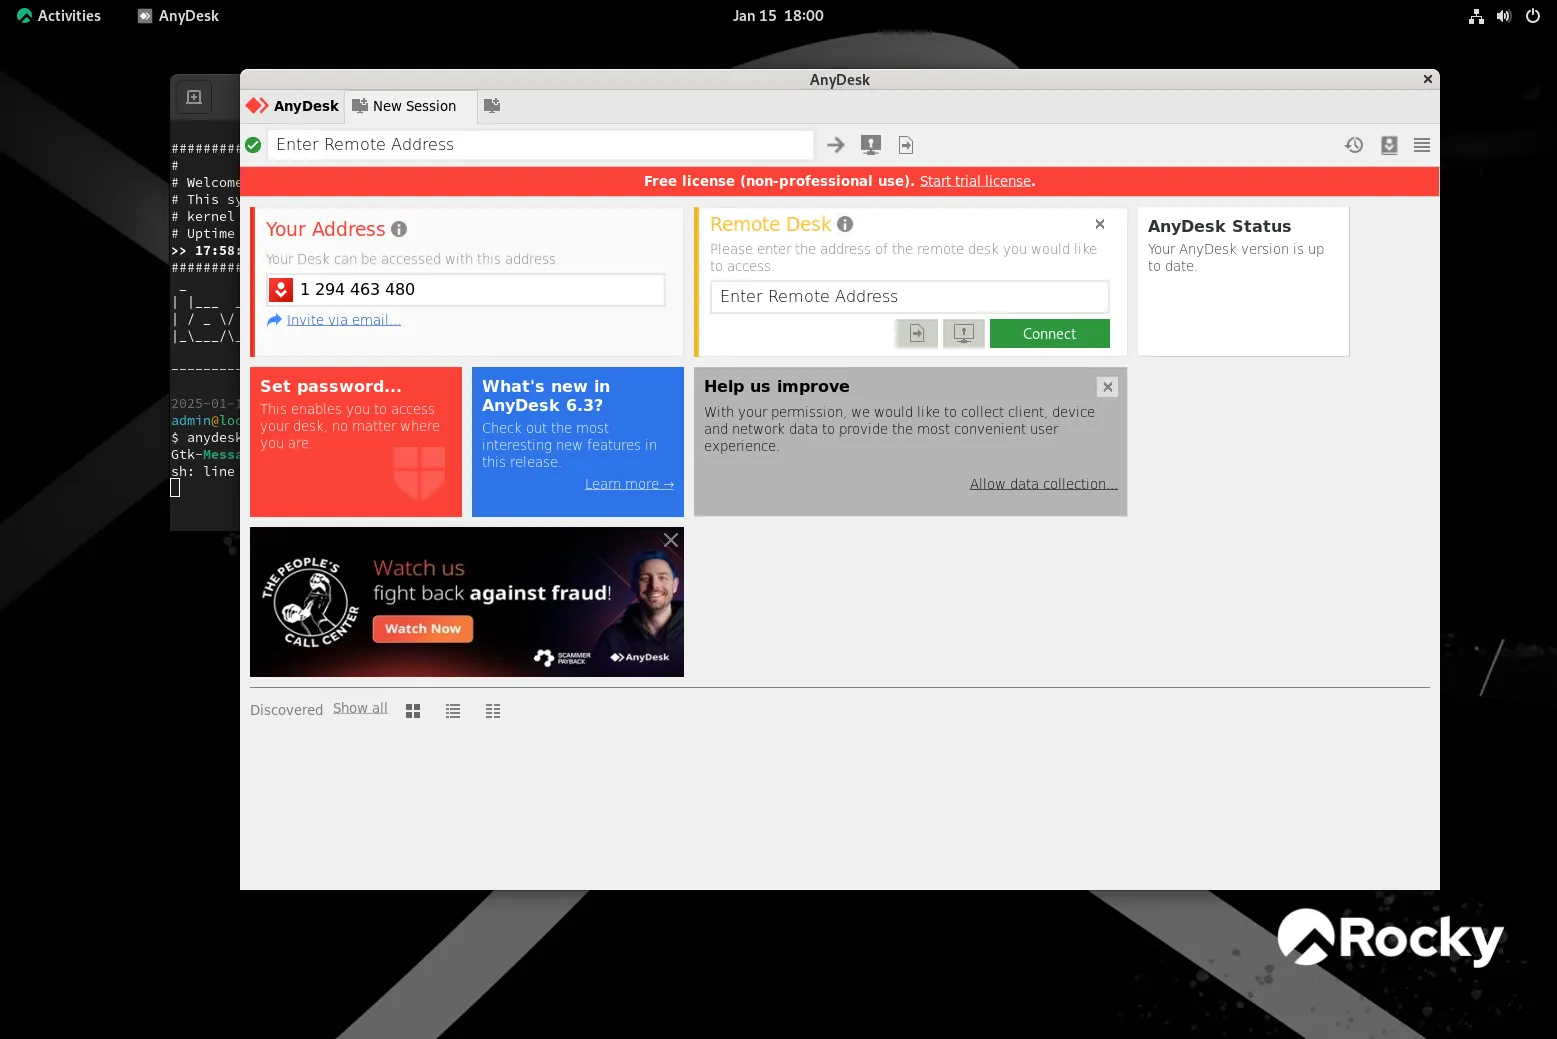
Photo by admingeek from Infotechys
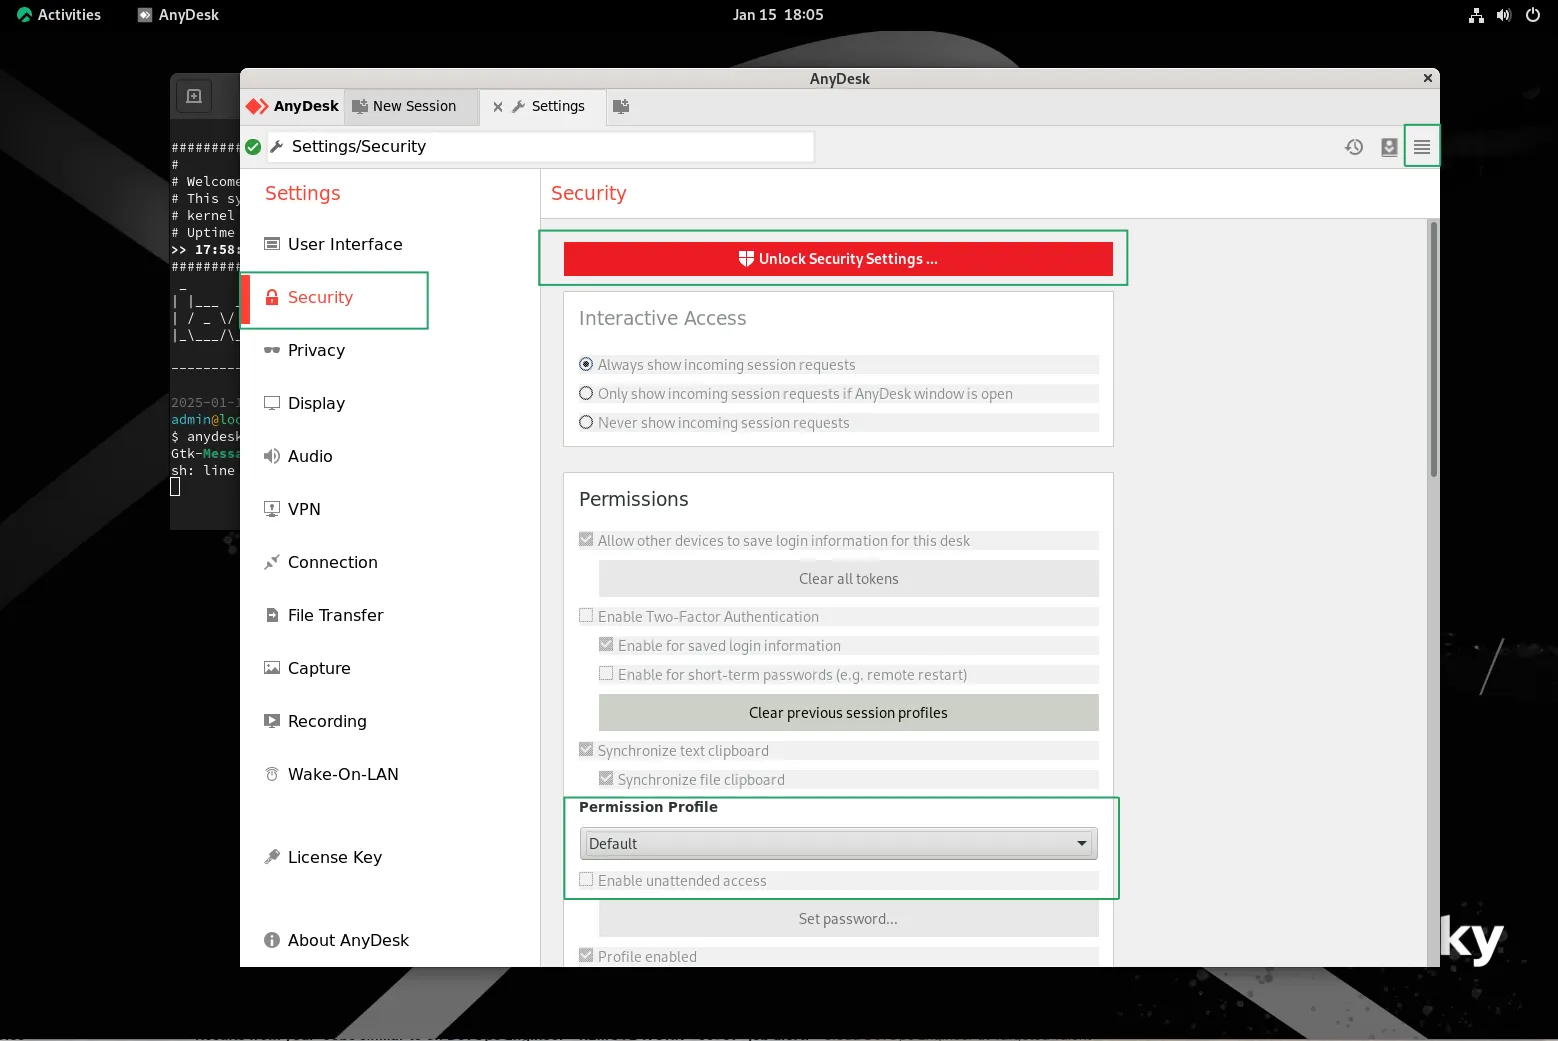
Photo by admingeek from Infotechys
Enable Two-Factor Authentication (2FA) |
For enhanced security, it’s advisable to enable two-factor authentication for your AnyDesk account. This adds an extra layer of protection to prevent unauthorized access.
2. Optimizing Performance for Low-Bandwidth Environments |
AnyDesk is optimized for use in low-bandwidth environments, but you can tweak the settings to maximize performance even further.
Enable Hardware Acceleration |
Hardware acceleration can improve performance by offloading rendering tasks to your GPU. To enable hardware acceleration, follow these steps:
Adjust Image Quality Settings |
If you’re on a low-bandwidth network, reducing the image quality can help improve performance. You can adjust the image quality by navigating to:
While AnyDesk is generally very stable, you may encounter issues from time to time. Below are some common problems and how to resolve them:
1. Problem: AnyDesk Service Not Starting |
If the AnyDesk service isn’t starting, you can try the following troubleshooting steps:
sudo dnf update -y
sudo dnf remove anydesk -y && sudo dnf install anydesk -y
sudo journalctl -xe | grep anydesk
2. Problem: Connection Issues |
If you’re facing connection issues, consider the following:
					sudo firewall-cmd --permanent --add-port=6568/tcp
sudo firewall-cmd --reload
3. Problem: Unattended Access Not Working |
If unattended access is not working, ensure that you’ve set a strong password and enabled unattended access in the Security settings. Double-check that the correct password is being used to connect.
| Feature | Details |
|---|---|
| Cross-Platform Support | Works on Linux, Windows, macOS, and mobile devices. |
| High Performance | Optimized for low-bandwidth environments. |
| Security | End-to-end encryption and strong authentication mechanisms. |
| User-Friendly Interface | Simple to use for both beginners and experts. |
| Unattended Access | Set up unattended access with a secure password. |
| Hardware Acceleration | Enable for better performance in graphic-intensive tasks. |
By following this guide, you’ll be up and running with AnyDesk on Rocky Linux 9 in no time.
Installing and configuring AnyDesk on Rocky Linux 9 is straightforward, thanks to the software’s easy-to-use interface and powerful features. By following this guide, you can enjoy fast, secure, and seamless remote desktop access, whether you’re connecting to Linux, Windows, macOS, or mobile devices. Don’t forget to configure security settings like unattended access and two-factor authentication to protect your system. If you encounter any issues, the troubleshooting tips provided will help you resolve common problems quickly.
Remote desktop solutions are invaluable for businesses and individuals alike, and AnyDesk provides a robust and reliable solution for Rocky Linux 9 users. By taking advantage of AnyDesk’s performance and security features, you can ensure that your remote access experience is smooth and secure.
For more tips and troubleshooting advice, be sure to check out the Official AnyDesk documentation or refer to the community forums for additional support.
Did you find this article useful? Your feedback is invaluable to us! Please feel free to share your thoughts in the comments section below.
In this guide, we’ll walk you through the step-by-step process of installing Remmina on RHEL9 or CentOS9. Remmina is a feature-rich remote desktop client that allows

In this guide, we’ll walk you through the step-by-step process to install Remmina on Ubuntu 20.04. Remmina is a comprehensive remote desktop client packed with features,
In this guide, we’ll walk you through how to install AnyDesk on Ubuntu 22.04, ensuring a smooth and hassle-free setup process for seamless remote desktop