Commands
Learn how to install Podman on Ubuntu 24.04 Server with this comprehensive guide. Discover key features, essential commands, and troubleshooting tips to effectively manage your

Learn how to install Podman on Rocky Linux 9 with this step-by-step guide. Discover essential commands, advanced features, troubleshooting tips, and system integration techniques to efficiently manage containers on your system.
Podman is a powerful container management tool that offers a similar experience to Docker but with a key difference — Podman does not require a central daemon to run. It’s designed to be daemonless, which enhances security and simplicity. If you’re using Rocky Linux 9, a RHEL-based distribution known for its stability and performance, installing and managing containers with Podman can significantly improve your workflow, especially when managing containerized applications.
This guide will walk you through the process of installing Podman on Rocky Linux 9. Whether you’re a developer, system administrator, or IT professional, this comprehensive tutorial will provide you with all the steps you need to get Podman up and running on your system.
Before we dive into the installation process, let’s take a moment to understand why Podman is gaining popularity as an alternative to Docker.
Key Differences Between Podman and Docker |
| Feature | Podman | Docker |
|---|---|---|
| Daemonless | Yes, no background daemon required | Requires a central daemon (dockerd) |
| Rootless Containers | Supports rootless container execution | Docker requires root privileges for most actions |
| CLI Compatibility | Fully compatible with Docker CLI | Fully compatible with Docker CLI |
| System Integration | Integrates with systemd for better management | Requires Docker daemon service |
| Security | Improved security (no root requirement) | Less secure when using root privileges |
Why Podman? |
Podman is ideal for both individual developers and large-scale production environments, making it a perfect fit for Rocky Linux 9.
Prerequisites |
Before you begin the installation, ensure you meet the following prerequisites:
Installing Podman on Rocky Linux 9 is straightforward, thanks to the EPEL repository and the dnf package manager.
Step 1: Update Your System |
Start by updating your system to ensure all existing packages are up to date. Open a terminal and run the following command:
sudo dnf update -y
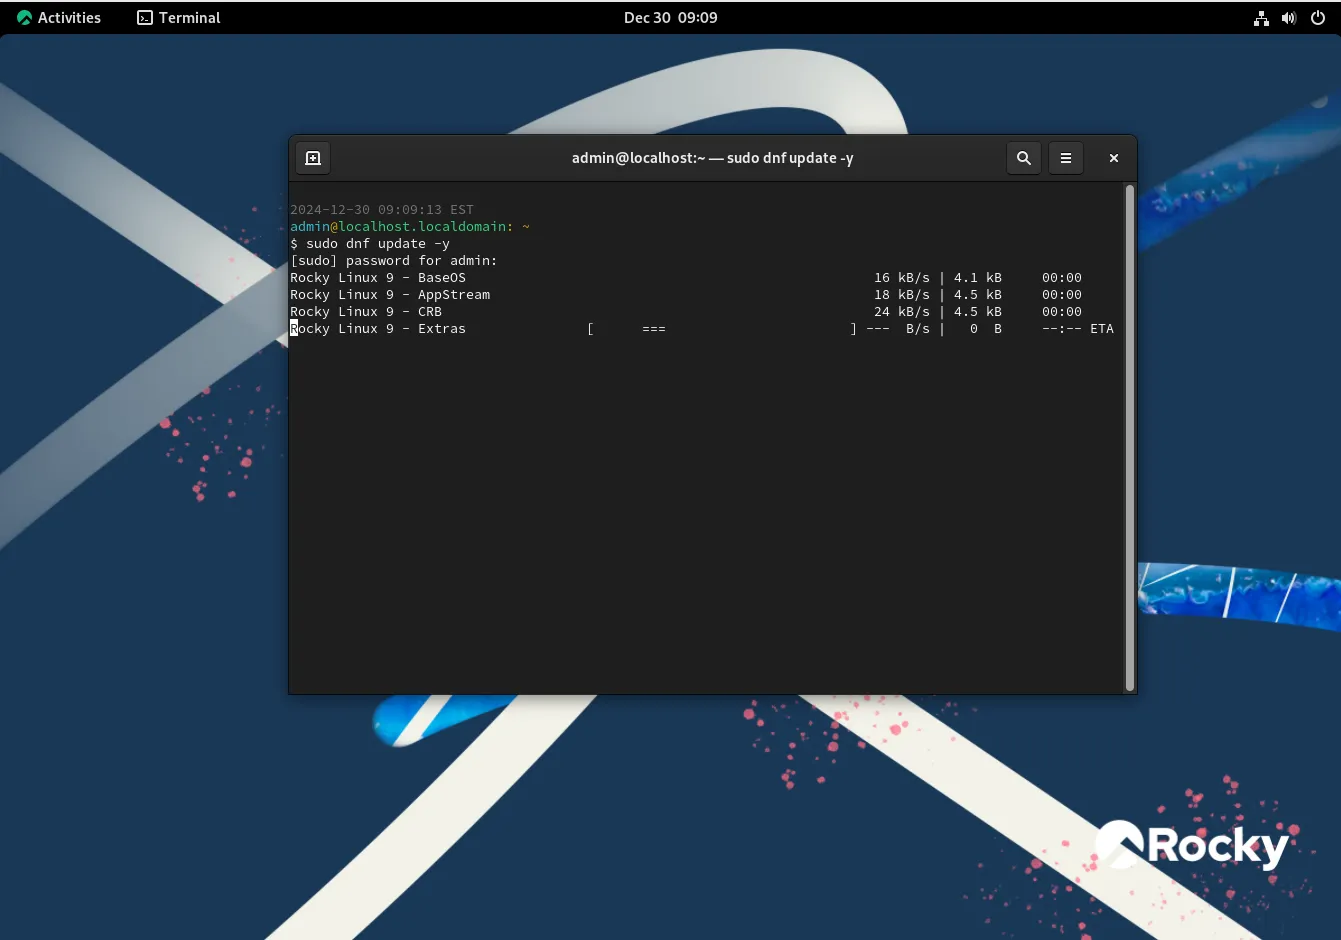
Photo by admingeek from Infotechys
This command will update all the installed packages to their latest versions.
Step 2: Enable EPEL Repository |
Podman is available in the EPEL (Extra Packages for Enterprise Linux) repository, which is not enabled by default in Rocky Linux 9. To enable EPEL, run the following command:
sudo dnf install epel-release -y
This will install the EPEL repository configuration, enabling you to access additional packages.
Step 3: Install Podman |
Now that the EPEL repository is enabled, you can install Podman using the dnf package manager. Run the following command to install Podman:
sudo dnf install podman -y
This will install Podman and all its dependencies on your system. Once the installation is complete, you can verify that Podman was installed successfully by checking its version:
podman --version
podman version 5.2.2
The output should display the installed version of Podman, indicating that the installation was successful.
Step 4: Start and Enable Podman Services |
Since Podman is daemonless, it doesn’t require a central service to run. However, it does integrate well with systemd for managing containerized applications. If you want to use Podman to manage containers as systemd services, you’ll need to ensure that systemd is configured correctly.
Podman’s integration with systemd is automatic, so no additional setup is required.
After installing Podman, it’s time to start using it. Here are some of the basic commands you will use frequently when working with Podman:
1. Run a Container |
To run a container, use the podman run command. For example, to run an instance of the nginx container:
podman run -d -p 8080:80 --name nginx-container nginx
					Trying to pull docker.io/library/nginx:latest...
Getting image source signatures
Copying blob 566e42bcee1c done   |
Copying blob da8cc133ff82 done   |
Copying blob 2b99b9c5d9e5 done   |
Copying blob bd98674871f5 done   |
Copying blob 1e109dd2a0d7 done   |
Copying blob fd674058ff8f done   |
Copying blob c44f27309ea1 done   |
Copying config f876bfc1cc done   |
Writing manifest to image destination
c30c33d6ed85316b59048950c0caa32f5df4a284b018f734a1e8f556150ac3f1
This command will run the nginx container in detached mode (-d), expose port 8080 on your host, and map it to port 80 on the container.
NOTE: Select the
docker.io/libraryregistry if you don’t have a Redhat account. The Redhat registries require that you login usingpodman loginwith your Redhat credentials to gain access.
2. List Running Containers |
To list all running containers, use the podman ps command:
podman ps
					CONTAINER ID  IMAGE                           COMMAND               CREATED         STATUS         PORTS                         NAMES
c30c33d6ed85  docker.io/library/nginx:latest  nginx -g daemon o...  29 minutes ago  Up 29 minutes  0.0.0.0:8080->80/tcp, 80/tcp  nginx-container
This will display all the containers currently running on your system.
3. Stop a Container |
To stop a container, use the podman stop command followed by the container name or ID:
podman stop nginx-container
You only need the first few characters of the Container ID: c30 (in this example) when referring to the container.
4. Remove a Container |
To remove a container, use the podman rm command. Make sure the container is stopped before removing it:
podman rm nginx-container
5. Pull an Image |
To pull a container image from a container registry (like Docker Hub), use the podman pull command:
podman pull nginx
This will download the latest version of the nginx image.
Podman can be configured for various use cases, including rootless container management and systemd integration. Here are some configuration tips:
1. Rootless Containers |
Podman supports rootless containers, which allows users to run containers without root privileges. This is enabled by default when running Podman as a non-root user. To verify that you can run containers without root access, simply try running the following command as a regular user:
podman run -d nginx
If successful, Podman is working in rootless mode.
2. Systemd Integration |
Podman integrates well with systemd for managing containerized applications as services. For example, to run a containerized service with systemd, you can generate a systemd unit file using the following command:
sudo podman generate systemd --name nginx-container > /etc/systemd/system/nginx-container.service
After generating the service file, you can enable and start the service with systemd:
sudo systemctl enable --now nginx-container
NOTE: The
podman generate systemdcommand is DEPRECATED: It is recommended to use Quadlets for running containers and pods under systemd.
Once you’ve installed and configured Podman, you’ll likely use it to manage various containers. Below are some advanced tips to manage containers effectively.
1. Podman Pod |
A Pod is a group of containers that share the same network namespace. To create a pod with Podman:
podman pod create --name my-pod -p 8080:80
2. Running Containers in the Background |
To run containers in the background, use the -d flag. This allows your containers to run as background processes:
podman run -d nginx
3. View Container Logs |
To view the logs of a running container:
podman logs nginx-container
Podman offers several advanced features, such as:
Podman Build: For building container images from a Dockerfile.
Podman Volume: To manage persistent storage volumes for containers.
Podman Push and Pull: To push container images to and pull them from container registries.
Example: Build a Container Image |
To build a container image from a Dockerfile:
podman build -t my-image /path/to/Dockerfile
If you encounter any issues while installing or using Podman on Rocky Linux 9, here are some troubleshooting tips:
| Step | Action | Description |
|---|---|---|
| Check Podman Version | Run podman --version | Ensure that you have the latest version of Podman installed. |
| Verify EPEL Repository | Make sure the EPEL repository is enabled correctly. | Verify that the EPEL (Extra Packages for Enterprise Linux) repository is set up properly. |
| Check Firewall Settings | Verify that necessary ports (e.g., port 8080 for web containers) are allowed. | Ensure your firewall configuration allows access to the required container ports. |
| Review Logs | Check Podman logs for potential errors. | Examine logs to troubleshoot any issues with container behavior or performance. |
Podman is an efficient, secure, and flexible container management tool that integrates seamlessly with Rocky Linux 9. Its daemonless and rootless architecture makes it a powerful alternative to Docker, particularly in terms of security and ease of use. In this guide, we’ve walked through the installation process, basic usage, and advanced configuration of Podman on Rocky Linux 9.
By following this guide, you should be able to confidently install and manage containers using Podman, making it an ideal choice for developers and system administrators alike.
Did you find this article useful? Your feedback is invaluable to us! Please feel free to share your thoughts in the comments section below. Also, share this post!
Learn how to install Podman on Ubuntu 24.04 Server with this comprehensive guide. Discover key features, essential commands, and troubleshooting tips to effectively manage your

Learn how to install the LAMP stack on RHEL 9 | CentOS 9 using Podman with our comprehensive guide. Follow step-by-step instructions to set up
Discover how to enhance Podman container management with systemd using Quadlets in this comprehensive guide. Learn about the benefits, setup process, and performance improvements, along