In this guide, we’ll walk you through the seamless process of migrating from Ubuntu 20.04 to 22.04, ensuring a smooth transition without losing any data

In this guide, we’ll walk you through the step-by-step process of installing Chromium on your Fedora 37 system, ensuring you’re equipped with the latest features and security updates.
In the world of web browsing, Chromium stands out as a robust, open-source project that forms the foundation for many popular browsers, including Google Chrome. If you’re a Fedora 37 user looking to enhance your browsing experience with Chromium, you’re in the right place.
Chromium is an open-source web browser project developed and maintained by the Chromium Project, a community-driven initiative overseen by Google. It serves as the upstream source for many web browsers, including Google Chrome, Microsoft Edge, Opera, and numerous others. Chromium’s primary goal is to provide a fast, stable, and secure browsing experience while promoting transparency and collaboration within the web development community.
Key features of Chromium include:
Speed: | Chromium is known for its fast performance, allowing users to navigate the web with minimal lag or delay. |
| Security: | Chromium prioritizes user security by regularly updating its codebase to address potential vulnerabilities and exploits. |
| Customization: | Chromium offers a range of customization options, allowing users to tailor their browsing experience to suit their preferences. |
| Compatibility: | Chromium supports a wide range of web standards and technologies, ensuring compatibility with the latest web applications and services. |
| Privacy: | Chromium includes features designed to protect user privacy, such as incognito mode and built-in ad-blocking capabilities. |
By installing Chromium on your Fedora 37 system, you gain access to those features (above) and more!
Before diving into the installation process, it’s essential to ensure your Fedora 37 system is up to date. Open a terminal and execute the following commands:
$ sudo dnf update -y
This command will update all installed packages to their latest versions, ensuring a smooth installation process for Chromium.
Chromium is not available in the default Fedora repositories due to licensing restrictions on some of its components. To install Chromium, you’ll need to enable the RPM Fusion repository, which provides access to additional software packages. Execute the following commands in your terminal:
$ sudo dnf install https://download1.rpmfusion.org/free/fedora/rpmfusion-free-release-$(rpm -E %fedora).noarch.rpm
$ sudo dnf install https://download1.rpmfusion.org/nonfree/fedora/rpmfusion-nonfree-release-$(rpm -E %fedora).noarch.rpm
These commands will add the RPM Fusion repository to your system.
With the RPM Fusion repository enabled, you can now proceed to install Chromium. Execute the following command in your terminal:
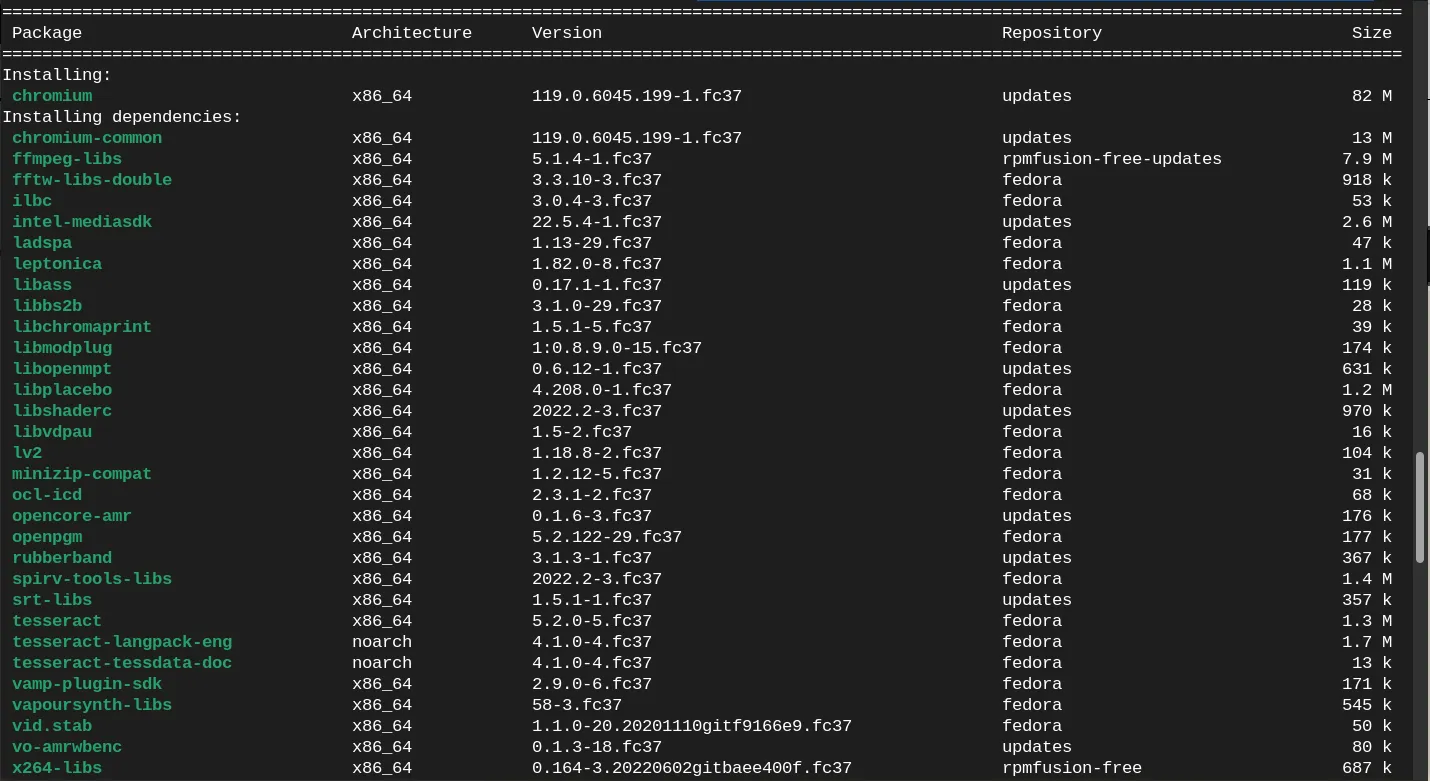
$ sudo dnf install chromium

Photo by admingeek from Infotechys
This command will download and install the Chromium browser along with any necessary dependencies.
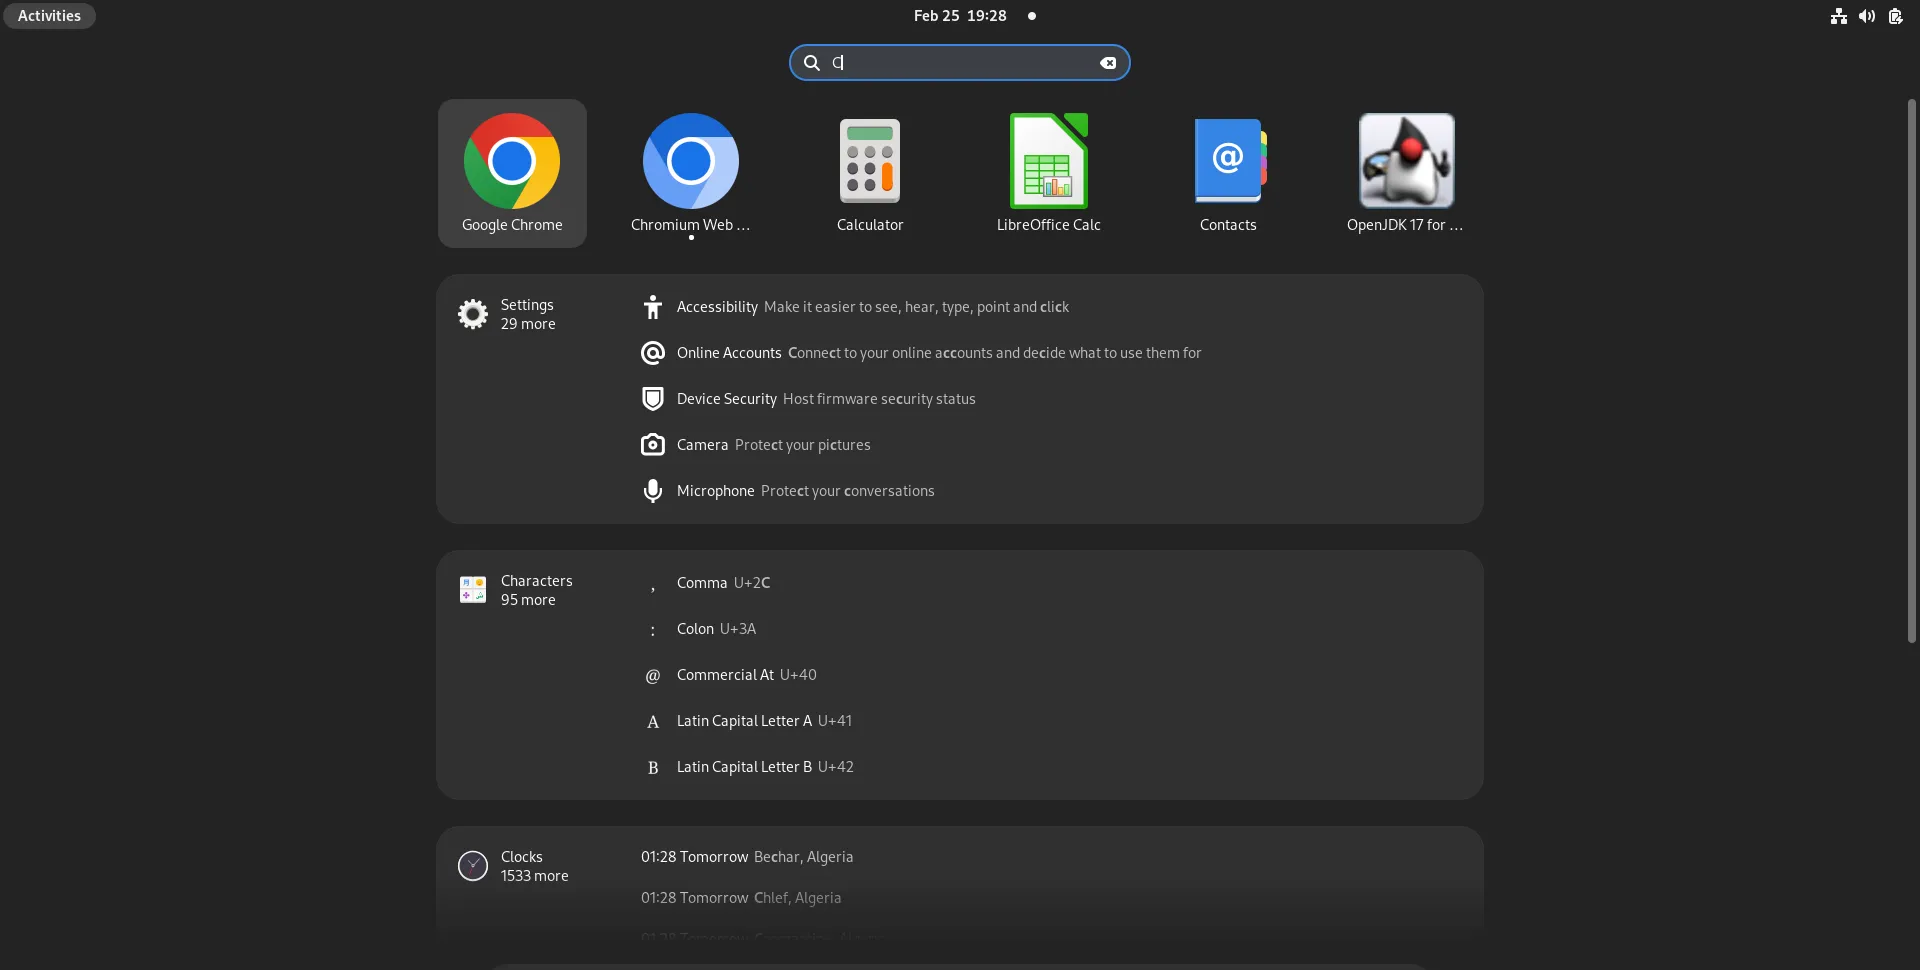
Once the installation is complete, you can launch Chromium from your terminal by executing the following command:
$ chromium-browser
Or, from your Activities Menu (top-left corner of the screen) by typing “chromium” in the search bar:

Photo by admingeek from Infotechys
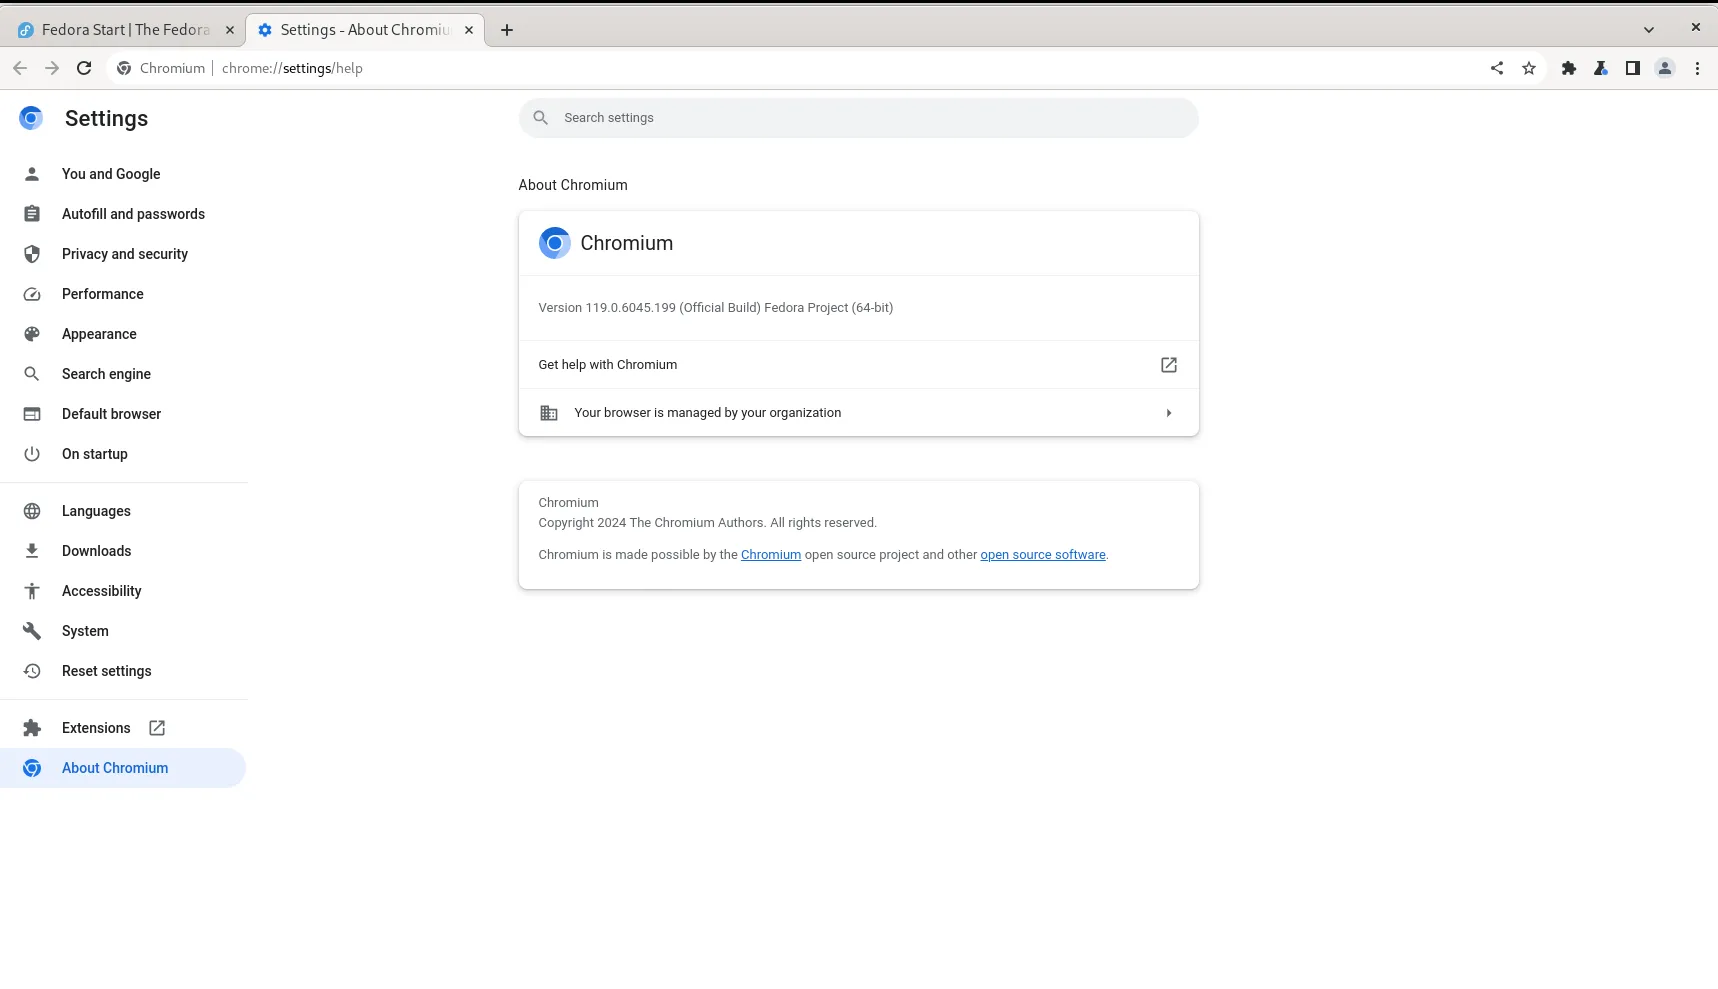
If you prefer to use Chromium as your default web browser, you can set it as such in your Fedora 37 system settings. Navigate to the settings menu, select “Default Browser,” and click the “Make default” button.

Photo by admingeek from Infotechys
Congratulations! You’ve successfully installed Chromium on your Fedora 37 system. With Chromium, you can enjoy a fast, secure, and feature-rich browsing experience, thanks to its extensive capabilities and open-source nature. By following this guide, you’ve ensured that your Fedora 37 system is equipped with the latest version of Chromium, allowing you to stay productive and connected on the web. Happy browsing!
Did you find this article useful? Your feedback is invaluable to us! Please feel free to share your thoughts in the comments section below.
Related Posts

In this guide, we’ll walk you through the seamless process of migrating from Ubuntu 20.04 to 22.04, ensuring a smooth transition without losing any data

In this guide, we’ll walk you through the step-by-step process of installing Remmina on RHEL9 or CentOS9. Remmina is a feature-rich remote desktop client that allows

In this tutorial, we’ll guide you through the step-by-step installation of RHEL9 on KVM. The process is uncomplicated, and we’ll present it in a format
