
In this article, we will guide you through the process of installing EPEL on various versions of RHEL and CentOS. Table of Contents 🔈Introduction The
In this article, we will review how to Install NoMachine on RHEL9 or CentOS9, providing a comprehensive guide to setting up this powerful remote desktop solution on two of the most popular Linux distributions in enterprise and server environments.
In today’s interconnected world, remote desktop solutions have become indispensable for seamless collaboration and efficient troubleshooting. Among the plethora of options available, NoMachine stands out as a robust, cross-platform remote access tool known for its speed, reliability, and security. If you’re running Red Hat Enterprise Linux 9 (RHEL 9) or CentOS 9 and seeking a hassle-free method to set up NoMachine, you’re in the right place. Follow this step-by-step guide to unleash the power of remote desktop connectivity on your system.
Before diving into the installation process, let’s briefly explore why NoMachine is a preferred choice for remote desktop access:
Performance: NoMachine offers exceptional performance, delivering smooth graphics and low-latency connections, even over bandwidth-limited networks.
Cross-Platform Compatibility: Whether you’re using Linux, Windows, macOS, or even mobile platforms like iOS and Android, NoMachine ensures seamless connectivity across diverse environments.
Security: With features like AES encryption and SSH tunneling, NoMachine prioritizes the security of your remote sessions, safeguarding your data from unauthorized access.
User-Friendly Interface: NoMachine’s intuitive interface makes it easy for both beginners and seasoned users to initiate and manage remote connections effortlessly.
Here are the hardware and software requirements needed to run Nomachine as listed on their website.
Hardware
|
Software
|
Now, let’s get down to business and walk through the installation process:
Begin by navigating to the NoMachine website (NoMachine) and downloading the appropriate package for your system architecture (32-bit or 64-bit) and distribution (RHEL/CentOS 9). As of the date of this publication, the most recent RPM version is: nomachine_8.10.1_1_x86_64.rpm
Before installing NoMachine, ensure that your system has all the necessary dependencies. Run the following command in your terminal to install them:
$ sudo dnf install glibc libX11 libXext libXrender libXrandr
Once the dependencies are in place, navigate to the directory where you downloaded the NoMachine package and execute the following command to install it:
$ sudo rpm -ivh nomachine_8.10.1_1_x86_64.rpm
Replace nomachine_8.10.1_1_x86_64.rpm with the actual filename of the NoMachine package you downloaded. Throughout the installation process, you can expect the following information to be displayed in your terminal (below):
					Verifying...                          ################################# [100%]
Preparing...                          ################################# [100%]
Updating / installing...
   1:nomachine-8.10.1-1               ################################# [100%]
NX> 700 Starting installation at: Mon, 29 Jan 2024 18:06:58.
NX> 700 Using installation profile: Red Hat.
NX> 700 Installation log is: /usr/NX/var/log/nxinstall.log.
NX> 700 Installing nxrunner version: 8.10.1.
NX> 700 Installing nxplayer version: 8.10.1.
NX> 700 Installing nxnode version: 8.10.1.
NX> 700 Installing nxserver version: 8.10.1.
NX> 700 Installation completed at: Mon, 29 Jan 2024 18:08:08.
NX> 700 NoMachine was configured to run the following services:
NX> 700 NX service on port: 4000
Run the following commands to ensure port 4000 is open for remote access:
					$ sudo firewall-cmd --permanent --add-port=4000/tcp

$ sudo firewall-cmd --reload
After successful installation, start the NoMachine service by running the following command:
$ sudo systemctl start nxserver
With the service up and running, launch the NoMachine client on your local machine. Enter the IP address or hostname of your RHEL 9 or CentOS 9 system to establish a remote desktop connection. Follow the on-screen prompts to authenticate and access your remote desktop environment seamlessly.
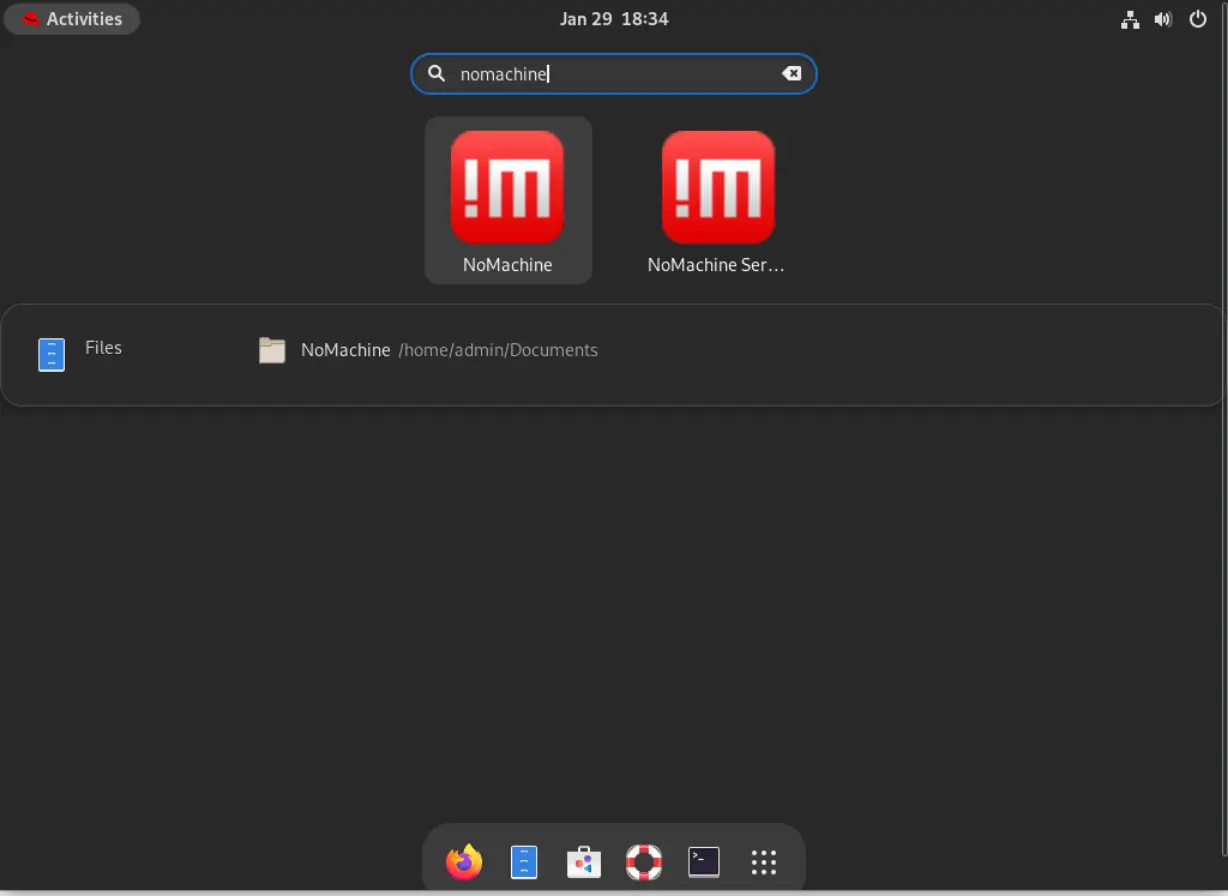
Photo by admingeek from Infotechys
Click the NoMachine Icon on the right to launch the application and establish a remote desktop connection. The NoMachine Icon on the right simply shows the server status (image below).
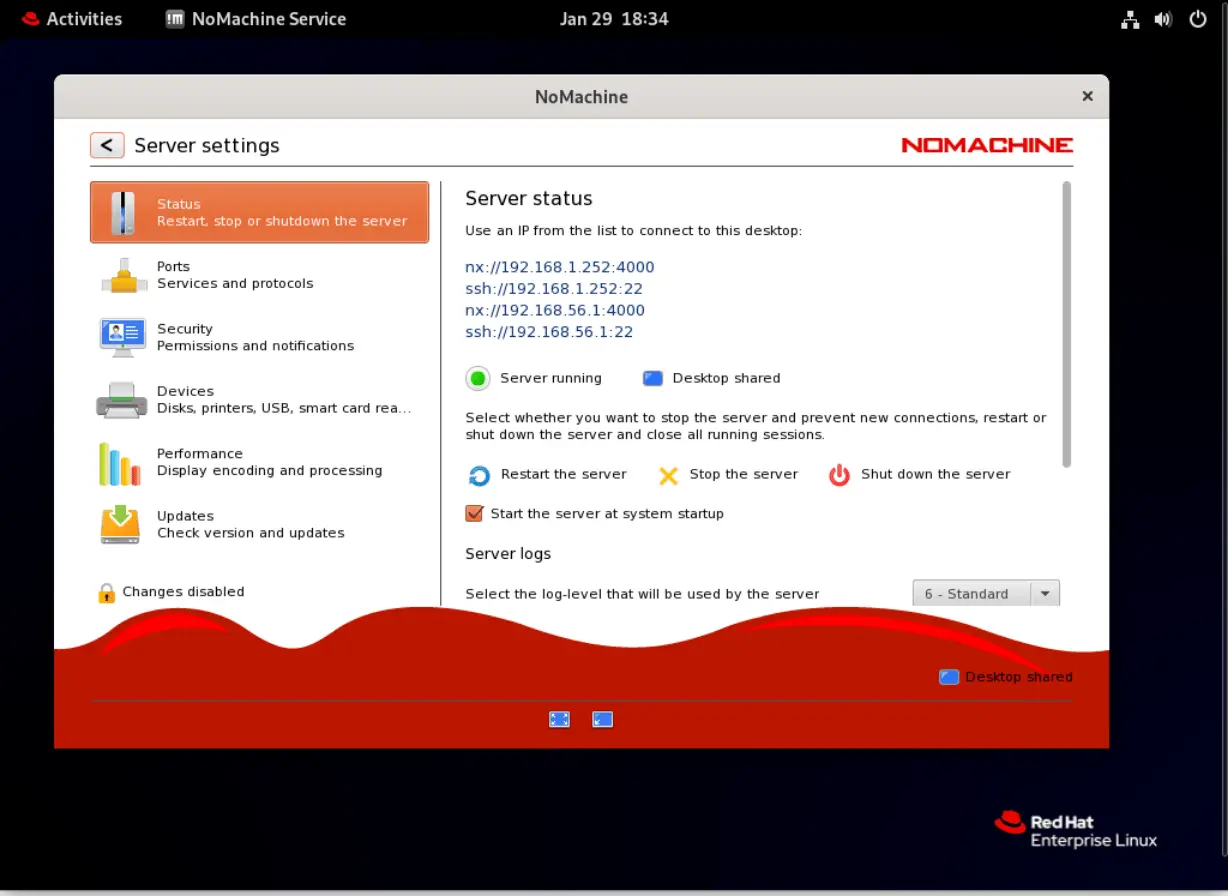
Photo by admingeek from Infotechys
Now lets click the left NoMachine icon and begin the launch process. As you will see in the images below, there are several dialog windows that will inform you about NoMachine’s functionality and features:
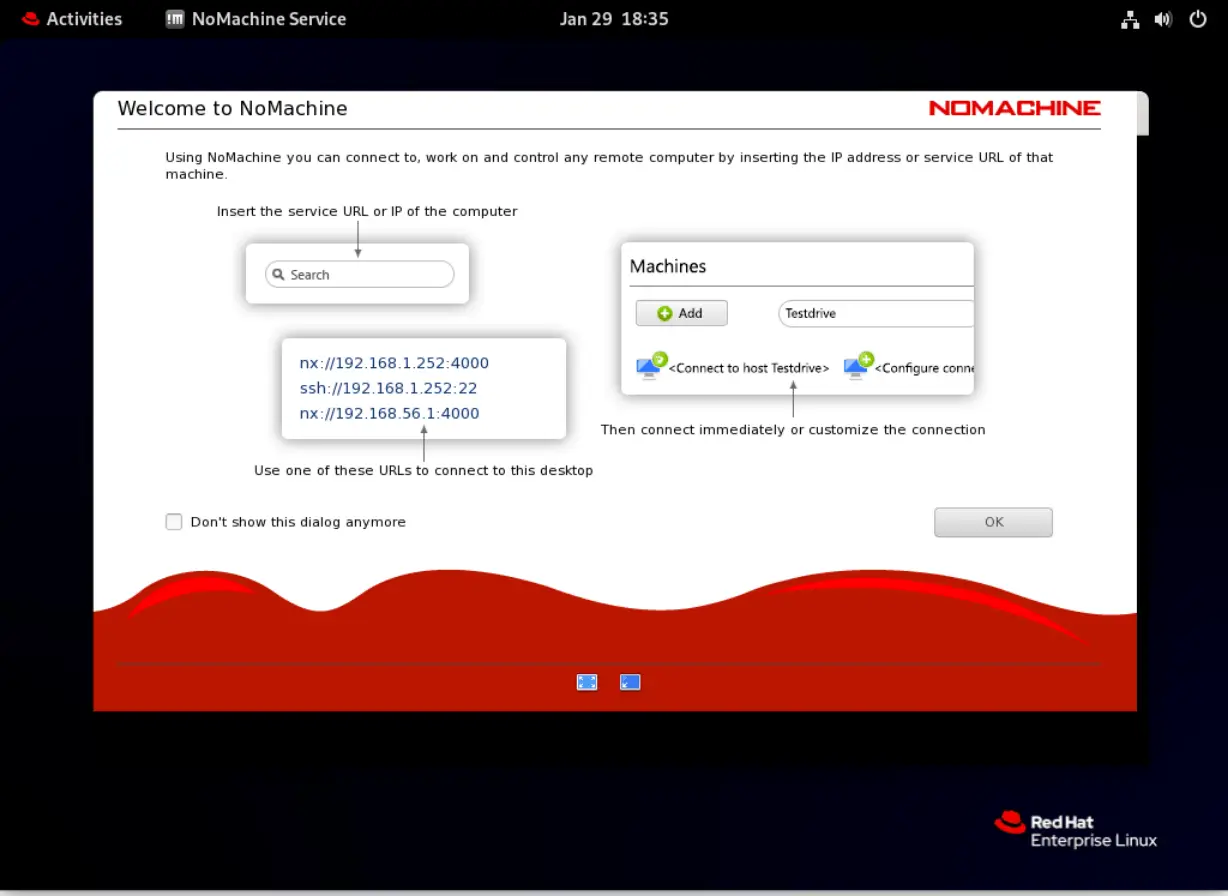
Photo by admingeek from Infotechys
Read the information and click the checkbox labeled “Don’t show this dialog anymore”–to avoid being prompted each time you launch the application.
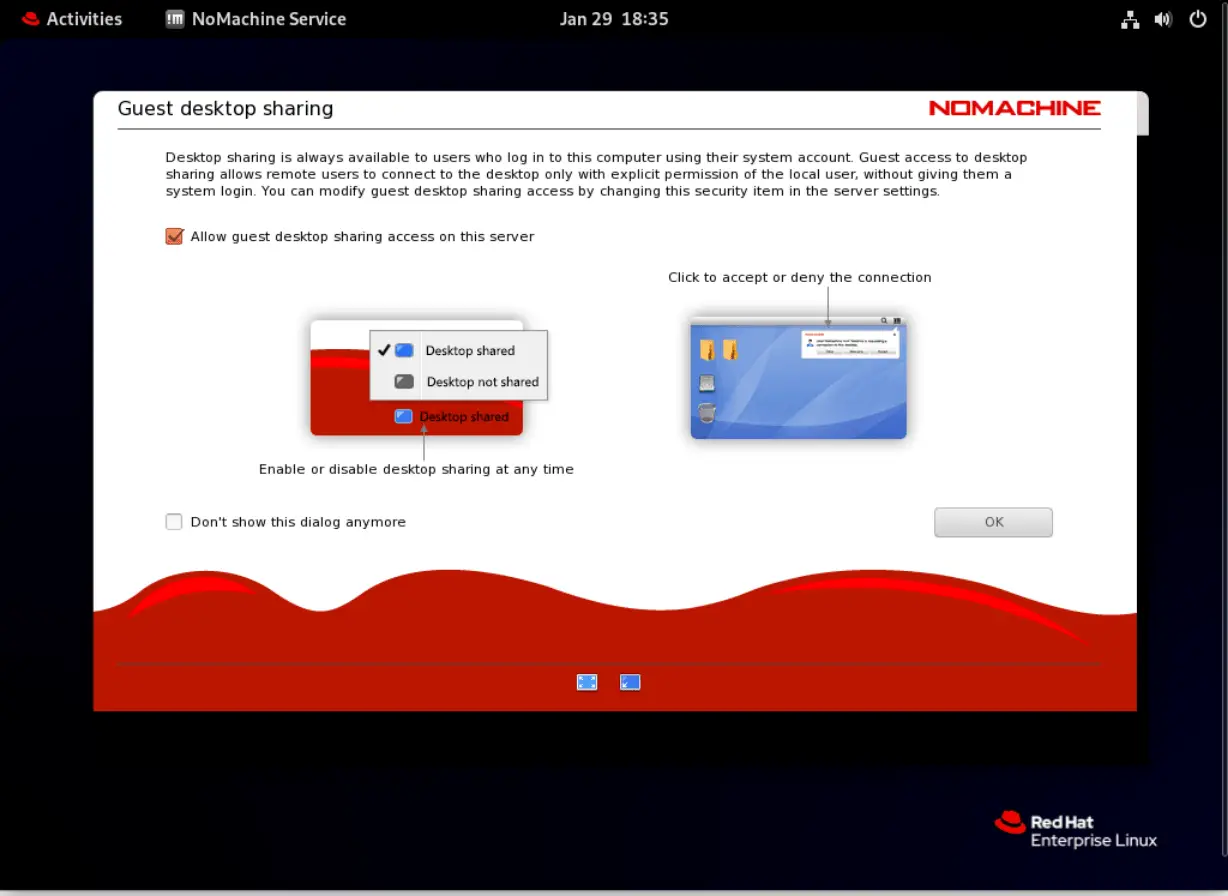
Photo by admingeek from Infotechys
The “Allow guest desktop sharing access on this server” is selected by default. Enable it or disable it according to the requirements in your environment.

Photo by admingeek from Infotechys
Eventually, you will arrive at this screen below (Add Connection Screen).
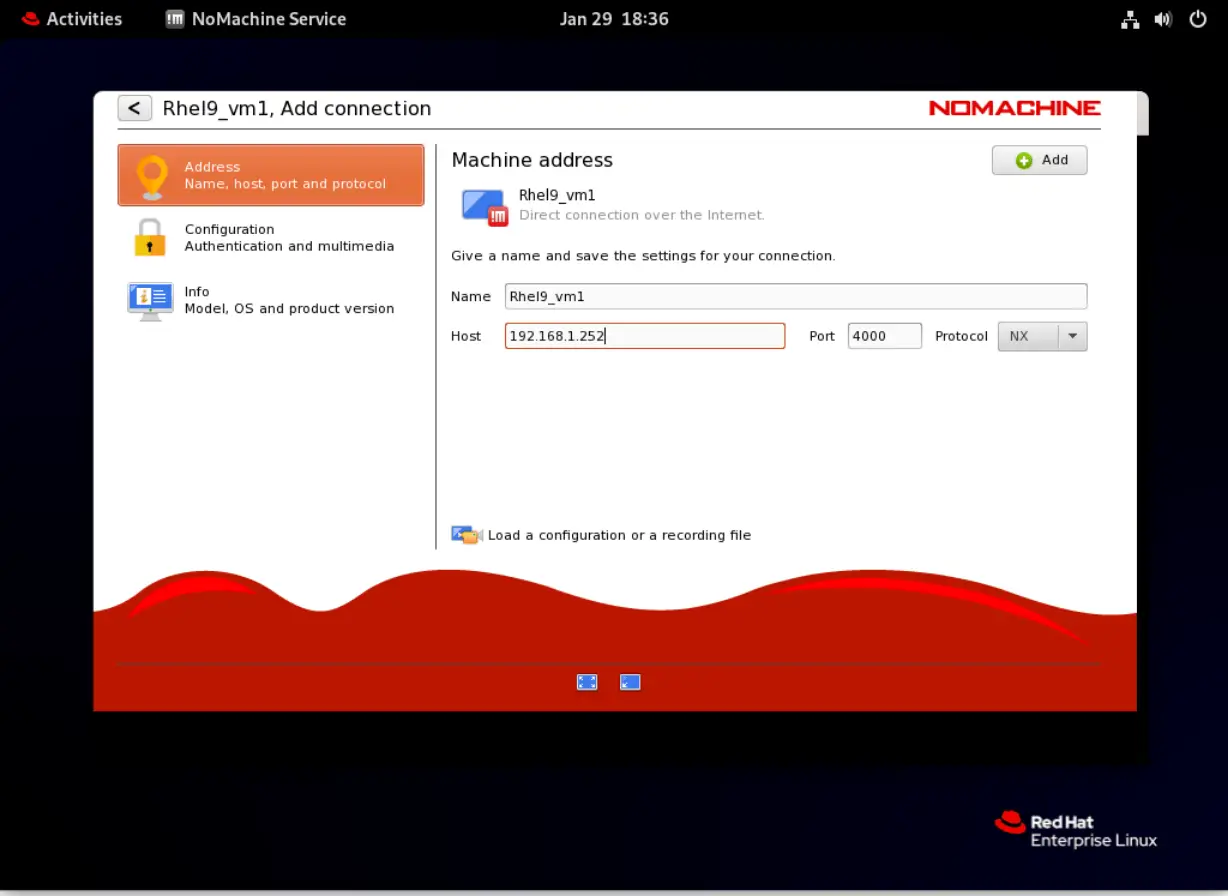
Photo by admingeek from Infotechys
Name your connection and add the host IP address. Then, click the Add button on the top-right corner of the screen to continue.
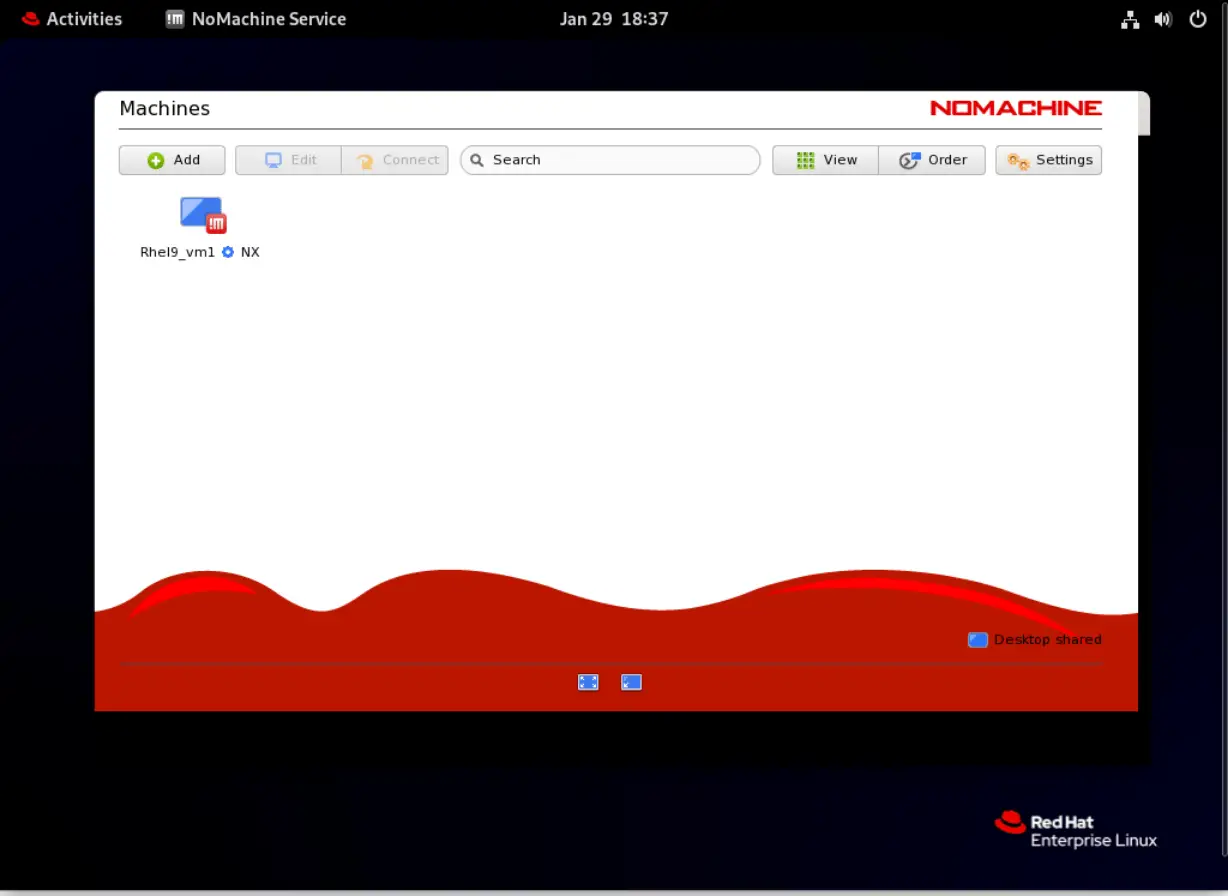
Photo by admingeek from Infotechys
The connection was added successfully. Now proceed to the login (below) by entering your user account credentials and following the on-screen prompts.
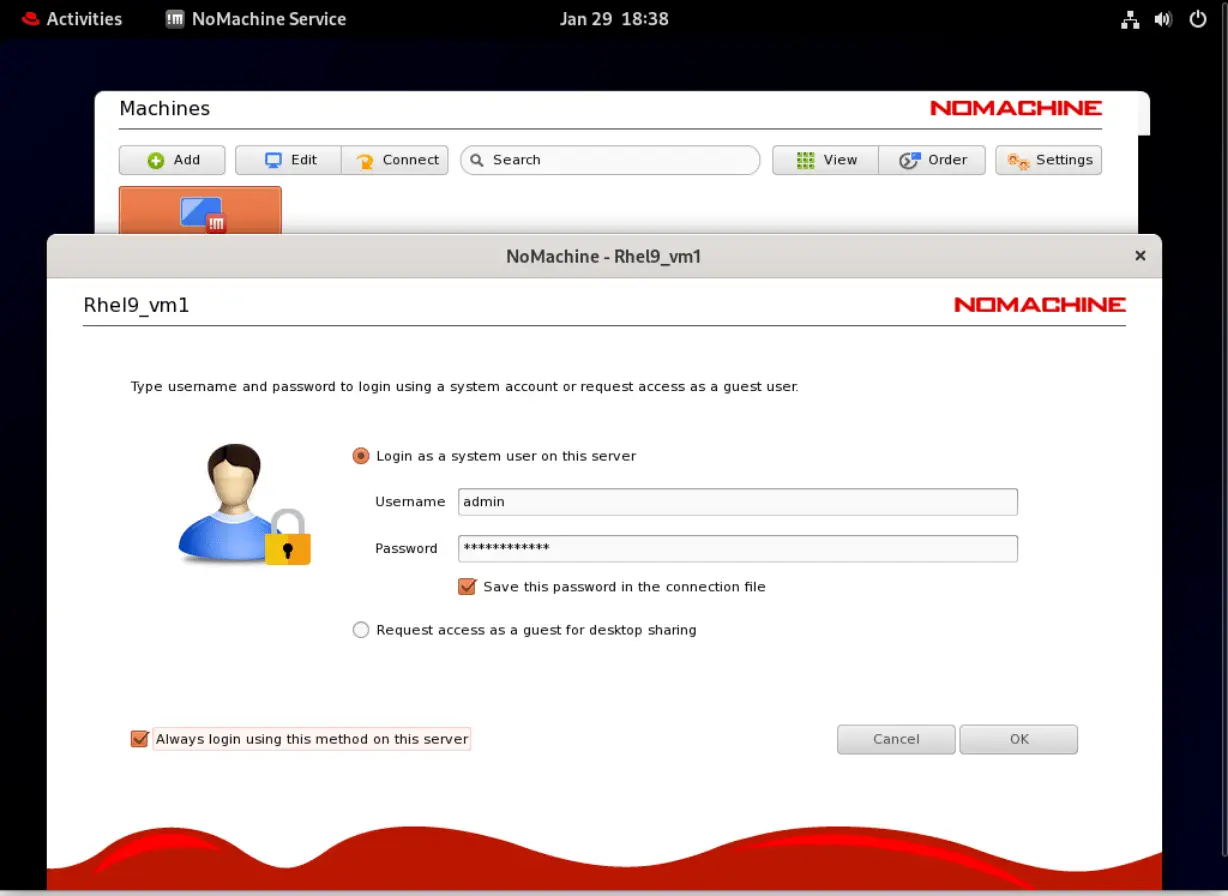
Photo by admingeek from Infotechys
Congratulations! Nomachine is now running successfully on your machine.
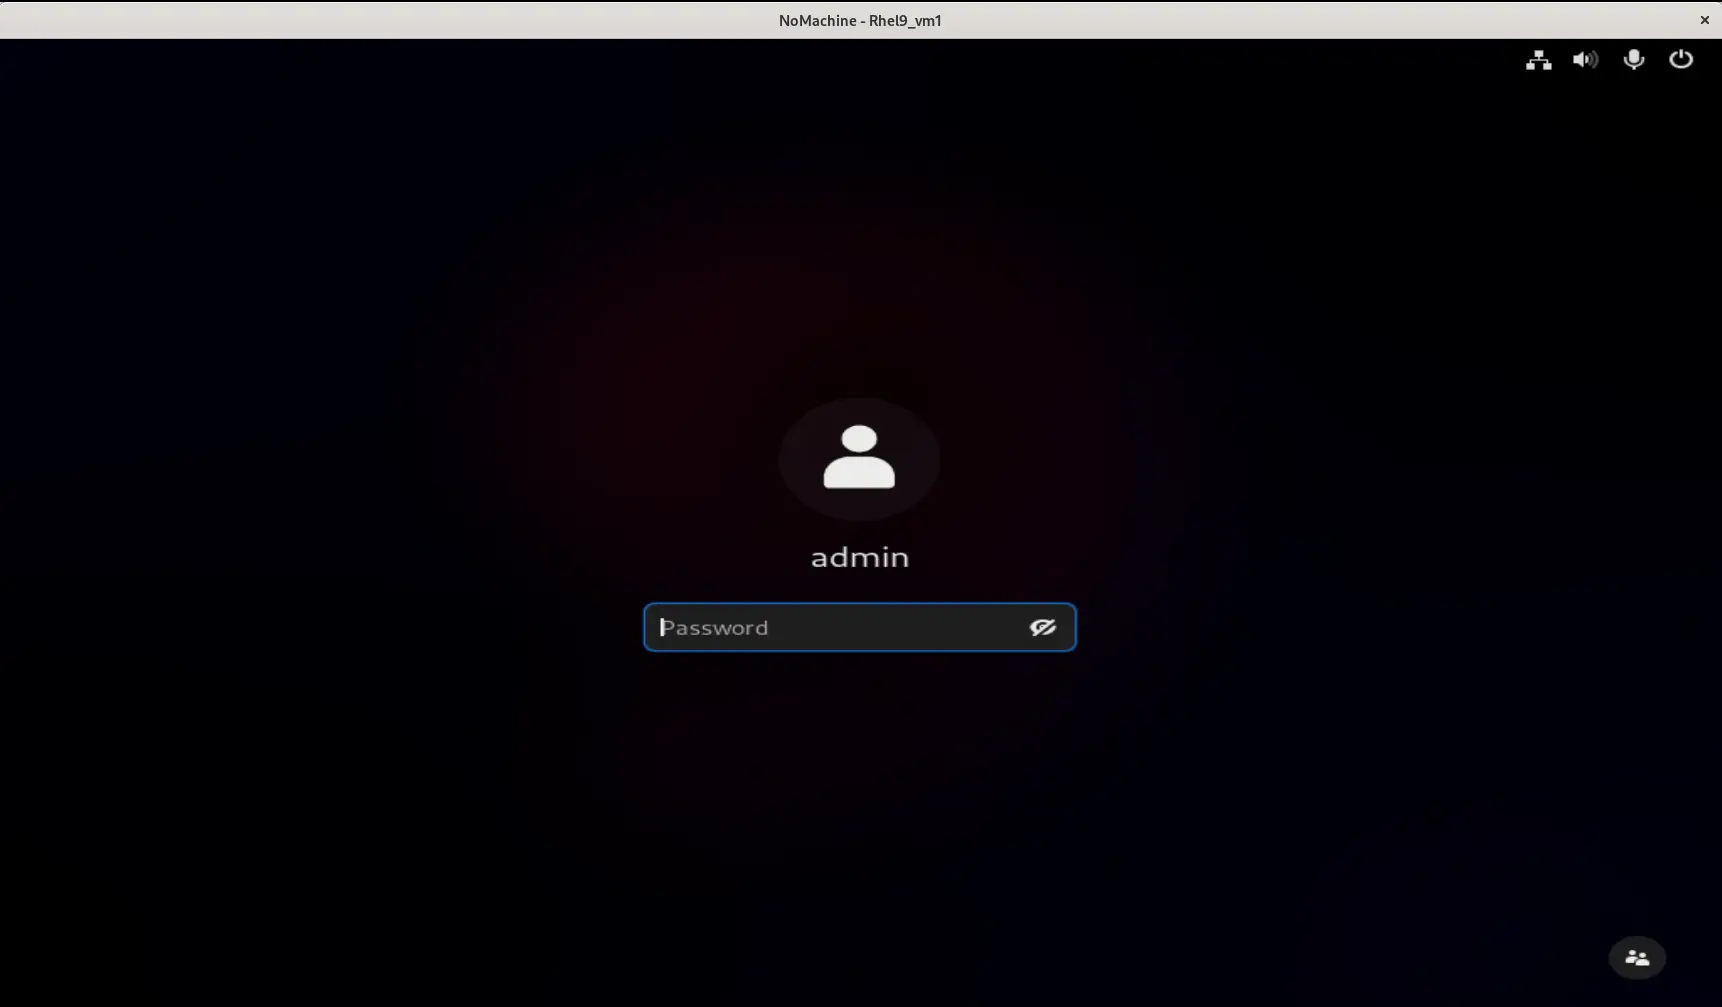
Photo by admingeek from Infotechys
In this tutorial, we’ve covered the essential steps to install NoMachine on RHEL 9 or CentOS 9, enabling you to leverage powerful remote desktop capabilities for enhanced productivity and collaboration. Whether you’re a system administrator managing multiple servers or a remote worker accessing your office workstation, NoMachine offers a reliable solution for seamless remote access.
Did you find this article useful? Your feedback is invaluable to us! Please feel free to share your thoughts in the comments section below.
Related Posts

In this article, we will guide you through the process of installing EPEL on various versions of RHEL and CentOS. Table of Contents 🔈Introduction The
In this guide, we’ll walk you through the step-by-step process of installing Remmina on RHEL9 or CentOS9. Remmina is a feature-rich remote desktop client that allows
In this guide, we’ll walk you through the step-by-step process to install Remmina on Ubuntu 20.04. Remmina is a comprehensive remote desktop client packed with features,
