Discover how Linux in Cloud Computing and DevOps is revolutionizing the way businesses manage their IT infrastructure, offering unparalleled scalability, customization, and security. Table of

In this article, we will explore the transformative capabilities of “Infrastructure as Code Terraform,” examining how it streamlines the provisioning and management of resources in a scalable and efficient manner.
In the dynamic landscape of modern software development, DevOps practices have become indispensable for ensuring efficient collaboration between development and operations teams. One key aspect of DevOps that has gained significant traction is Infrastructure as Code (IaC). In this hands-on guide, we will delve into the role of IaC in the DevOps lifecycle, with a specific focus on practical implementation using Terraform.
IaC is a methodology that involves managing and provisioning infrastructure through machine-readable script files, rather than through physical hardware configuration or interactive configuration tools. This approach brings automation, consistency, and traceability to infrastructure management, enabling teams to treat their infrastructure in the same way they treat application code.
Terraform is an open-source IaC tool developed by HashiCorp. It has gained popularity for its simplicity, flexibility, and support for multiple cloud providers and on-premises infrastructure.
Let’s walk through a simple example of using Terraform to create and manage infrastructure. For this demonstration, we’ll provision some cloud instances.
Start by installing Terraform and configuring your credentials.
					# Install Terraform
sudo dnf install terraform

# Create a Terraform configuration file (e.g., main.tf)
					# Install Terraform
sudo dnf install terraform

# Create a Terraform configuration file (e.g., main.tf)
					# Install Terraform
brew install terraform

# Create a Terraform configuration file (e.g., main.tf)
In your Terraform configuration file, specify the provider and define the resources you want to create.
Below is a sample Terraform configuration file for deploying resources in Amazon Web Services (AWS). This example focuses on creating an Amazon EC2 instance.
					# main.tf

provider "aws" {
  region = "us-east-1"
}

# Define an Amazon EC2 instance
resource "aws_instance" "example" {
  ami           = "ami-0c55b159cbfafe1f0"
  instance_type = "t2.micro"
  key_name      = "your-key-pair-name"

  tags = {
    Name = "example-instance"
  }
}

# Define a security group allowing inbound SSH traffic
resource "aws_security_group" "example" {
  name        = "example-security-group"
  description = "Allow inbound SSH traffic"

  ingress {
    from_port = 22
    to_port   = 22
    protocol  = "tcp"
    cidr_blocks = ["0.0.0.0/0"]
  }
}

# Associate the security group with the EC2 instance
resource "aws_network_interface_sg_attachment" "example" {
  security_group_id    = aws_security_group.example.id
  network_interface_id = aws_instance.example.network_interface_ids[0]
}
In this Terraform configuration file:
provider "aws" block sets up the AWS provider with the specified region.resource "aws_instance" block creates an EC2 instance with the specified Amazon Machine Image (AMI), instance type, and key pair.resource "aws_security_group" block creates a security group allowing inbound SSH traffic.resource "aws_network_interface_sg_attachment" block associates the security group with the EC2 instance.Make sure to replace placeholders like "ami-0c55b159cbfafe1f0" and "your-key-pair-name" with your actual AMI ID and key pair name, respectively.
Feel free to modify and expand this configuration file according to your specific needs when working with AWS resources using Terraform.
Here’s a sample Terraform configuration file for deploying resources in Google Cloud Platform (GCP). This example focuses on creating a virtual machine instance within a specified project and region.
					# main.tf

provider "google" {
  credentials = file("<PATH_TO_YOUR_SERVICE_ACCOUNT_KEY_JSON>")
  project     = "your-gcp-project-id"
  region      = "us-central1"
}

# Define a Google Cloud Storage bucket
resource "google_storage_bucket" "example" {
  name     = "example-bucket"
  location = "us"
}

# Define a Google Cloud Compute Engine instance
resource "google_compute_instance" "example" {
  name         = "example-instance"
  machine_type = "n1-standard-1"
  zone         = "us-central1-a"

  boot_disk {
    initialize_params {
      image = "debian-cloud/debian-10"
    }
  }

  network_interface {
    network = "default"
  }
}

# Define a Google Cloud SQL instance (example for illustration purposes)
resource "google_sql_database_instance" "example" {
  name             = "example-db-instance"
  database_version = "MYSQL_8_0"
  region           = "us-central1"

  settings {
    tier = "db-f1-micro"
  }
}
In this Terraform configuration file:
provider "google" block sets up the Google Cloud provider with the necessary authentication details and project information.resource "google_storage_bucket" block creates a Google Cloud Storage bucket.resource "google_compute_instance" block creates a Compute Engine instance.resource "google_sql_database_instance" block provides an example of creating a Cloud SQL database instance (Note: Ensure you customize this block based on your specific requirements and configurations).Make sure to replace placeholders like <PATH_TO_YOUR_SERVICE_ACCOUNT_KEY_JSON> and "your-gcp-project-id" with your actual service account key file path and GCP project ID, respectively.
Feel free to modify and expand this configuration file according to your specific needs when working with Google Cloud resources using Terraform.
Here’s a sample Terraform configuration file for deploying resources in Microsoft Azure.
					# main.tf

provider "azurerm" {
  features = {}
}

# Define a resource group
resource "azurerm_resource_group" "example" {
  name     = "example-resource-group"
  location = "East US"
}

# Define a virtual network
resource "azurerm_virtual_network" "example" {
  name                = "example-vnet"
  address_space       = ["10.0.0.0/16"]
  location            = azurerm_resource_group.example.location
  resource_group_name = azurerm_resource_group.example.name
}

# Define a subnet within the virtual network
resource "azurerm_subnet" "example" {
  name                 = "example-subnet"
  resource_group_name  = azurerm_resource_group.example.name
  virtual_network_name = azurerm_virtual_network.example.name
  address_prefixes     = ["10.0.1.0/24"]
}

# Define a virtual machine
resource "azurerm_virtual_machine" "example" {
  name                  = "example-vm"
  resource_group_name   = azurerm_resource_group.example.name
  location              = azurerm_resource_group.example.location
  size                  = "Standard_DS1_v2"
  admin_username        = "adminuser"
  admin_password        = "Password1234!"
  network_interface_ids = [azurerm_network_interface.example.id]

  os_profile {
    computer_name  = "hostname"
    admin_username = "adminuser"
    admin_password = "Password1234!"
  }

  source_image_reference {
    publisher = "MicrosoftWindowsServer"
    offer     = "WindowsServer"
    sku       = "2019-datacenter"
    version   = "latest"
  }
}

# Define a network interface
resource "azurerm_network_interface" "example" {
  name                = "example-nic"
  location            = azurerm_resource_group.example.location
  resource_group_name = azurerm_resource_group.example.name

  ip_configuration {
    name                          = "example-nic-configuration"
    subnet_id                     = azurerm_subnet.example.id
    private_ip_address_allocation = "Dynamic"
  }
}
Similar to sample configuration files for AWS and Google Cloud, this Terraform configuration file provides a basic example of creating a resource group, virtual network, subnet, virtual machine, and network interface in Azure. You can customize this file based on your specific requirements.
Execute the following commands to initialize Terraform and apply the configuration.
					terraform init
terraform apply
Examine the execution plan presented by Terraform and confirm the changes by typing ‘yes’.
Confirm the creation of the virtual machine using the Red Hat Virtualization console or Terraform outputs.
terraform show
In this guide, we’ve explored the role of Infrastructure as Code in the DevOps lifecycle and demonstrated its practical implementation using Terraform. As organizations continue to adopt DevOps practices, incorporating IaC becomes crucial for achieving speed, reliability, and collaboration in managing infrastructure. By leveraging Terraform, teams can seamlessly automate the provisioning and management of their infrastructure, paving the way for a more streamlined and efficient development process.
Start incorporating Infrastructure as Code into your DevOps workflow today and experience the benefits of a more automated, consistent, and collaborative infrastructure management approach. Happy coding!
Related Posts

Discover how Linux in Cloud Computing and DevOps is revolutionizing the way businesses manage their IT infrastructure, offering unparalleled scalability, customization, and security. Table of

In this article, we will examine installing and using Gitlab on Ubuntu server version 20.04. Gitlab community edition or Gitlab CE can be installed by

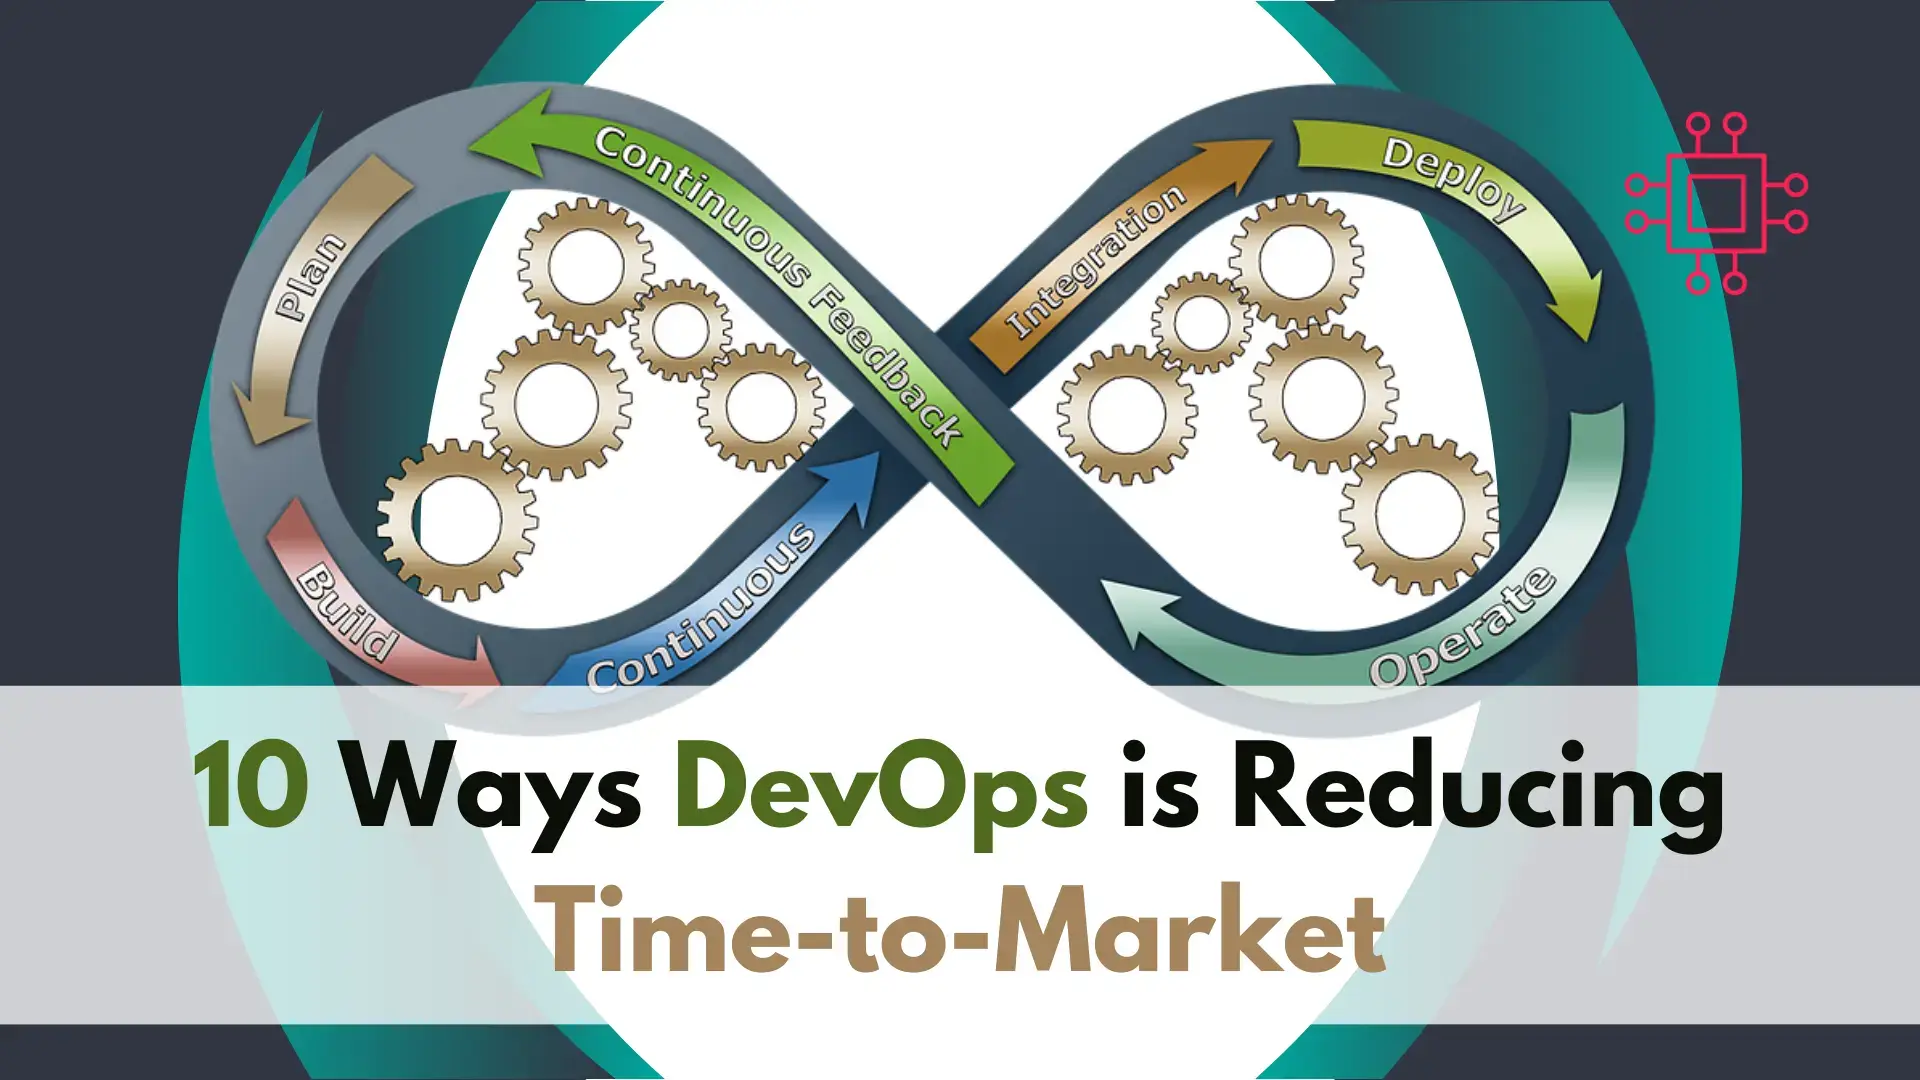
We’ll examine how DevOps is reducing time-to-market, while transforming software development, fostering collaboration, and enhancing efficiency. Table of Contents Introduction DevOps has become a buzzword
