Commands
Learn how to install Zabbix with PostgreSQL on RHEL 9 | CentOS 9 with our comprehensive step-by-step guide. Follow clear instructions with CLI examples and


Learn how to install Zabbix with PostgreSQL on RHEL 9 | CentOS 9 with our comprehensive step-by-step guide. Follow clear instructions with CLI examples and
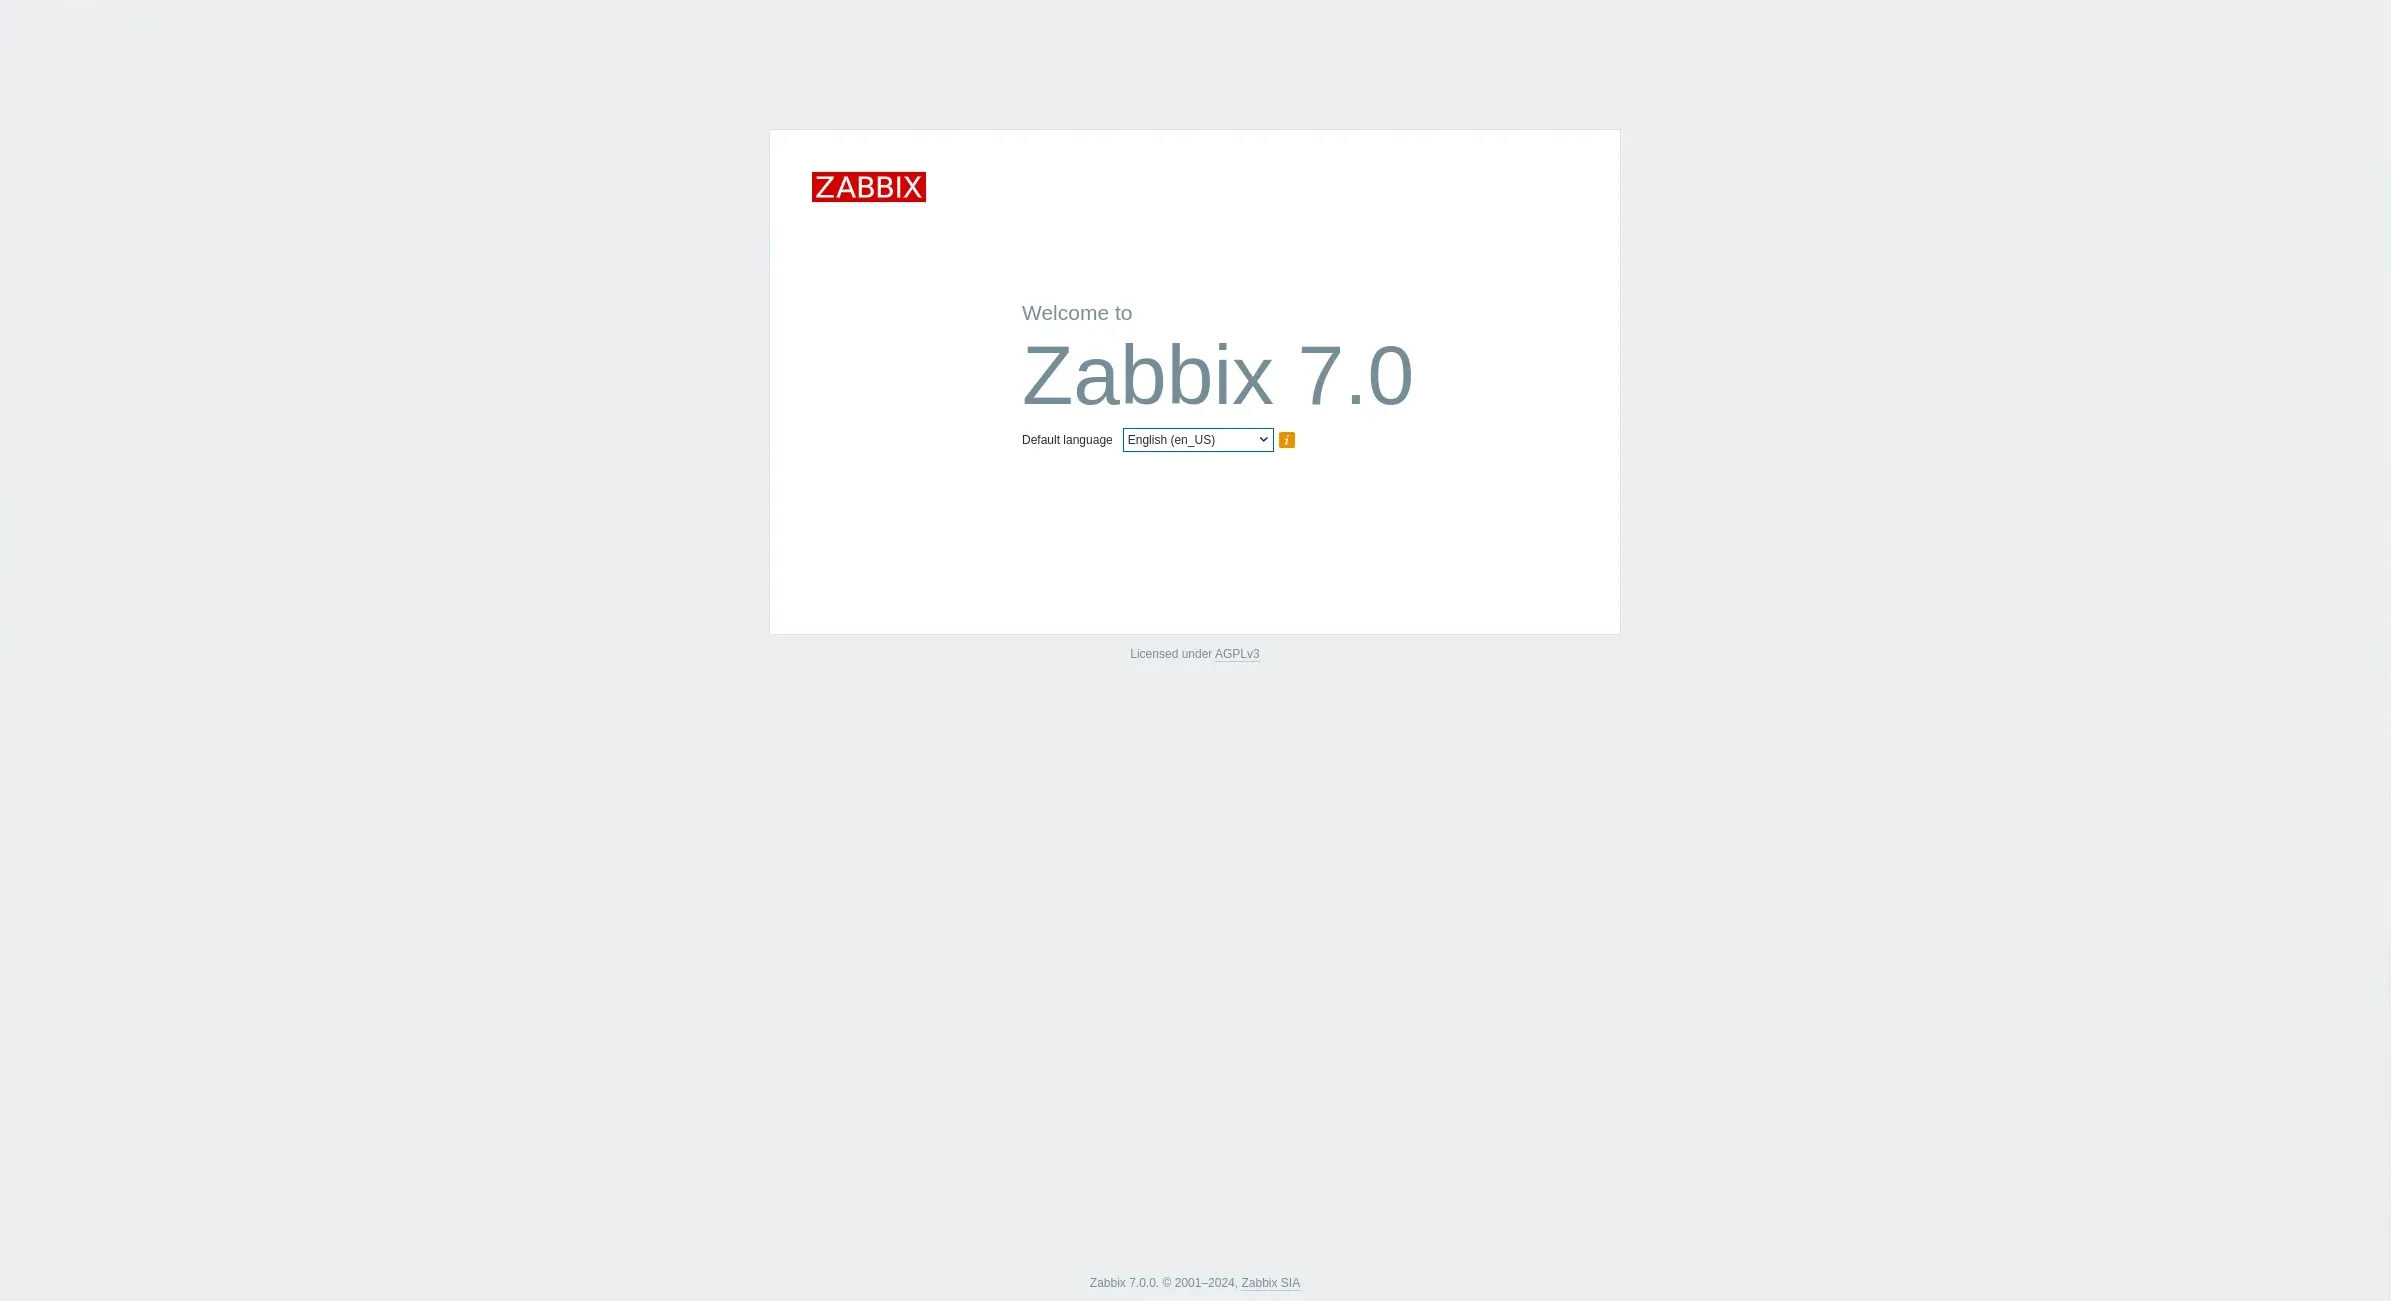
This blog post covers how to install and configure Zabbix version 7.0-2 on RHEL 9 in detail, including prerequisites, step-by-step instructions, and troubleshooting tips. Table
Learn how to automate adding hosts to Zabbix using Bash script. This comprehensive guide covers script functions, examples, and best practices to streamline your IT