Looking to establish a reliable and secure web presence? Learn how to Install Apache web server on CentOS and unlock the potential of your website

In this article, we will review in detail how to install sublime text4 on CentOS8 or RHEL8 and also provide examples.
Sublime Text (ST) is still a powerful source-code editor in its unregistered shareware form.
ST was created by Jon Skinner, an ex-Google Software Engineer who left his job to see his passion to its fruition back in 2007. The first initial release of ST came out in January of 2008. Since then, multiple versions have been released and support for ST continues to grow due to its coder-friendly features such as:
Just to name a few … ST supports many programming languages and markup languages natively. Also, there are several plugins available to install that enable more features and allow the user to tailor ST to meet his or her needs/preferences. You can read this 2011 blog post from Jon Skinner himself, for more details or visit the STHQ website.
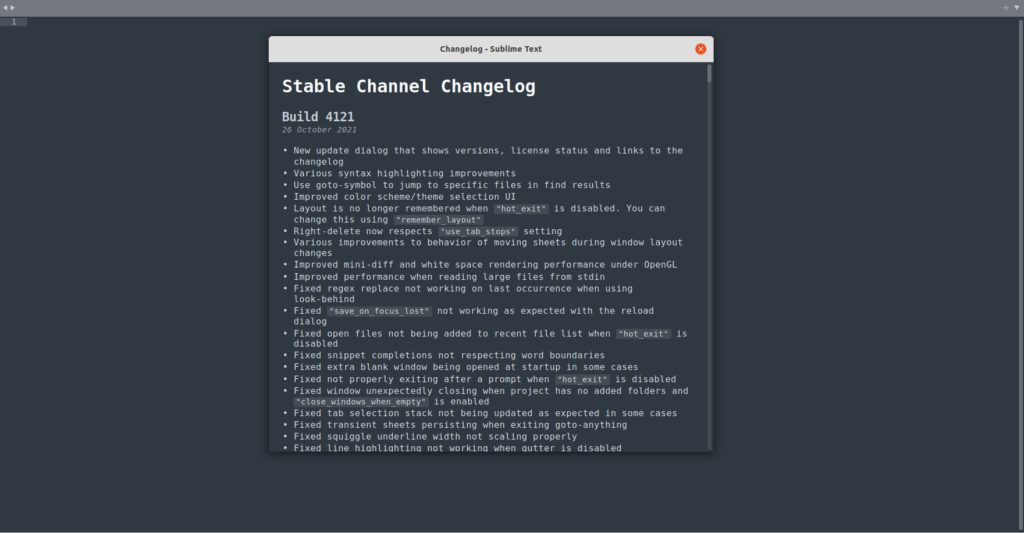
Sublime text version 4 was released about a month ago on October 26, 2021 as of the date of this publication. This article will review the ST installation step by step.
First things first, we are going to assume that you already have the desktop version of CentOS8 or RHEL8 installed. Next, we import the ST4 GPG key.
# rpm -v --import https://download.sublimetext.com/sublimehq-rpm-pub.gpg
Now, we can download the stable repository to our CentOS8 or RHEL8 desktop.
# wget -P /etc/yum.repos.d/ https://download.sublimetext.com/rpm/stable/x86_64/sublime-text.repo
Install ST using dnf or yum. In this example (below), we will first update the machine using yum as best practice dictates.
# yum update -y
Next, we will install ST using dnf. Using yum -y install sublime-text is backwards compatible and will also work.
# dnf install sublime-text
Press the y + [Enter] key to proceed with the install.
					Sublime Text - x86_64 - Stable                                                                                                               9.9 kB/s | 2.2 kB     00:00
Dependencies resolved.
=============================================================================================================================================================================
 Package                                     Architecture                          Version                                 Repository                                   Size
=============================================================================================================================================================================
Installing:
 sublime-text                                x86_64                                4143-1                                  sublime-text                                 20 M

Transaction Summary
=============================================================================================================================================================================
Install  1 Package

Total download size: 20 M
Installed size: 50 M
Is this ok [y/N]: y
The installation is now complete. Run the subl command to launch it!
# subl

Photo by admingeek from Infotechys
Sublime Text 4 offers many advanced features that can help you write code more efficiently. Here are some of the key features of Sublime Text 4.
One of the most useful features of Sublime Text 4 is its ability to automatically detect the syntax of the code you’re writing and highlight it accordingly. This makes it easier to read and understand the code, and can help you avoid errors.
To enable syntax highlighting in Sublime Text 4, simply open a file with code in it, and Sublime Text 4 will automatically detect the syntax and highlight it accordingly. You can also manually set the syntax highlighting by clicking on the “Syntax” menu at the bottom of the window and selecting the appropriate language.
Sublime Text 4 offers an advanced auto-completion feature that can help you write code more quickly and accurately. As you type, Sublime Text 4 will suggest completions based on the context of what you’re writing, and you can use the arrow keys or mouse to select the one you want.
To use auto-completion in Sublime Text 4, simply start typing, and Sublime Text 4 will suggest completions based on the context. You can also use the Ctrl+Space shortcut to trigger auto-completion manually.
Another powerful feature of Sublime Text 4 is its ability to work with multiple cursors. This allows you to edit multiple lines of code simultaneously, which can be a real time-saver.
To use multiple cursors in Sublime Text 4, simply hold down the Ctrl key and click on the locations where you want to add cursors. You can then edit the code at each cursor position independently.
Sublime Text 4 is highly customizable, thanks to its extensive plugin system. There are thousands of plugins available that can add new features and functionality to the editor, and you can install them directly from within Sublime Text 4.
To install a plugin in Sublime Text 4, open the “Command Palette” by pressing Ctrl+Shift+P, then type “Package Control: Install Package” and press Enter. This will bring up a list of available plugins, and you can select the one you want to install.
Sublime Text 4 also supports a wide range of themes that can change the look and feel of the editor. There are many themes available that can make Sublime Text 4 more visually appealing and easier to use.
To install a theme in Sublime Text 4, open the “Command Palette” by pressing Ctrl+Shift+P, then type “Package Control: Install Package” and press Enter. This will bring up a list of available packages, including themes. Select the theme you want to install and Sublime Text 4 will automatically download and install it.
These are just a few of the many features of Sublime Text 4. By taking the time to explore the editor and experiment with its various features, you can become a more efficient and productive programmer.
These are just a few of the many features of Sublime Text 4. By taking the time to explore the editor and experiment with its various features, you can become a more efficient and productive programmer. Was this article helpful to you? If so, leave us some feedback in the comments section. We’d love to hear from you.
Related Posts

Looking to establish a reliable and secure web presence? Learn how to Install Apache web server on CentOS and unlock the potential of your website

In this article, we will review how we can automate a task that checks the timezone using Ansible, offering a detailed walkthrough of the steps

In this article, we review how to install VSCode on CentOS 7, providing step-by-step instructions to ensure a seamless setup of the Visual Studio Code
